
This node is used to explicitly transfer control from an existing contact flow to a live agent based on a defined trigger.
To configure this node, set up the following:
General Settings
Click the General Settings icon and provide the following information:
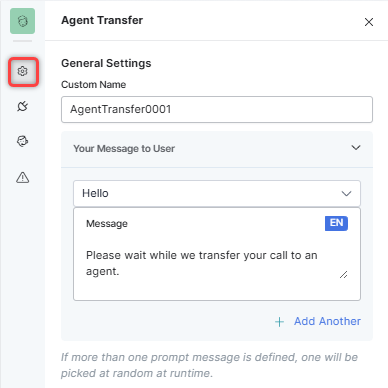
- A Custom Name to identify the node.
- Your Message to User: The message that will be played to the customer via the IVR. Select one of the following options from under Choose your message type:
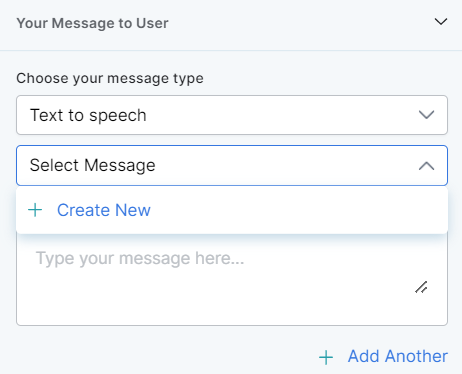
- Text to speech: This option allows you to transcribe text to speech. Type the text to be transcribed in the textbox or select an already configured message.
- Create a new prompt message to be played out for the Text to Speech message type by clicking + Create New. Enter a name for your message, type its contents and select the language.
- Define multiple message types for the prompt message to be played to the customer by clicking + Add Another. In this case, one message will be randomly selected and played during runtime.
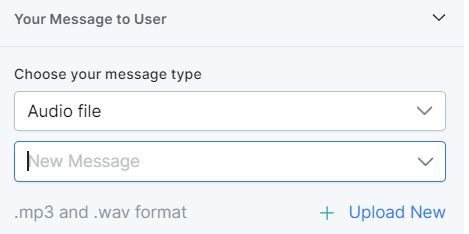
- Audio File: You can type a new message to be played to the customer in the text field or click + Upload New to upload an audio file (.mp3 or .wav format) with the message to be played;
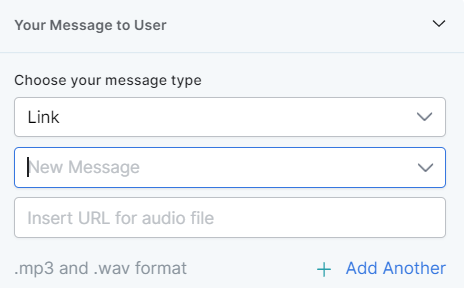
- Link: Click + Create New to add the text of the message you want to play to the customer and insert the URL of an audio file in .mp3 or .wav format. Click + Add Another to add another message URL.
- Text to speech: This option allows you to transcribe text to speech. Type the text to be transcribed in the textbox or select an already configured message.
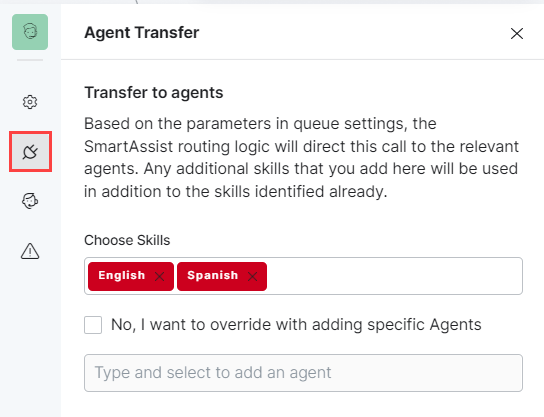
Transfer to Agents
In the Transfer to Agents section, configure the following:
- Select the required Skills from the list. This way, you can define the routing logic that directs the customer to a specific agent with the skill(s);
- Select “No, I want to override with adding specific Agents or Agent Groups” to route the transfer to a specific agent or agent group by overriding the existing skills. Select an Agent or Agent Group from the dropdown list.
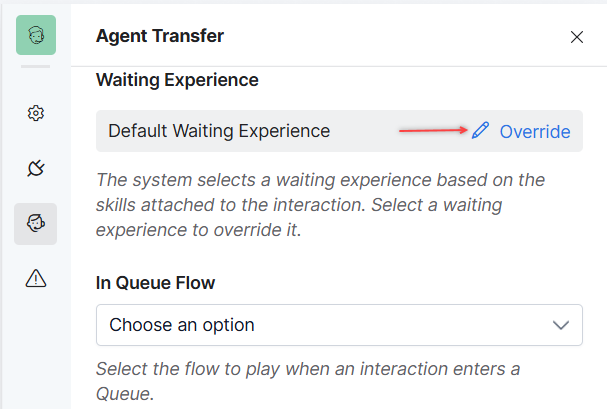
Waiting Experience
Click the Waiting Experience icon to configure the customer’s Waiting Experience for the current Agent Transfer flow as follows:
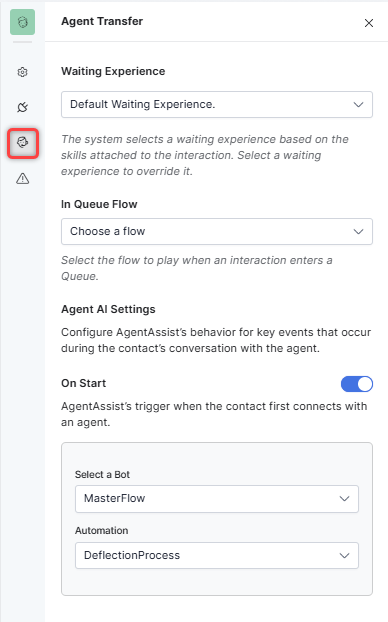
- Choose whether to use the Default Waiting Experience or override it. Clicking Override will activate the field and allow you to choose available options from a drop-down list.
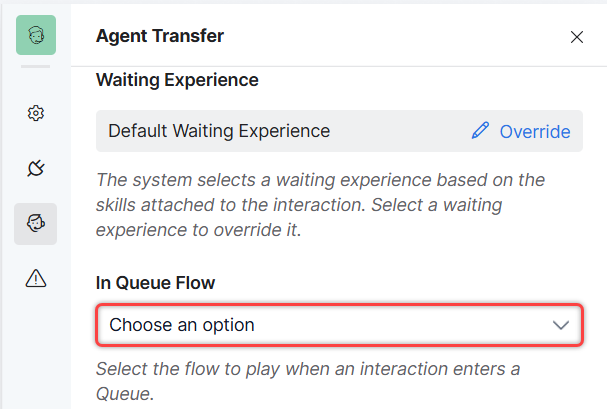
- In Queue Flow: This flow type can be attached to the Agent Transfer node.
- It modifies the Agent Transfer node in the Experience Flows to enable users to select a flow.
- This flow type runs simultaneously with Waiting Experiences.
- This flow executes whenever the associated interaction enters a queue, including transfers into a queue.
- This flow does not trigger during transfers between agents.
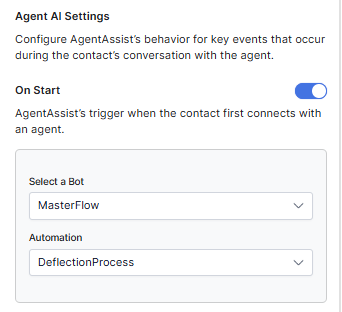
- Enable Agent AI by turning on the On Start toggle under Agent AI Settings. You can configure the following:
- Select the Bot that should run when Agent AI triggers.
- Select the Automation that should be used when the bot runs.
Error Handling
Use this section to handle system errors during customer interactions.
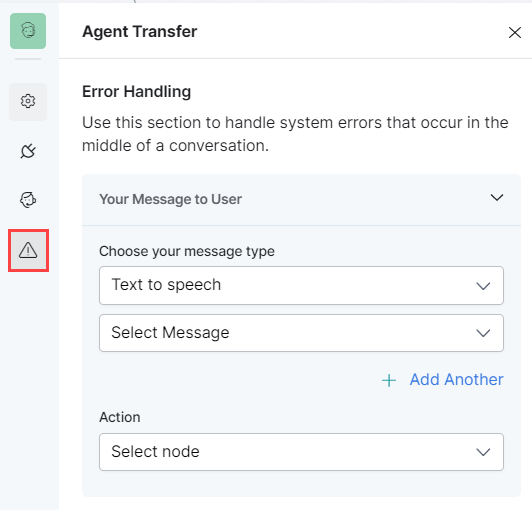
- Your Message to User: Choose the message type from Text to Speech, Link, or audio; then, type the message, upload an audio file (mp3 and .wav formats are only supported for audio files), or provide a URL to the error message that will be played out to the caller when a system error occurs. If the message is not configured, the default system message is played. See General Settings for a detailed explanation of these features.
- Action: Select the node to which you want to direct the error handling flow and define the system behavior. Either select a node type to create the node or identify and select an existing one. If the action is not configured, the call is closed immediately.