
An experience flow is a step-by-step process that helps you define the end-to-end customer experience at a contact center for each communication channel.
In SmartAssist, you can create experience flows using the Experience Flow Designer.
Experience Flow Types
There are two types of Experience Flows in SmartAssist:
- Inbound Flow: Most flows are classified as inbound flows, applicable to both voice and chat channels.
- Call Disconnect Flow: Used when a call disconnects and only applicable to voice channels.
The Inbound Flow
Inbound flows represent the most complex flow type in SmartAssist, providing access to all node types. With this flow type, you can create experiences for inbound calls and chats.
Steps to create Inbound Flows:
- Click the + New Flow button.

- Enter the following information in the New Experience Flow dialog box.
- Experience Flow Name
- Description
- Flow Type – Inbound Flow
- Attach a Channel – Voice, Chat
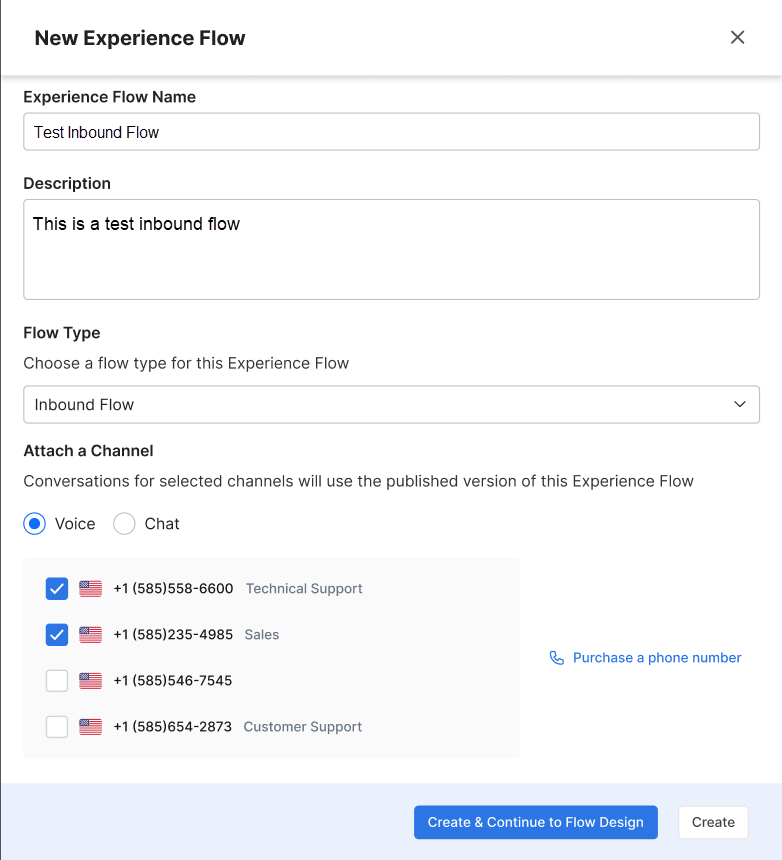
- Click Create & Continue to Flow Design to create the experience flow.
The Call Disconnect Flow
This flow type runs when a call gets disconnected and is useful in gathering customer data during post-call analytics, clean-up, or updates in other systems after a call ends. Conversational context can be passed from the main experience flow into the Call Disconnect Flow.
A default Call Disconnect Flow is preconfigured with the following attributes:
- Experience Flow Name – Default Call Disconnect Flow,
- Experience Flow Description – This flow is a system-created flow that can be used when the call disconnect event occurs;
- Channel Type – Voice,
- Channel Attachment – No Channels,
- Flow Type – Call Disconnect Flow.
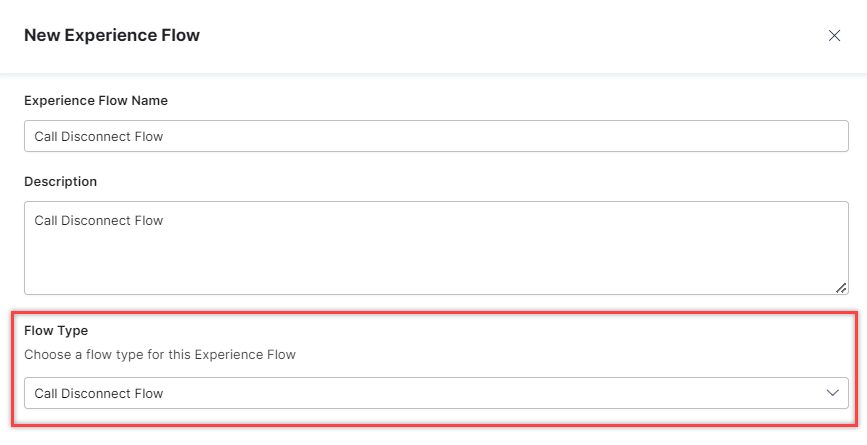
You can create your own Call Disconnect Flow by selecting it as a flow type while creating an experience flow.
In Queue Flow
This flow type can be attached to the Agent Transfer node. Learn more.
Supported Nodes
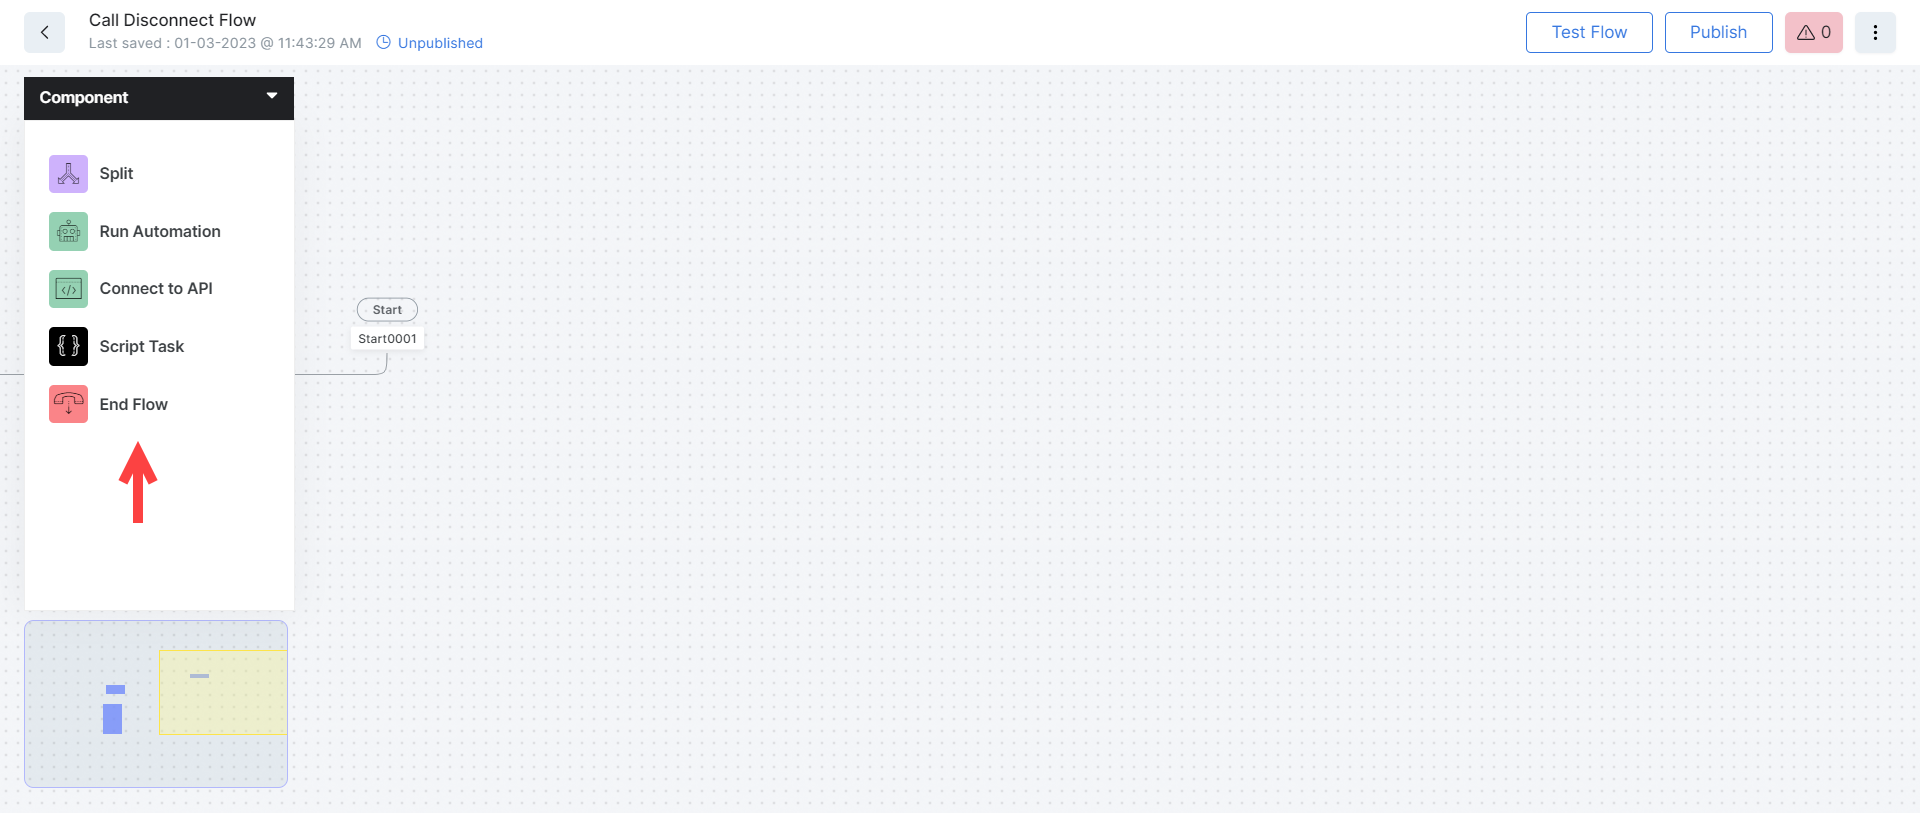
When creating a Call Disconnect Flow, the flow designer and the overall flow creation experience are the same as for an Inbound Flow, except that this flow type only uses part of the available node types. The nodes that can be used in a Call Disconnect Flow are:
Trigger Events
The Call Disconnect Flow triggers after one of the following events occurs:
- When a user hangs up a call while talking to a bot;
- When a bot hangs up a call;
- When a call is transferred to an agent system (this includes transfers to SmartAssist Agent Console as well);
- When a call is terminated, a variable called “reasonCode” is made available for developers to be able to define different flows for each reason;
- When a call is terminated in response to a system error. (This trigger is not available by default. Contact Kore.ai support to enable it.)
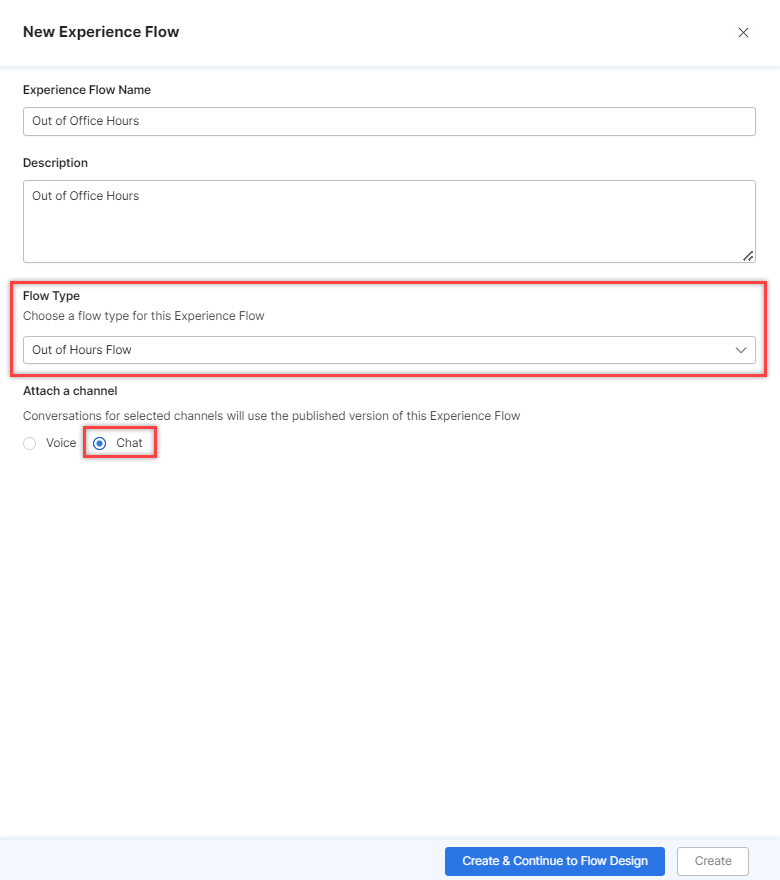
Default Out of Operational Hours Flow
This flow type runs when a customer tries to reach an agent outside working hours either on a voice call or chat.
A Default Out of Operational Hours Flow is preconfigured with the following attributes:
- Experience Flow Name – Default Out of Operational Hours Flow
- Experience Flow Description – This is a system-created flow that is used when a customer tries to reach an agent outside working hours
- Channel Type – Voice, Chat
- Channel Attachment – No Channels
- Flow Type – Out of Hours Flow
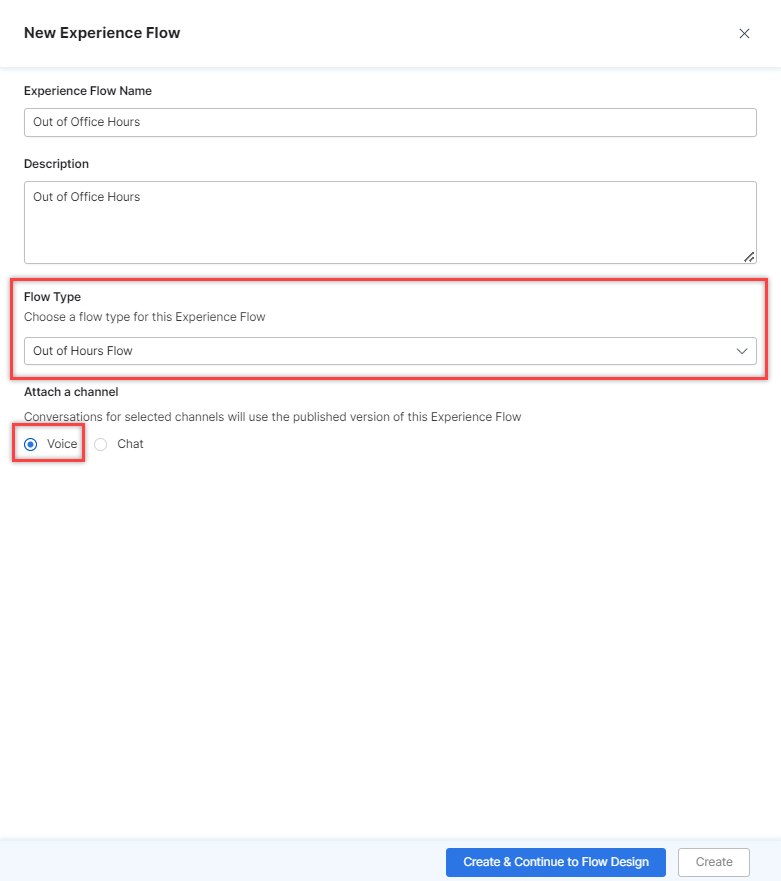
You can create your own Out of Hours Flow by selecting it as a flow type while creating an experience flow.
For Voice Channels:
For Chat Channels:
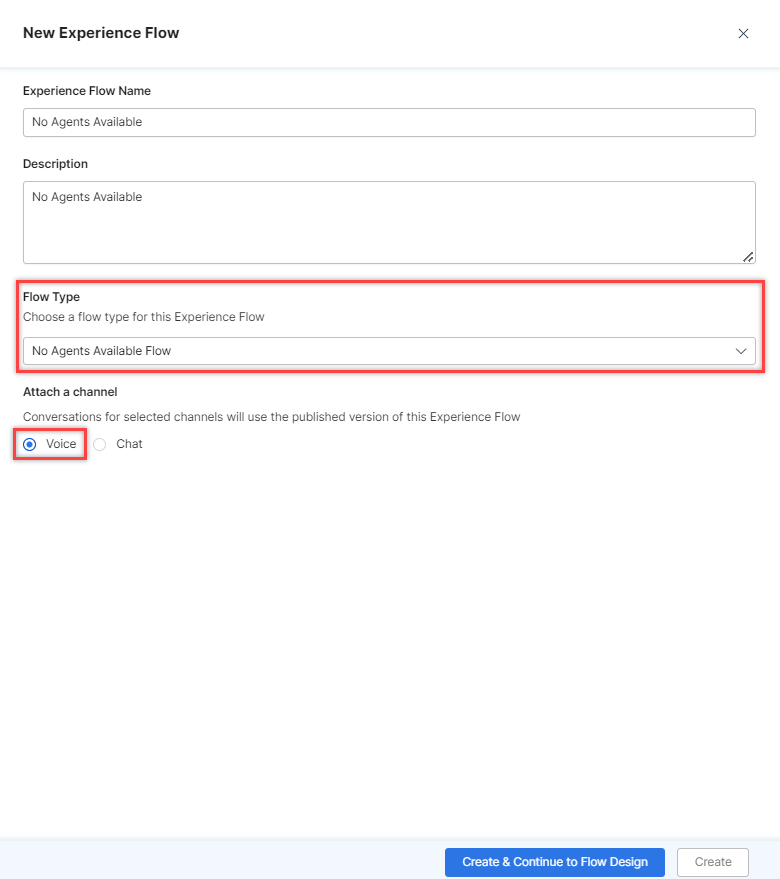
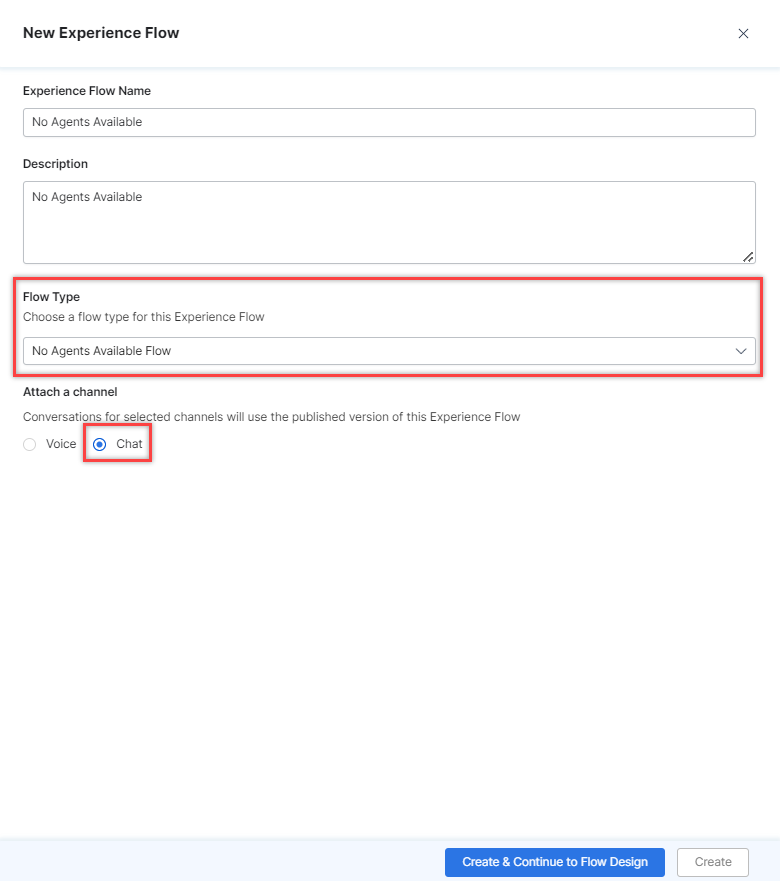
Default No Agents Available Flow
This flow type runs if the skill combination needed by the customer does not match any agent but the conversation is within working hours.
A Default No Agents Available is preconfigured with the following attributes:
- Experience Flow Name – Default No Agents Available
- Experience Flow Description – This is a system-created flow that is used when the skill combination needed by the customer does not match any agent but the conversation is within working hours
- Channel Type – Voice, Chat
- Channel Attachment – No Channels
- Flow Type – No Agents Available Flow
You can create your own No Agents Available Flow by selecting it as a flow type while creating an experience flow.
For Voice Channels:
For Chat Channels:
Create an Experience Flow
To create a new Experience Flow, follow these steps:
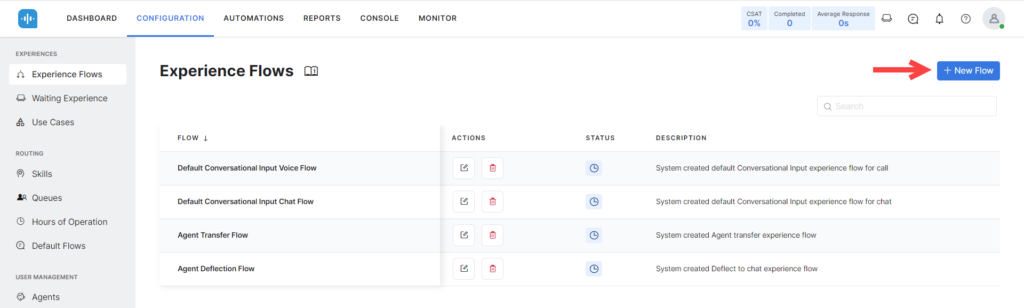
- Log in to your SmartAssist instance, and navigate to Configuration > Experience Flows.
- Click + New Flow.
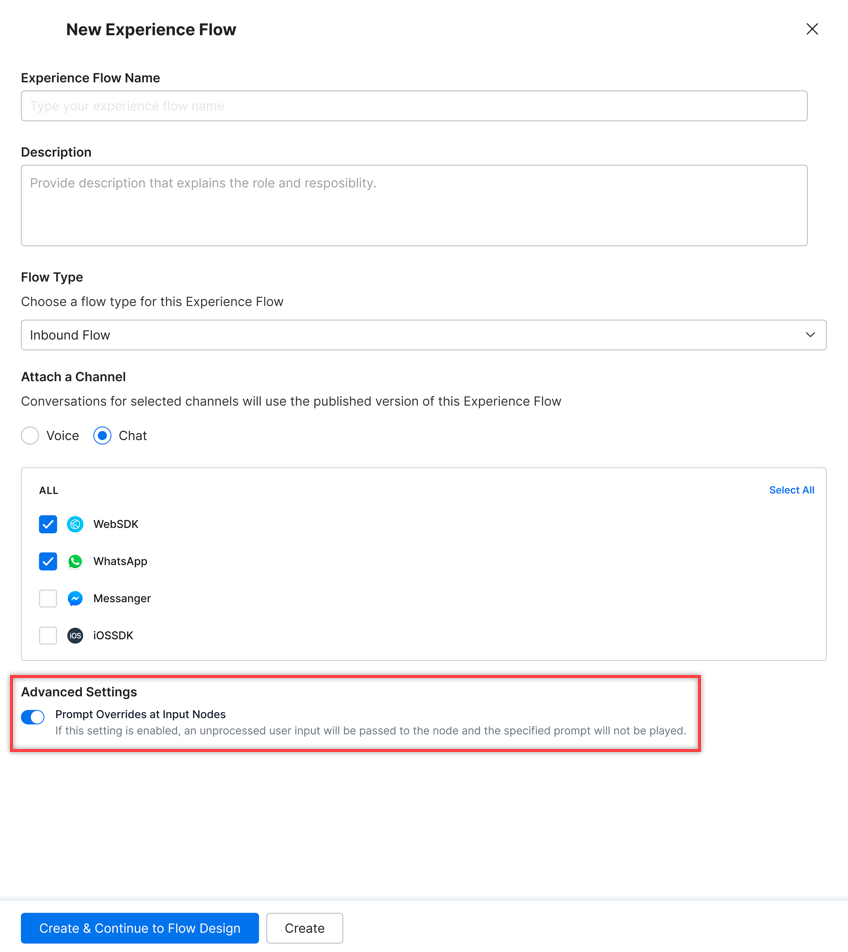
- In the New Experience Flow window, provide inputs for the following fields:
- Experience Flow Name: This name will help identify the flow.
- Description: Input text to describe what the experience flow does or its purpose.
- Choose the Flow Type: Either an Inbound Flow or a Call Disconnect Flow.
- Under Advanced Settings, you can enable Prompt Overrides at Input Nodes. When this feature is enabled, unprocessed user inputs will be passed to the first input node encountered in the flow without returning the actual prompt stored against the input node. This is useful for scenarios where a conversation ends and is then restarted by the user. In this case, for example, the user will not see the first “Welcome Message” again, as they would when starting a new conversation. Instead, they will receive a relevant reply to the utterance.

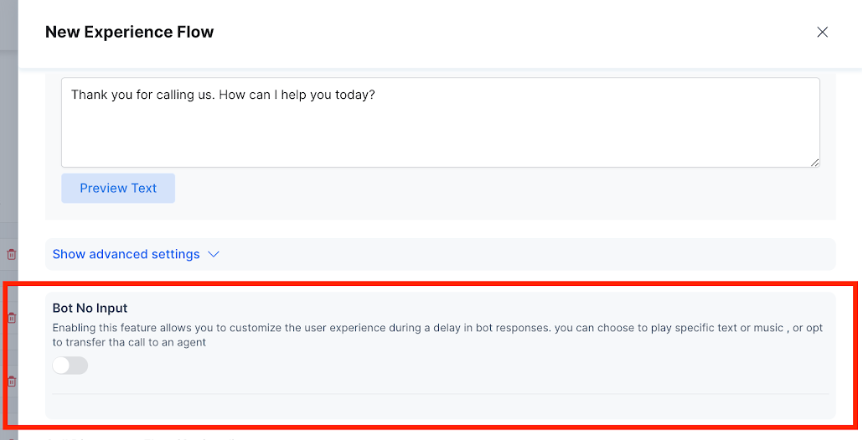
Bot No Input
To handle situations where there are delays in backend operations or unexpected system failures, administrators can configure Bot No Input to provide users with appropriate responses or cues. This prevents users from experiencing dead air during such occurrences. The following configurations allow pre-programmed instructions for such scenarios.
- When enabled, the below configurations are applied.
- When disabled, the default give-up timeout is applied, causing the call to disconnect if the bot does not respond within 30 seconds.
Configuration
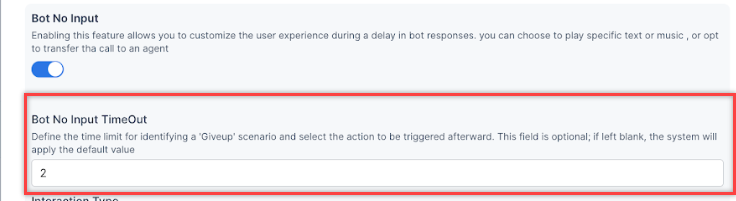
Bot No Input Timeout
- If the bot does not respond within this duration, an action based on the “Interaction Type” is triggered.
- This periodic message will repeat until the bot responds or until the “Bot No Input Give Up Timeout” is reached.
Interaction Type
The following options are available:
- Bot No Input Speech: Enter the text that the bot will say when triggered by the no input timeout.
- Bot No Input URL: Enter a valid audio URL. The bot will play the audio file from this URL when triggered by the no-input timeout.

Bot No Input Retries
Specifies the number of times to perform the no input actions, with a “Bot No Input Timeout” duration between each retry.
![]()
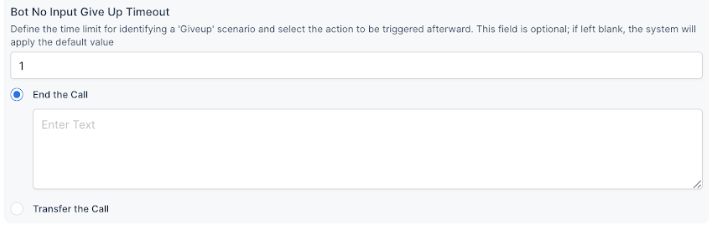
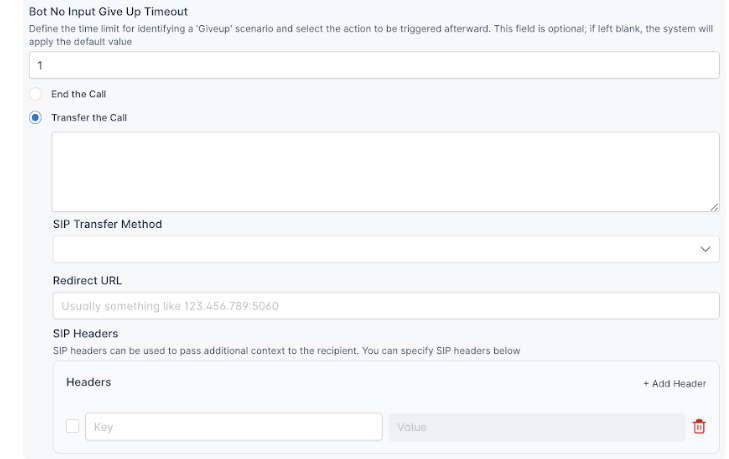
Bot No Input Give Up Timeout
The total duration (in seconds) to wait before performing the give-up action and stopping further no input retries. The following options are available:
- End the Call: Ends the call after the “Bot No Input Give Up Timeout” is reached.
- Enter a message that the bot will say before ending the call.
- Enter a message that the bot will say before ending the call.
- Transfer the Call: Transfers the call to a SIP phone number.
- Text Message: The bot will say this message before transferring the call.
- SIP Transfer Method: Select the desired SIP transfer method from the dropdown menu (SIP REFER).
- Redirect URL: Enter the SIP redirect URL for transferring the call.
- SIP Headers: Enter key-value pairs for SIP headers as needed.
Usage Scenarios
- Normal System Delays: If backend operations take longer than expected (for example, CRM updates or HTTP requests), users will receive periodic messages or audio cues, ensuring they remain informed.
- Unexpected Failures: In cases of backend crashes or offline services, this provides fallback actions to maintain a positive user experience.
Example Configuration
- Bot No Input: Enabled
- Bot No Input Timeout: 10 seconds
- Bot No Input Speech: “Please wait while the bot responds.”
- Bot No Input Retries: 15
- Bot No Input Give Up Timeout: 120 seconds
- Give-Up Action: End Call (message: “Bot not responding ending the call”)
Behavior:
- The bot will play the message “Please wait while the bot responds” every 10 seconds.
- This will continue until the bot responds, the retries (15) are exhausted, or the give-up timeout (120 seconds) is reached.
- After 120 seconds, if the bot still does not respond, the bot will say the configured end-call message “Bot not responding ending the call” and disconnect the call.
This configuration ensures that user interactions remain seamless and informative, even during unexpected system delays or failures.
Answering Machine Detection
The Answering Machine Detection (AMD) feature provides intelligent call handling capabilities for voice-based communication flows by detecting whether a human or an answering machine answers an incoming call.
When enabled, the system detects Answering Machine Detection (AMD) from incoming calls and stores the result in context variables accessible through context.session.UserSession.
Selecting the Disconnect the call after detecting a machine checkbox automatically terminates the call upon machine detection.
The Inbound Flow
For an Inbound Flow, you must Attach a Channel: Select one of the following channels to integrate with this flow:
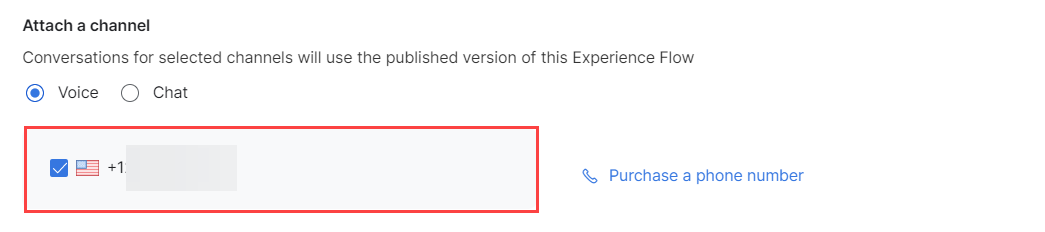
Voice
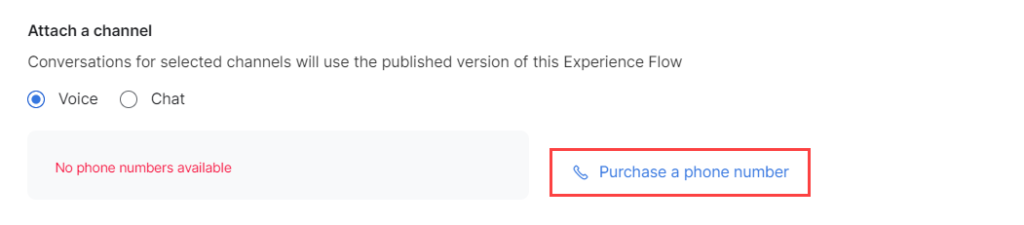
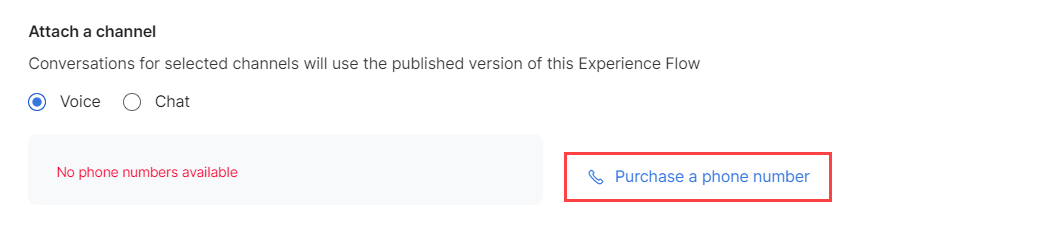
- Selecting this option displays the list of phone numbers available within your account. Select a number to map to the experience flow.
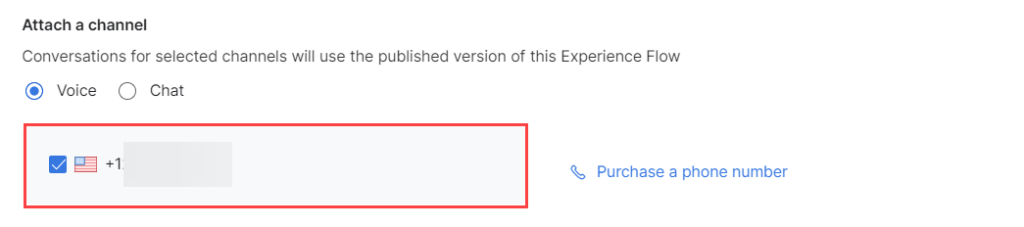
- If you have not added any number to your account, click Purchase a phone number.
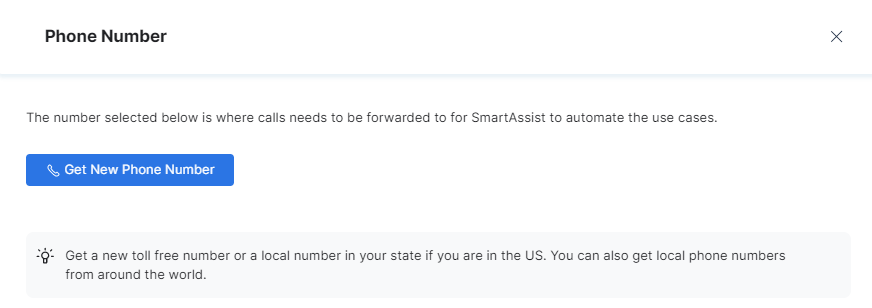
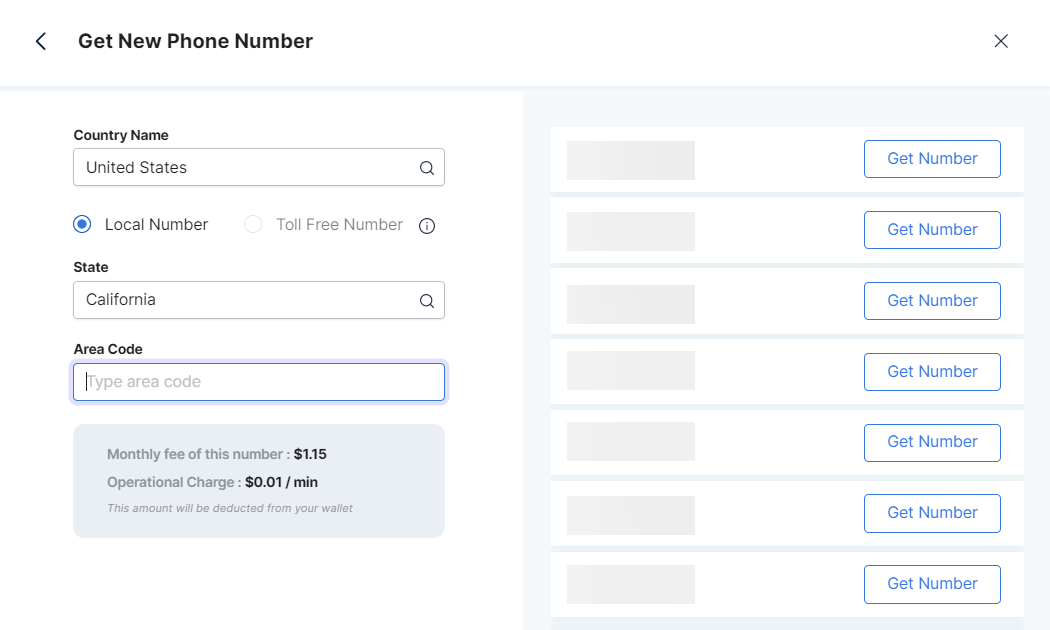
- The Phone Number window is displayed as shown below. You can configure a custom local or toll-free number by clicking Get New Phone Number:
- Select the Country.
- Select either the Local or Toll-Free Number option.
- Select the State.
- Enter the Area Code.
- Once you configure the above fields, SmartAssist will display the monthly fee and the operational charge per minute.
- The Phone Number window is displayed as shown below. You can configure a custom local or toll-free number by clicking Get New Phone Number:
- Configure an available number with the following steps:
- Click the Get Number button.
- Review the number on the Forward to Phone Number page and click Done. A success confirmation message is displayed, and the phone number is added.
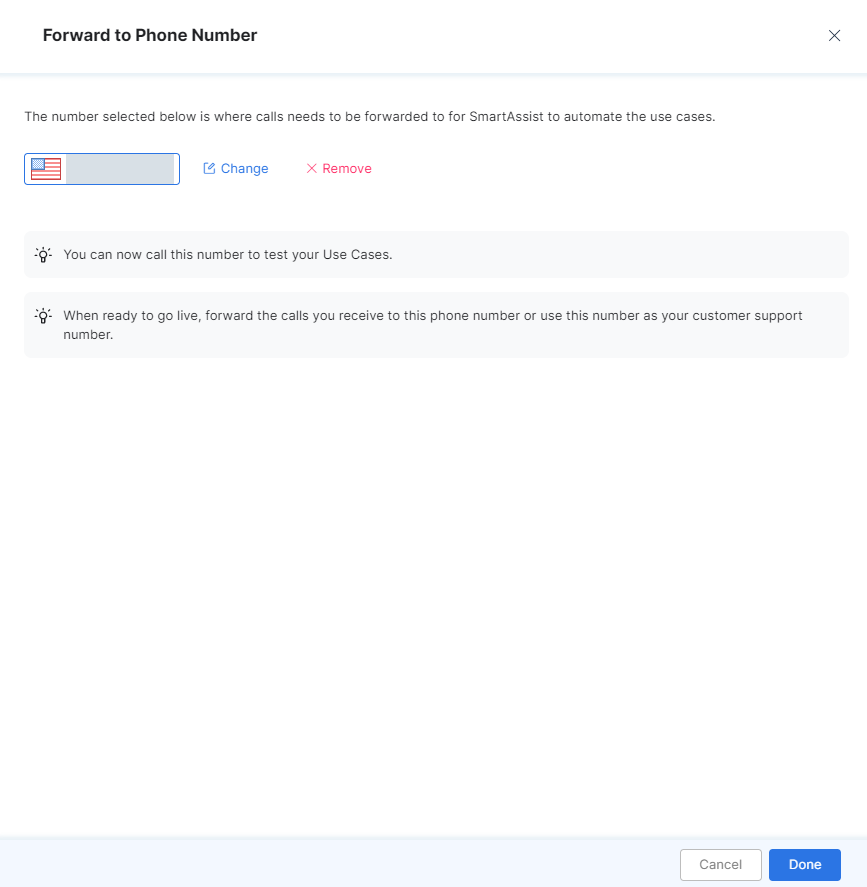
- You can now use this number to access your Experience Flow.
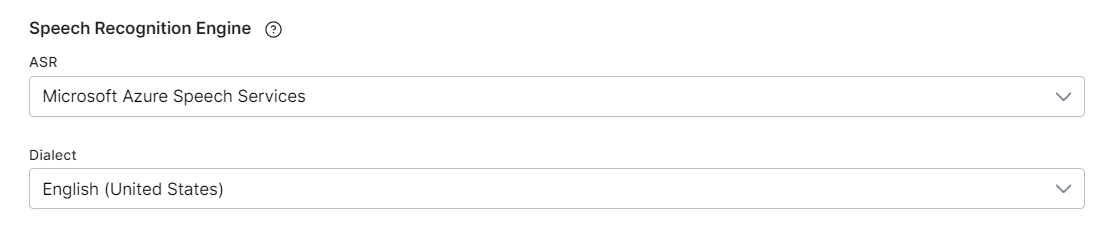
- Select an ASR Speech Recognition Engine. You can choose between
- Microsoft Azure Speech Services,
- Google Cloud Speech-to-Text,
- Amazon Transcribe.
- Select an English Dialect. This option is not available for AmiVoice.
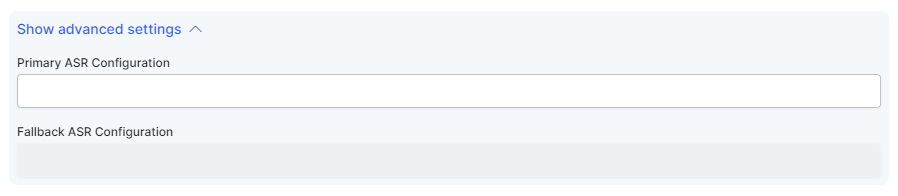
- Click the Show Advanced Settings dropdown and enter the following:
- Primary ASR Configuration
- Fallback ASR Configuration
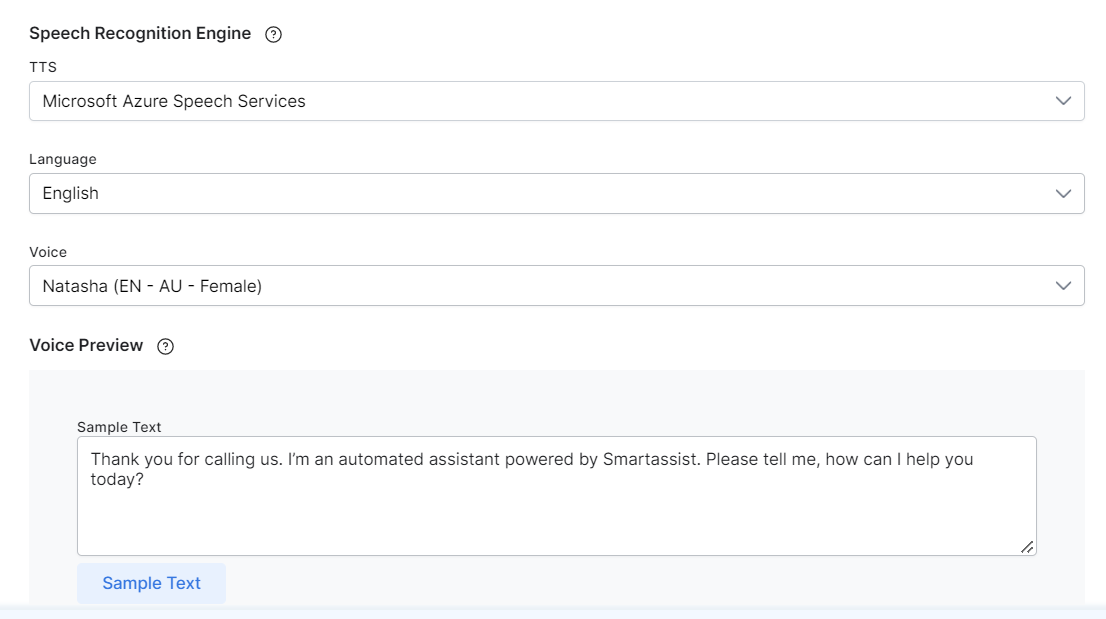
- Select a TTS Speech Recognition. You can choose between
-
- Microsoft Azure Speech Services,
- Google Cloud Text-to-Speech,
- AWS Amazon Polly,
- ElevenLabs,
- Whisper,
- PlayHT,
- Deepgram Text-to-speech.
Select a Language for text-to-speech, then select a Voice.
Add text to the Voice Preview field. Click Sample Text, then click Play to hear a preview of the voice to be implemented into your flow.
- Click the Show Advanced Settings dropdown and enter the following:
- Primary TTS Configuration
- Fallback TTS Configuration

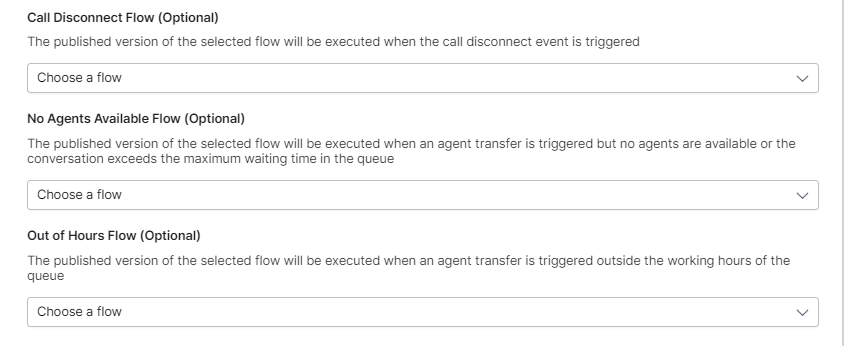
- Select a Call Disconnect Flow (Optional): The published version of the selected flow will be executed when the call disconnect event is triggered. You can either select the default Call Disconnect Flow or one that you have created yourself.
- Select a No Agents Available Flow (Optional): The published version of the selected flow will be executed when an agent transfer is triggered but no agents are available or the conversation exceeds the maximum waiting time in the queue.
- Select an Out of Hours Flow (Optional): The published version of the selected flow will be executed when an agent transfer is triggered outside the working hours of the queue.
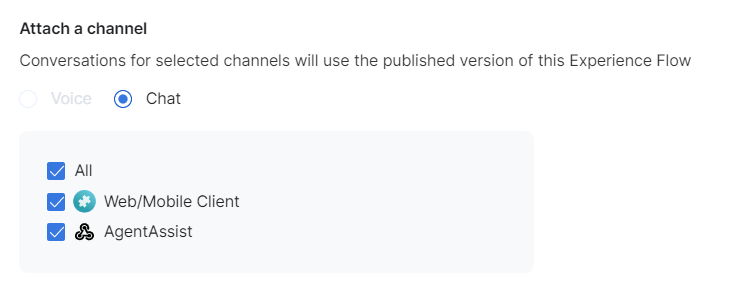
Chat
- Selecting chat will display all the chat channels configured in the channels section of SmartAssist. The options Web/Mobile Client and AgentAssist are enabled by default. The displayed values include:
- All: Selects both the Web/Mobile Client and the AgentAssist channel, as well as any other services available within your account, for the chat experience flow.
- Web/Mobile Client: The web client is the front-end component of the SmartAssist application that communicates with a server and is accessed by the end-user on a desktop or mobile device.
- AgentAssist: This channel triggers automated messages during the chat contact flow when an event occurs.
- Turning on the Advanced Settings toggle allows an unprocessed user input to be passed to the node and the specified prompt will not be played.

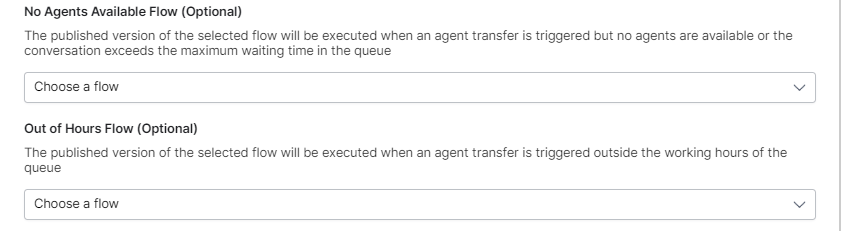
- Select a No Agents Available Flow (Optional): The published version of the selected flow will be executed when an agent transfer is triggered but no agents are available or the conversation exceeds the maximum waiting time in the queue.
- Select an Out of Hours Flow (Optional): The published version of the selected flow will be executed when an agent transfer is triggered outside the working hours of the queue.
- Click Create & Continue to Flow Design to create the new flow and continue designing it further.

- Next, you are taken to the Experience Flow Designer, where you can work on the Experience Flow itself.
Using MetaTags in Start Flows
You can use MetaTags in Start Flows to tag users, sessions, or messages at the beginning of an interaction and reuse those tags throughout the contact center lifecycle.
Note: Ensure that your flow supports Script Nodes, as you configure MetaTags using Utils APIs within a Script Node.
Add MetaTags in a Start Flow:
- Open the Start Flow in Flow Builder.
- Add a Script node at the required point in the flow (for example, immediately after flow entry).
- Use one or more of the following Utils functions:
tags.addUserLevelTag(“tagname”,”tagvalue”);
tags.addSessionLevelTag(“tagname”,”tagvalue”);
tags.addMessageLevelTag(“tagname”,”tagvalue”);
Tag Scope:
| Tag Level | Scope of Persistence |
| User-level | Persists across multiple sessions |
| Session-level | Persists for the duration of the session |
| Message-level | Applies only to the current message |
Use Tags in Downstream Flows:
| Flow Type | Tag Accessibility |
| Start Flow | Tags can be set |
| Automation Flow | Tags are accessible |
| Conditional Flow | Tags are accessible |
| Exit Flow | Tags are accessible |
The Call Disconnect Flow
To create a Call Disconnect Flow, click Create and Continue to Flow Design. You will be taken to the Experience Flow Designer, where you can continue working on your flow.
Navigate the Experience Flow Designer
Once you reach the Experience Flow Designer, you can use the canvas and nodes to create your experience flow. The visual guide below shows you an overview of the tools you will be working with.
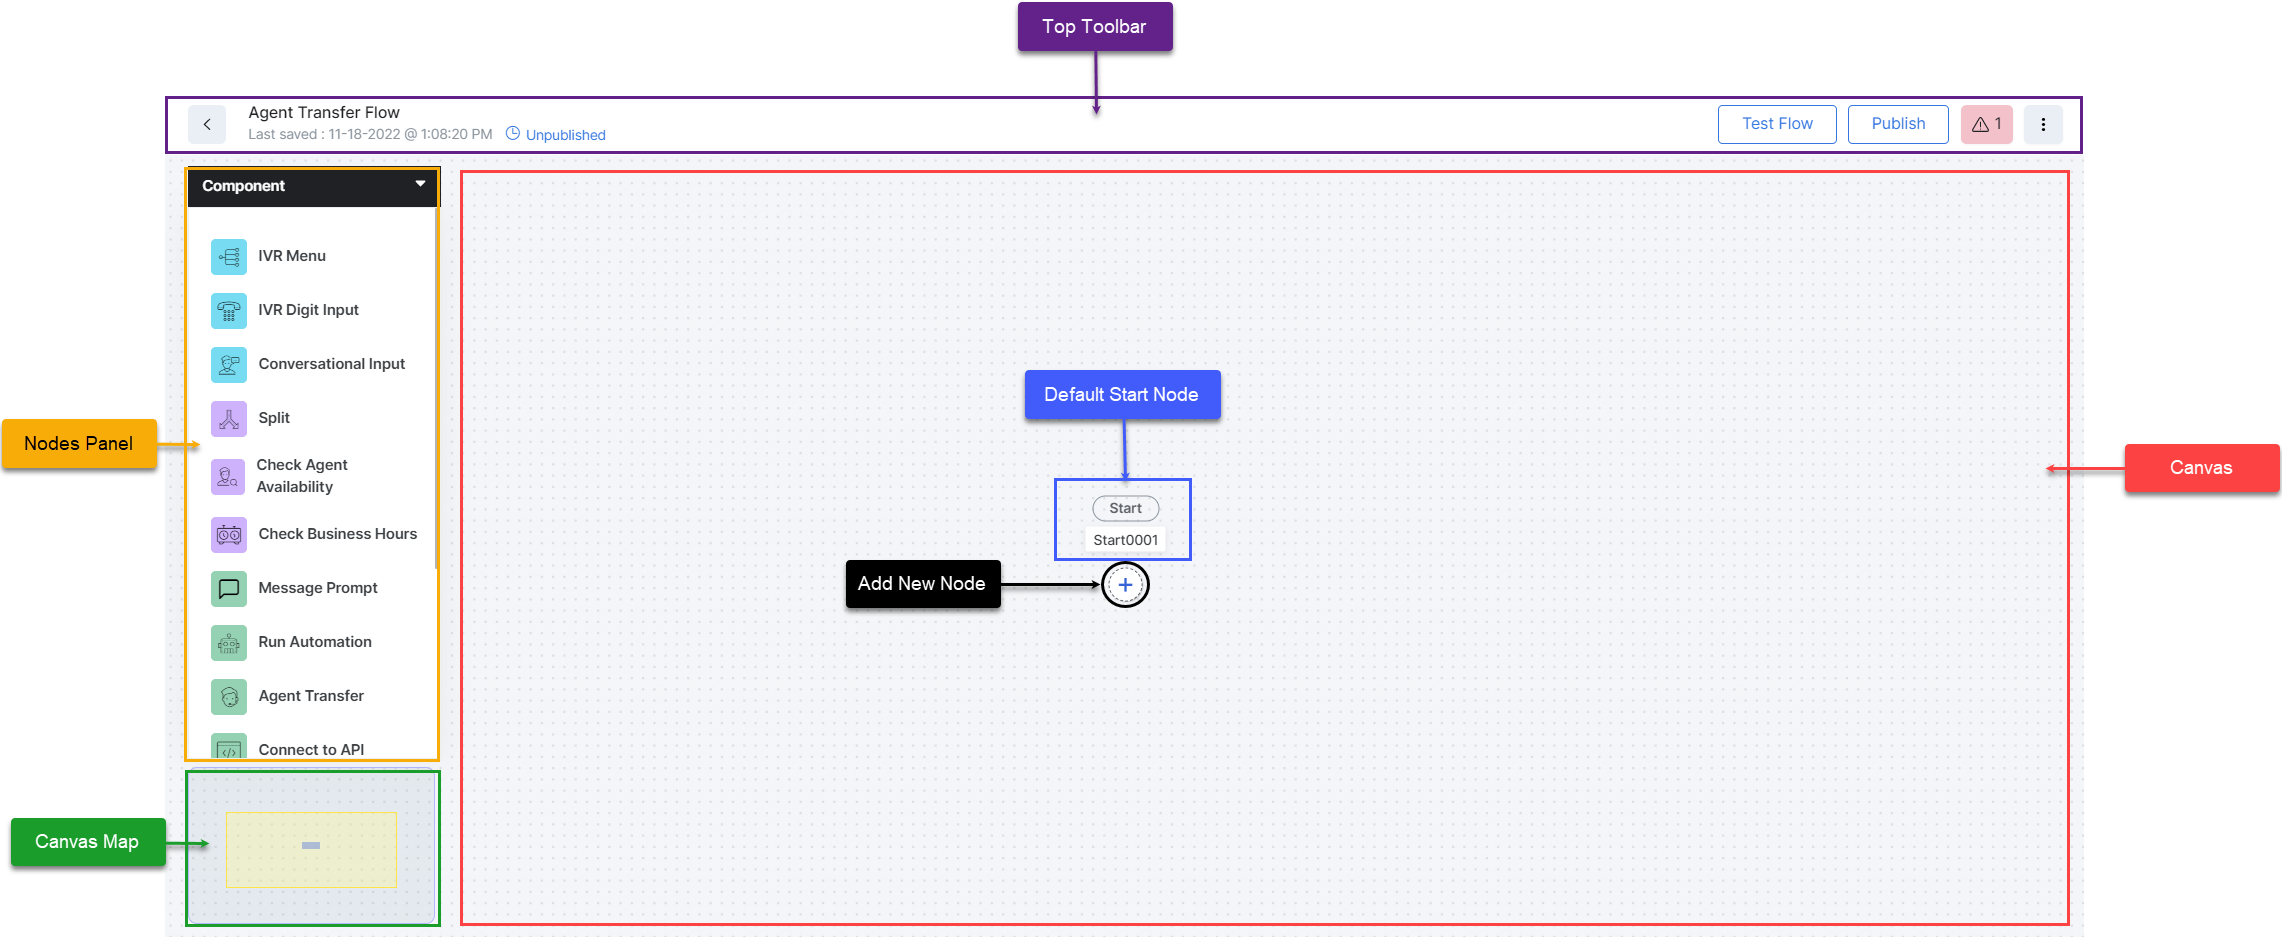
For a detailed navigation guide, please see Navigate the Experience Flow Designer.
Publish a Flow
On publishing the Experience Flow, it becomes available to end-users.
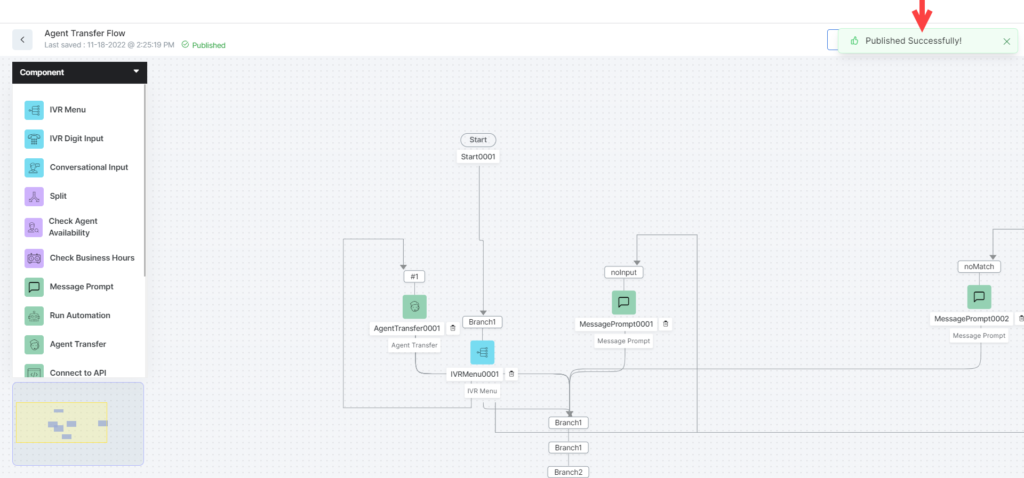
To publish your flow, follow these steps:
- Click Publish on the upper-right side of the window.
- The following pop-up is displayed.

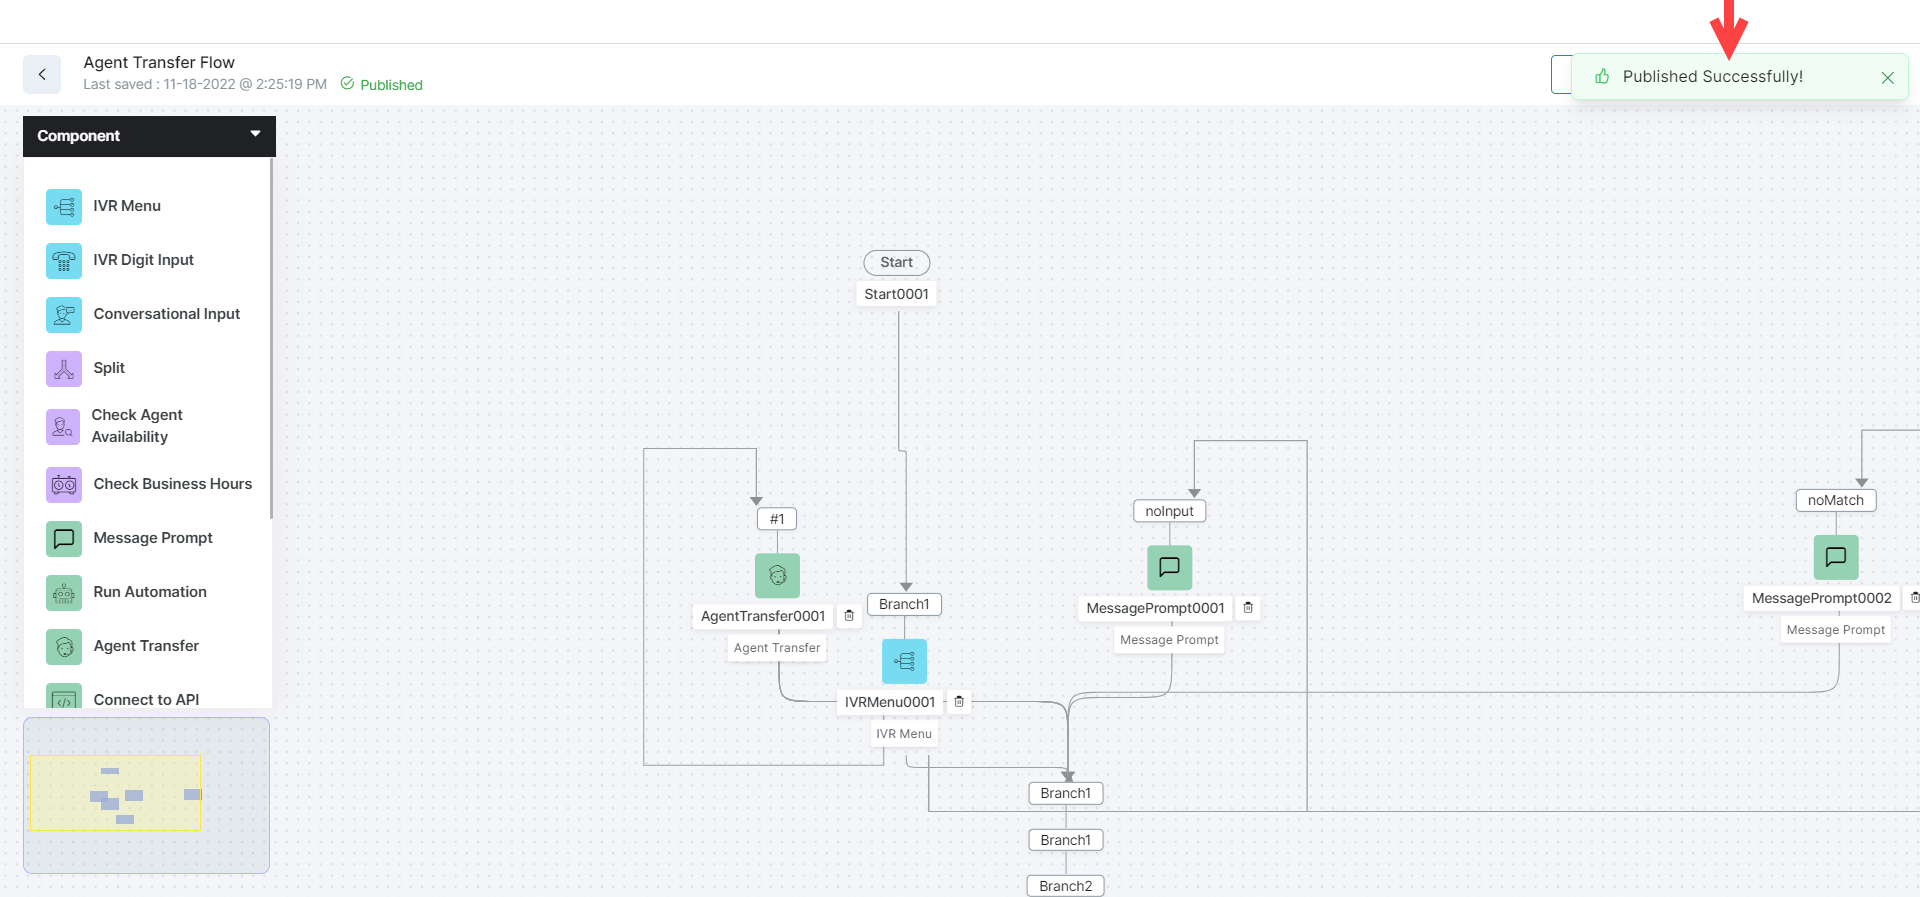
- Enter comments and click Yes, Publish. A success message is displayed when the publication is done.
Note: If there are existing issues with your flow, you will not be allowed to publish. Please check the Errors and resolve them to be able to publish your flow. 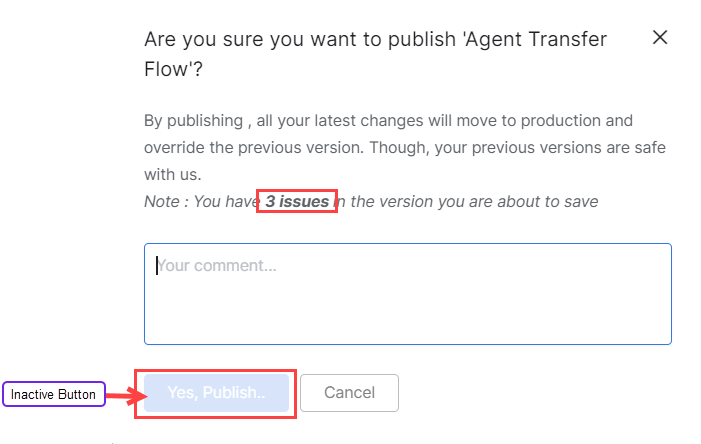
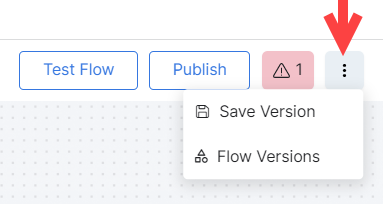
Flow Versioning
To access the versioning options, click the ellipses next to the Errors area. The options Save Version and Flow Versions are listed.
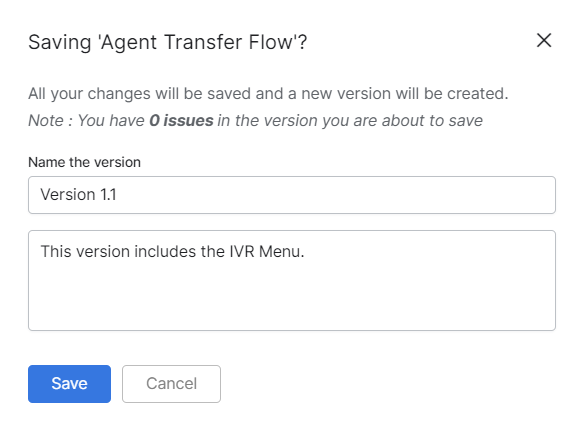
Save Flow Versions
Click Save Version, and a pop-up window is displayed, where you can enter the name of the version, add comments, and click Save. The version is then saved.
Restore a Previous Flow Version
To restore a previous version of your Experience Flow, follow these steps:
- Click Flow Versions to access a list of all the available versions of the flow.
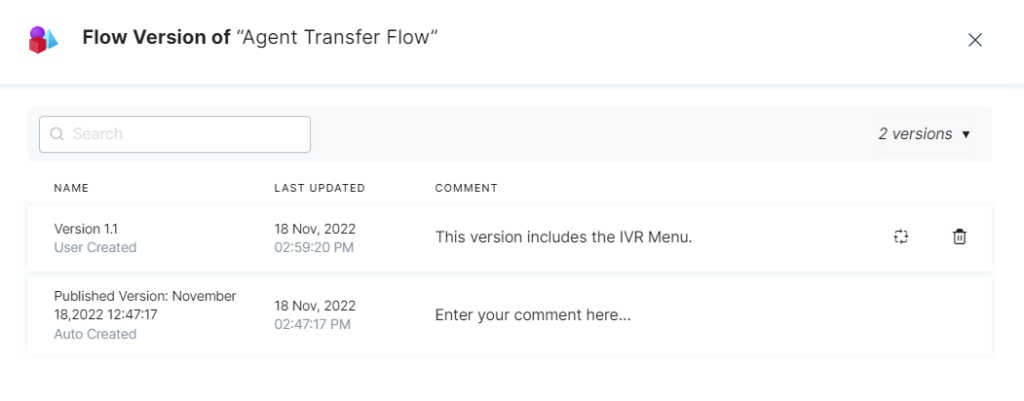
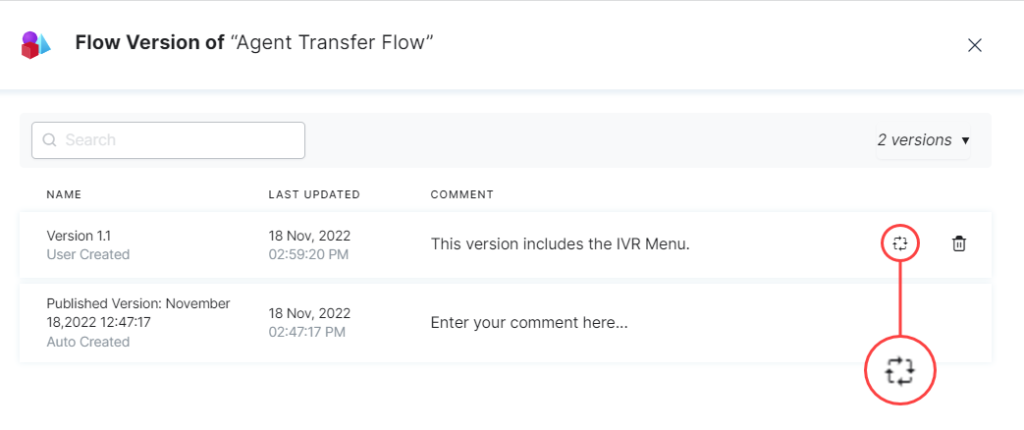
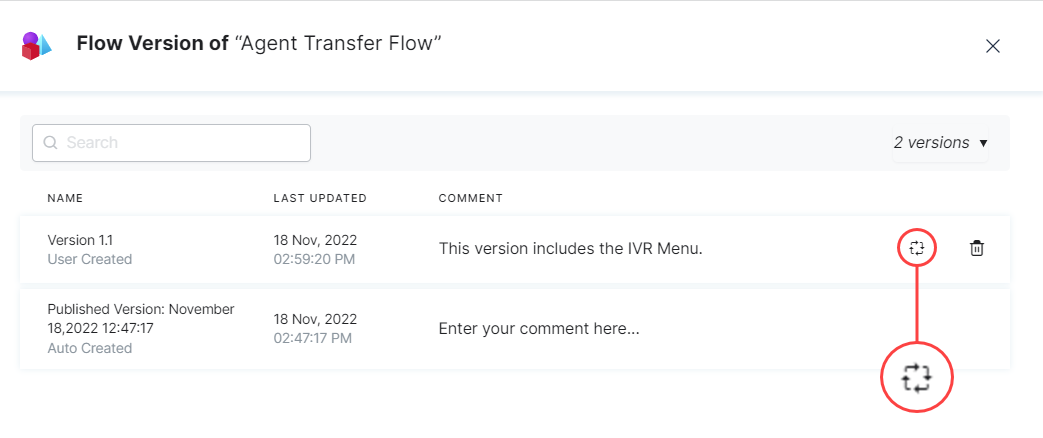
- To restore a version, click the Restore icon that appears across each version when hovering your cursor over it.
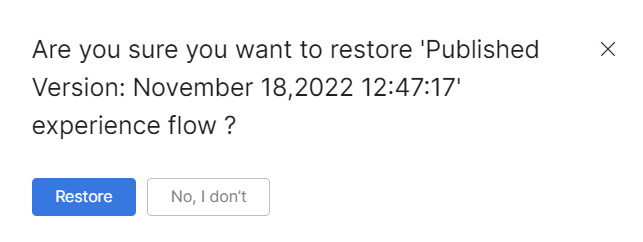
- The following confirmation pop-up is displayed. Click the Restore button.
- The flow is successfully restored and reverts to the Unpublished state.
Note: Once you restore the flow, test it to check if all the required criteria are met.

Delete a Flow Version
If required, you can delete the flow versions using the Delete icon.
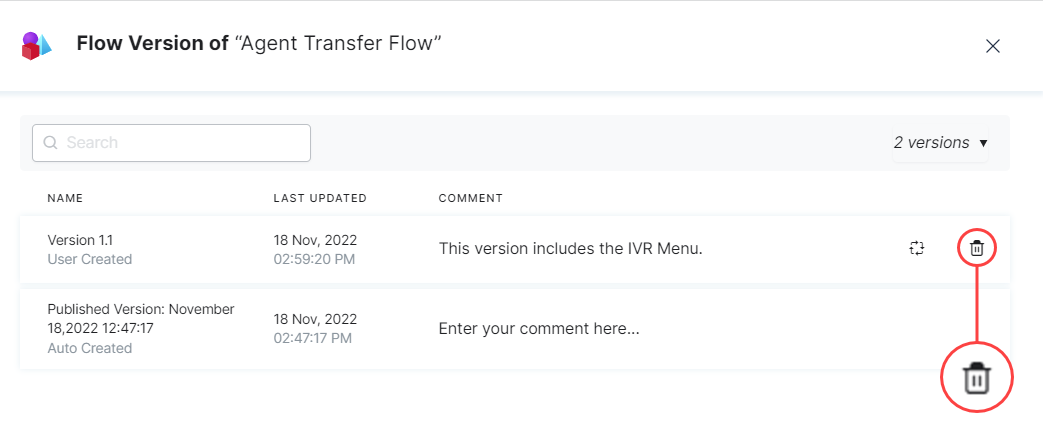
| Caution: You cannot restore deleted versions. Please proceed with caution. |