
SmartAssist provides access to reports using secured APIs. API setup helps to manage your apps and the APIs they can work with. Customers who do not want to use the existing reports can use APIs.
Authentication of the API requests
Authentication of the API requests involves the following two steps:
- Creating an App: As a part of creating the app, you need to select the API scopes for the App, which allows you to provide access to only the selected APIs to the app.
- Associate API Scopes to an App: To allow a client application to access the API scopes, you need to associate the client app with the SmartAssist Report APIs.
Additionally, you can secure the connections with the platform by the following methods:
- Enforce JTI Claim – Once enabled, the platform would accept the requests only from calls with the JTI Claim in the requests and those without JTI Claim would be rejected
- Enforce JWE Encryption – Generating JWT token. To access SmartAssit’s public APIs, the application making the API request requires authentication. SmartAssist uses the JWT (JSON Web Token) mechanism to handle the authentication. For a quick overview of the JWT token, read Introduction to JWT tokens.
Use the Client ID and Client Secret of the client app from above to generate a JWT token. This token needs to be passed as a part of each API request for authorization.
Setting up credentials for API
To set up credentials for API:
- Navigate to the SmartAssist Configurations tab.
- On the left pane, under System Setup, click API Setup.
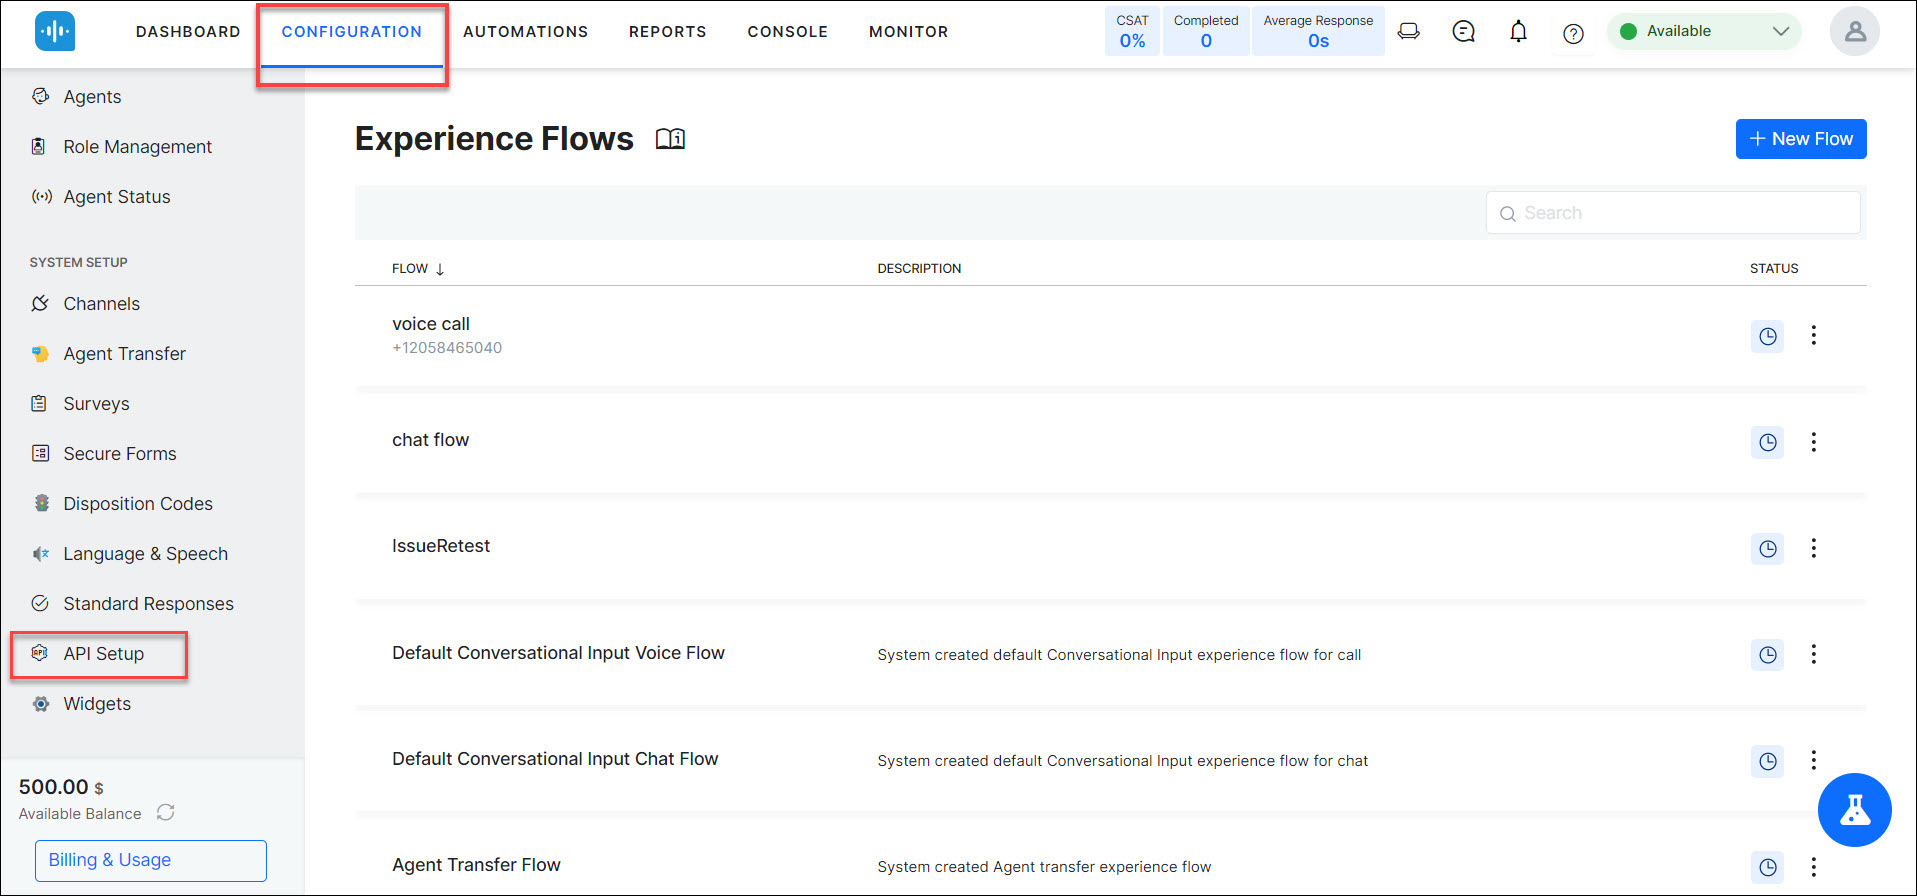
- Click Create App.

- Enter a name for the app in the App name field.
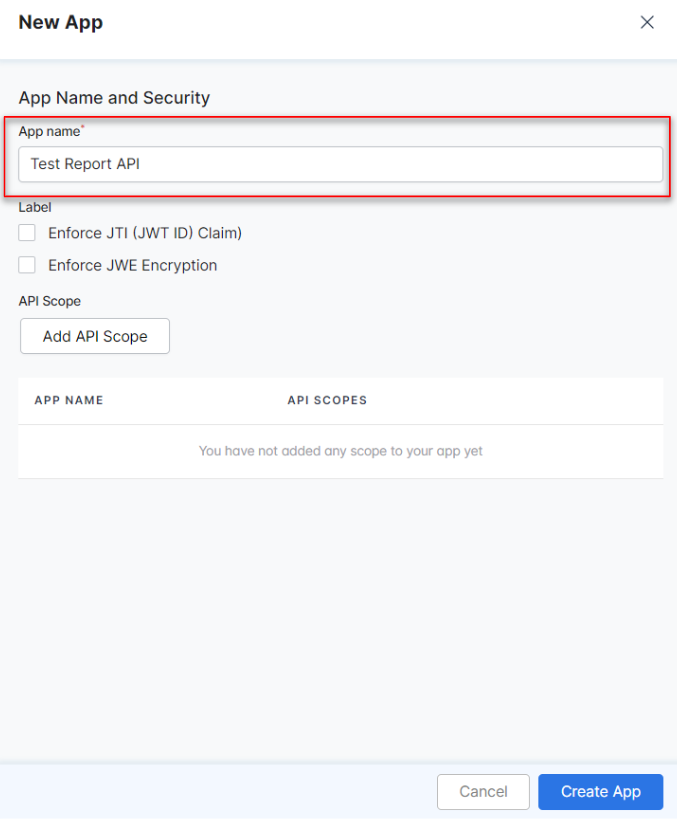
- Click Add API Scope.
- Select the scope SmartAssist Analytics from the list.
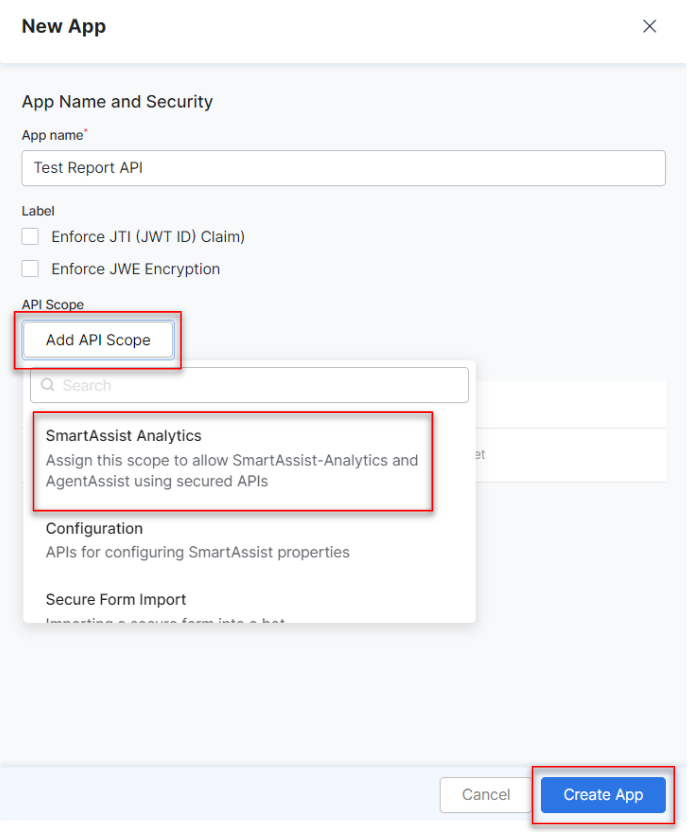
- Click Create App. On the top right of the screen, a notification appears ‘App added successfully’.
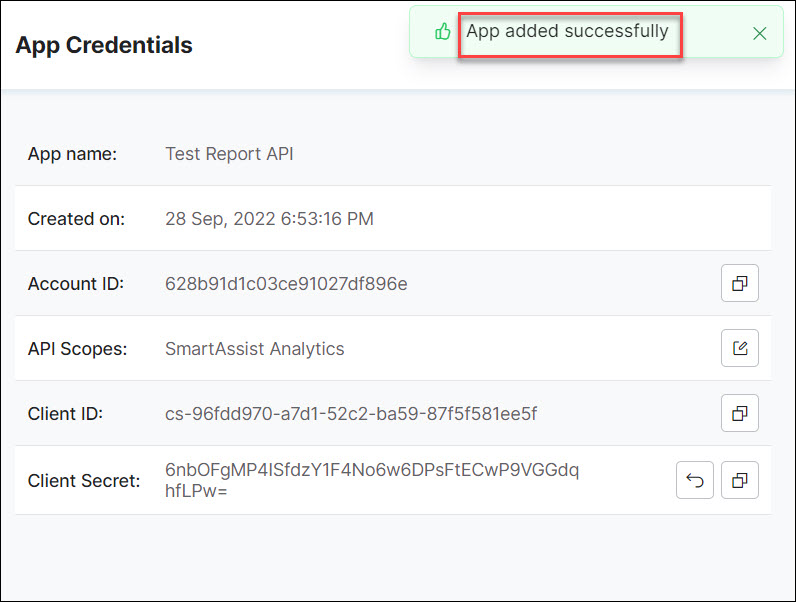
- Click the App name or App Scope to see the credentials (same as shown in the above screenshot).
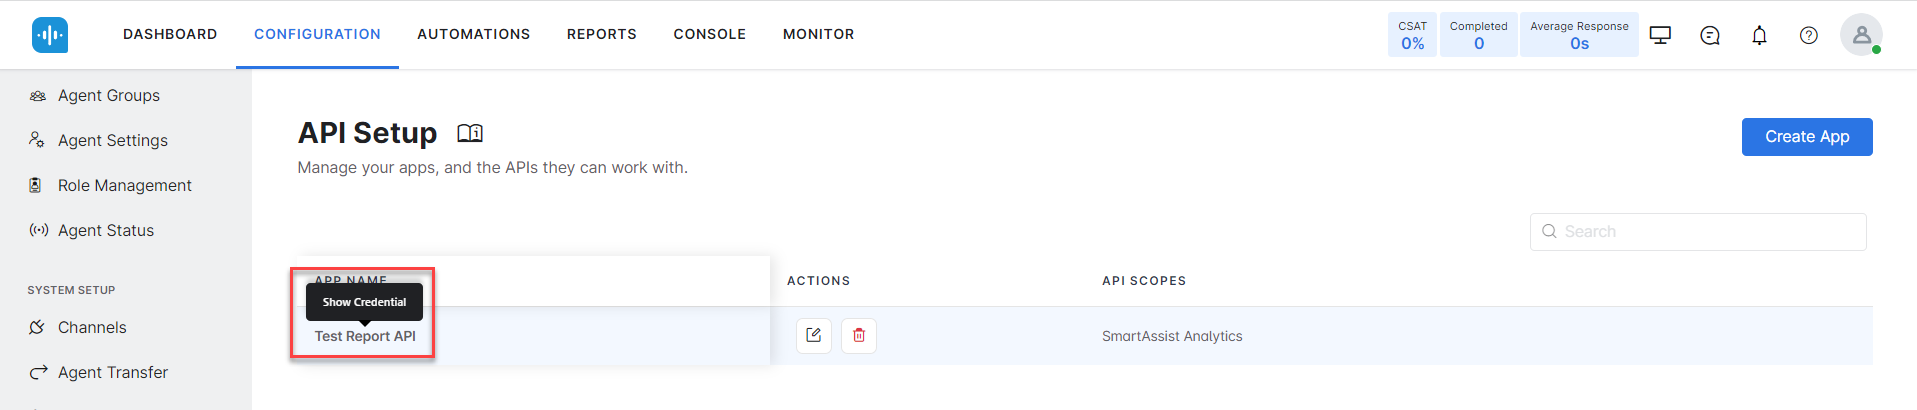
Note: Copy the App Credentials as these are required for generating a JWT token.
Generating a JWT token
Once you have associated the API scopes with a client app, you need to generate the JWT token for API requests.
To generate JWT token:
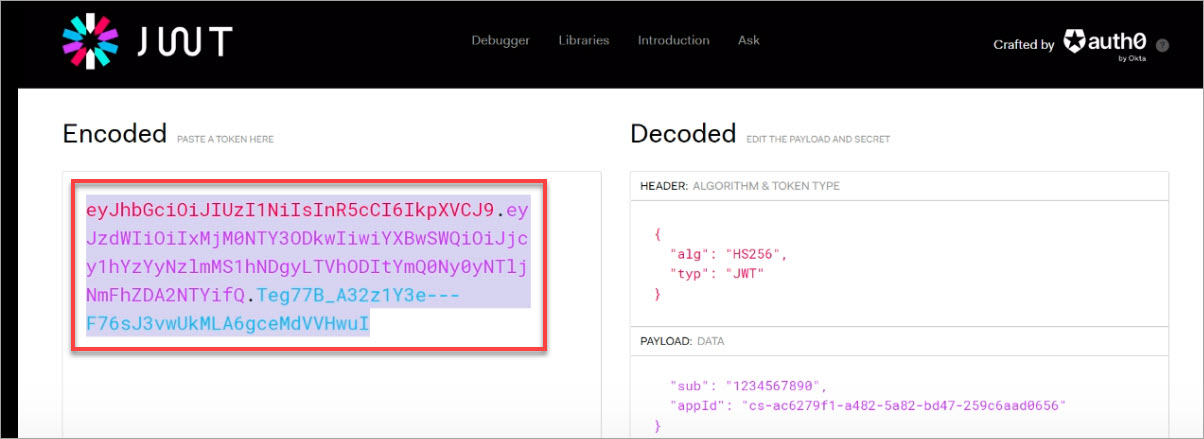
- Visit www.jwt.io.
- In the Algorithm drop-down list, select HS256.
- Scroll down to the Decoded section, and update the Payload and the Secret. Replace the content of the Payload field with the code block shown below, and add the client ID of the app copied in the previous section.
{
"sub": "1234567890",
"appId": "add-client-ID-here"
}
- On the webpage, under Verify Signature, replace the signature with Client Secret.
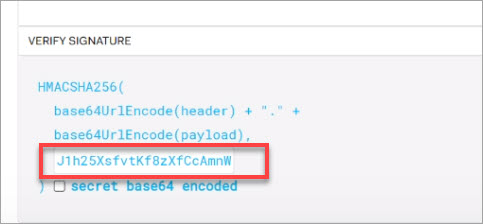
- The token is generated as shown below and is ready to be used when calling the APIs.
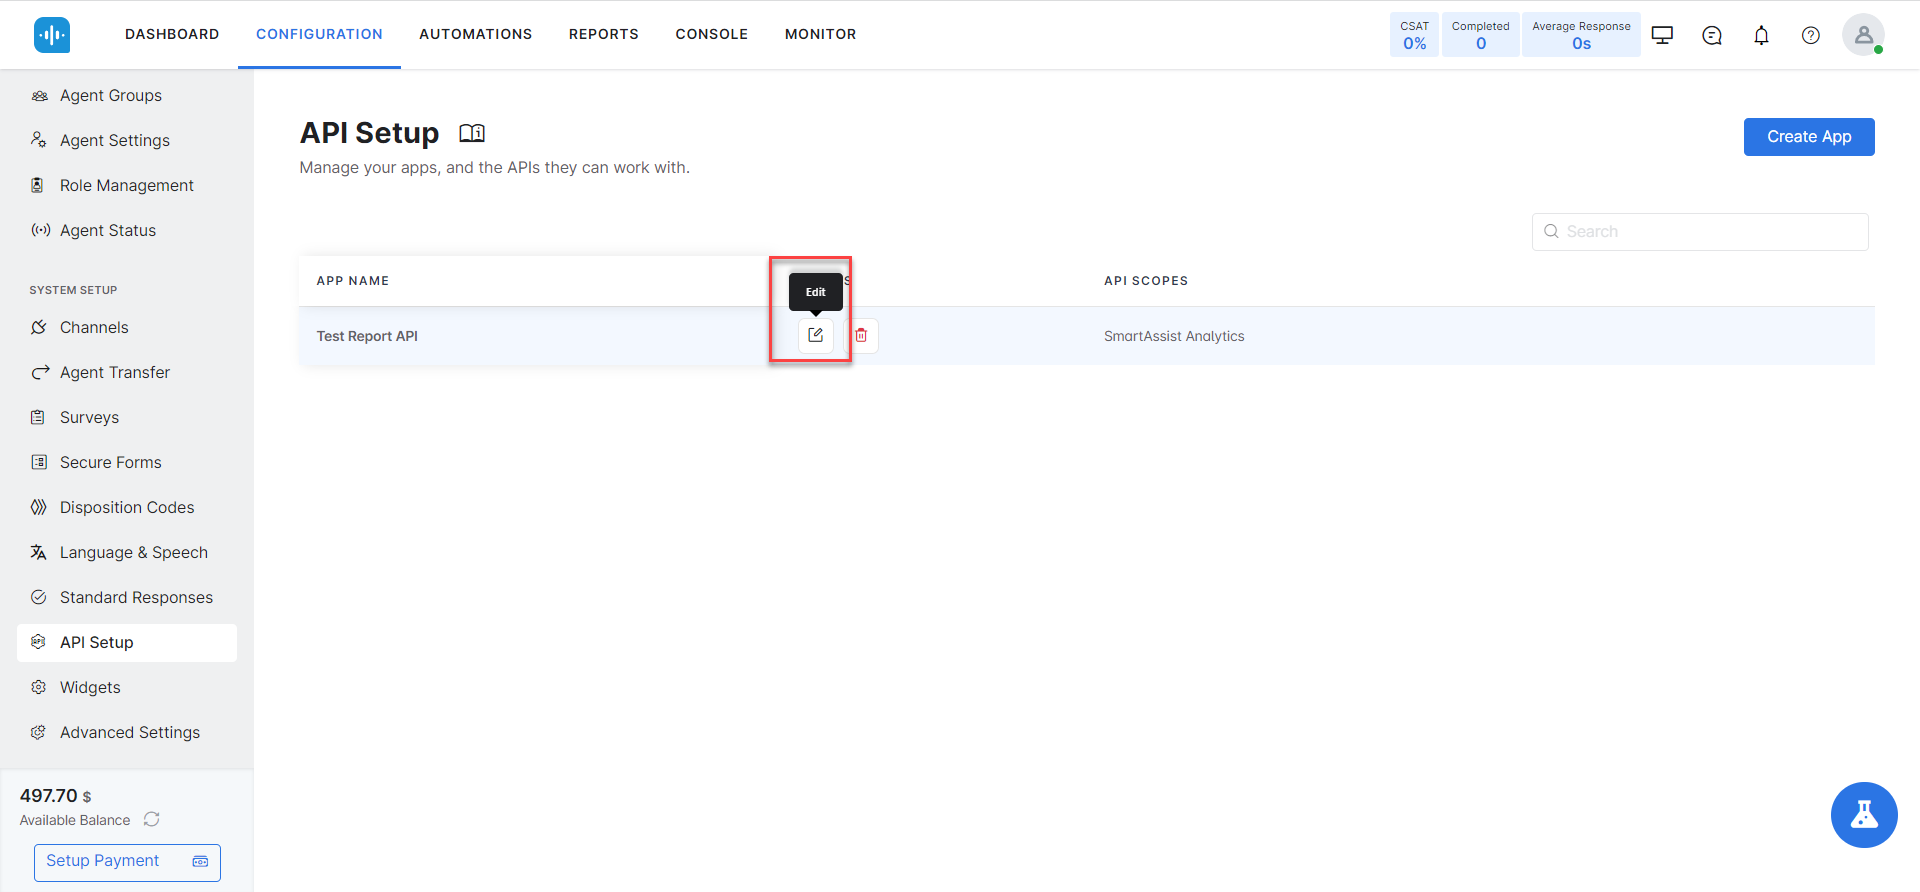
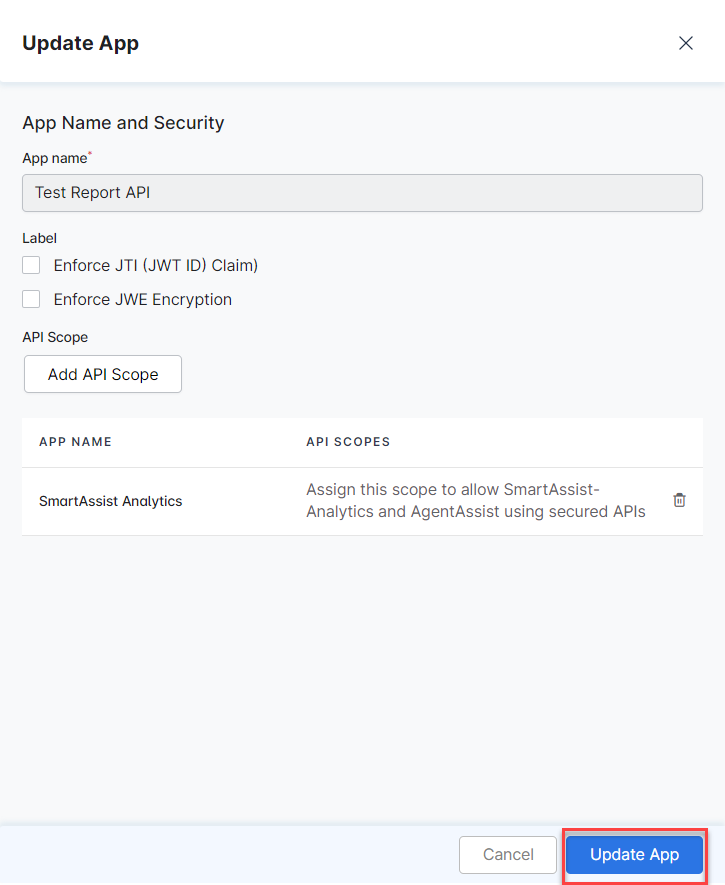
Edit App
To edit the App:
- Click the Edit icon.
- Change or update the required details.
- Click Update App.
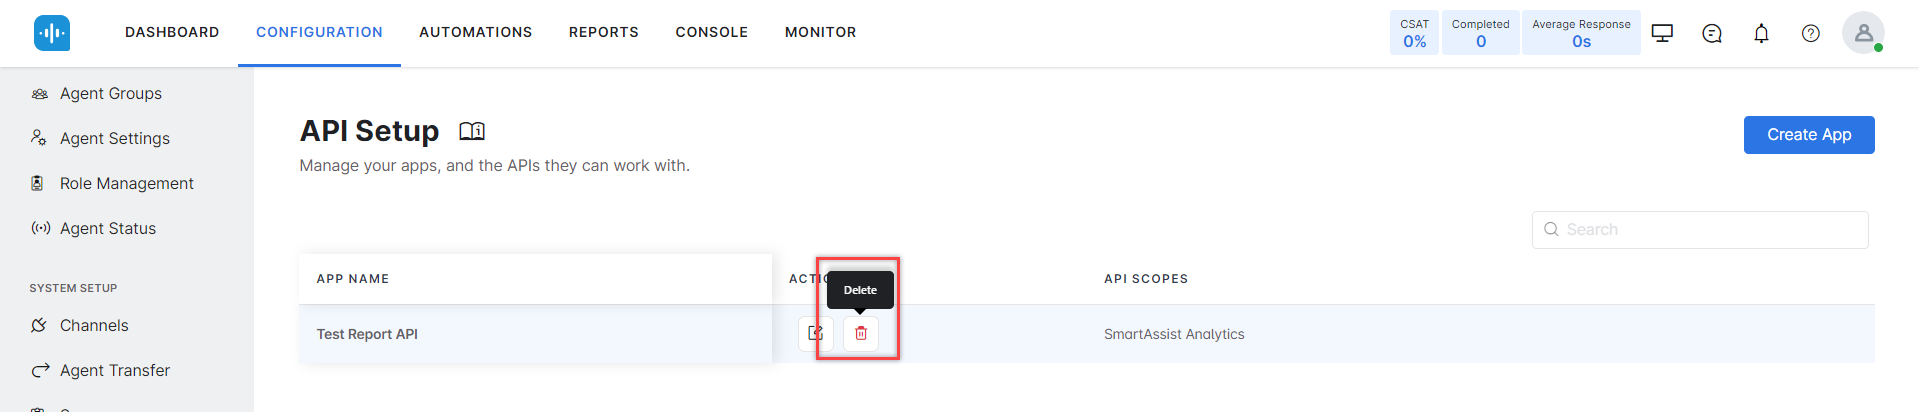
Delete App
To delete the App:
- Click the Delete icon.
- A pop-up appears. Click Confirm.
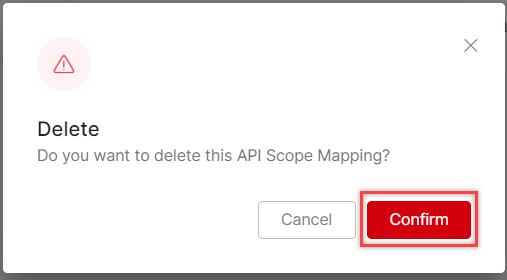
- A confirmation pop-up appears.

- Type DELETE and click Confirm to delete the App.

- On the top right of the screen, a notification appears ‘App deleted successfully’.

Calling the APIs
For calling the APIs you need the following details:
- Account ID
- ClientID
- Client Secret
- JWT access token
The user can query or get information from an external system by defining the service request that includes defining the APIs and passing the parameters.
Bot details API
API Name: IntentRealtimeData
API Description: This API is used to get the most recent conversational data for the given BotID. For example, it should only get the latest 25-session data for the given BotID that completed the execution of the flow.
To use this API, the app needs the hostname, Bot ID and JWT access token. The API must be invoked through the JWT token in the header.
The syntax to get the data is:
https://{{host}}/api/public/bot/{{BotID}}/intentrealtimedata
|
The bot environment URL, for example, is, https://bots.kore.ai. Bot ID or Stream ID of the bot to import into. You can access it from the General Settings page of the bot. In the auth header, auth will be the JWT access token.
UserStatus metric API
API Name: UserStatus
API Description: This API shows the status (available, busy, away, etc.) of every agent for each bucket in the given time interval.
To use this API, the app needs the hostname, account ID, and JWT access token. The API must be invoked through the JWT token in the header.
The syntax to get the data is:
https://{{host}}/agentassist/api/public/analytics/account/{{accountID}}/userstatus
|
The bot environment URL, for example, is, https://bots.kore.ai. Account ID can be found on the page where the app is created, under the app credentials. In the auth header, auth will be the JWT access token.