This node enables you to split incoming queries based on specific conditions to reduce inbound traffic. These conditions use context variables that define the scope of usage in the dialog task and intent transition conditions.
The syntax for defining a context variable is:
context.contextvariable.<< context variable name >>
For example, intent is a context variable that defines the customer’s intent for a dialog. This variable can be defined in the condition as:
context.intent.<< intent name >>
Context variables are managed via the Kore.ai XO Platform. Learn more about the Context Object.
To configure the Split node, follow these steps:
General Settings
Click the General Settings icon and set up the following conditions:
- Provide a Custom Name by which you can identify the node later.
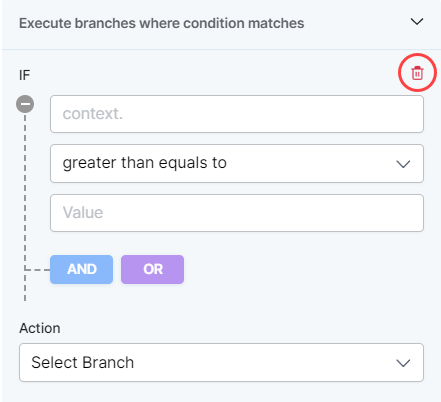
- Under Execute those branches where condition matches, define the IF/ELSE-IF/ELSE conditions using context variables and the AND/OR operator.
- IF – Directs the flow on a specific path if specific criteria are met.
- ELSE-IF – This condition allows you to configure another set of criteria to be met by the flow when the criteria in the initial If condition is not met.
- ELSE – Directs the flow on a specific path if the set criteria are not met
- Under the first Action dropdown, select the Branch Name in the dropdown to route the logic to this branch if the conditions above are met.
- Click Add ELSE-IF to add another set of criteria to be met if the previous ones are not.
- Under the second Action dropdown, select the branch name corresponding to the ELSE condition. The flow will route to this branch if the IF/ELSE-IF criteria are not met.
| Note: Condition setup in SmartAssist is similar to the XO Platform process, which you can learn more about by reading Adding IF-Else Conditions to Node Connections. |
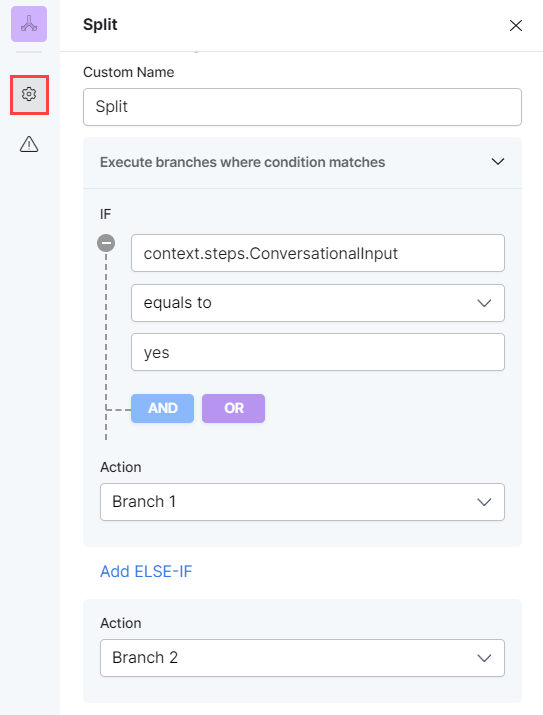
The syntax used in the example screenshot above is:
context.steps.ConversationInput
IF the value is “yes”, the action is Go to Branch 1.
If not (else) Go to Branch 2.
You can delete a condition by clicking on the Delete (bin) icon next to it.
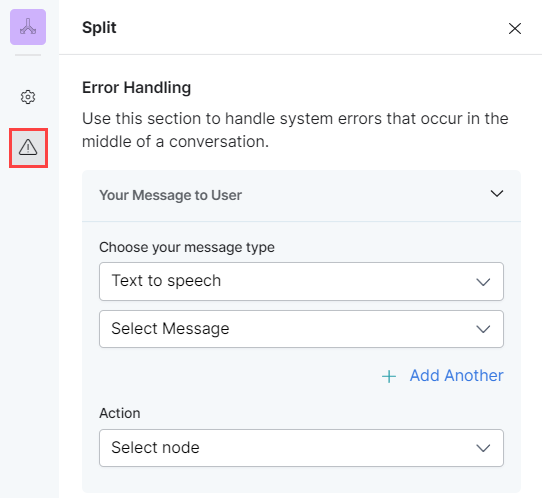
Error Handling
Use this section to handle system errors during customer interactions.
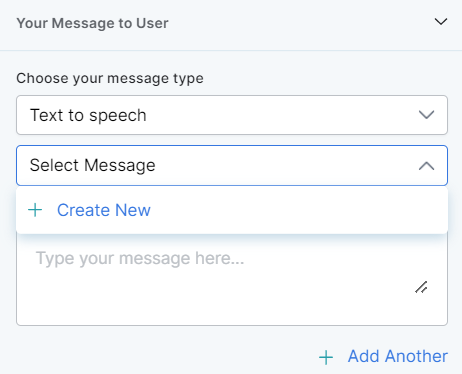
- Your Message to User: The message that will be played or displayed to the customer. Select one of the following options from under Choose your message type:
- Text to speech: This option allows you to transcribe text to speech. Type the text to be transcribed in the textbox or select an already configured message.
- Create a new prompt message to be played out for the Text to Speech message type by clicking + Create New. Enter a name for your message, type its contents and select the language.
- Define multiple message types for the prompt message to be played to the customer by clicking + Add Another. In this case, one message will be randomly selected and played during runtime.
- Text to speech: This option allows you to transcribe text to speech. Type the text to be transcribed in the textbox or select an already configured message.
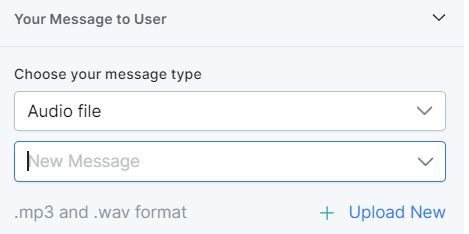
- Audio File: You can type a new message to be played to the customer in the text field or click + Upload New to upload an audio file (.mp3 or .wav format) with the message to be played.
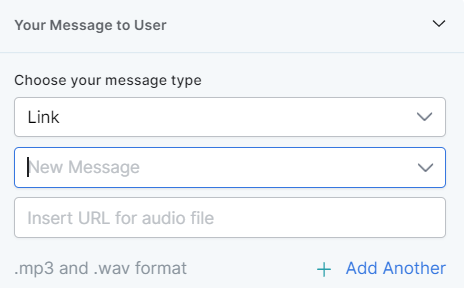
- Link: Click + Create New to add the text of the message you want to play to the customer and insert the URL of an audio file in .mp3 or .wav format. Click + Add Another to add another message URL.
- Action: Select the node to which you want to direct the error handling flow and define the system behavior. Either select a node type to create the node or identify and select an existing node.