
The Experience Flow Designer canvas lets you configure nodes that represent various components of the experience flow.
The Start node is the starting point of any flow and is available by default. You can drag and drop the Start node (as well as any other nodes) anywhere on the canvas.
Available Node Types
| Channel | Node | Description |
|---|---|---|
| Voice | IVR Menu | Allows you to add IVR menu options which callers can choose from by pressing a key on their phone. |
| Voice | IVR Digit Input | Use this node to ask for digit input from callers – for example, a phone number or the last four digits of their credit card. |
| Voice | Deflect to Chat | This node transfers the current conversation from the voice to the chat channel by providing the customer with a link to connect and interact with an agent. |
| Voice Chat |
Conversational Input | Lets you link Experience Flows to XO Platform bots to automate query handling. |
| Voice Chat |
Split | Use this node to split inbound queries based on specific conditions. |
| Voice Chat |
Check Agent Availability | This node lets you check agent availability based on skillset and decide the next node based on agent availability. Note: This is an experimental node and may be deprecated in future versions of SmartAssist. |
| Voice Chat |
Check Business Hours | Allows you to select the working hours and decide the next node depending on whether the query is received within or outside these working hours. |
| Voice Chat |
Message Prompt | Use this node to provide messages to customers who contact you via voice or chat. |
| Voice Chat |
Run Automation | This node is a subset of the conversation input node and helps run a specific dialog that you have built within your XO Platform Bot. |
| Voice Chat |
Agent Transfer | This node allows you to explicitly transfer control from an existing contact flow to a live agent based on triggers. |
| Voice Chat |
Connect to API | This node lets you make synchronous or asynchronous requests using SOAP or REST API calls. |
| Voice Chat |
Go To Flow | This node helps navigate from a parent to a target flow that is already built within SmartAssist to cover a specific part of the customer interaction. |
| Voice Chat |
Script Task | This node allows you to define a script for processing any context variables or other variables used within the experience flow. |
| Voice Chat |
Set Queue | Use this node to define/modify Queue settings, default messages, and behavior. |
| Voice Chat |
End Flow | This node allows you to define what message will be played to the customer when the flow ends. |
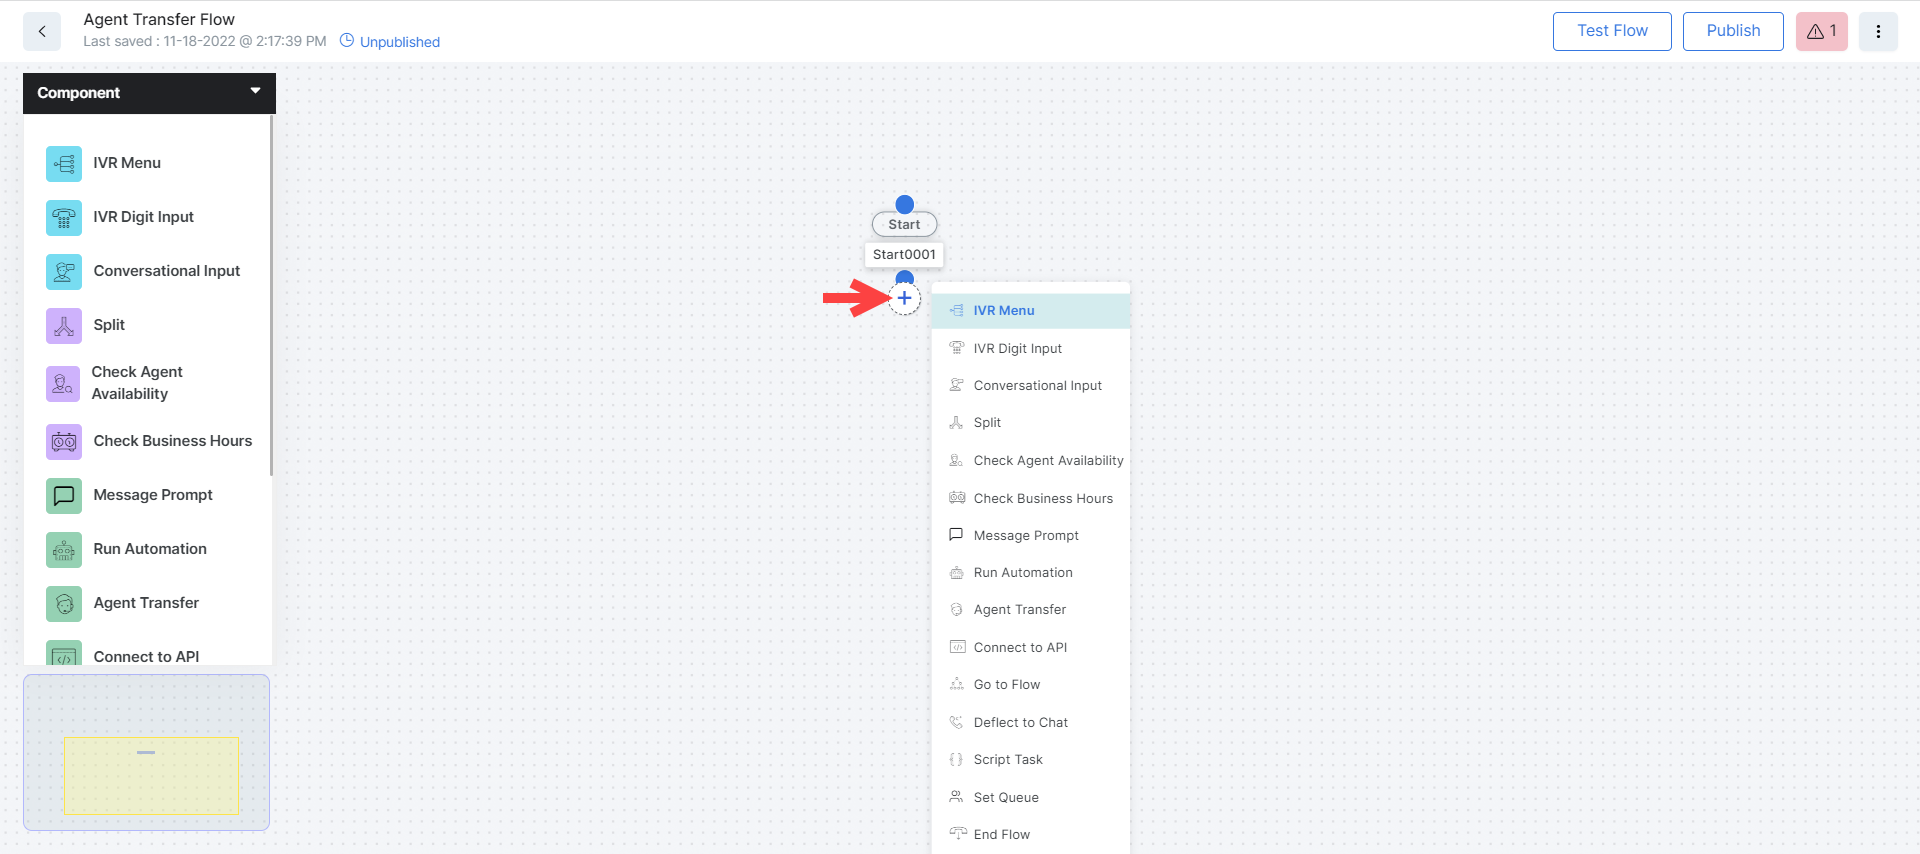
Add Nodes
Method 1: Click the “+” icon and select a node from the pop-up menu.
Method 2: Drag nodes from within the Nodes Panel onto the Canvas, as shown in the demo below:
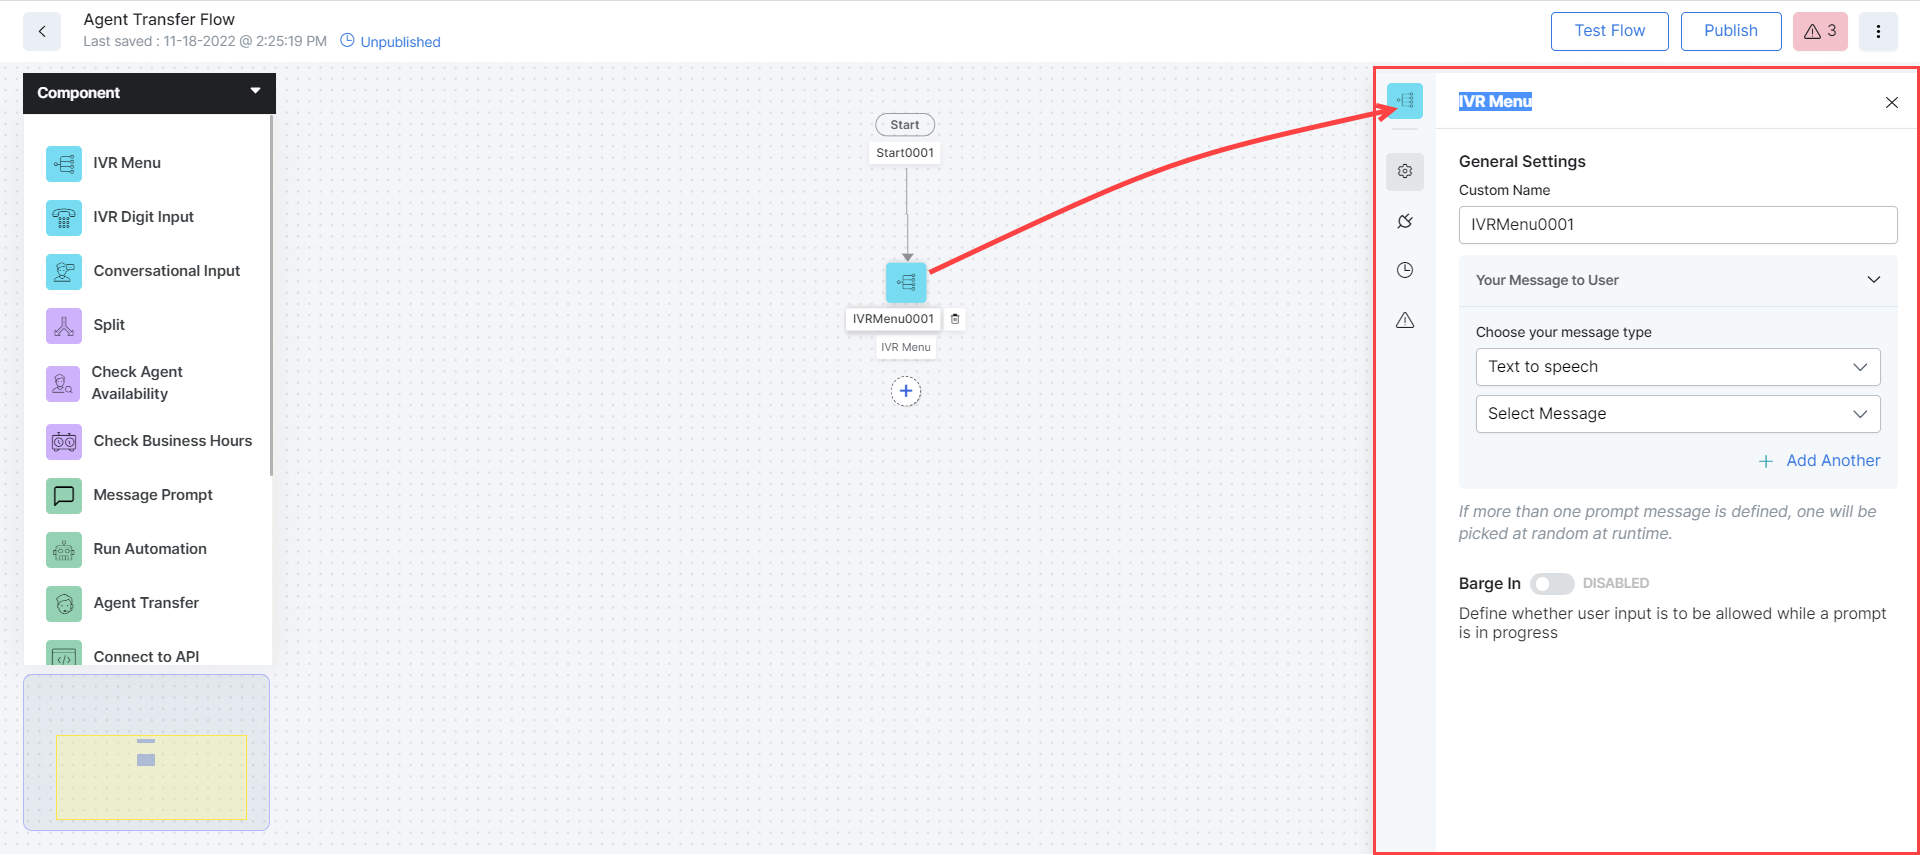
Configure Nodes
To configure any node added to your canvas, click the node. The configuration panel opens.
Rearrange Nodes
To rearrange nodes on your canvas, simply drag and drop them to the desired location.
| Note: Only the node that you are dragging will change position. Any connecting nodes will remain in place, regardless of the direction of their connection. |

Connect Nodes
Node connections are either made within the configuration of each node or by dragging and dropping the nodes on the canvas. The steps are the following:
- Hover over the node from which you want the connection to start.
- Click the blue dot that displays underneath the node on hover.
- Next, drag your cursor over the blue dot displayed on top of the connecting node and release.
- A line should now be drawn between the nodes, with an arrow indicating the direction of the node connection.
- You can change the destination node by clicking the blue dot on top of the initial destination node, then dragging the connection line to the blue dot on top of the new destination node.
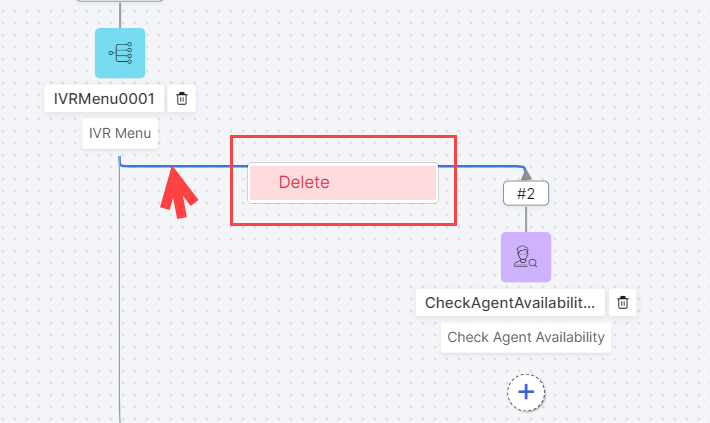
Delete Node Connections
To delete node connections, hover over the line connecting two nodes until a Delete button is displayed. Click the Delete button to delete the connection. The nodes remain on the canvas but will not be connected to each other anymore. To ensure a working flow, you must create another connection between the nodes or remove any unnecessary nodes. See the Delete Nodes section below for details.
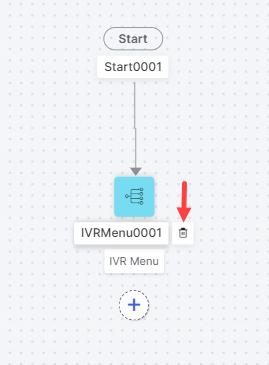
Delete Nodes
To delete a node, click the Delete (bin) icon next to it.
Notes:
|