
Email is a communication channel through which customers can send inquiries, feedback, or requests via email to the customer service team for resolution or assistance. It allows for asynchronous communication, maintaining a record of interactions, and efficiently handling customer inquiries.
The email channel offers the following functionalities:
- Threaded email structure
- Collapsible email tiles
- Distribution to multiple recipients
- Standard Responses
- Attachments
- Drafts. Learn more.
You can use the Kore.ai Email domain or create your Custom Email Domain to configure your email addresses.
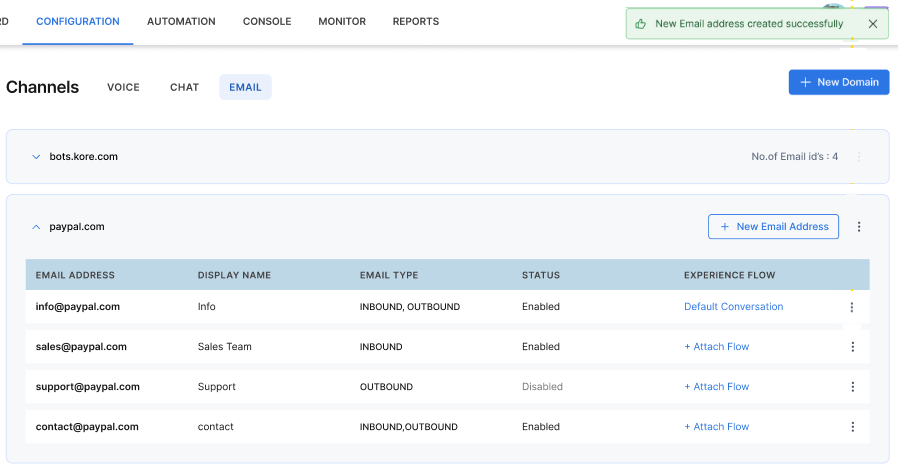
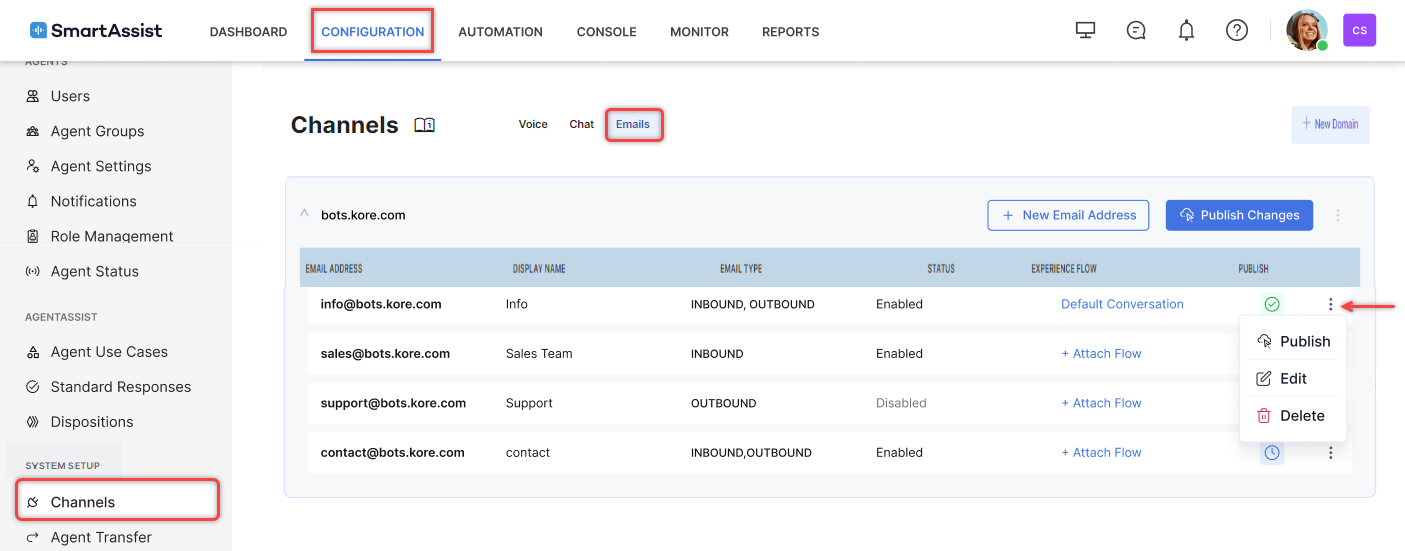
To configure the email domains, go to CONFIGURATION > SYSTEM SETUP> Channels > EMAIL.

Kore.ai Email Domain
Contact centers need to enable forwarding to the email address configured in the SmartAssist system. This ensures that any email received by the contact center from its end customer is automatically forwarded to the SmartAssist domain. The SmartAssist domain is linked to the experience flow, allowing seamless integration and management of customer inquiries.
With the capabilities of the experience flow, we can efficiently route the incoming email to appropriate agents, analyze customer intents, execute automations, and more. This streamlined process ensures that each customer query is addressed promptly and accurately.
Any reply email managed by either the agent or the bot is directly sent to the end customer. To maintain transparency and accountability, the customer contact center domain is included in the BCC (Blind Carbon Copy) field and the Reply-to field. This configuration ensures that communication remains open and accessible to all relevant parties.
Whenever the customer responds to the email thread, it is directed back to the customer contact center domain. From there, it is seamlessly forwarded to the SmartAssist domain, ensuring a continuous and efficient communication loop.

Create a Kore Domain Email Address
Steps to create an email address in the Kore domain:
- Click the + New Email Address button.

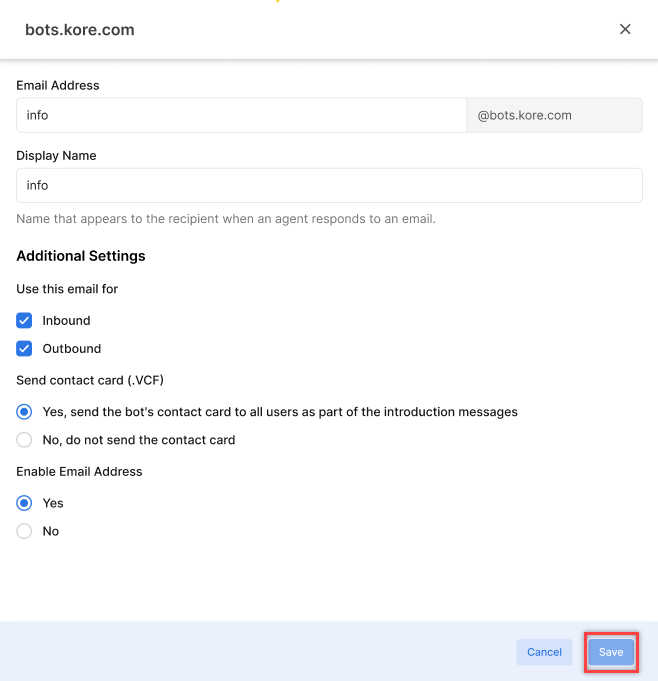
- Click the Email Configuration tab and enter the following details.
- Email Address
- Display Name
- Choose whether to use the custom email for inbound, outbound, or both under Additional Settings.
- Choose whether you want to send a contact card to all users as a part of the introduction message under Send contact card (.VCF).
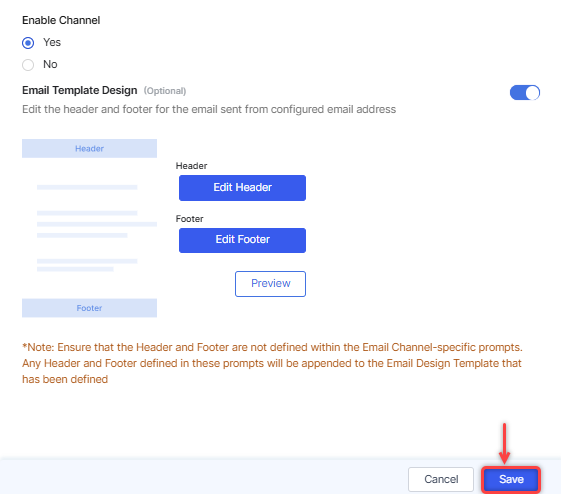
- Under the Enable Channel section, select Yes to enable the channel.
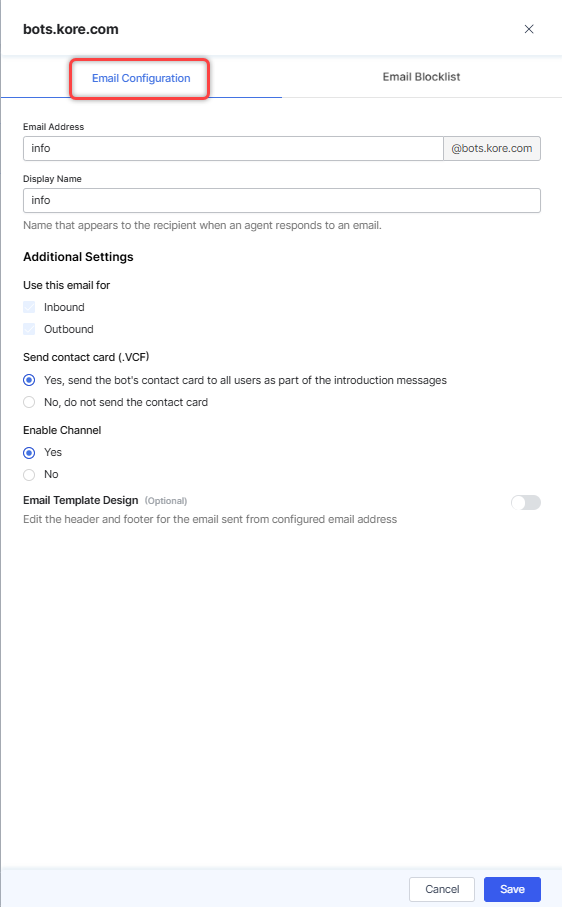
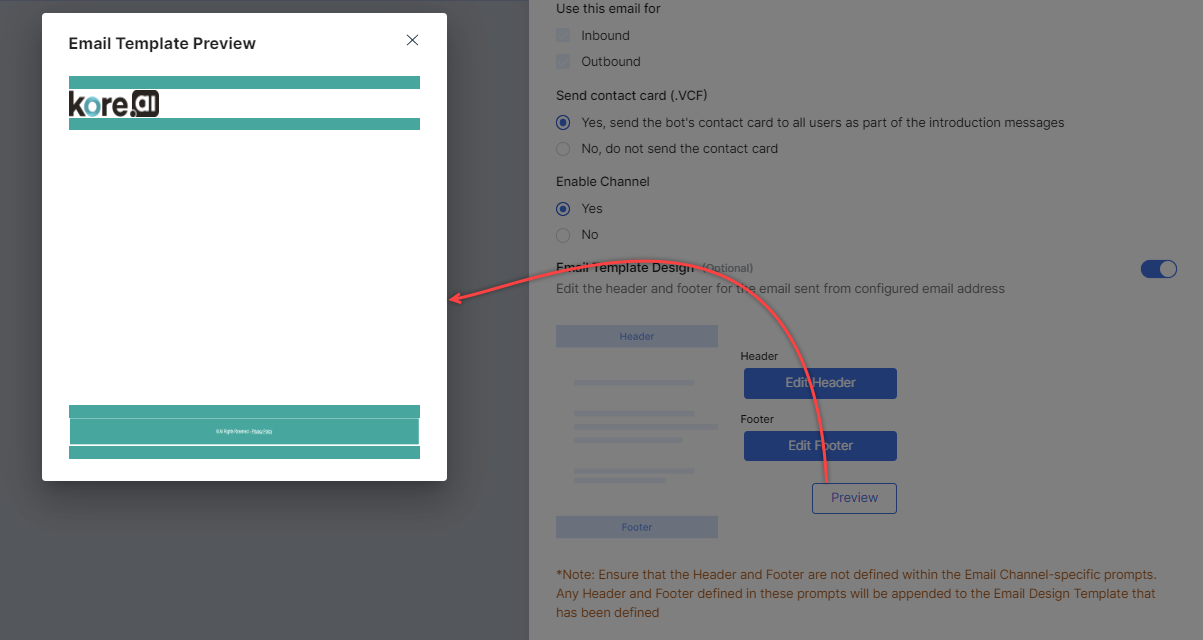
- (Optional) Turn on the Email Template Design (Optional) toggle to configure the header and footer of the emails that are sent via the configured email address, and do the following:
- Click Edit Header and Edit Footer to configure the header and footer details.
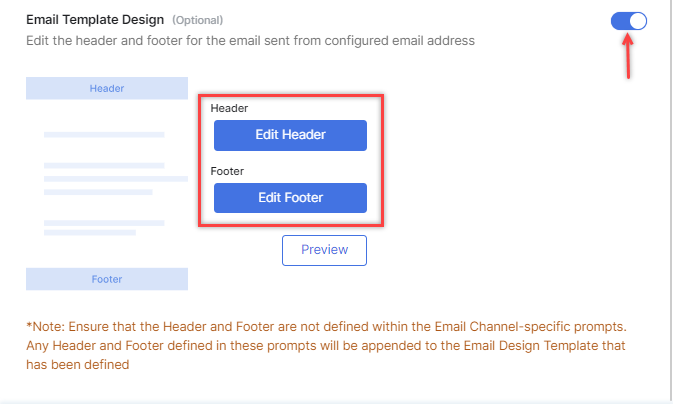
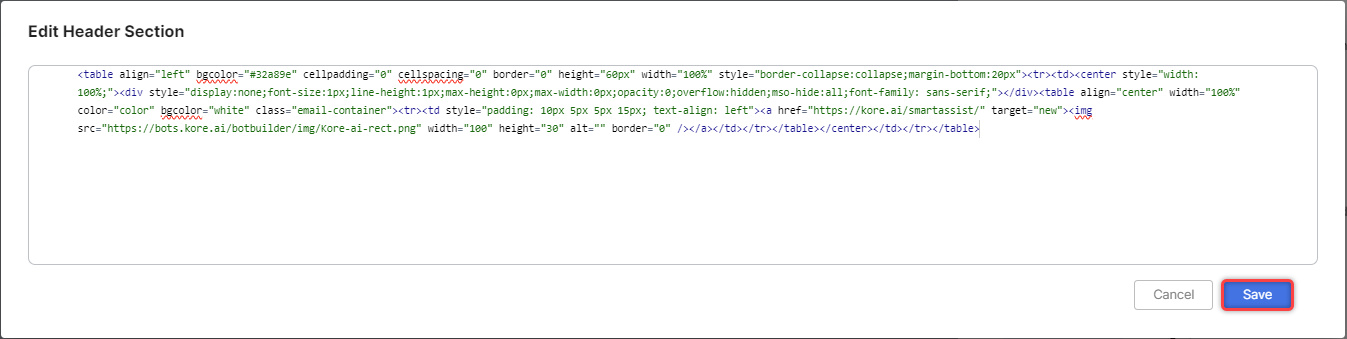
- In the Edit window, change the header and footer details.
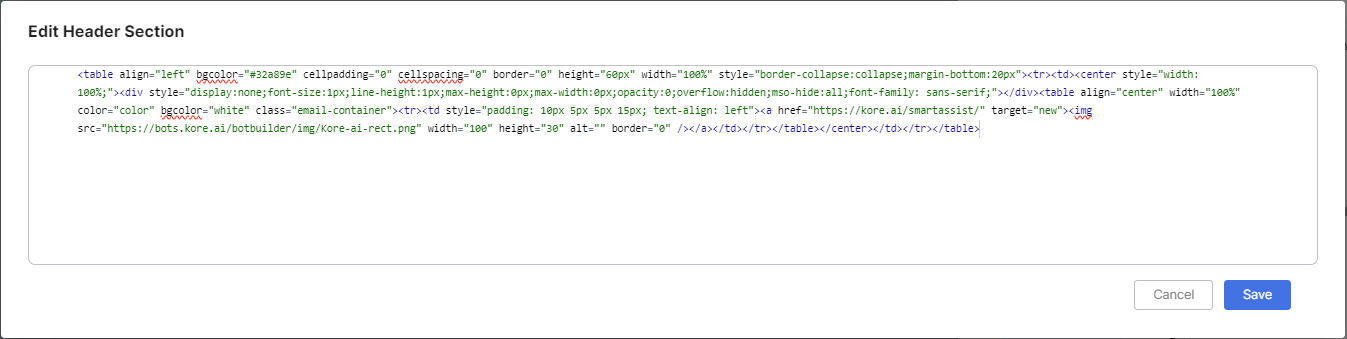
- Click Save.
- Click Preview to preview the email template.
- Click Edit Header and Edit Footer to configure the header and footer details.
- Click Save on the email configuration window.
- A success message is displayed, and the email address is created.
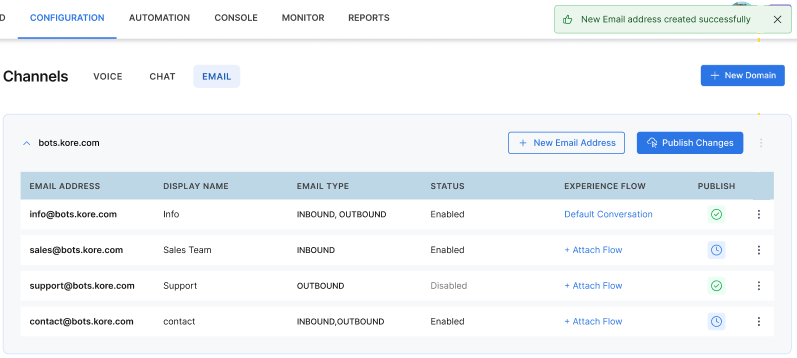
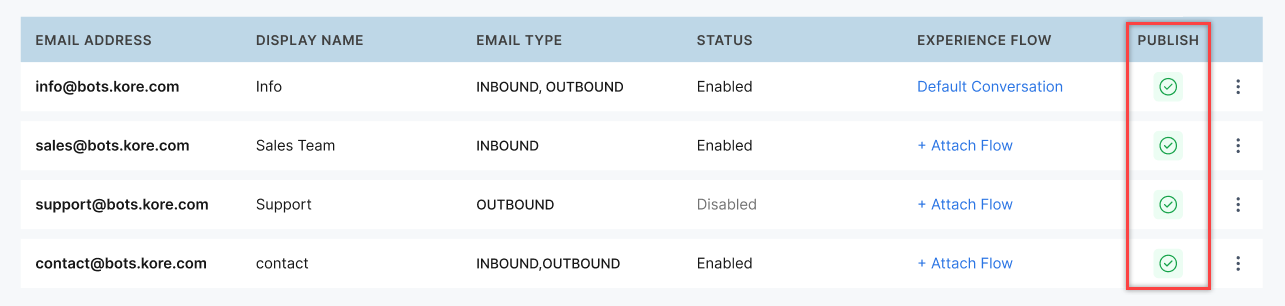
Publish Kore Domain Email Addresses
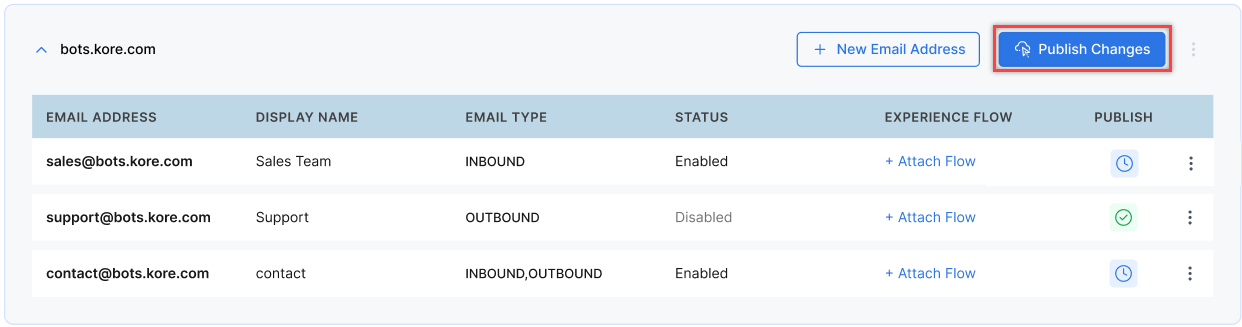
Steps to publish email addresses in the Kore domain:
- Click the Publish Changes button.
- Click Confirm to publish the email addresses.
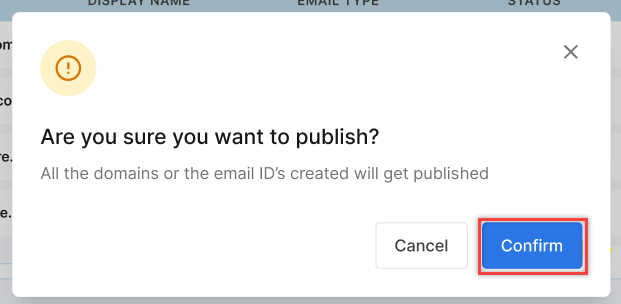
- The email addresses are published.
Edit a Kore Domain Email Address
Steps to edit an email address in the Kore domain:
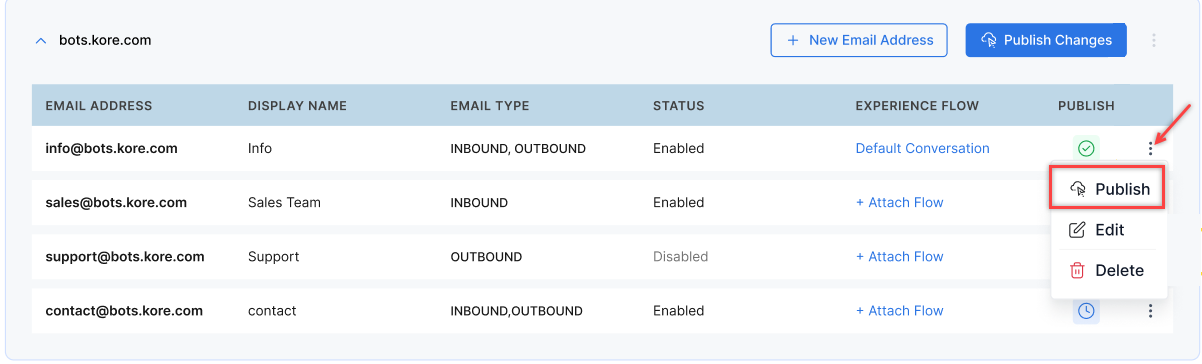
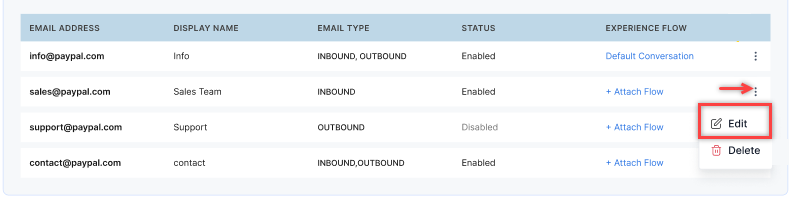
- Click the ellipsis icon (⋮) at the right corner of the row and click Edit.
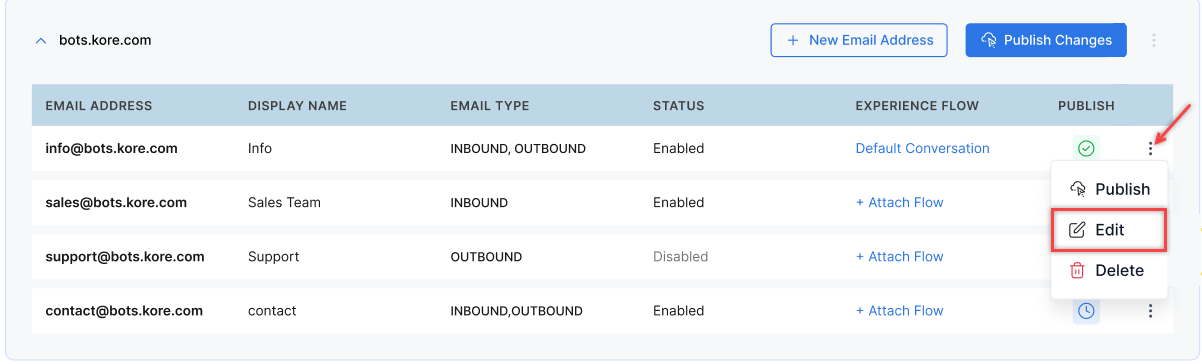
- The email configuration window is displayed. Click Save after making the changes.
- Click the ellipsis icon (⋮) at the right corner of the row and click Publish to publish the changes. You can also publish the changes by clicking the Publish Changes button.
Delete a Kore Domain Email Address
Steps to delete an email address in the Kore domain:
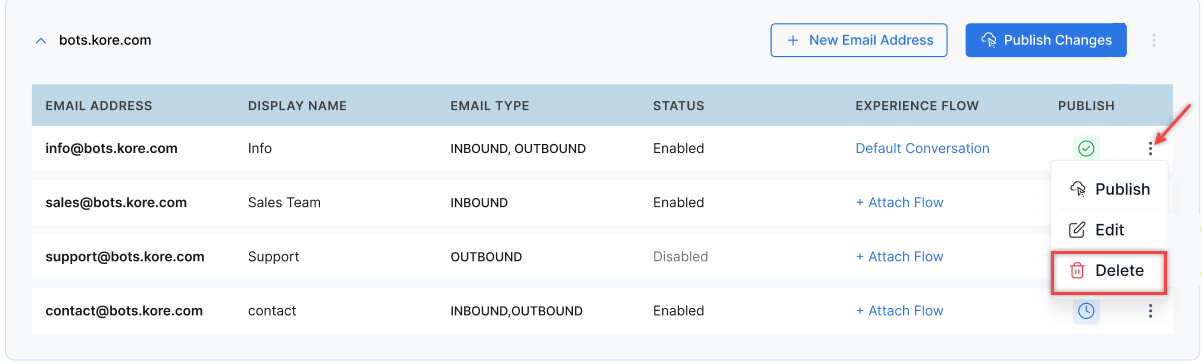
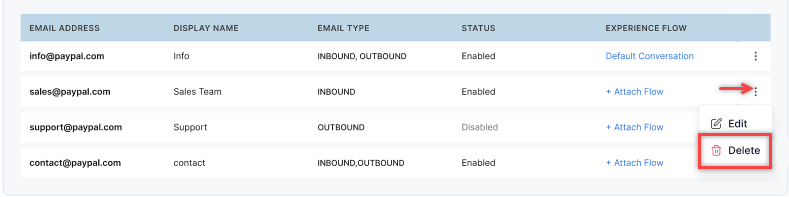
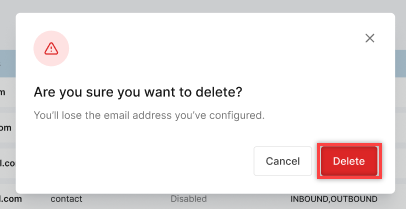
- Click the ellipsis icon (⋮) at the right corner of the custom domain email and click Delete.
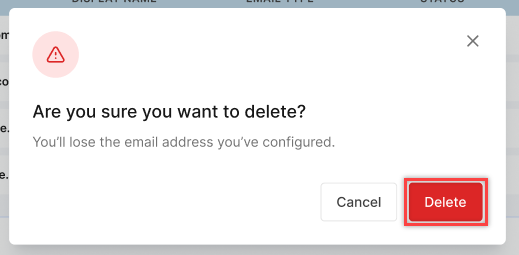
- Click Delete on the confirmation pop-up window.
Custom Email Domain
Custom email domains add a professional look to your email communications, reinforcing your brand identity with every email you send or receive. Customers perceive custom emails as established, reliable, and legitimate compared to generic email addresses. For example, You can create help@yourbusiness.com, a branded email account that uses your organization’s domain name instead of a domain provided by Kore.ai. You can add up to three email accounts (sales@, support@, info@, etc.) in each custom domain for better organization and delegation. By granting access to your email accounts within the domain, you can track the activity of the configured accounts, respond to incoming emails, and send outbound emails. Email filters are less likely to flag emails from custom domains as spam, ensuring better deliverability rates.
Create a Custom Domain
Steps to create a custom domain:
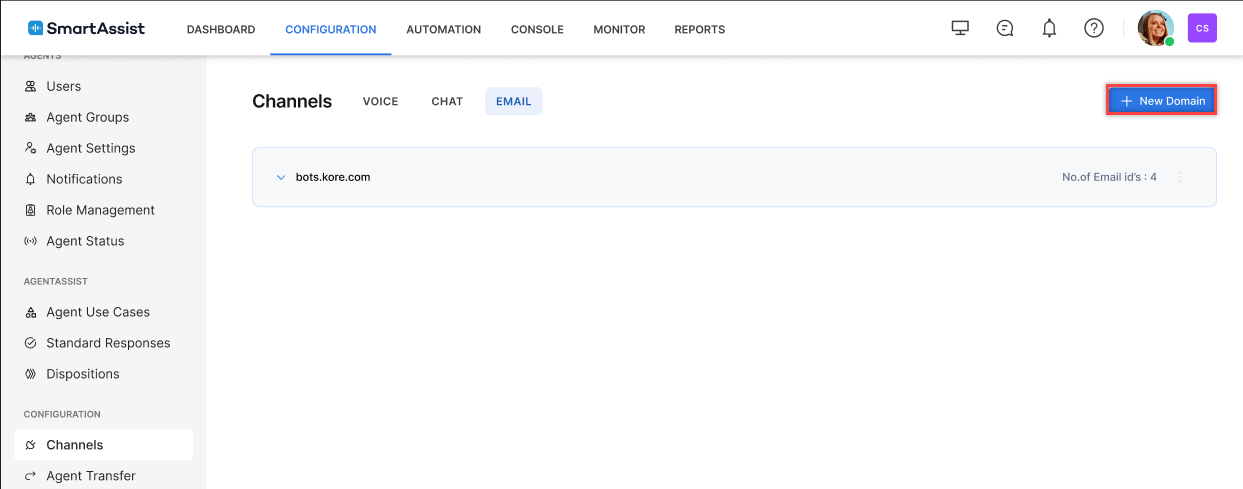
- Click the + New Domain button.
- In the Add Domain dialog box, enter the Domain Name and click Create.
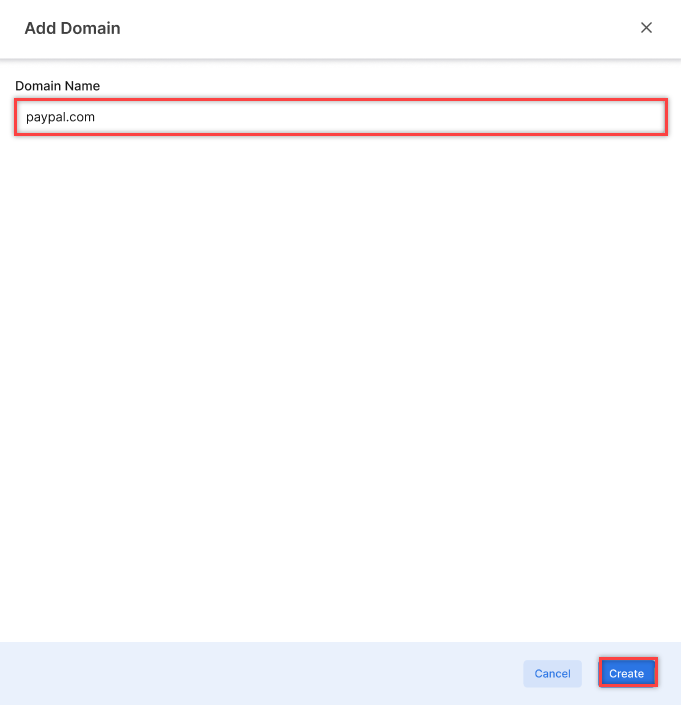
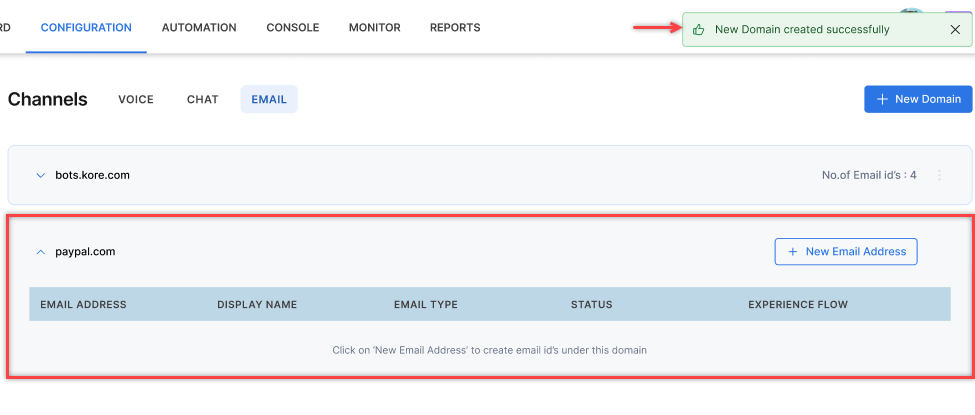
- A success message is displayed and the new domain is created.
Delete a Custom Domain
Steps to delete a custom domain:
- Click the ellipsis icon (⋮) beside the new email address button email and click Delete.

- Click Delete on the confirmation pop-up window.

Create a Custom Email Address
Steps to create an email address in the custom domain:
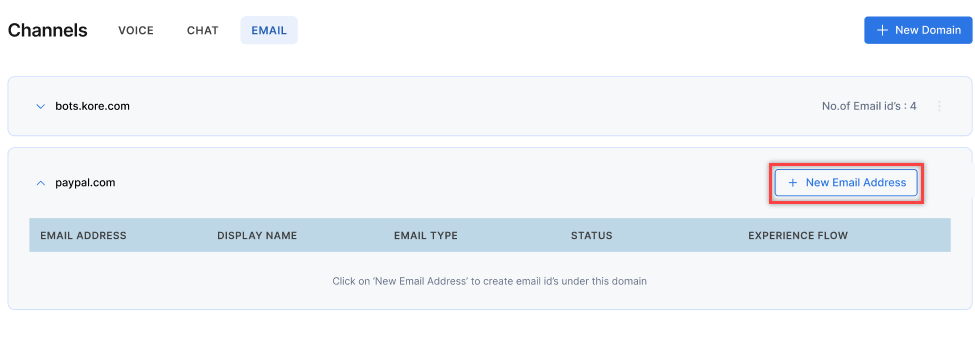
- Click + New Email Address.
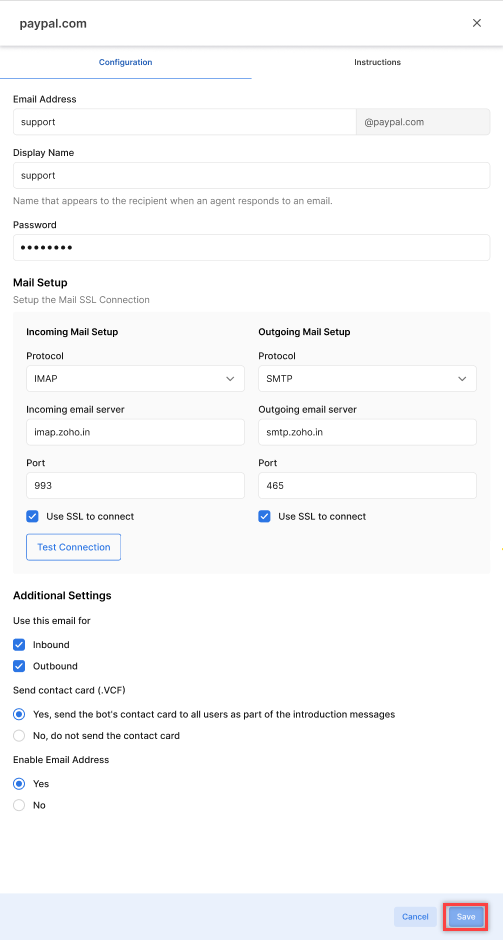
- Enter the following details in the Configuration tab.
- Email Address
- Display Name
- Password
- Enter the following details to set up the mail SSL connection for Incoming and Outgoing emails.
- Protocol
- Incoming/Outgoing email server
- Port
- Select “Use SSL to connect” if you want to use a Secure Socket Layer.
- Choose whether to use the custom email for inbound, outbound, or both under Additional Settings.
- Choose whether you want to send a contact card to all users as a part of the introduction message under Send contact card (.VCF).
- Under the Enable Channel section, select Yes to enable the channel.
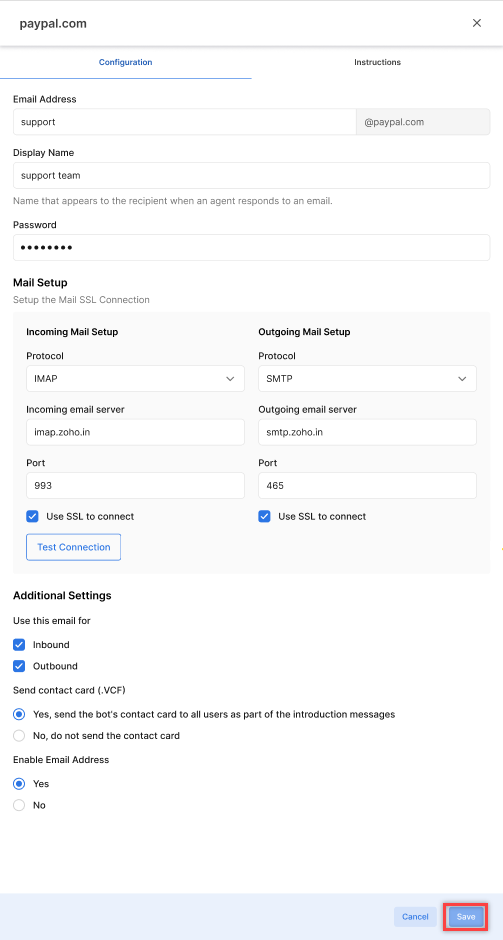
- Click the Test Connection button to verify the domain ownership. Upon successful completion, a success message is displayed below the button.

- Click Save.
- A success message is displayed and the email address is created.
Edit a Custom Domain Email
Steps to edit an email address in the custom domain:
- Click the ellipsis icon (⋮) at the right corner of the row and click Edit.
- The email configuration window is displayed. Click Save after making the changes.
Delete a Custom Domain Email
Steps to delete an email address in the custom domain:
- Click the ellipsis icon (⋮) at the right corner of the custom domain email and click Delete.
- Click Delete on the confirmation pop-up window.
Email Blocklist
Email blocklisting allows admins to specify a list of blocklisted email addresses during email address creation preventing blocking interactions originating from blocklisted email addresses, automations, and subsequent agent transfers are prevented, reducing unnecessary processing, and ensuring that resources are allocated to valid interactions.
Blocklist Verification
Upon receiving a new interaction, the system checks the incoming email address against the blocklist associated with the receiving email address.
- If a match is found between the incoming email address and the blocklist, any pre-configured automations linked to the receiving email address will be disabled for that specific interaction. Automated agent transfers triggered by the interaction will be prevented, ensuring that blocklisted emails do not initiate further actions within the system.
- If no match is found, the system will continue with the usual automation processes and agent transfer rules, allowing the interaction to be handled as normal.
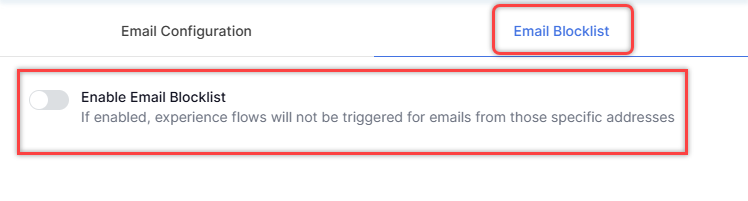
Configure Email Blocklist
Steps to Configure Email Blocklist:
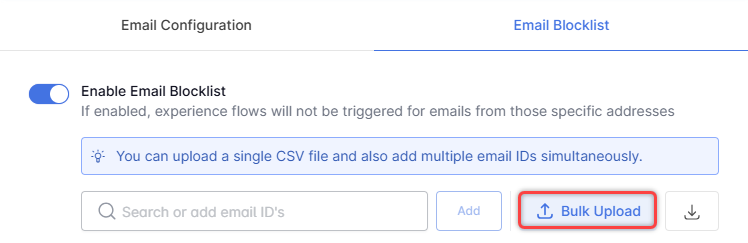
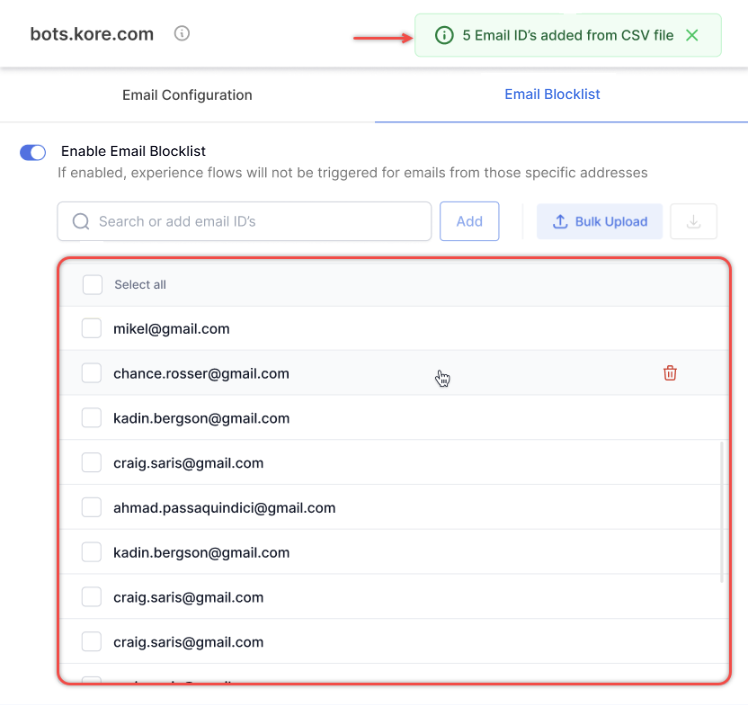
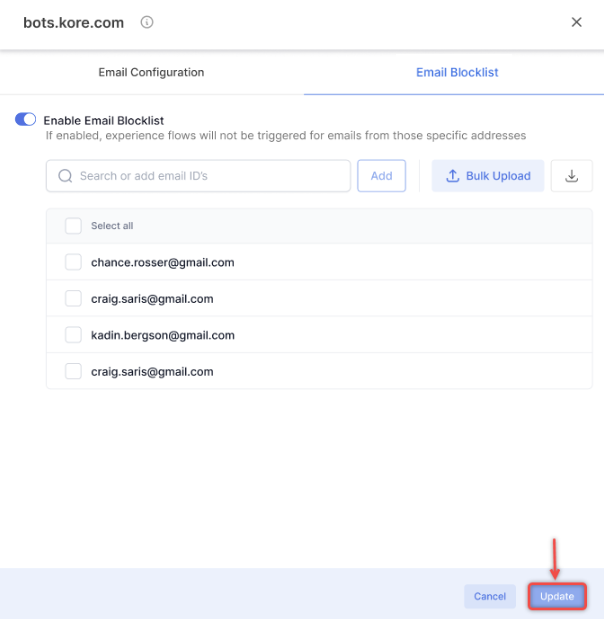
- Click the Email Blocklist tab and turn on the Enable Email Blocklist toggle.
- You can add email addresses manually or using bulk upload.
- Manual entry:
- Enter the email address in the search dialog box and click Add.
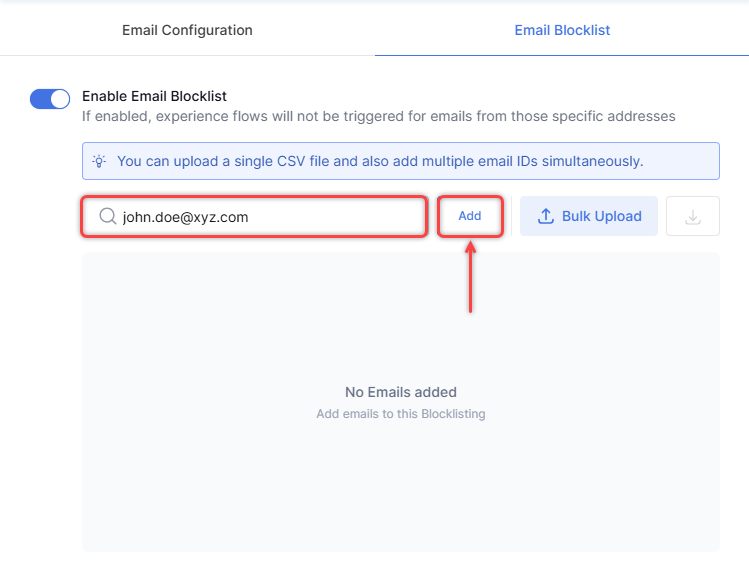
- The email address is updated successfully.
- Enter the email address in the search dialog box and click Add.
- Bulk Upload:
- Click Bulk Upload.
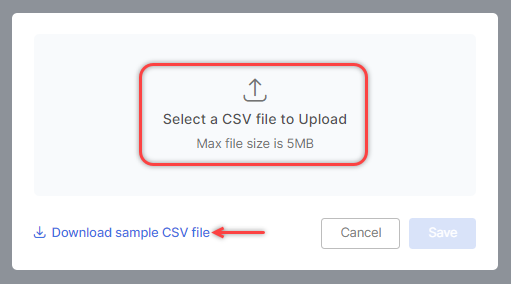
- A pop-up window is displayed. Click Select a CSV file to Upload and upload the CSV file. You can download a sample CSV file by clicking Download sample CSV file.
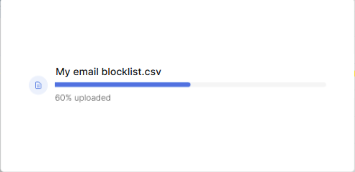
- The upload progress is displayed.
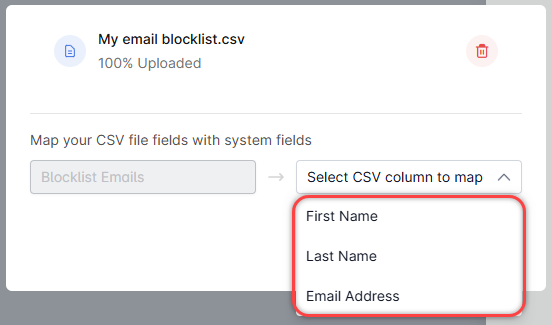
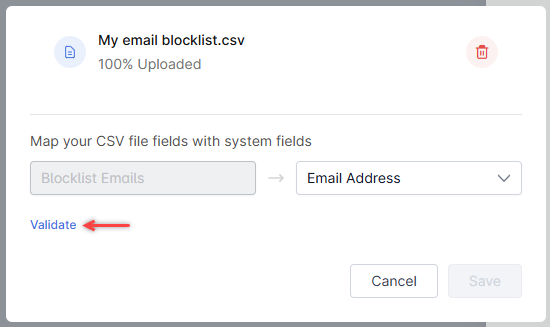
- On completion, map the CSV file fields with system fields.
- Click Validate.
- The details of the mapped contacts, duplicates, and errors (if any) are displayed. Click Save.
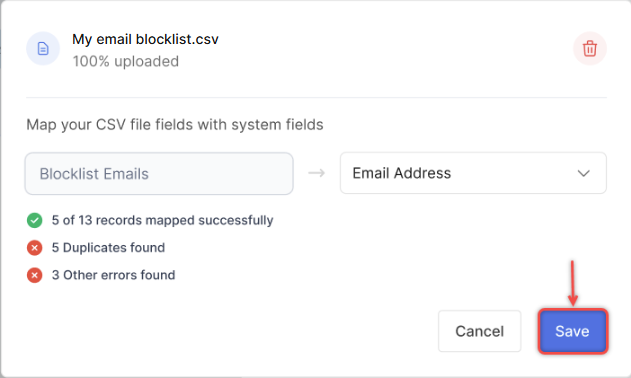
- A success message is displayed and the email blocklist is updated.
- Click Bulk Upload.
- Manual entry:
Edit Blocklisted Email Addresses
Steps to edit blocklisted email addresses:
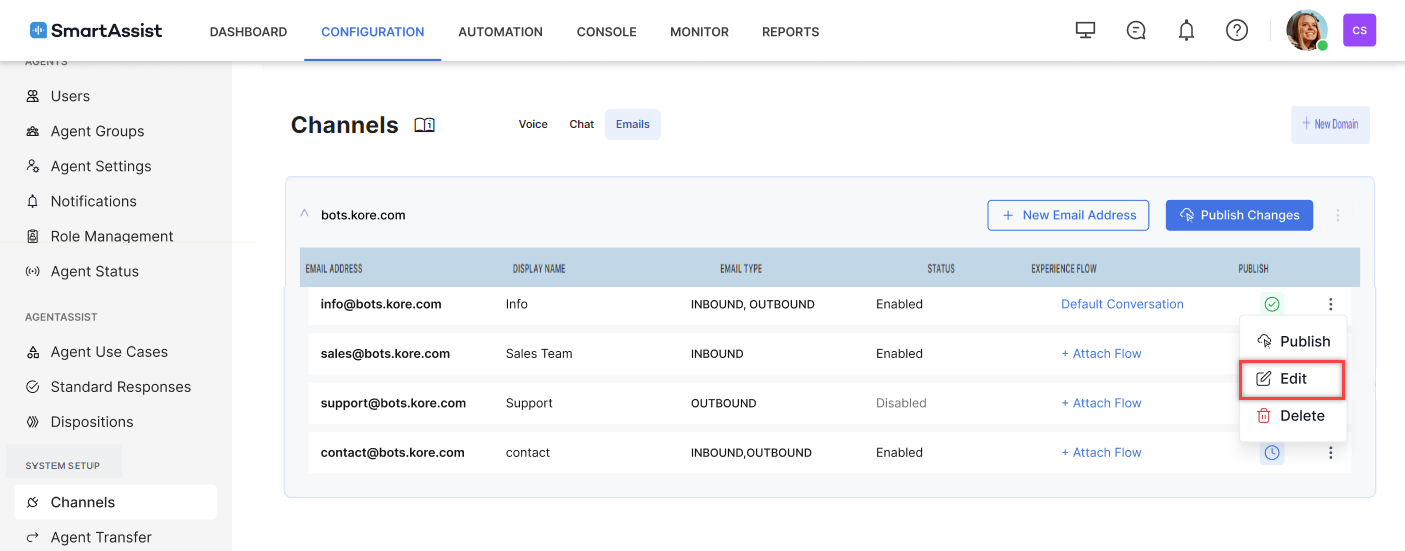
- Go to CONFIGURATION > SYSTEM SETUP > Channels > Emails > Click the Ellipsis (⋮) icon.
- Click Edit.
- Do the required changes and click Update.
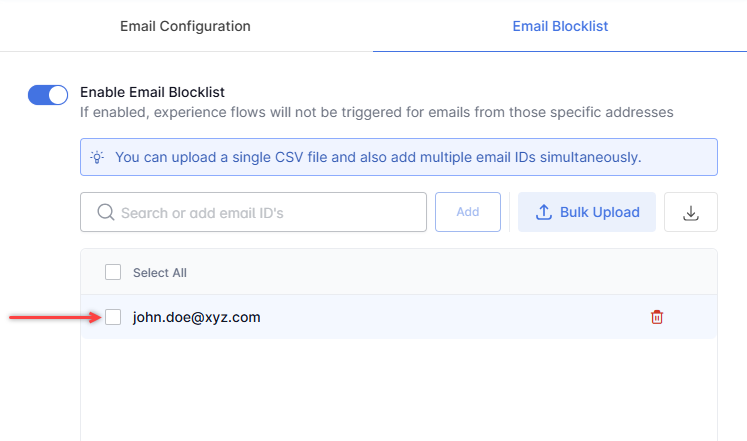
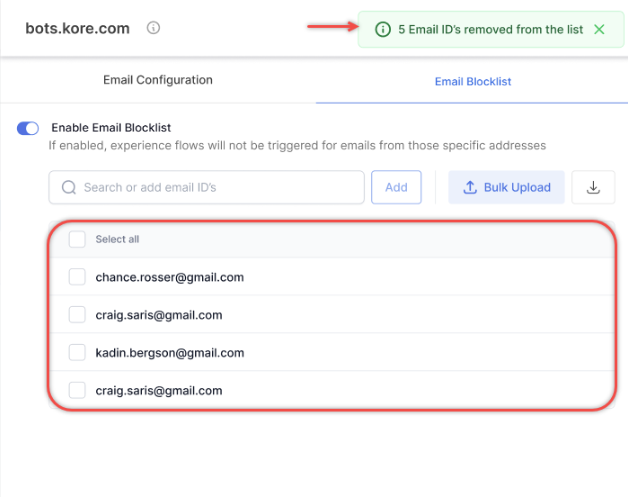
Delete Blocklisted Email Addresses
Steps to delete blocklisted email addresses:
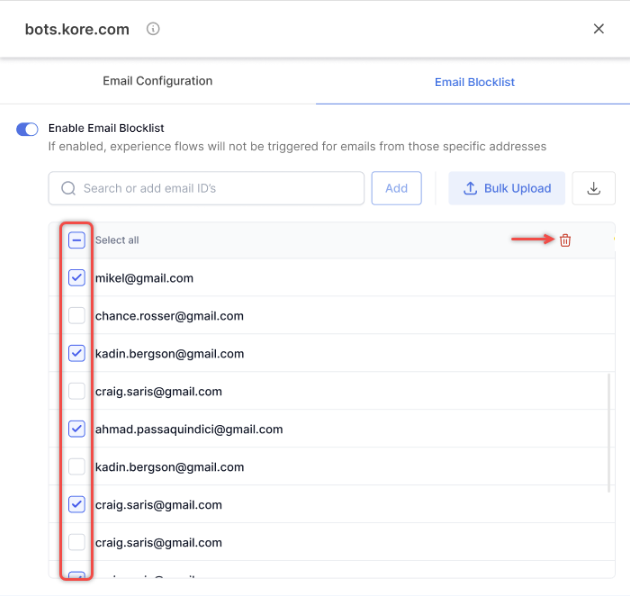
- Select the email addresses you want to delete and click the Delete (bin) icon.
- A confirmation message is displayed. Click Delete.
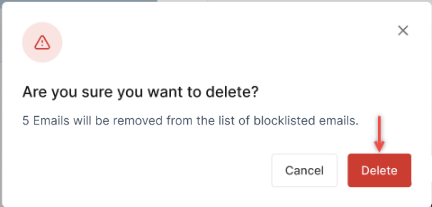
- A success message is displayed and the selected email addresses are deleted.
- Click Save.