
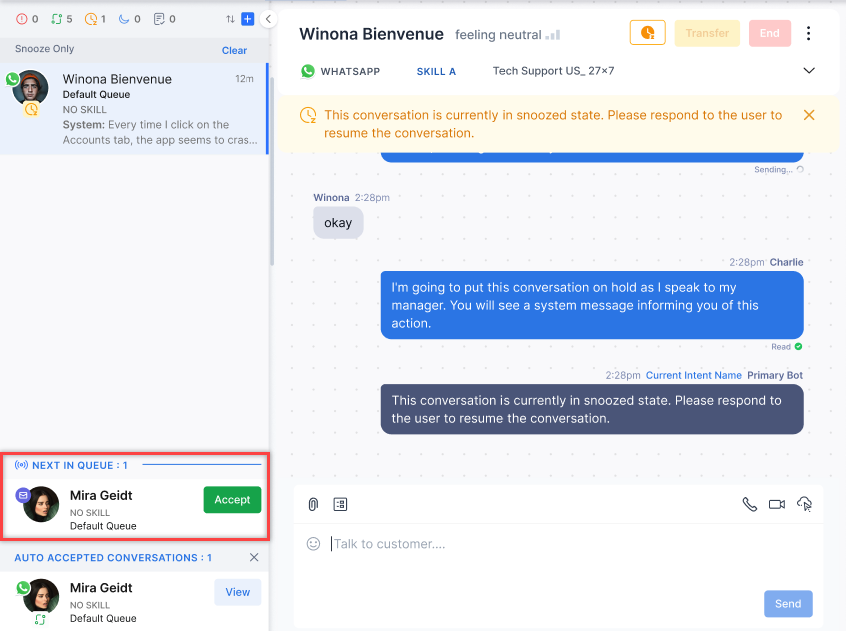
Next In Queue Notifications
The section at the bottom left corner of the Agent Console displays new interactions assigned to an agent along with the count.
The following details are displayed:
- Customer name
- Skills tagged to the conversation
- Queue name

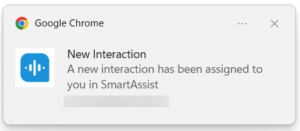
Browser Notifications
A system push notification accompanies new interactions, so you can see them even when the browser is minimized or the SmartAssist tab is not in use. System notifications are supported for Chrome, Firefox, Chromium-based Microsoft Edge, and Safari. Each notification plays a sound, too.
When the first notification is pushed, your browser will ask you to allow notifications from SmartAssist. Please allow this if you want to receive such notifications or block if you do not. If you block these notifications, you will continue to hear the sound alert and will see the Next in Queue popup under your Conversation Tray when opening SmartAssist.
Handling Incoming Interactions Based on Answer Mode
Manual Answer Mode
When the manual answer mode is enabled, agents can click Accept to interact with the next customer. The conversation panel corresponding to the newly accepted conversation is displayed when the agent clicks this button. Learn more.
If an agent does not accept the assigned interaction in the period specified under answer mode, the conversation is returned to the queue, and the agent’s status is automatically changed to away to prevent further conversations from being assigned to them.
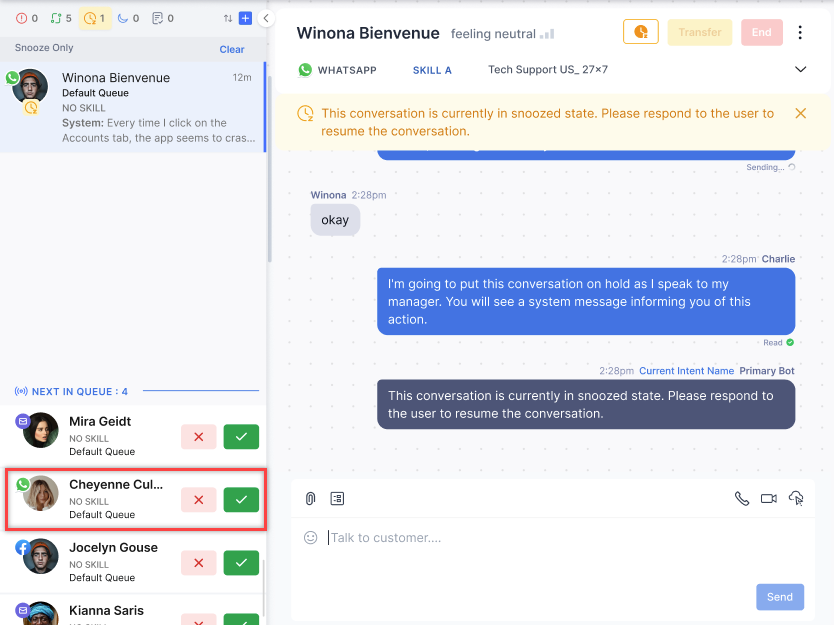
If Explicit Reject is enabled in the Answer Mode:
- Agents can Accept (✅) or Reject (❌) each interaction on the conversation tray.
- Accept: Displays conversation panel for that conversation.
- Reject: Removes conversation from agent’s queue, and returns it to the queue for reassignment.
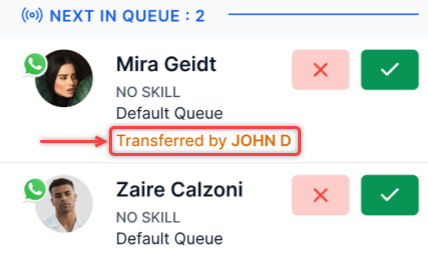
- In the case of an agent or supervisor transfer, or queue timeout, the transferred conversation appears with a message indicating the transfer source.
Auto-Answer Mode
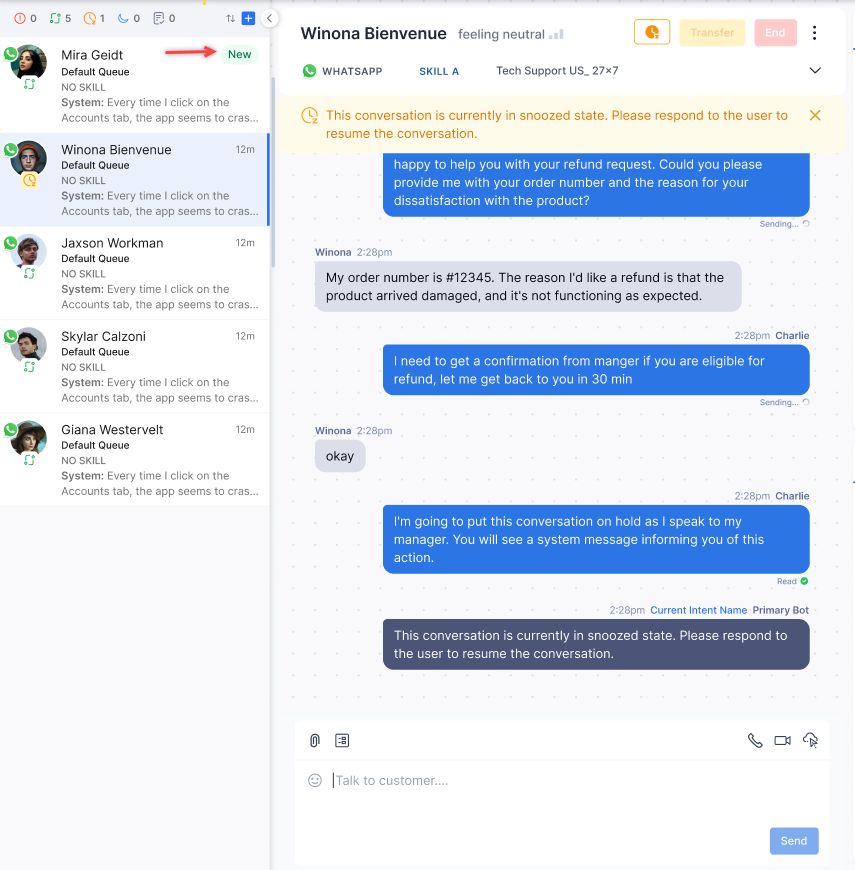
If auto-answer mode is enabled, the accepted conversations appear at the top or bottom of the conversation tray list, depending on the selected sorting order, and are marked with a New indicator. This will be displayed till the agent clicks the conversation and sends the first message. Learn more.
If an agent does not send the first response to the auto-assigned interaction in the period specified under answer mode. In that case, the conversation is returned to the queue and the agent status is automatically changed to away to avoid further conversations from being assigned to them.
Handling Interactions When Conversation Filters Are Applied
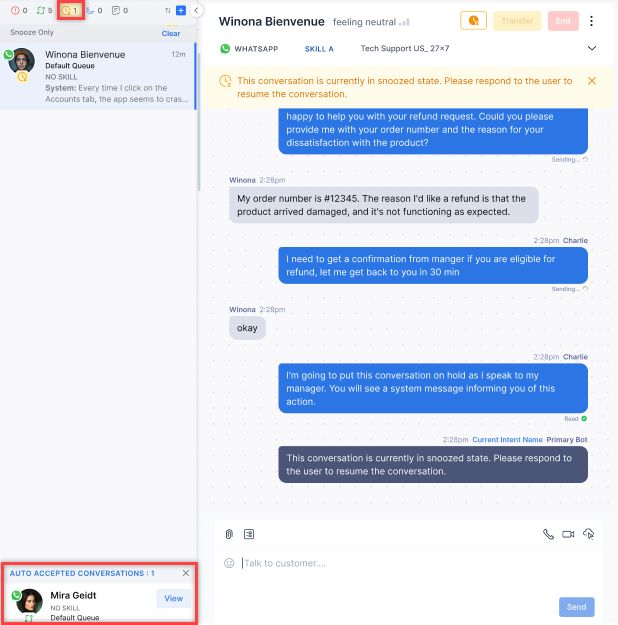
When conversation state filters are applied (for example, ongoing, idle), accepted conversations are displayed on the conversation tray with a View option on the conversation. This will be displayed till the agent clicks the conversation and sends the first message.
Sort Incoming Interactions
New interactions will appear at the top of the conversation tray based on their order of acceptance. This can be revised as follows:
- Click the ↑↓ icon at the top of the conversation tray.

- Select either Latest on Top or Latest at Bottom.
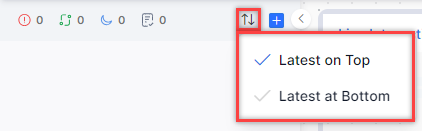
- A confirmation message is displayed and the sorting order is updated. The blue check mark indicates the current selection.