
This node is a subset of the conversation input node and helps run a specific dialog built within an XO Platform Bot.
| Note: The Run Automation node requires use case selection when it is used independently. When Run Automation is used along with the Conversational Input node, use case selection is not needed. |
To configure the Run Automation node, set up the following:
General Settings
Click the General Settings icon and provide the following information:
- Enter a Custom Name by which to identify the node later.
- Next, Choose your Bot to enable the automation functionality for a specific use case configured in the Bot.

Use Case Collection
Click the Use Case Collection icon and Choose a Usecase based on which to run the automation.
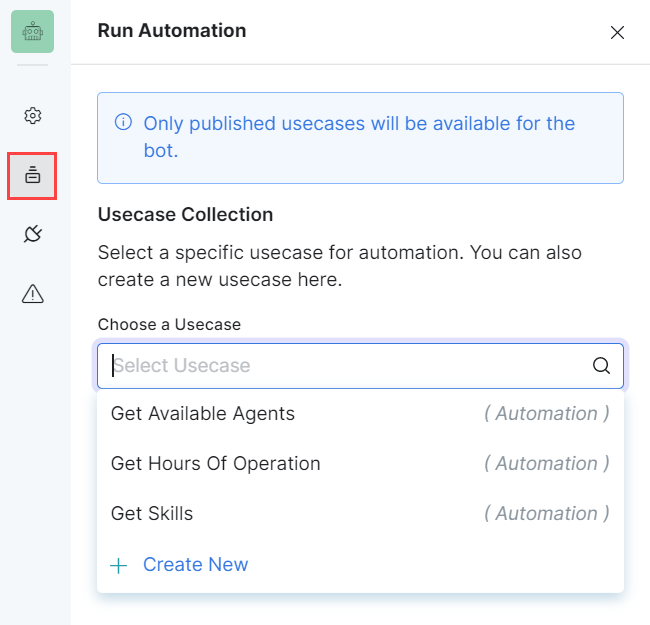
Once selecting a Use Case, you can use the Override this option to customize the Use Case specifically for this automation. See Use Cases for details.
Actions
Click the Actions icon to set up the actions that the automation should trigger when it is successfully executed and when it fails:
For both success and failure scenarios, you can choose between the following two options:
- Go to node: Select the node that should trigger if the automation is successful.
- Let the bot handle: This option passes the automation to the bot, which will handle the success scenario according to its configuration. See the XO Platform documentation for details.

Error Handling
Use this section to handle system errors during customer interactions.
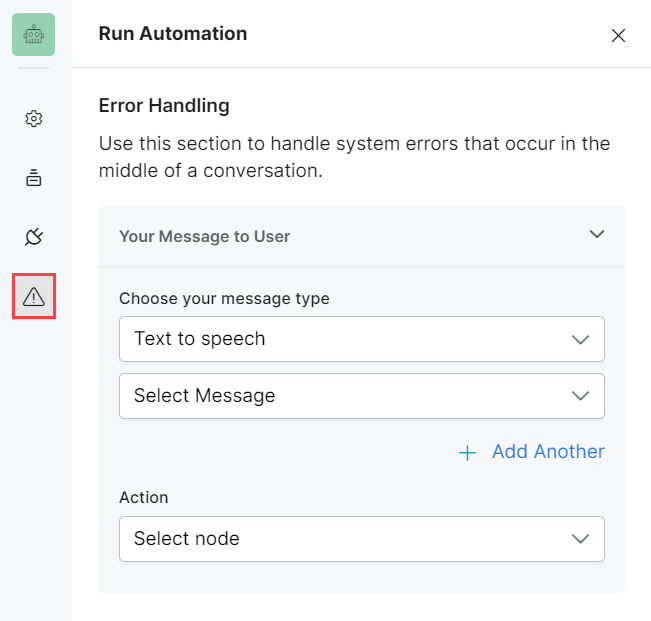
- Your Message to User: The message that will be played or displayed to the customer. Select one of the following options from under Choose your message type:
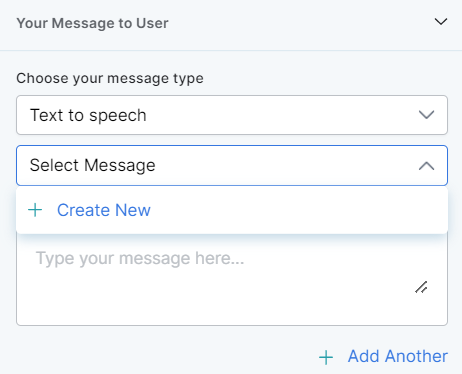
- Text to speech: This option allows you to transcribe text to speech. Type the text to be transcribed in the textbox or select an already configured message.
- Create a new prompt message to be played out for the Text to Speech message type by clicking + Create New. Enter a name for your message, type its contents and select the language.
- Define multiple message types for the prompt message to be played to the customer by clicking + Add Another. In this case, one message will be randomly selected and played during runtime.
- Text to speech: This option allows you to transcribe text to speech. Type the text to be transcribed in the textbox or select an already configured message.
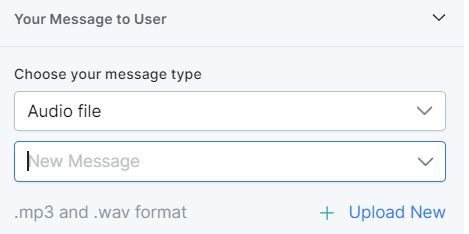
- Audio File: You can type a new message to be played to the customer in the text field or click + Upload New to upload an audio file (.mp3 or .wav format) with the message to be played.
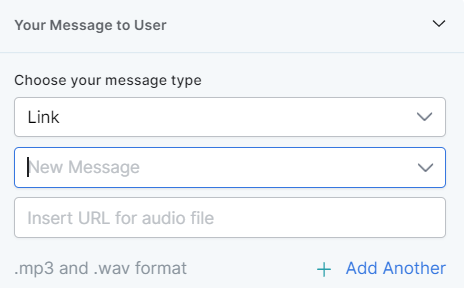
- Link: Click + Create New to add the text of the message you want to play to the customer and insert the URL of an audio file in .mp3 or .wav format. Click + Add Another to add another message URL.
- Action: Select the node to which you want to direct the error handling flow and define the system behavior. Either select a node type to create the node or identify and select an existing node.