
In SmartAssist, Agent Forms provide a range of input fields that allow capturing required information from customers. Agent Forms work based on the Kore.ai XO Platform.
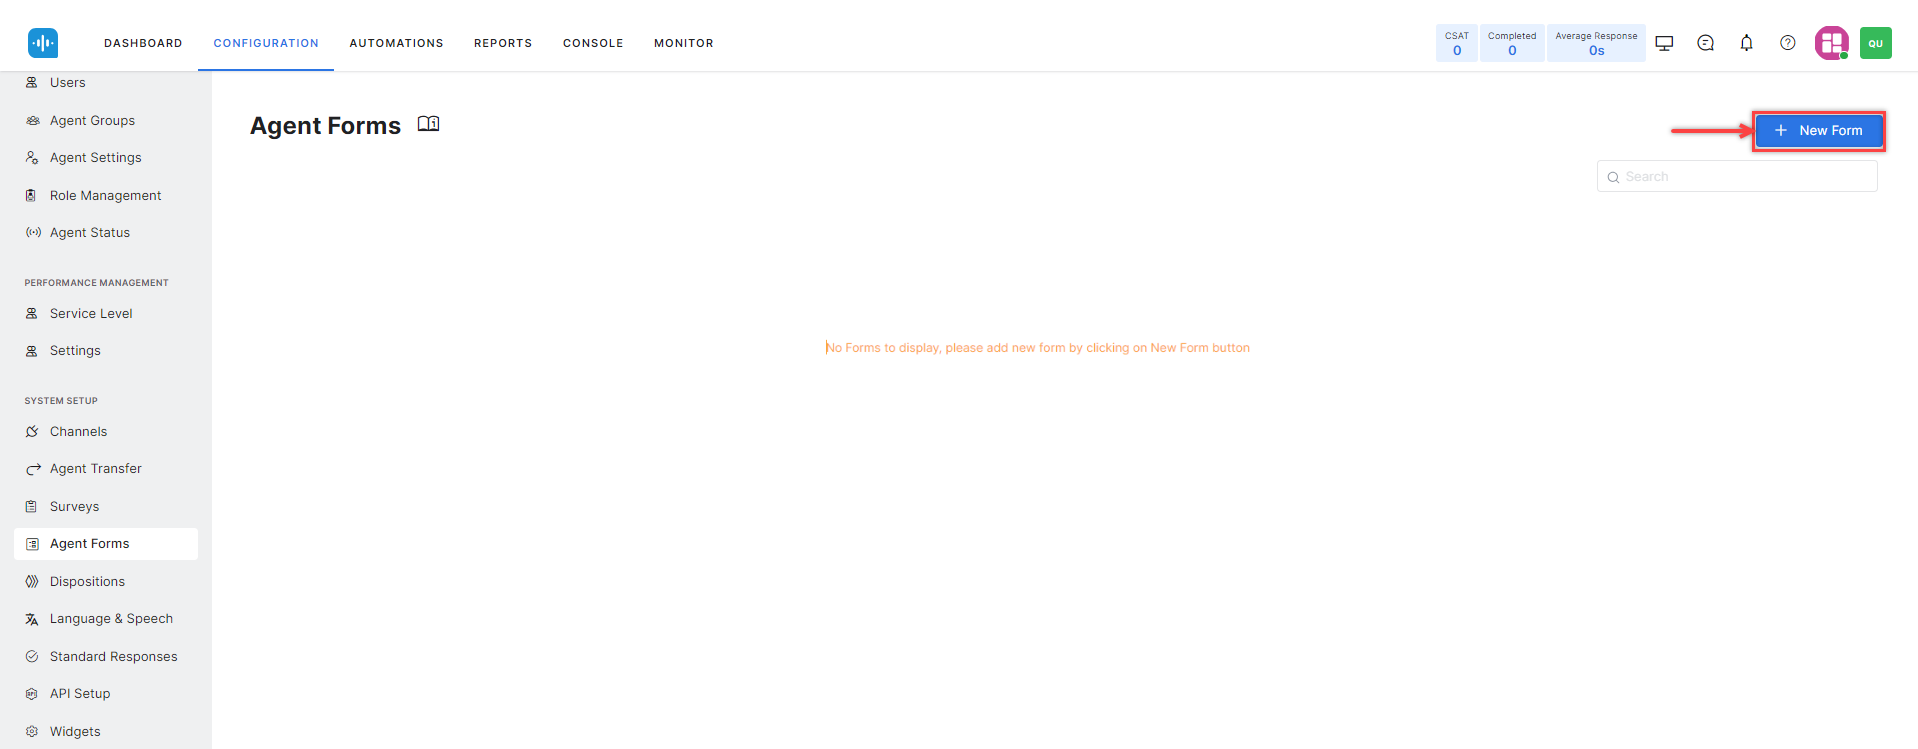
To reach the Agent Forms section, go to Configuration > System Setup > Agent Forms. Here, you can view and search existing forms and create new ones.

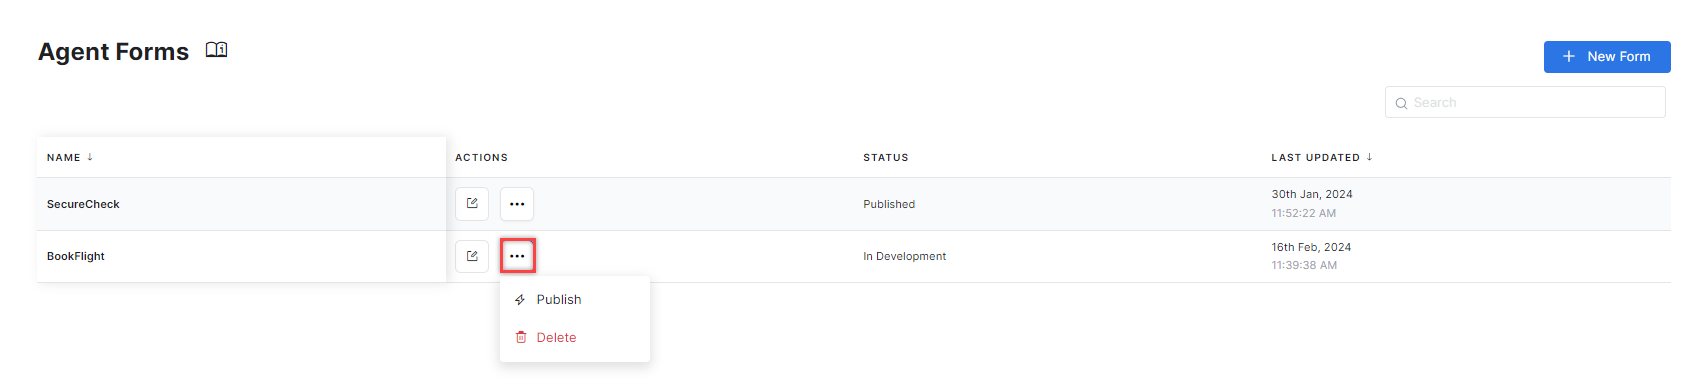
The Agent Forms Live Board
You can access the following features and information within the Agent Forms section:
- Search: Use this field to search forms using name-level keywords.
- Name: Lists the name of a form.
- Actions: Lets you Edit, Publish, or Delete a form.
- Status: Lists the form status as follows:
- In-development displays when a form is created and is still being worked on. This status is also shown for previously published forms modified after publishing.
- Published displays when a form has been approved and published.
- Last Updated: Displays the date and time when the form was last updated.
Create an Agent Form
To create an agent form:
- Click + New Form.
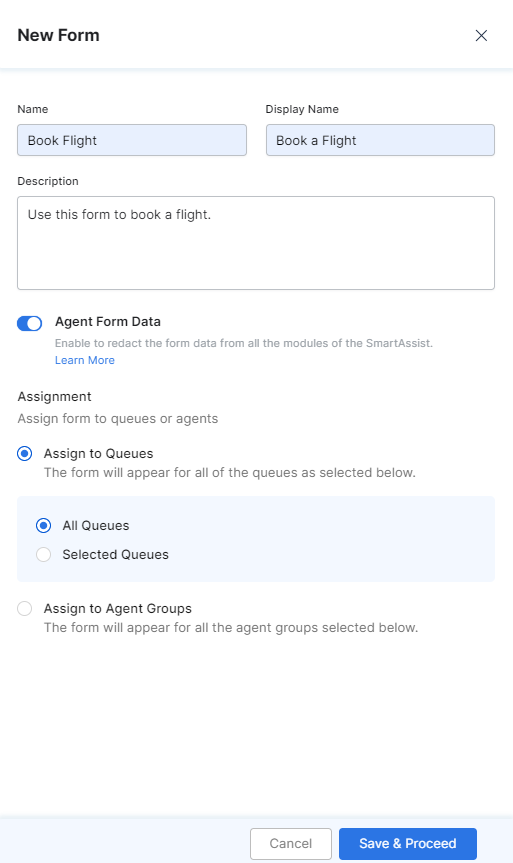
- The New Form window opens, and you can configure the following:
- Enter the Name of the form, the Display Name of the form, and the Description.
- Enable Agent Form Data to redact form information from the Bot Context, Debug Logs, Service Calls, Agent Transfer, and the Bot Kit. Once enabled, the XO Platform will replace the user input with a unique, random, system-generated alphanumeric value in all the modules.
- Select an Assignment:
- Assign to Queues lets you make forms available for conversations in all or selected queues.
- Assign to Agent Groups allows you to make forms available for agents in specific agent groups.
- Click Save & Proceed.
Build an Agent Form
You can build Agent Forms by adding individual components, such as text fields, checkboxes, radio buttons, date fields, etc. Please see the form-building process explained in detail in Digital Forms within the XO Platform documentation.
Edit a Form
Edit Form Fields
If you want to update the fields that an agent form contains, follow these steps:
- Find the form in the Configuration > System Setup > Agent Forms section.
- Click on the form record. This action will open the form builder, where you can make changes.
Edit Form Settings
There are two ways to edit form settings (Name, Description, Form Data Security or Assignments):
- From the Agent Forms Live Board:
- Find the form in the Configuration > System Setup > Agent Forms section.
- Click the Edit icon under Actions.

- From the Form Builder:
- From the top toolbar of the form builder, click the More Options button.
- Select Settings.

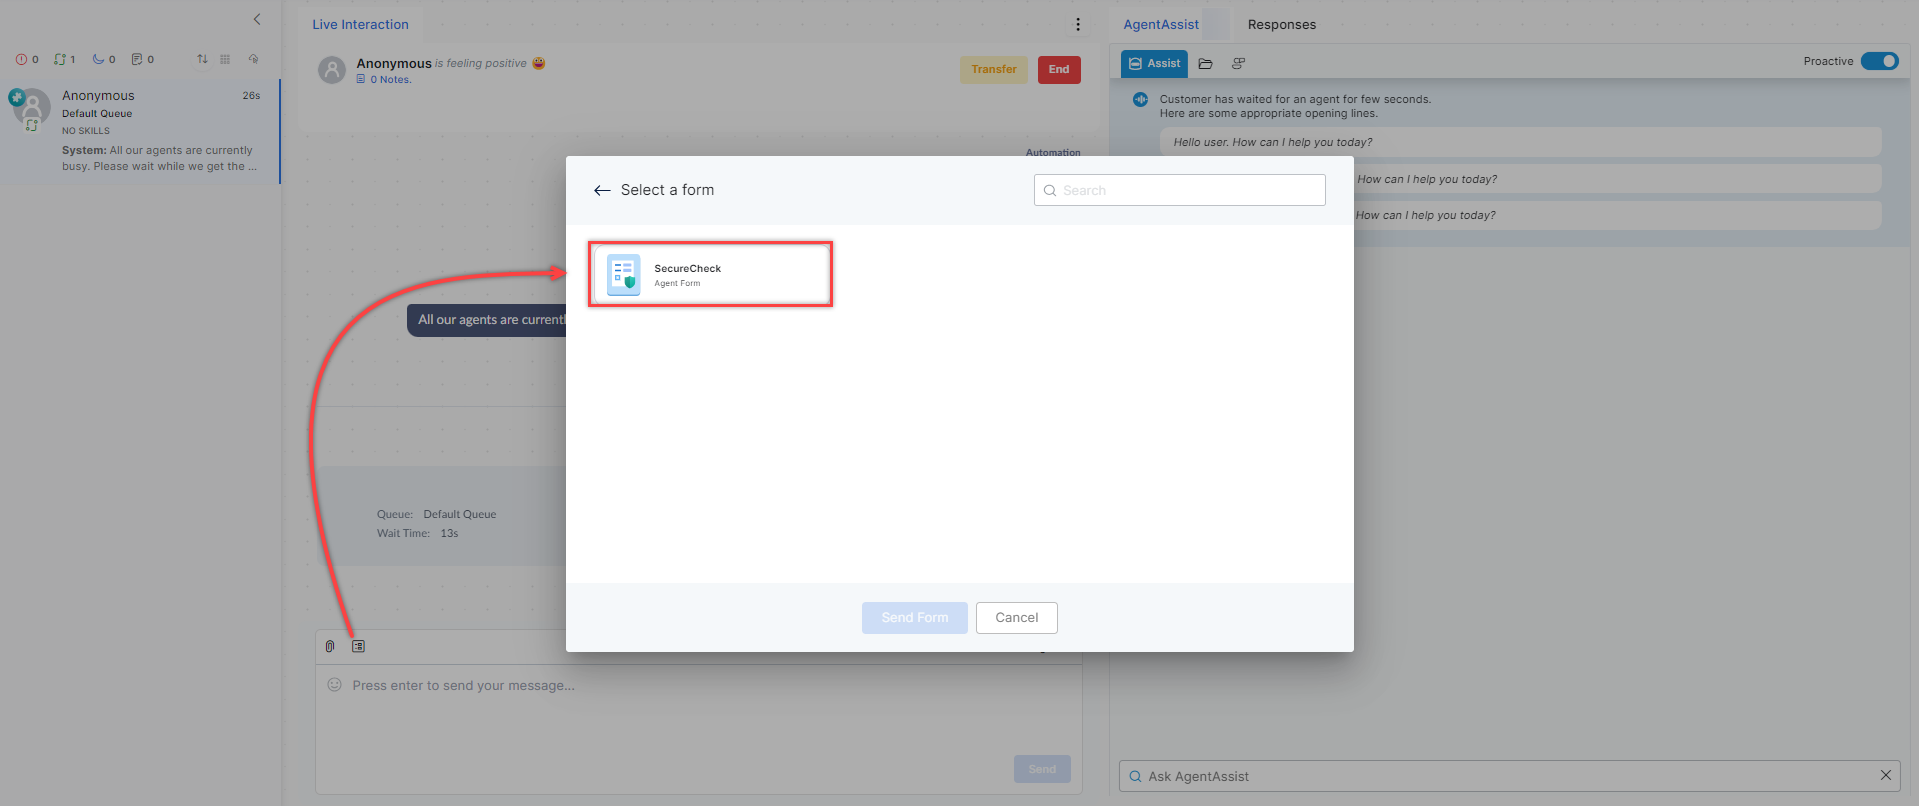
Publish a Form
Publishing a form means making it available for agents to select within the Agent Console and send to customers, as shown below. See Agent Forms for Handling Sensitive Information for details.
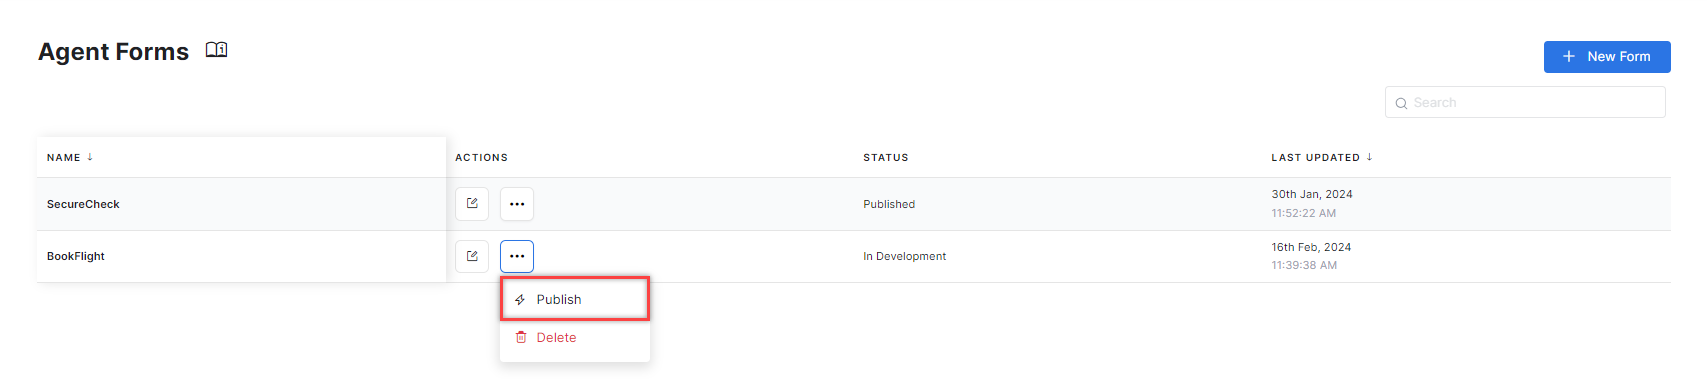
To publish a form:
- Find the form in the Configuration > System Setup > Agent Forms section.
- Click the More Options icon under Actions.
- Select Publish.
Delete a Form
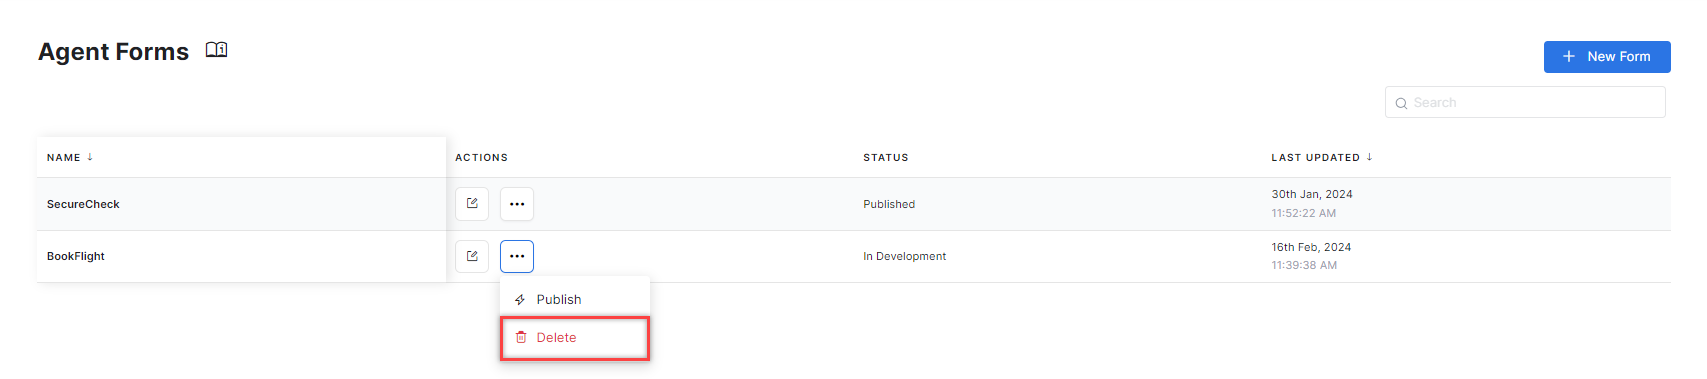
There are two ways to delete an Agent Form:
- From the Agent Forms Live Board:
- Find the form in the Configuration > System Setup > Agent Forms section.
- Click the More Options icon under Actions.
- Select Delete.
- From the Form Builder:
- From the top toolbar of the form builder, click the More Options button.
- Select Delete.
