
AgentAssist Widget
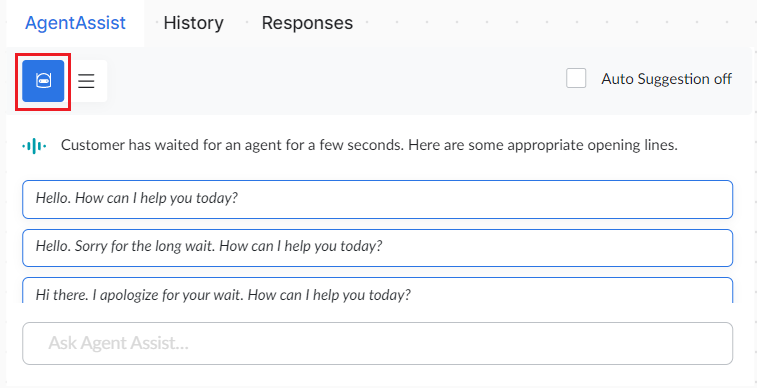
The AgentAssist widget displays the agent bot and automation options that provide real-time assistance to the agent.
- Agent Bot: Displays the list of Next Action suggestions based on the current conversation status and other interaction parameters.
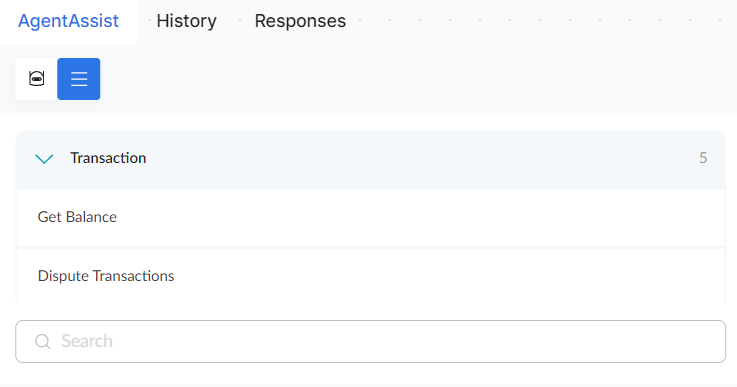
- Automations: Displays a list of pre-configured automated messages that agents can send to the customer based on the intent — for example, a Welcome message under General information or a Bill Payment Status message under Payments.
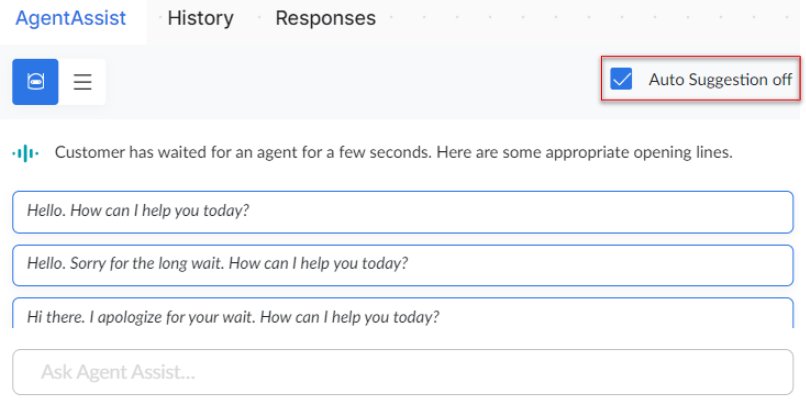
- Proactive suggestions: Use this option to enable or disable AgentAssist auto suggestions for the next action.
Responses
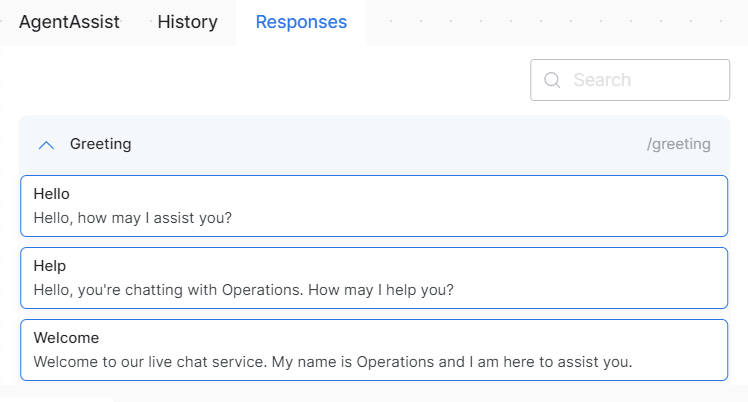
Agents can send canned responses to customers based on their specific scenarios using the Responses widget.
SmartAssist has default response categories that include:
- Greeting: Agents can send a welcome message like “Hello, how may I assist you?”
- Conversational: Agents can send general conversation responses, like a follow-up and a delay.
- Closing: Agents can send closing statements, feedback, a request to fill up a survey, thank you, and chat again. They can also close the chat because of no response from the customer, etc.
- Transfer: Agents can transfer the interaction to a manager or an alternate chat group.
- Abuse: Agents can use fair (initial) and final warning levels when the customer uses abusive language.
- Privacy: Agents can send permission-based service responses that enhance conversational privacy.
These are permission-based service responses that enhance conversational privacy.
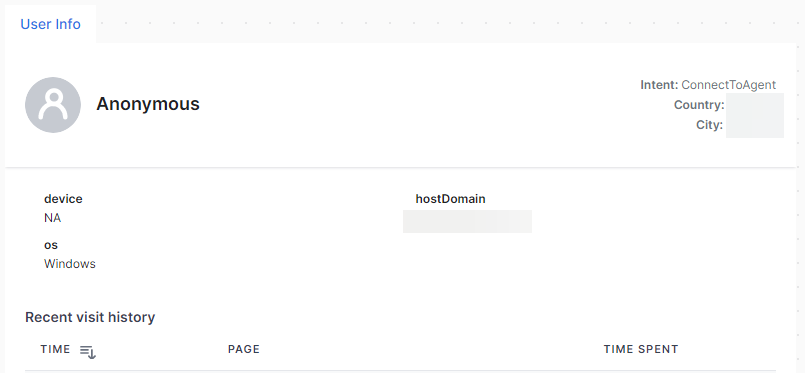
User Info
You can view additional information about the customer in this section. If needed, you can customize this widget and add more information.
For instructions on customizing the User Info widget, refer to the Set User Info guide.
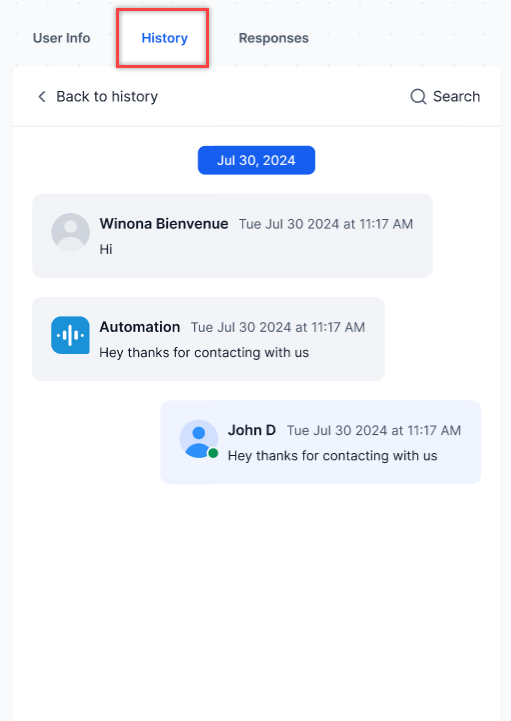
History
The History widget shows both inbound and outbound call records, using phone numbers as unique identifiers to link all historical transcripts when new conversations begin. Audio files in messages include download links for the streams. Regular agent-user conversations display as back-and-forth transcripts in the interaction tab. The History widget persists as long as transcripts remain in the database. Clicking any tile shows the complete transcript for that specific interaction. It displays the following details:
- Date, year, and time of the conversation.
- The total duration of the interaction.
- Channel icon of the interaction.
- Name of the automation use case and total wait time in seconds (specific to that use case).
- For each specific interaction, it shows the following information:
- Duration
- Wait time
- Final status
- Direction (Inbound/Outbound)
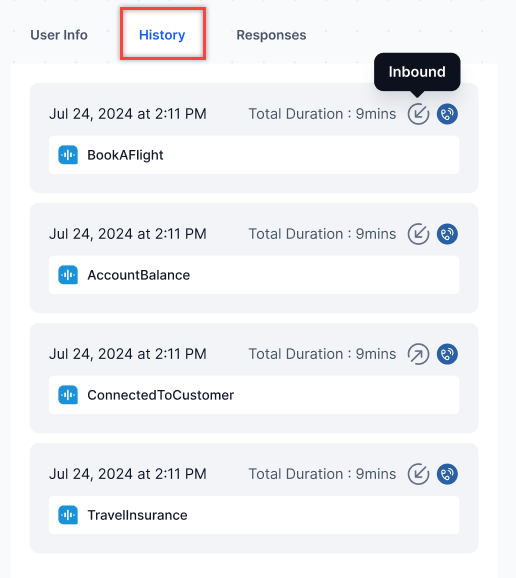
- Clicking the conversation displays the transcript.
Internal Chat with Other Agents or Supervisors
As an agent, you can initiate an Internal Chat conversation if you face a challenge in resolving a customer issue. The agent console allows you to chat with other agents or supervisors and get assistance. This feature facilitates faster query resolution and increases customer satisfaction. Follow the below steps to initiate an Internal Chat conversation:
- Click the Internal Chat icon from the upper right corner of the Agent Console.
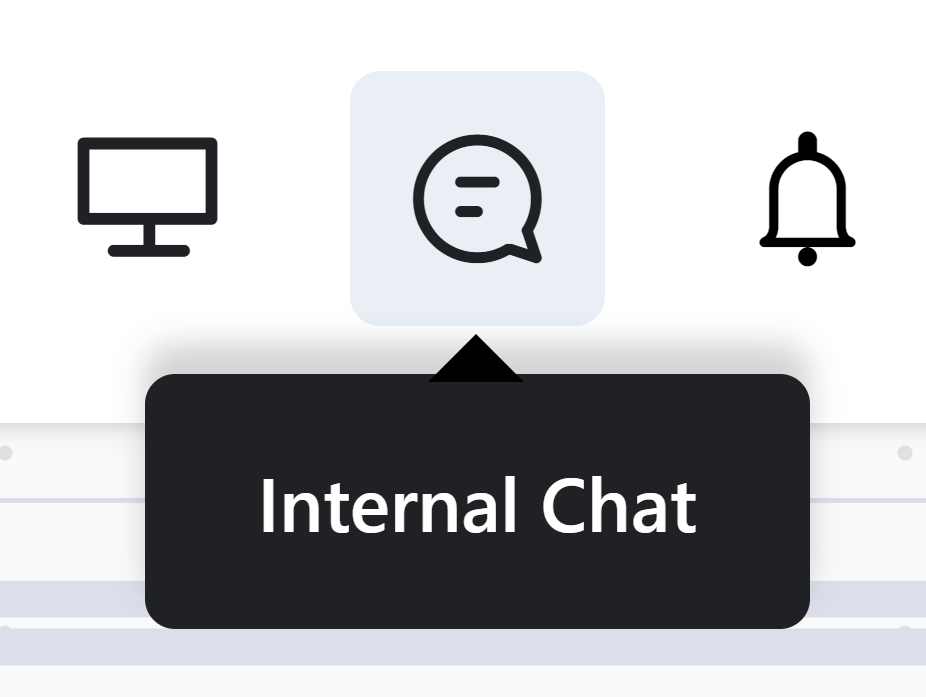
- A pop-up window will display the list of available agents. Select an agent by clicking the agent’s name to initiate an internal chat.
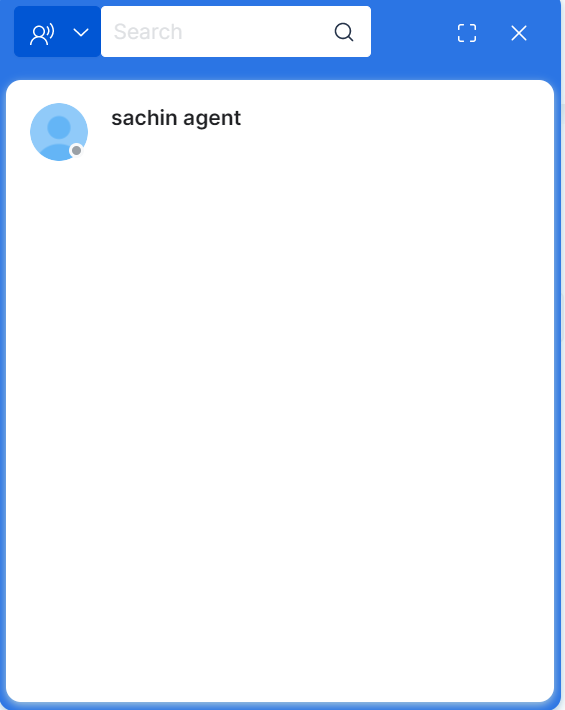
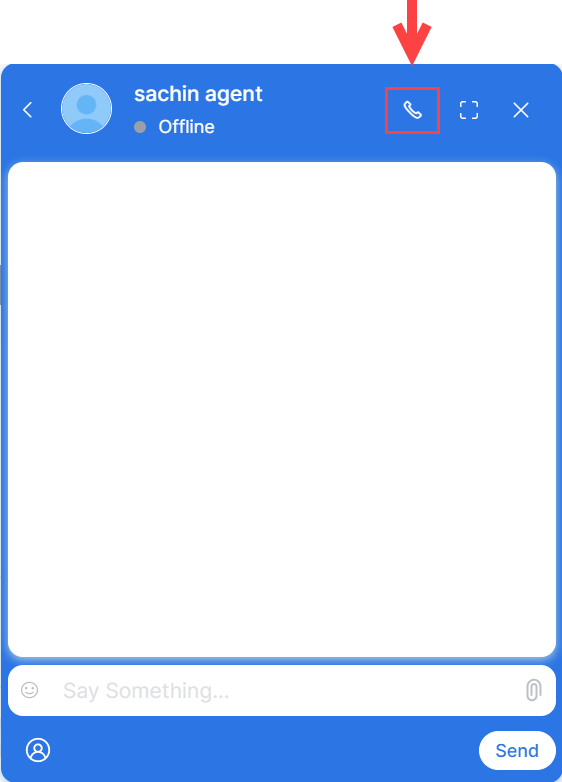
- You can now use the internal chat to call and message another agent and send attachments.
Keyboard Shortcuts
You can use keyboard shortcuts to quickly perform common actions. The following shortcuts are available for agents:
- Alt + Shift + > – Move to next conversation
- Alt + Shift + < – Move to previous conversation
- Alt + Shift + S – Cycle through the possible status values
- Alt + Shift + A – Accept an assigned conversation
- Alt + Shift + W – End an ongoing conversation
- Alt + Shift + R – Transfer the currently active conversation
- Alt + Shift + L – Logout from an existing session
- Alt Shift N – Notes – Open notes on an active conversation