This node is an equivalent of a bot automation interaction for an IVR key input. The interaction flow is handled based on the open-ended input provided by the caller for a welcome message or prompt from a Bot and on the use cases defined for the Bot.
| Note: On the flow design canvas, you can move the interaction flow start node to the Conversational Input node if you want it to be the start of the interaction flow. |
To configure this node, set up the following sections:
General Settings
Click the General Settings icon and provide the following information:

- The Custom Name: This is the name by which you will identify the node within the flow.
- Your Message to User: The message that will be played to the customer via the IVR. Select one of the following options from under Choose your message type:
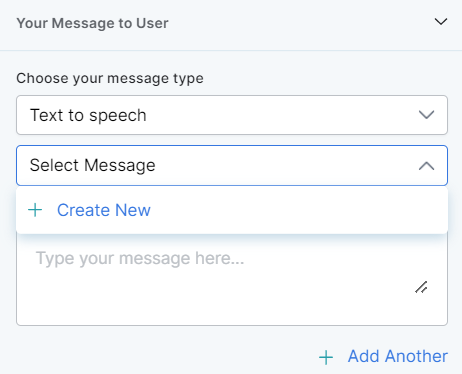
- Text to speech: This option allows you to transcribe text to speech. Type the text to be transcribed in the textbox or select an already configured message.
- Create a new prompt message to be played out for the Text to Speech message type by clicking + Create New. Enter a name for your message, type its contents and select the language.
- Define multiple message types for the prompt message to be played to the customer by clicking + Add Another. In this case, one message will be randomly selected and played during runtime.
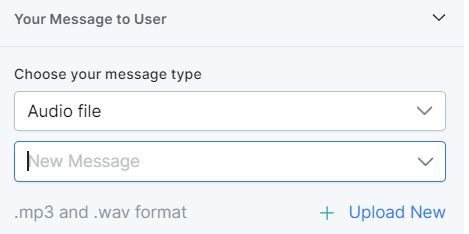
- Audio File: You can type a new message to be played to the customer in the text field or click + Upload New to upload an audio file (.mp3 or .wav format) with the message to be played.
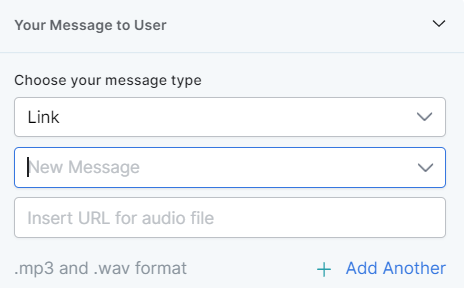
- Link: Click + Create New to add the text of the message you want to play to the customer and insert the URL of an audio file in .mp3 or .wav format. Click + Add Another to add another message URL.
- Text to speech: This option allows you to transcribe text to speech. Type the text to be transcribed in the textbox or select an already configured message.
- Under Choose your Bot, select an option from the dropdown list to link the conversational input to a Virtual Assistant that has the intent-based use cases configured for the experience.
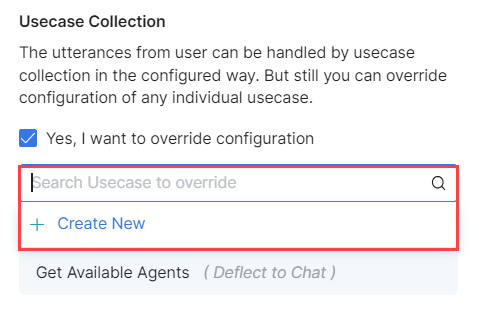
- Under Use Case Collection, select Yes, I want to override the configuration option to override the (call experience/chat experience) flow for an existing use case that has been configured in SmartAssist. When this option is selected, the Experience Flow will take priority over the Use Case whenever both match a customer query.
- Type in, then select the use case you want in the Search Use case to Override text field.
- You can create a new use case by clicking + Create New.
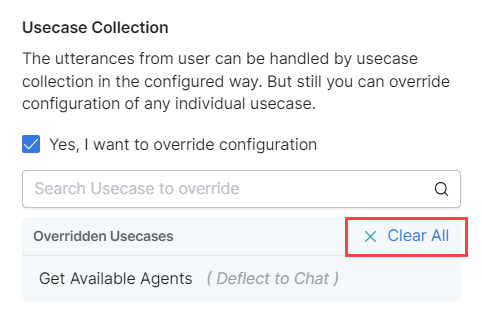
- Click X Clear All to remove all overridden use cases.
Intent Branches
Click the Intent Branches tab to configure the branch and node that will connect to this Conversational Input node.
You can add intent branches within this tab, but you need to create and publish relevant Use Cases for the respective branches to become available. For Use Cases to be relevant, they need to include one of the following:
- Deflect to Chat,
- Dialog Automation,
- Agent Transfer.
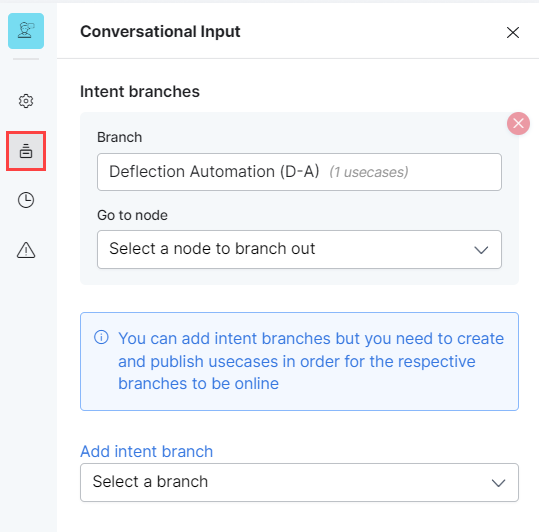
To configure intent branches:
- Select the branch that you want to add,
- Select the node that it should point to. You can select a node type to create a new node or choose a pre-existing node to connect it to the Conversational Input node.
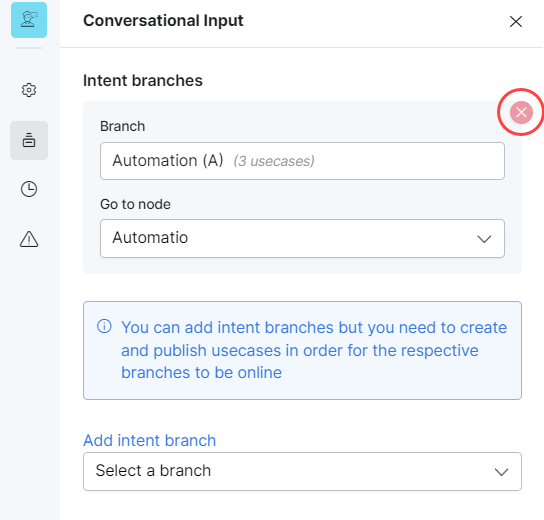
Once you add a branch, the Select a Branch option will move to the bottom of the tab. You can use it again to add more branches.
To delete an Intent Branch, click the X (Delete) icon next to it.
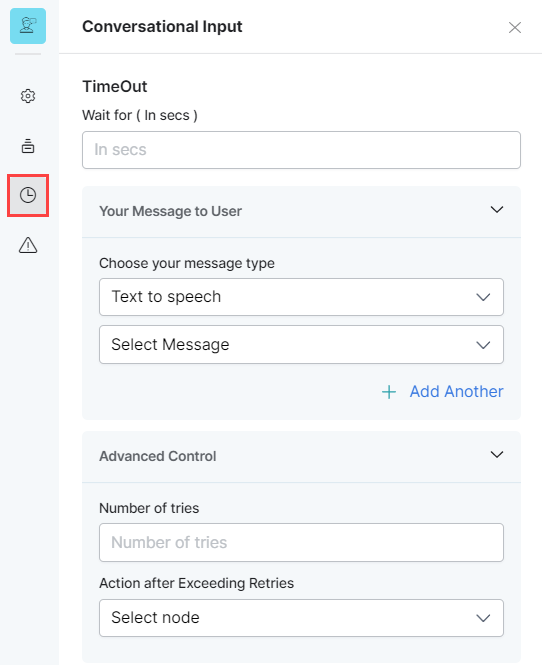
Timeout
Set up the Timeout flow by defining the following fields:
- TimeOut: Type the wait time in seconds, after which a timeout event will occur.
- Your Message to User: From the Choose your message type dropdown list, select an option from Text to Speech, Link, or audio; then, type the message, upload an audio file (.mp3 and .wav formats are only supported for audio files), or provide a URL to the error message to be played out to the customer when a timeout event occurs.
See General Settings for a detailed explanation of these features. - Set the value for Advanced Control > Number of Tries by typing the maximum number of retries or the allowed limit for a customer to key in the input.
- Set the value for Advanced Control > Action after Exceeding Retries by selecting the node to direct the flow after a timeout has occurred.
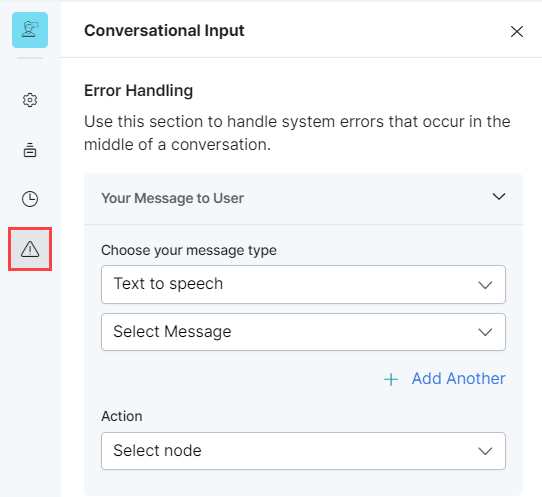
Error Handling
Use this section to handle system errors during customer interactions.
- Your Message to User: Choose the message type from Text to Speech, Link, or audio; then, type the message, upload an audio file (mp3 and .wav formats are only supported for audio files), or provide a URL to the error message that will be played out to the caller when a system error occurs. See General Settings for a detailed explanation of these features.
- Action: Select the node to which you want to direct the error handling flow and define the system behavior. Either select a node type to create the node or identify and select an existing node.