
This node lets you make synchronous or asynchronous requests using SOAP or REST API calls.
You can query or get information from an external system by defining a service request that includes configuring the APIs and passing the parameters.
To configure this node, set up the following:
General Settings
Click the General Settings icon and configure the following:
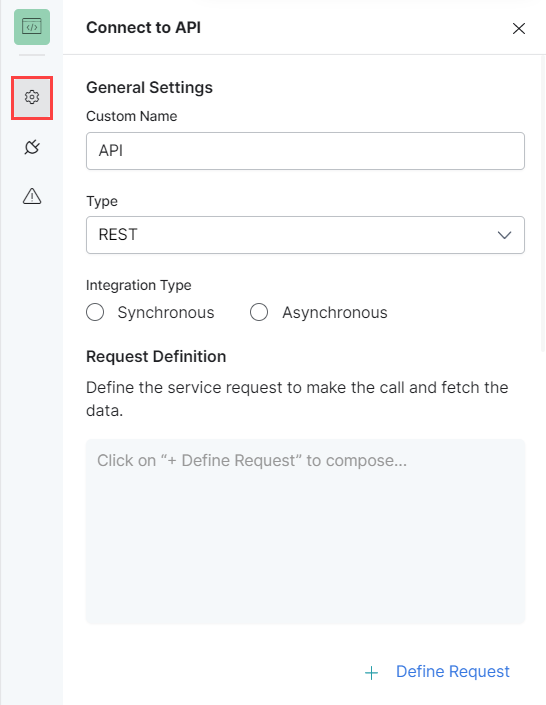
- Provide a Custom Name to identify the node.
- Select an API Type from the following options:
- REST: A REST API conforms to the constraints of the REST API architecture and allows interaction with RESTful web services.
- SOAP: A SOAP API uses the Simple Object Access Protocol (SOAP), which is a messaging protocol for interchanging data in a decentralized and distributed environment.
- Select an Integration Type from the following options:
- Synchronous: The API returns resources, data, or services immediately.
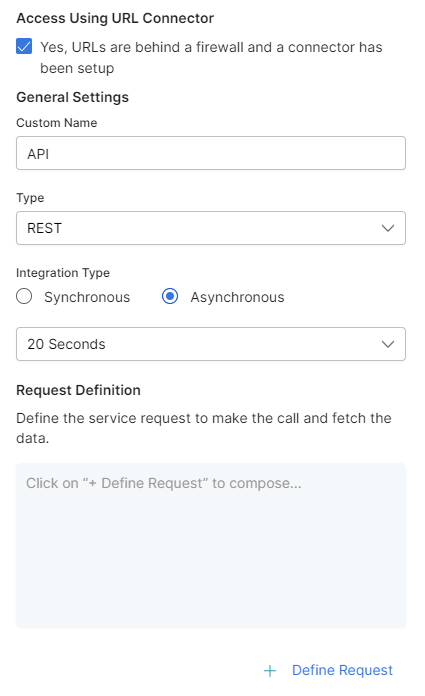
- Asynchronous: The API returns resources, data, or services later based on the number of seconds you select. The default selection is 20s, and the available options range from 8s to 20s. Selecting Handle API Failure Responses (4xx/5xx) instructs the system to treat all 4xx and 5xx responses as failure events. The system then triggers the configured onFailure path to ensure the flow continues without hanging.
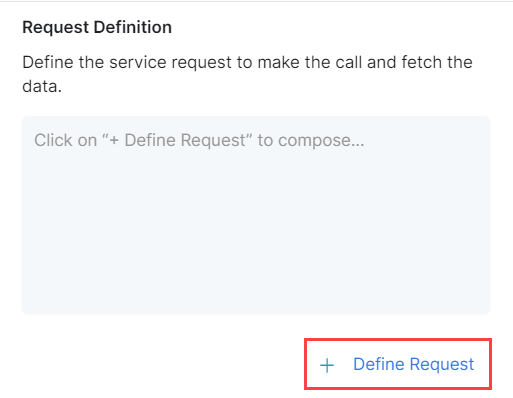
- Configure the API request under Request Definition. Define the GET, PUT, POST, or DELETE service request, along with the API call and parameters to pass. To create a new request, click + Define Request.
- Define your API request by following the steps outlined in Define and Test an API Request, available below.
- Under Access Using URL Connector, select “Yes, URLs are behind a firewall and a connector has been set up” if the API has to be accessed using a URL connector that has been configured. Once this option is selected, you must set up the General Settings as explained above.
Define and Test an API Request
To define and test your API request, follow these steps:
- In the Request Definition section within the API node’s General Settings, click + Define Request.
- The Define Request window opens:
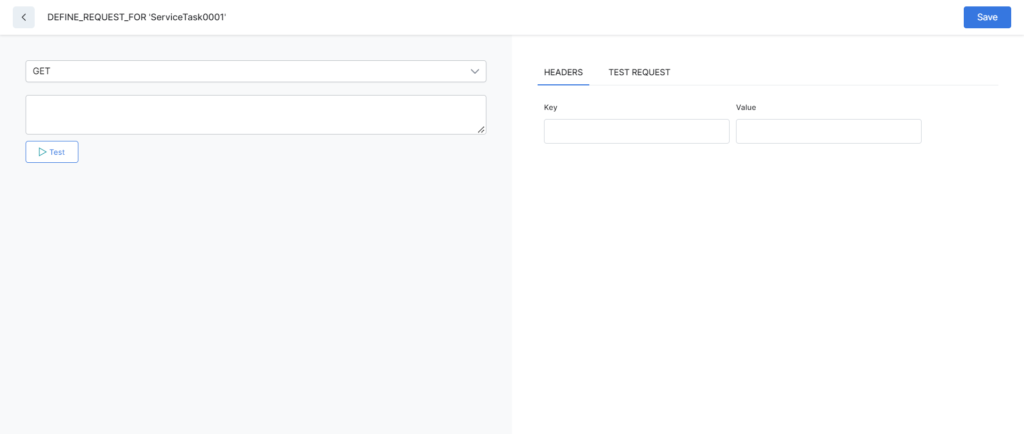
- Select the GET, PUT, POST, PATCH, or DELETE call from the list.

- Paste your API call URL in the text field and click Test.

- Your API call runs successfully if all the inputs provided are valid. Otherwise, an error message is displayed.
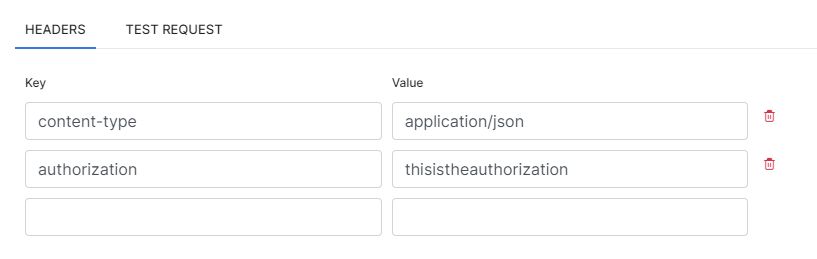
- Provide the details for the Header Key and Value pair. You can add a new pair by typing it in the empty fields. You can delete a pair by clicking the Delete (Bin) icon next to it.
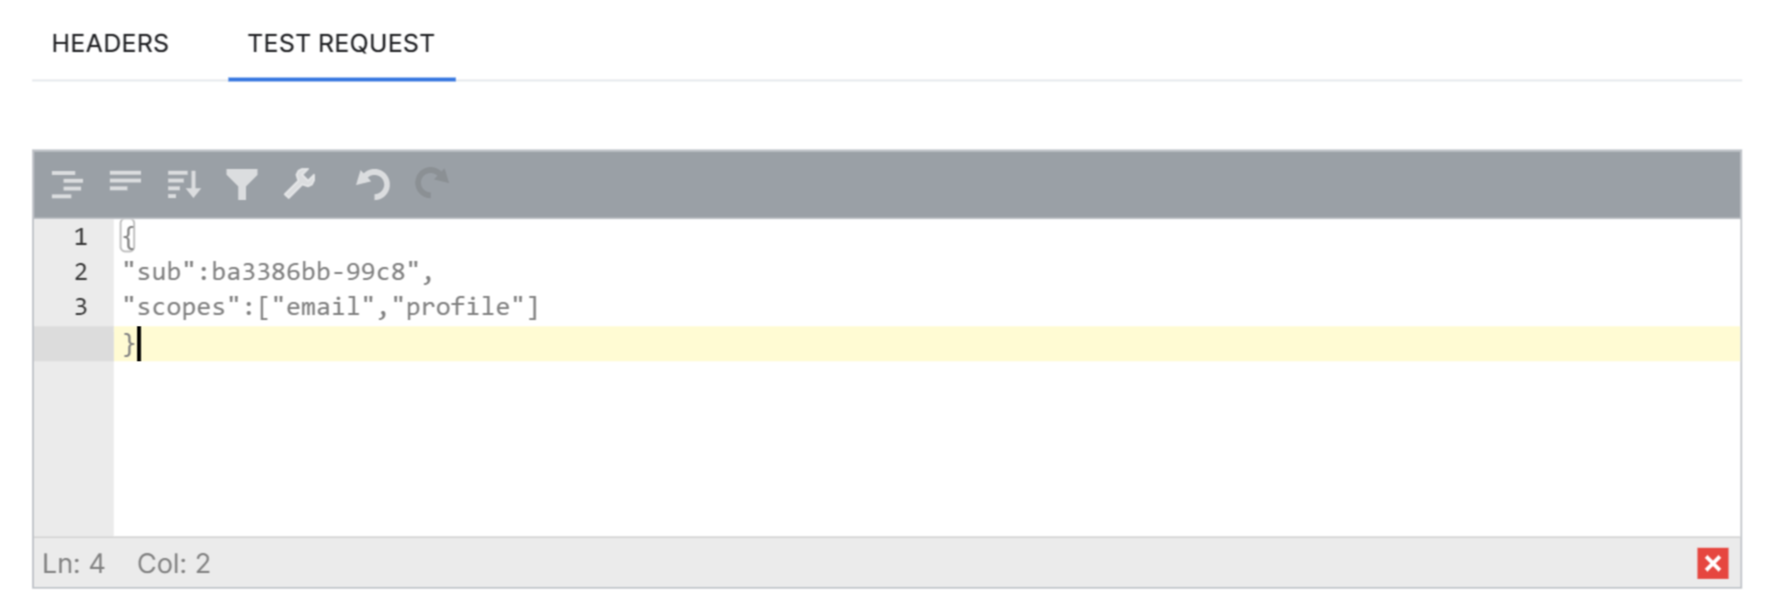
- Click Test Request and paste the request body code in the text field. The text editor provides the following options:
- Format JSON data with indentation and line feeds,
- Compact JSON data by removing white spaces,
- Sort contents,
- Filter, sort or transform contents,
- Repair JSON,
- Undo last action,
- Redo action.

- Click Save after you’ve tested the API successfully.
Actions
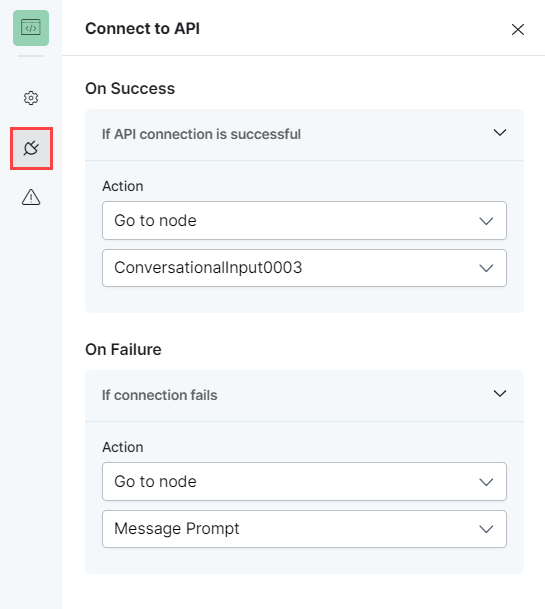
- Click the Actions icon and select the actions that you want the node to trigger when the API call is successful and when it fails.
- For On Success, the selected action defines how the bot handles a successful API call.
- For On Failure, the selected action defines how the bot handles a failed API Call.
Error Handling
Use this section to handle system errors during customer interactions.
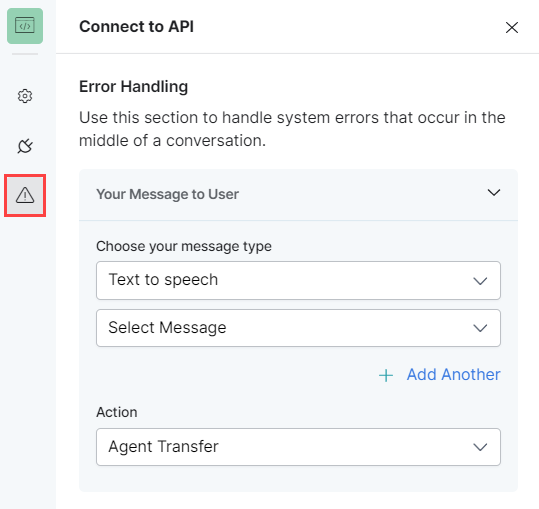
- Your Message to User: The message that will be played or displayed to the customer. Select one of the following options from under Choose your message type:
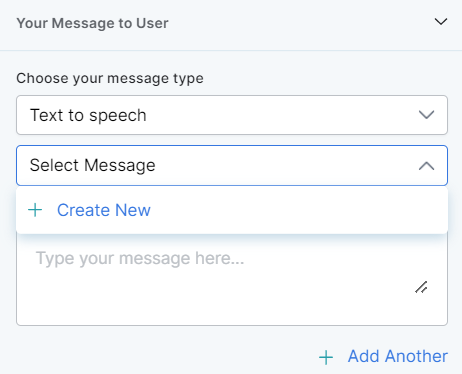
- Text to speech: This option allows you to transcribe text to speech. Type the text to be transcribed in the textbox or select an already configured message.
- Create a new prompt message to be played out for the Text to Speech message type by clicking + Create New. Enter a name for your message, type its contents and select the language.
- Define multiple message types for the prompt message to be played to the customer by clicking + Add Another. In this case, one message will be randomly selected and played during runtime.
- Text to speech: This option allows you to transcribe text to speech. Type the text to be transcribed in the textbox or select an already configured message.
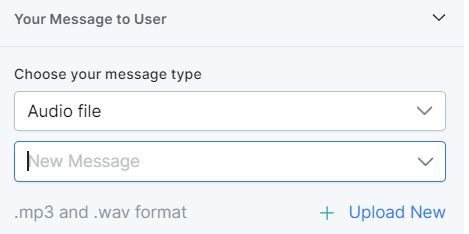
- Audio File: You can type a new message to be played to the customer in the text field or click + Upload New to upload an audio file (.mp3 or .wav format) with the message to be played.
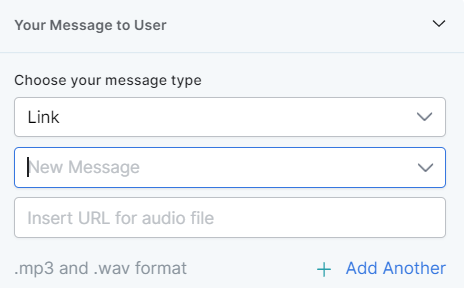
- Link: Click + Create New to add the text of the message you want to play to the customer and insert the URL of an audio file in .mp3 or .wav format. Click + Add Another to add another message URL.
- Action: Select the node to which you want to direct the error handling flow and define the system behavior. Either select a node type to create the node or identify and select an existing node.