
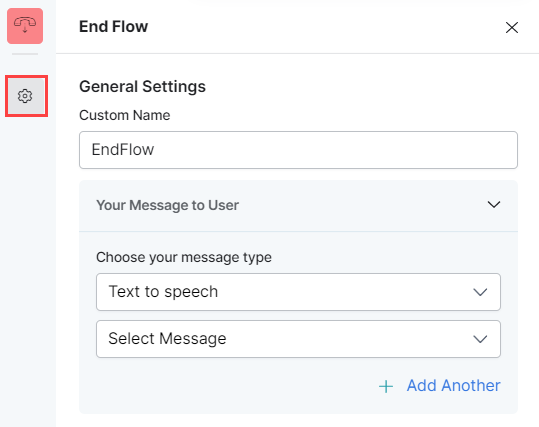
This node allows you to define the message that will be played or displayed to the customer when the experience flow ends.
To configure this node, follow these steps:
- Provide a Custom Name by which to identify the node later.
- Under Your Message to User, provide the message that will be played or displayed to the customer. Select one of the following options from under Choose your message type:
- Text to speech: This option allows you to transcribe text to speech. Type the text to be transcribed in the textbox or select an already configured message.
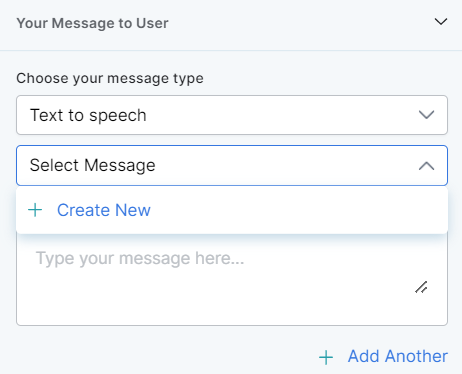
- Create a new prompt message to be played out for the Text to Speech message type by clicking + Create New. Enter a name for your message, type its contents and select the language.
- Define multiple message types for the prompt message to be played to the customer by clicking + Add Another. In this case, one message will be randomly selected and played during runtime.
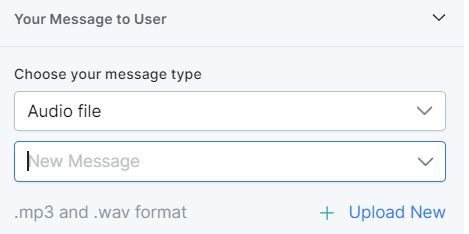
- Audio File: You can type a new message to be played to the customer in the text field or click + Upload New to upload an audio file (.mp3 or .wav format) with the message to be played.
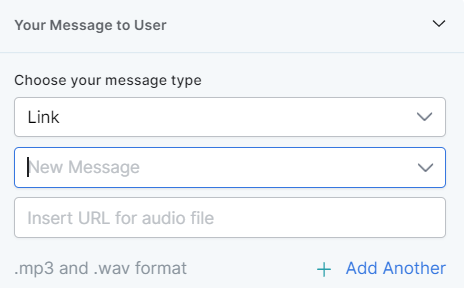
- Link: Click + Create New to add the text of the message you want to play to the customer and insert the URL of an audio file in .mp3 or .wav format. Click + Add Another to add another message URL.
- Action: Select the node to which you want to direct the error handling flow and define the system behavior. Either select a node type to create a new node or identify and select an existing node.
- Text to speech: This option allows you to transcribe text to speech. Type the text to be transcribed in the textbox or select an already configured message.