This option helps configure the audio played to a caller while on hold or waiting in the queue.
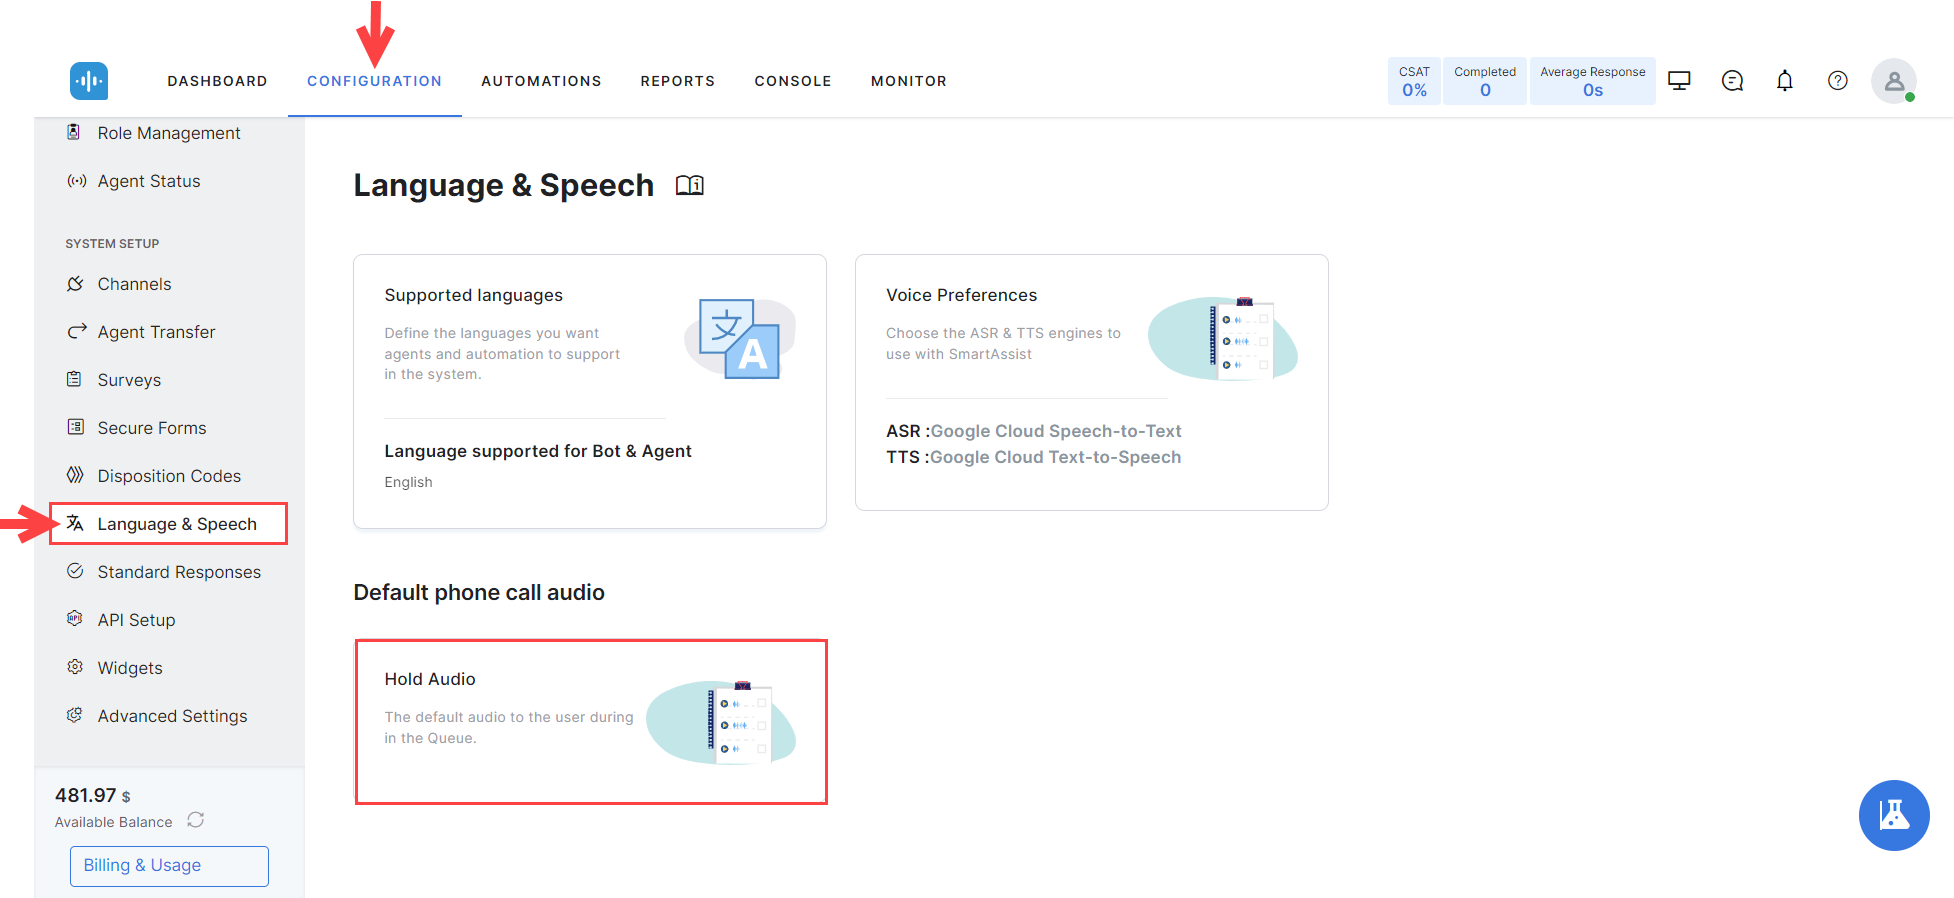
To configure the Hold Audio, go to Language & Speech and select the Hold Audio option.
Add Hold Audio Files
- In the Hold Audio panel, click Browse to select and upload your .WAV audio file. Alternatively, you can drag and drop the file to the panel.
- Once the file uploads, you can adjust the audio file name in the Rename Audio text area.
- Click Save to add the new audio file and it is automatically added to the Hold Audio list. The uploaded audio plays to the caller while on hold or waiting in the queue.
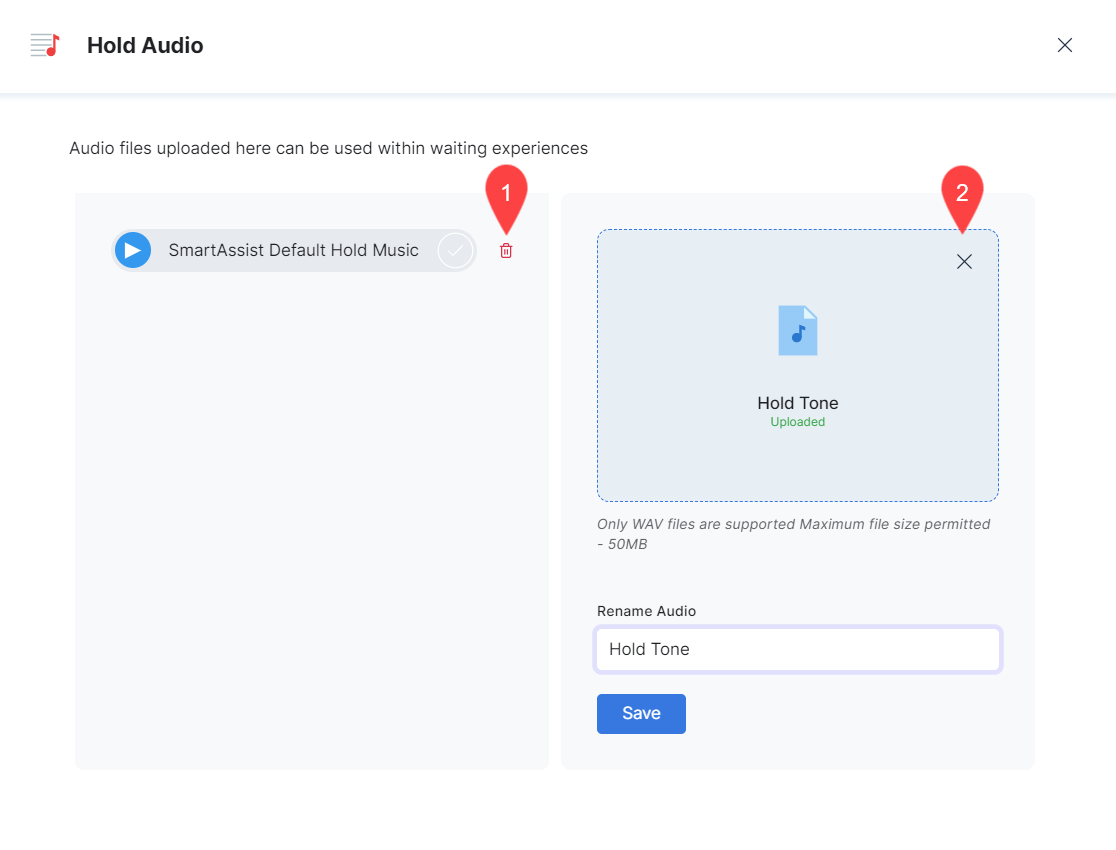
Delete Hold Audio Files
The available audio file deletion methods are listed below and illustrated in the following screenshot:
- Delete a file from the saved list by clicking the Delete (bin) icon next to it. You will be asked to confirm your choice. Files deleted from the list have to be reuploaded if you change your mind.
- Remove an uploaded file that has not yet been saved to the list by clicking the Delete (x) button on the top right corner of the upload panel.