
This feature lets you display various statuses of an Agent – such as available, offline, busy, or away – along with a brief description for each status. You can add new statuses and edit or delete the existing ones.
The Agent Status Live Board
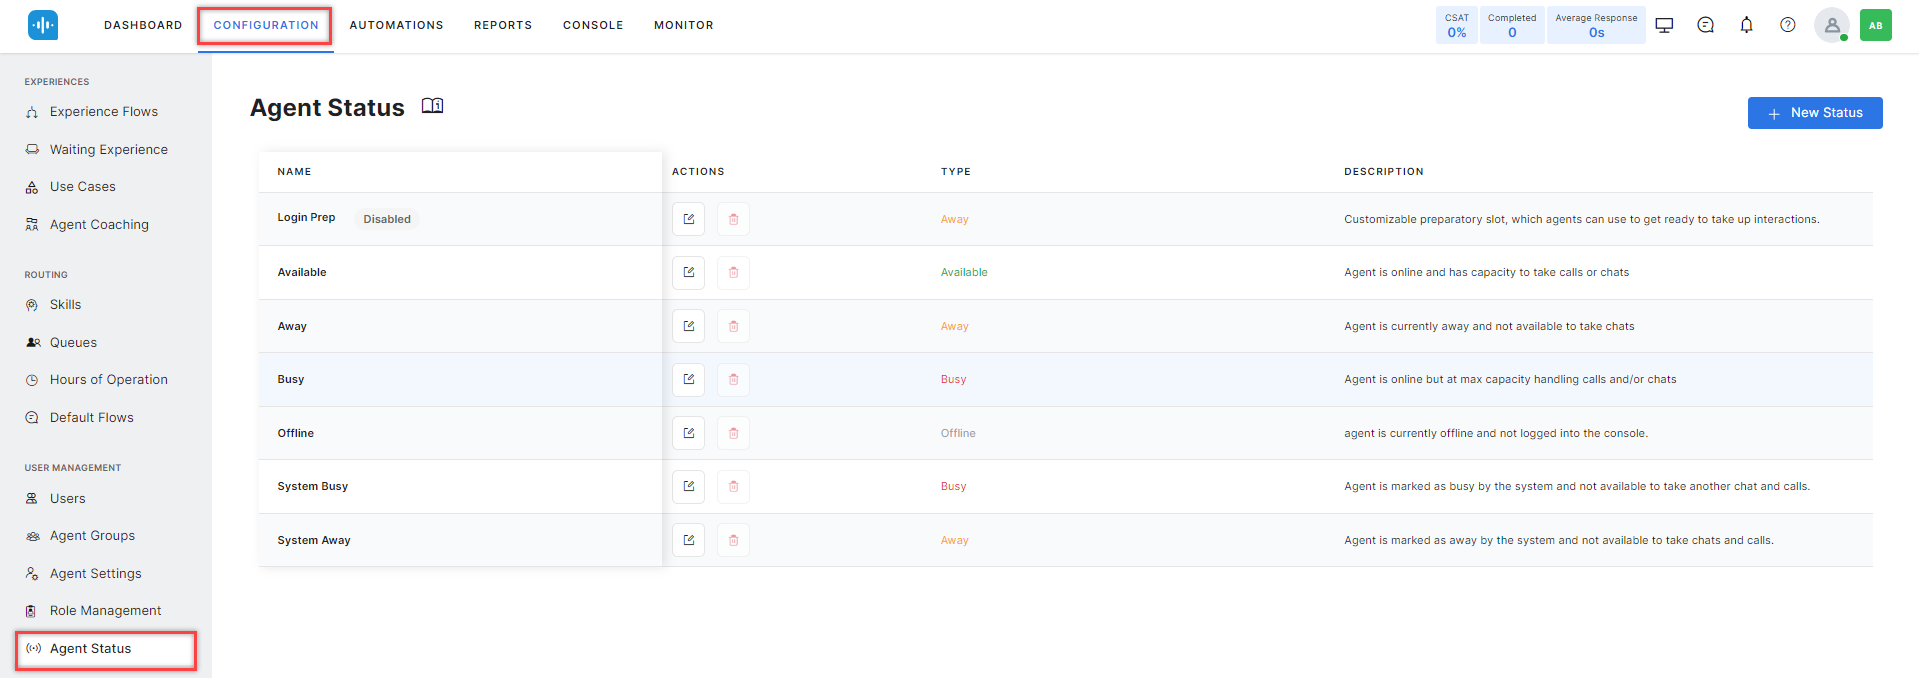
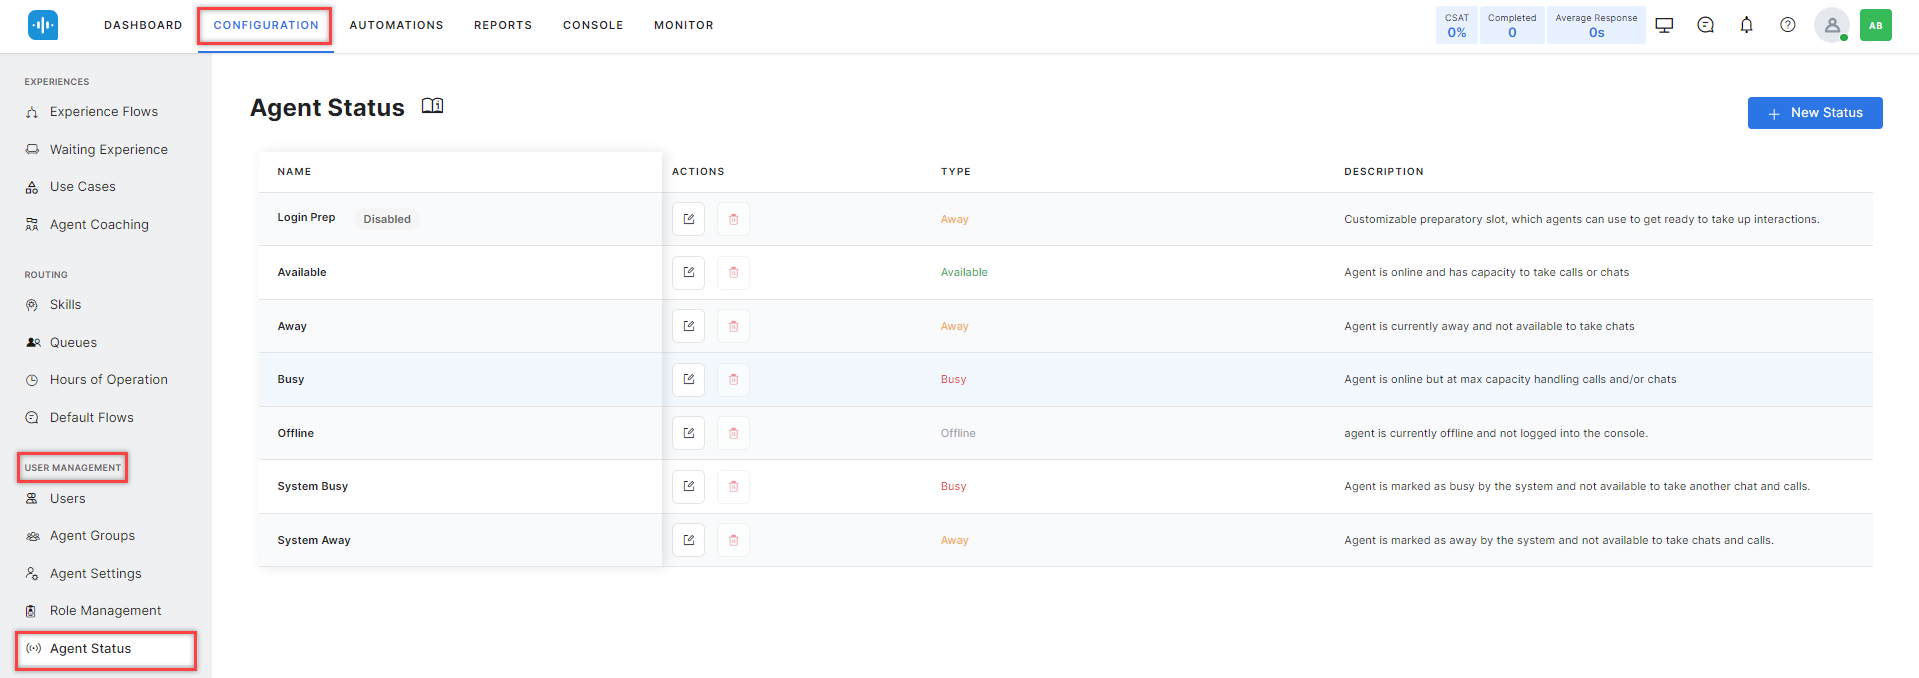
You can find the Agent Status section by going to Configuration > User Management > Agent Status.
Here you can see a list of existing statuses, along with the following information:
- Name: The name of the status that is displayed within the Agent Console.
- Actions: The available action is to Edit the status entry.
- Type: The type of status, mentioning whether the agent is Available, Away, Busy, or Offline while the particular status is set.
- Description: A short description of the status.
System Away and System Busy Status
System Away: When an agent does not accept or respond to an interaction within the configured acceptance timeout, the agent’s status automatically changes to system away. Learn more.
System Busy: When all the slots assigned to an agent are occupied, the agent’s status automatically changes to system busy. Learn more.
Create an Agent Status
To create a new agent status, follow these steps:
- In the Agent Status section, click + New Status.
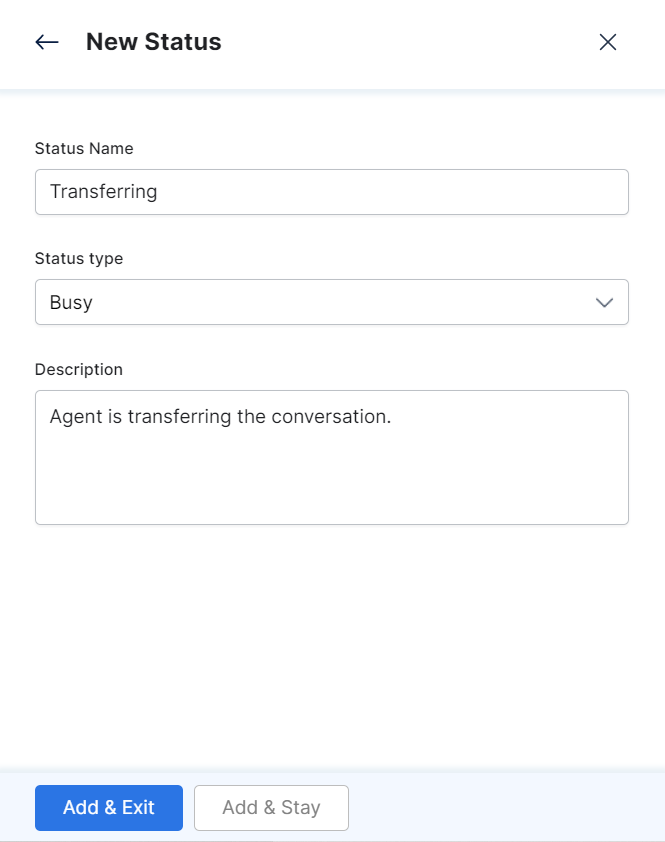
- In the New Status window, enter the following details:
- Status Name – Enter the status name.
- Status Type – Select the status type: Away or Busy.
- Description – Type in a brief description of the status.
- Click Add & Exit to create the status and exit the window or click Add & Stay to create the status and continue to a new one.
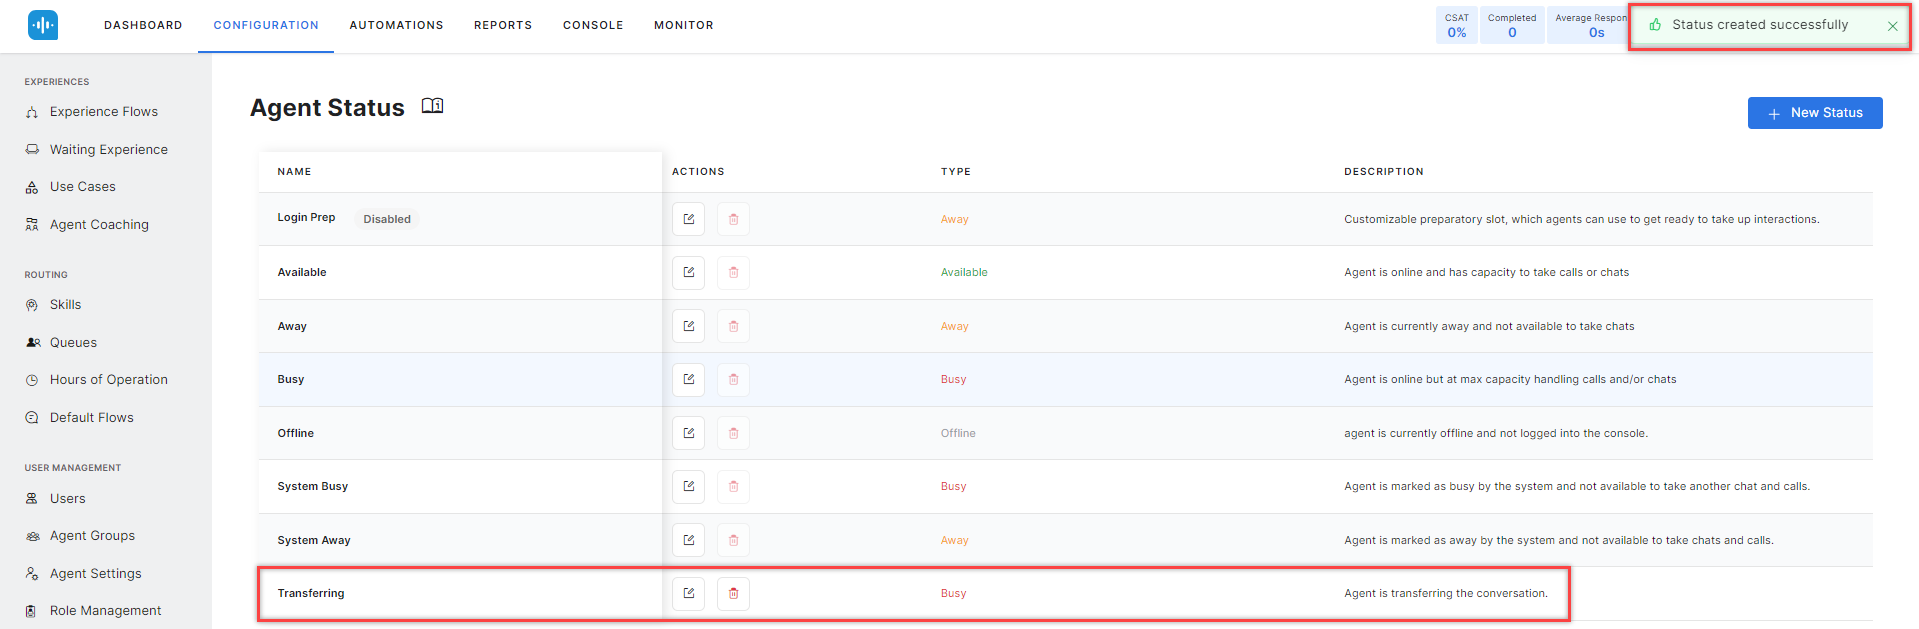
- The status created successfully success message is displayed on-screen and the new status is added to the Agent Status list.
Edit an Agent Status
To edit an existing Agent status entry, follow these steps:
- In the Agent Status section, click the Edit icon corresponding to the status entry that you want to modify.
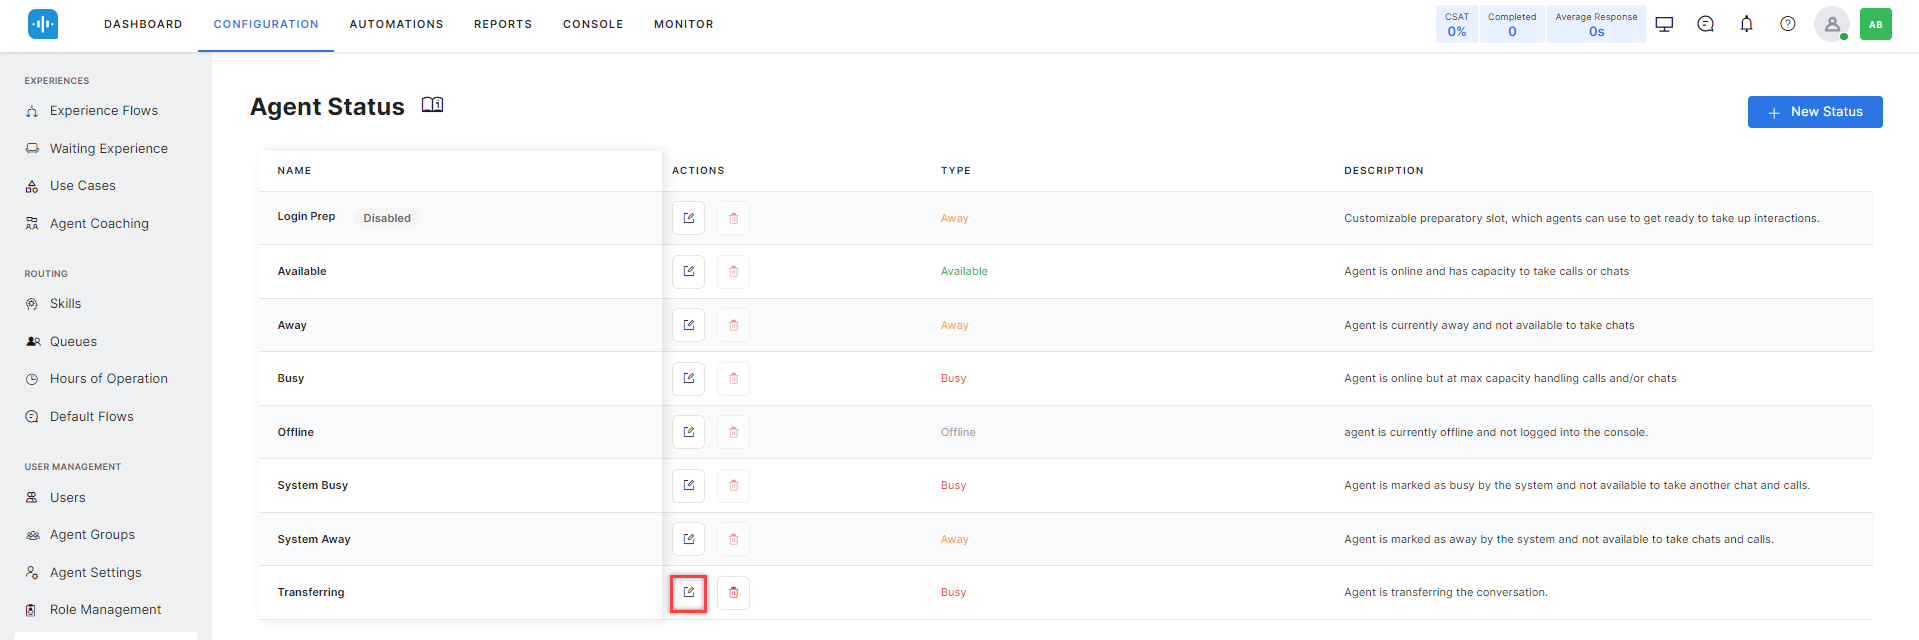
- In the Edit Status window, edit the Status Name, Status Type, and/or Description, then click Update.
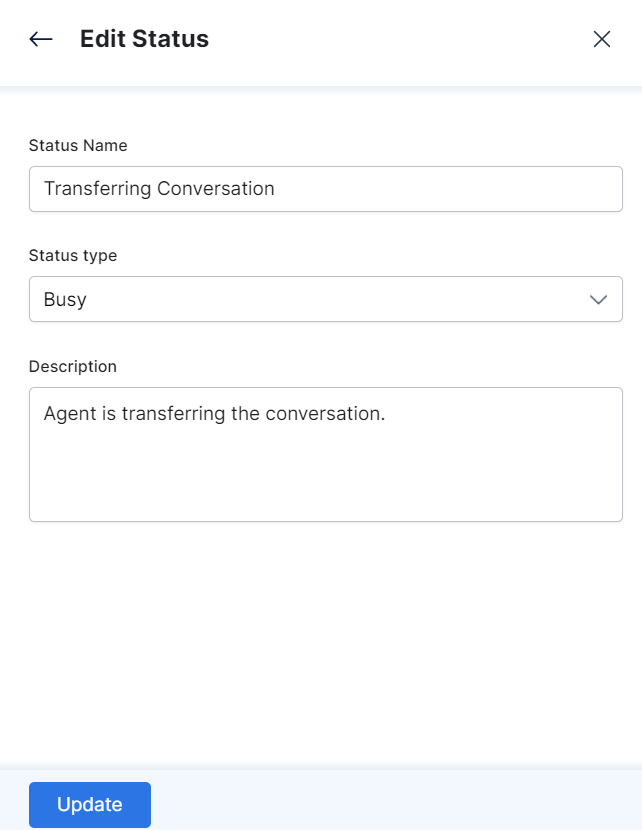
- The Status updated successfully message appears in the window and the modified values reflect in the Agent Status window.
Delete an Agent Status
| Notes: 1. The default statuses (Available, Away, Busy, and Offline) cannot be deleted. Only custom statuses provide this option. 2. Deleted Agent Status entries cannot be restored. |
To delete an existing Agent Status entry, follow these steps:
- In the Agent Status section, click the Delete icon corresponding to the status that you want to delete.
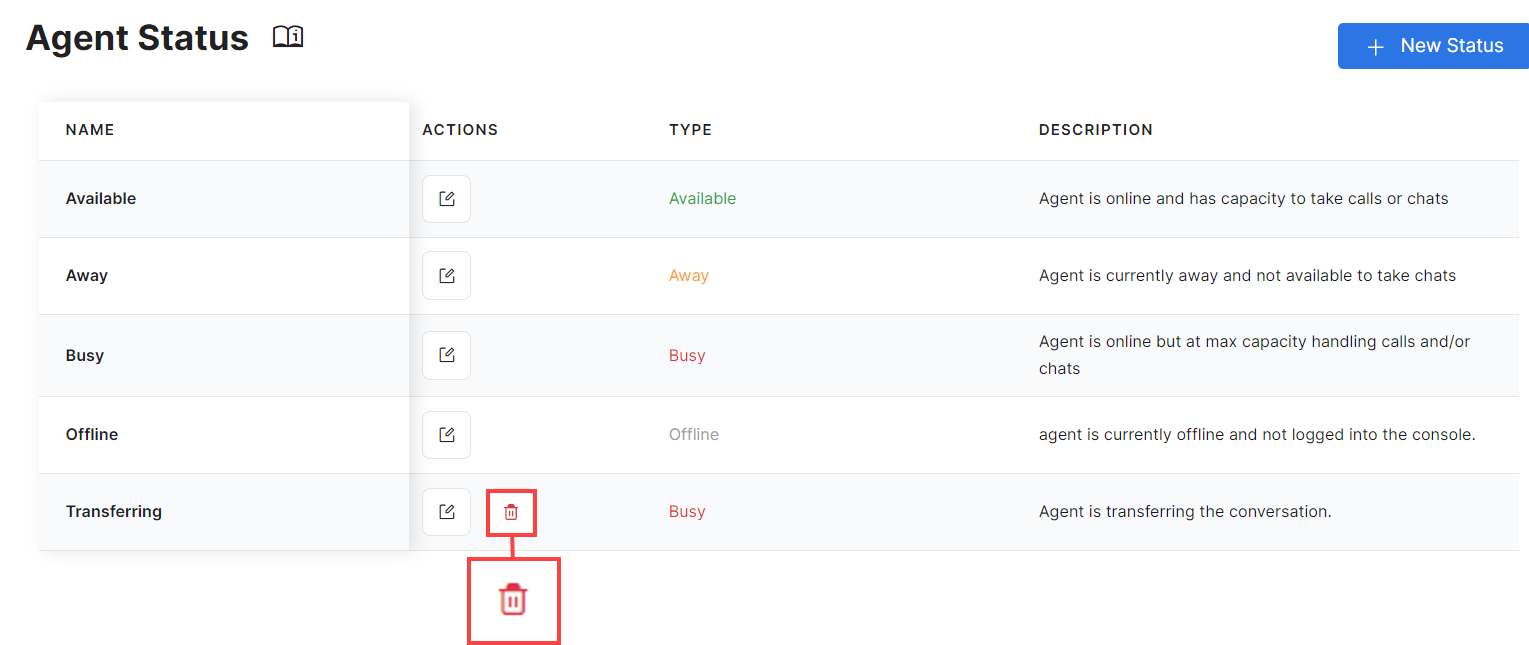
- You will be asked to confirm your choice. Click Yes to confirm.
- A success status message is displayed and the deleted Agent Status is removed from the list.
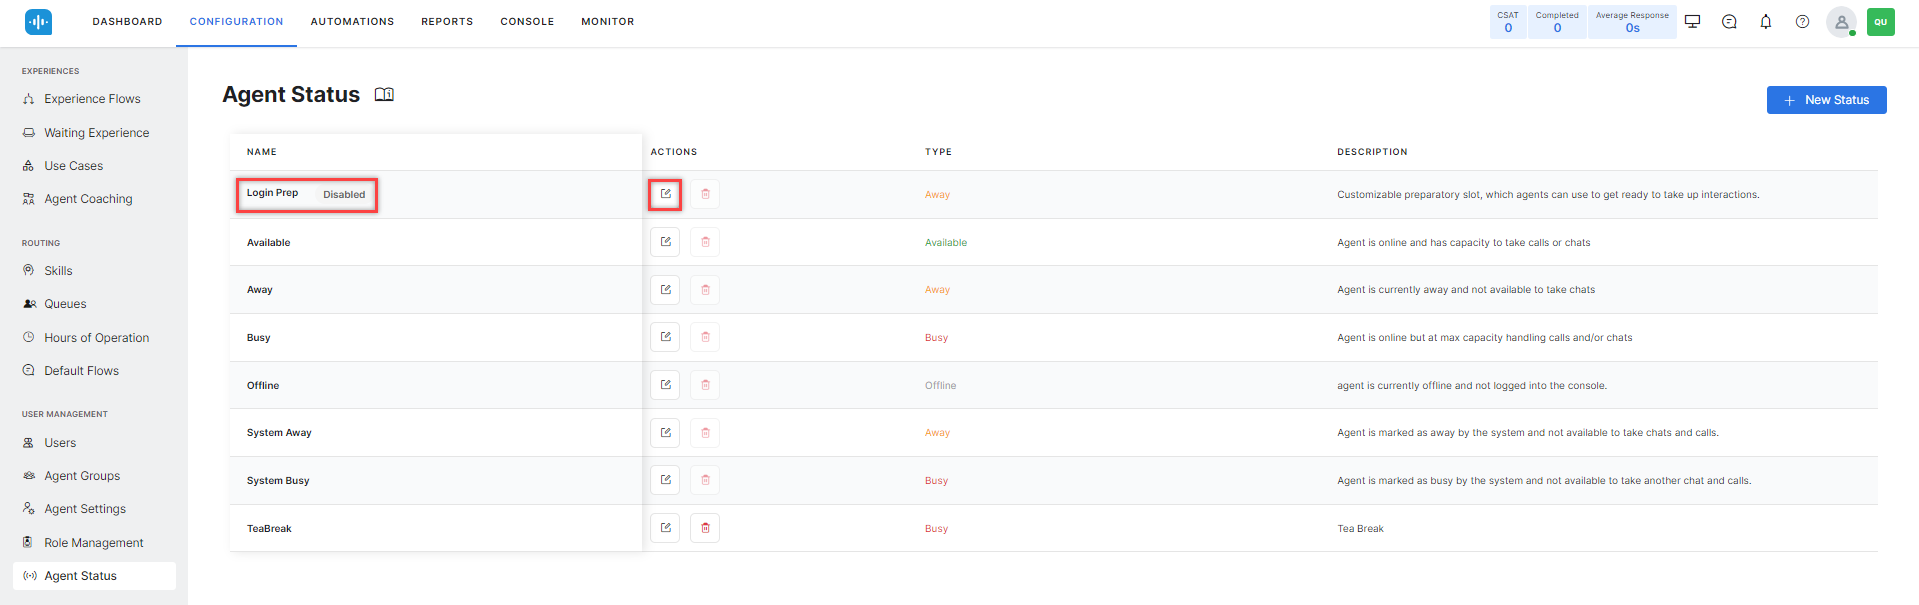
Configure Login Prep Status
Login Prep status ensures agents do not receive interactions immediately after they log in on SmartAssist. This status provides agents with a designated time to prepare before they start receiving interactions. Administrators can enable and configure this status for their agents.
Steps to enable and configure Login Prep status:
- Go to CONFIGURATION > USER MANAGEMENT > Agent Status.
- By default, the login prep status is disabled. Click the Edit button to enable login prep.
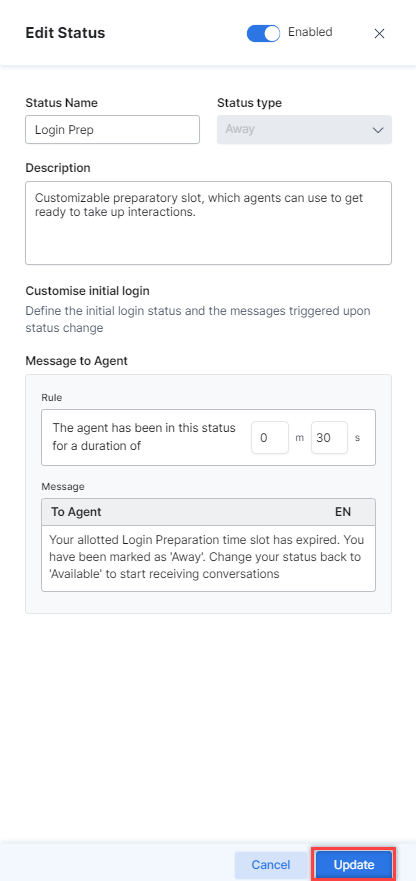
- On the Edit Status window, turn on the toggle to Enabled.
You can customize the following fields:- Status Name
- Description
- Message to Agent
- Rule (default 30 seconds)
- Message
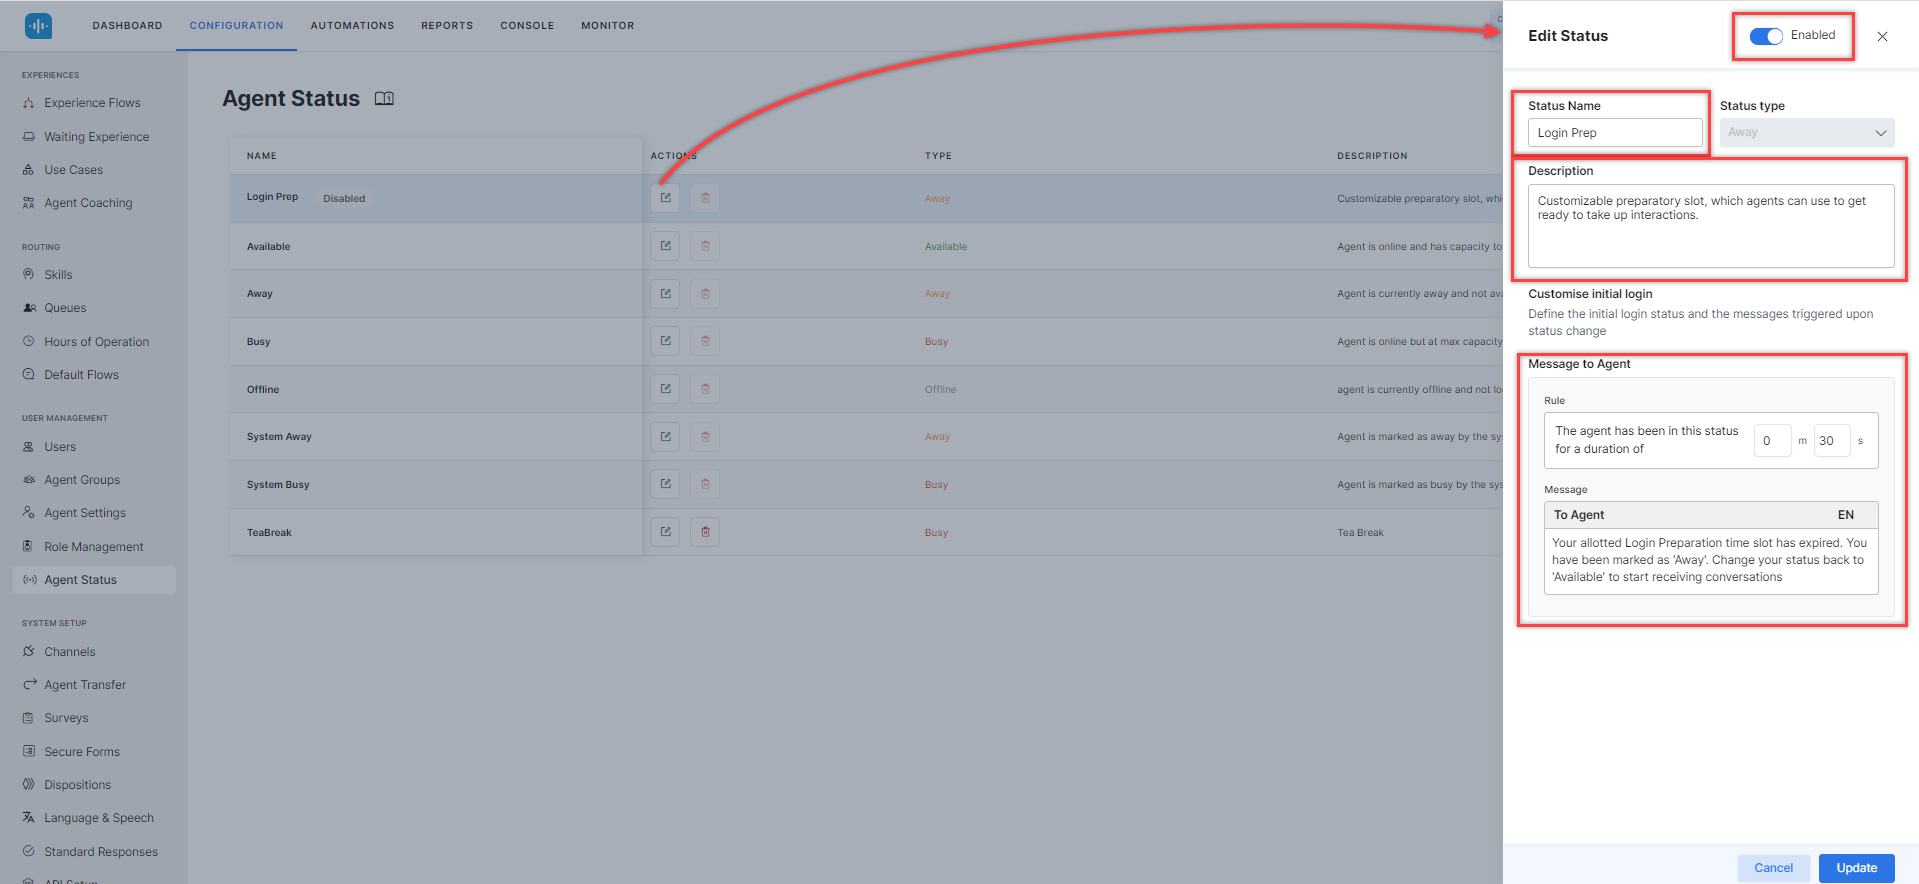
- Click Update to save the changes.
A confirmation message is displayed.
Once enabled, the Login Prep becomes the default status for every new login for the agent. Learn more.