Access Automation Tab
SmartAssist allows contact center supervisors to track the Incoming Volume of all conversations (call, chat, e-mail) of agents mapped to the selected channels.
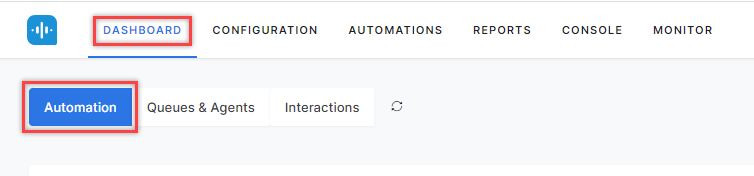
To access the Automation tab, go to DASHBOARD > Automation.
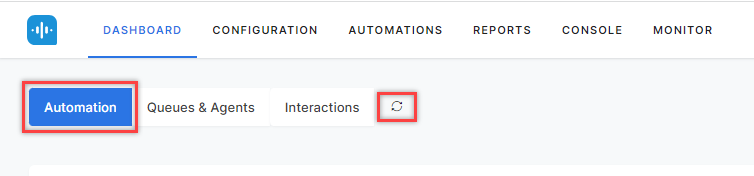
Automation Tab Refresh
The Automation tab is refreshed when a supervisor clicks the Refresh button.
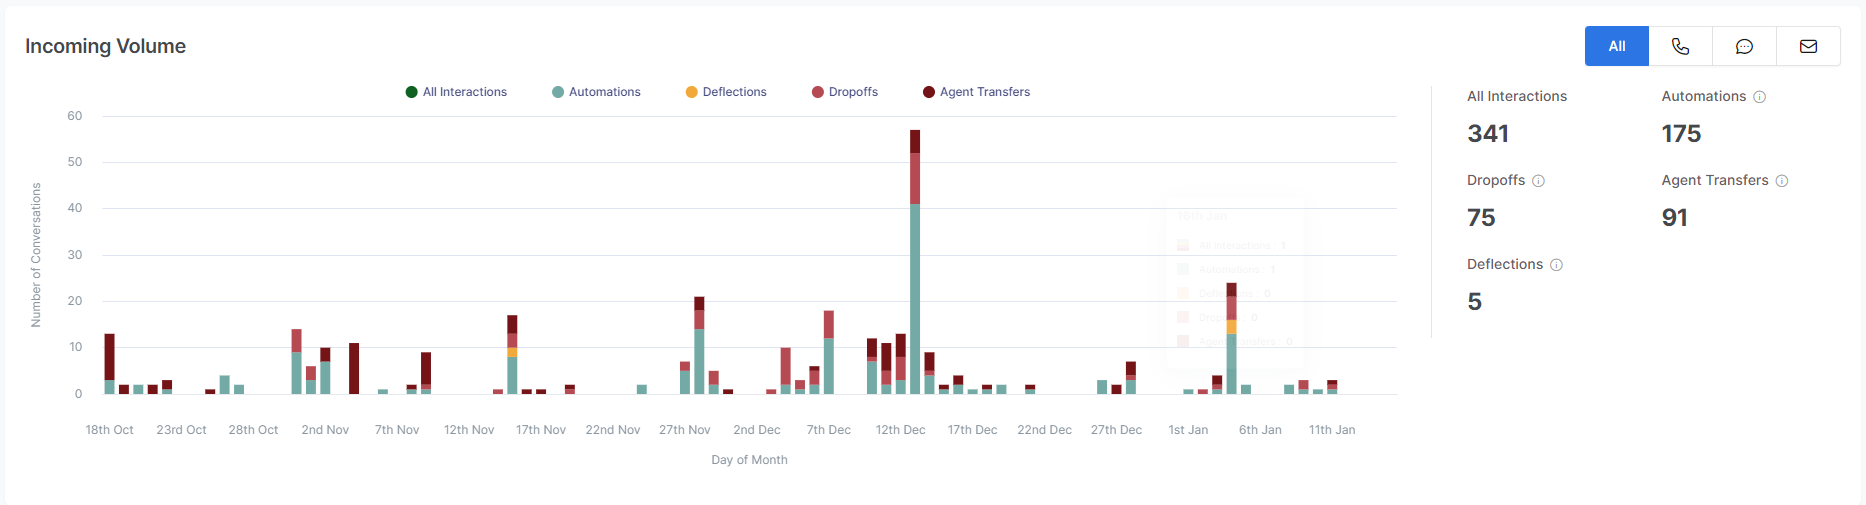
Incoming Volume
This section displays the following metrics:
- All Interactions – Total conversation count for a selected time range.
- Automations – Completed conversation count for a specific time range without connecting to an agent.
- Dropoffs – Conversation count for a chosen time range where the customer dropped off before receiving a resolution.
- Agent Transfers – Conversation count of interactions transferred to agents for a specific time range.
- Deflections – Count of channel changes during conversations for a selected time range.
Click the legends to see the conversation counts in the selected categories during the selected time.
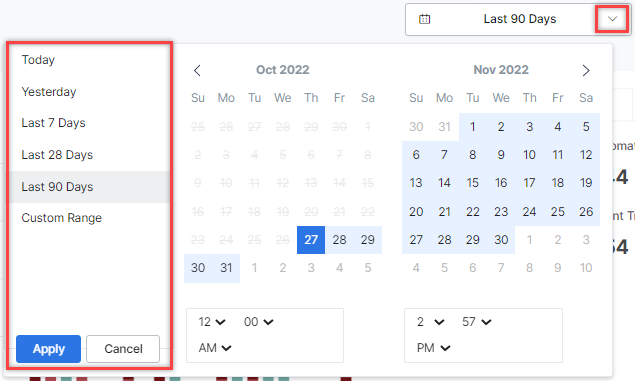
Time Selection
You can filter automation data for a specific time range. You can choose a particular time range and click Apply.
Filters
To avoid repeatedly filtering your choices, you can create and save multiple filters on the Automation tab.
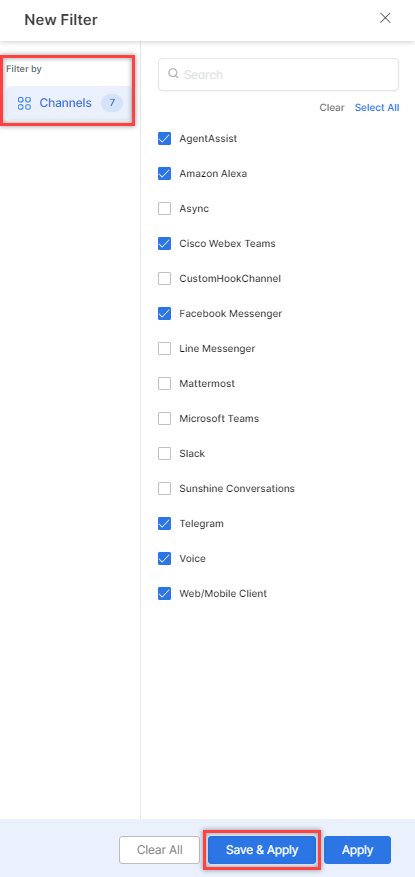
Create Filter
- Click the Filter button.

- Click New Filter.

- Select the Channels.
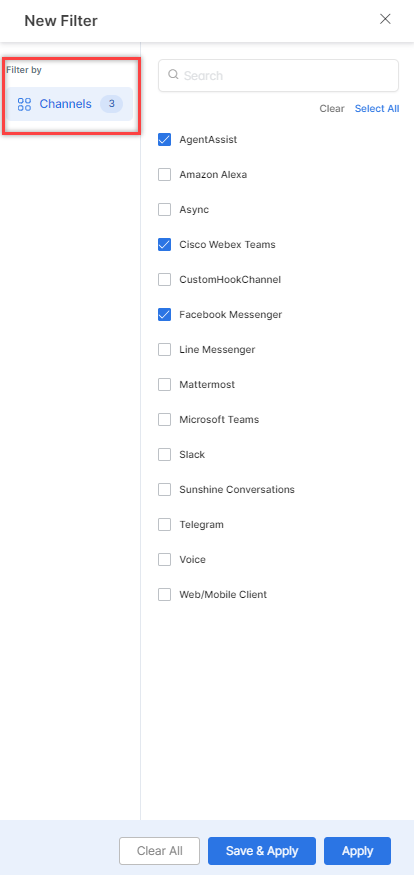
Select from the below available options:
- Clear – Clears the selection.
- Save & Apply – Saves the filter, and it appears when selected.
- Apply – Applied for one instance and not saved.
- Click Save & Apply.

- On the pop-up window, enter a name for the filter and click Save & Apply.

A confirmation message is displayed, and the filter is created.
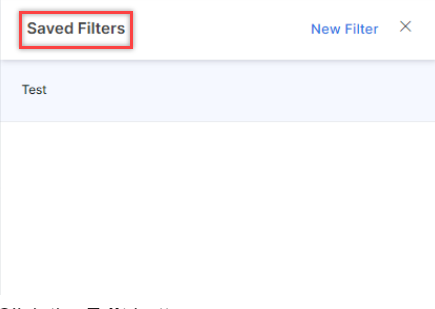
Edit Filter
Steps to edit a filter:
- Click the Filters tab. The Saved Filter name appears.
- Click the Edit button.
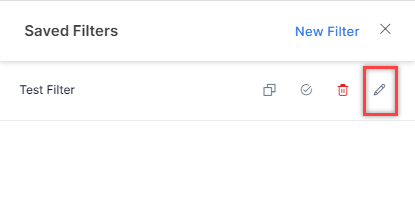
- Make the necessary changes and click Save & Apply.
A confirmation message is displayed, and the filter is updated.

Copy Filter
- Click the Duplicate button.
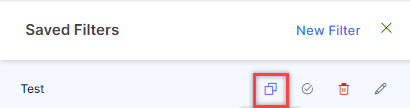
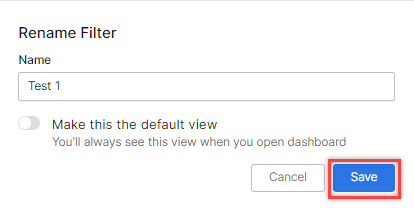
- On the Rename Filter window, enter a name for the filter and click Save.
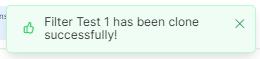
A confirmation is displayed and a copy of the filter is created.
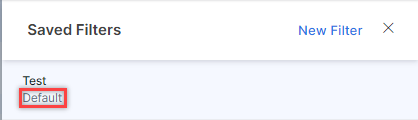
Mark as Default
- Click the Mark as Default button.

- A confirmation message is displayed and the filter is marked as default.
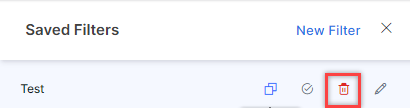
Delete Filter
- Click the Delete button.
- A Delete Filter message appears. Click Delete.
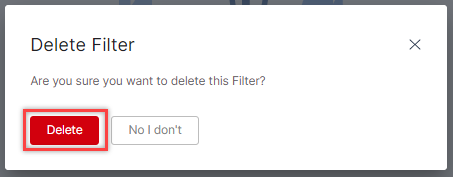
A confirmation message is displayed and the filter is deleted.