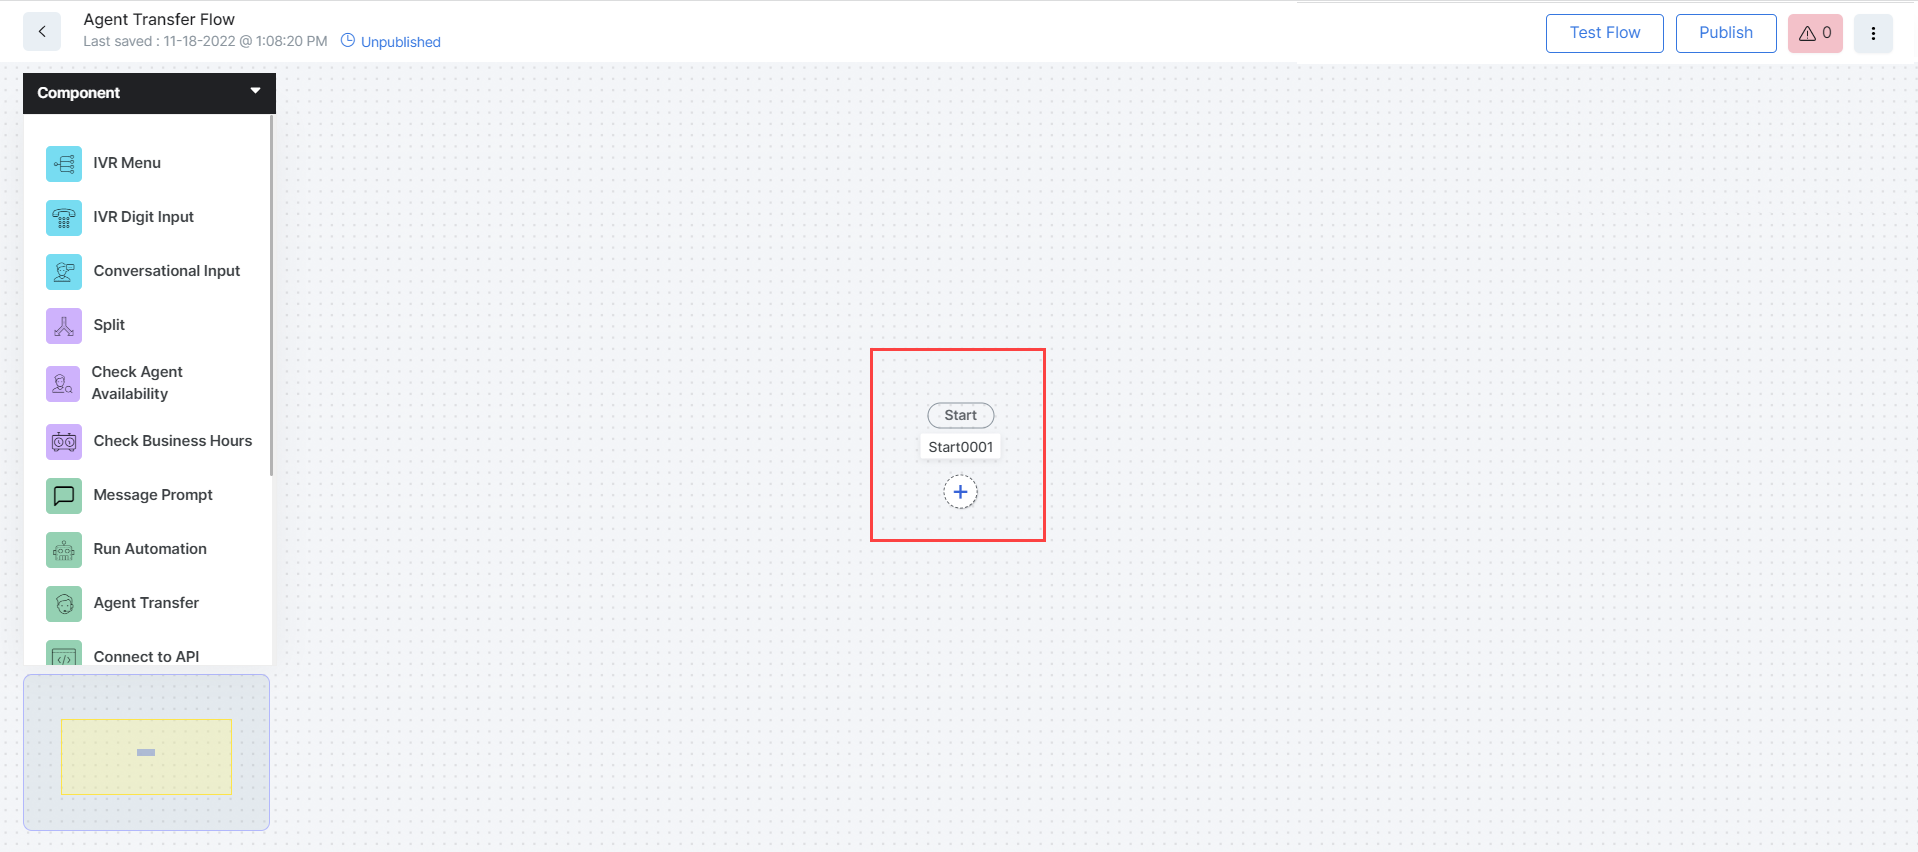
Once your Flow entry is created, the Experience Flow Designer is displayed. The initial ‘Start’ node is created by default, so you can begin creating the Experience Flow from it.
The Experience Flow Designer includes the following elements:
- The top toolbar,
- The Canvas, containing the default Start node and any nodes you might add later, using the Add New Node option,
- The Nodes Panel,
- The Canvas Map.
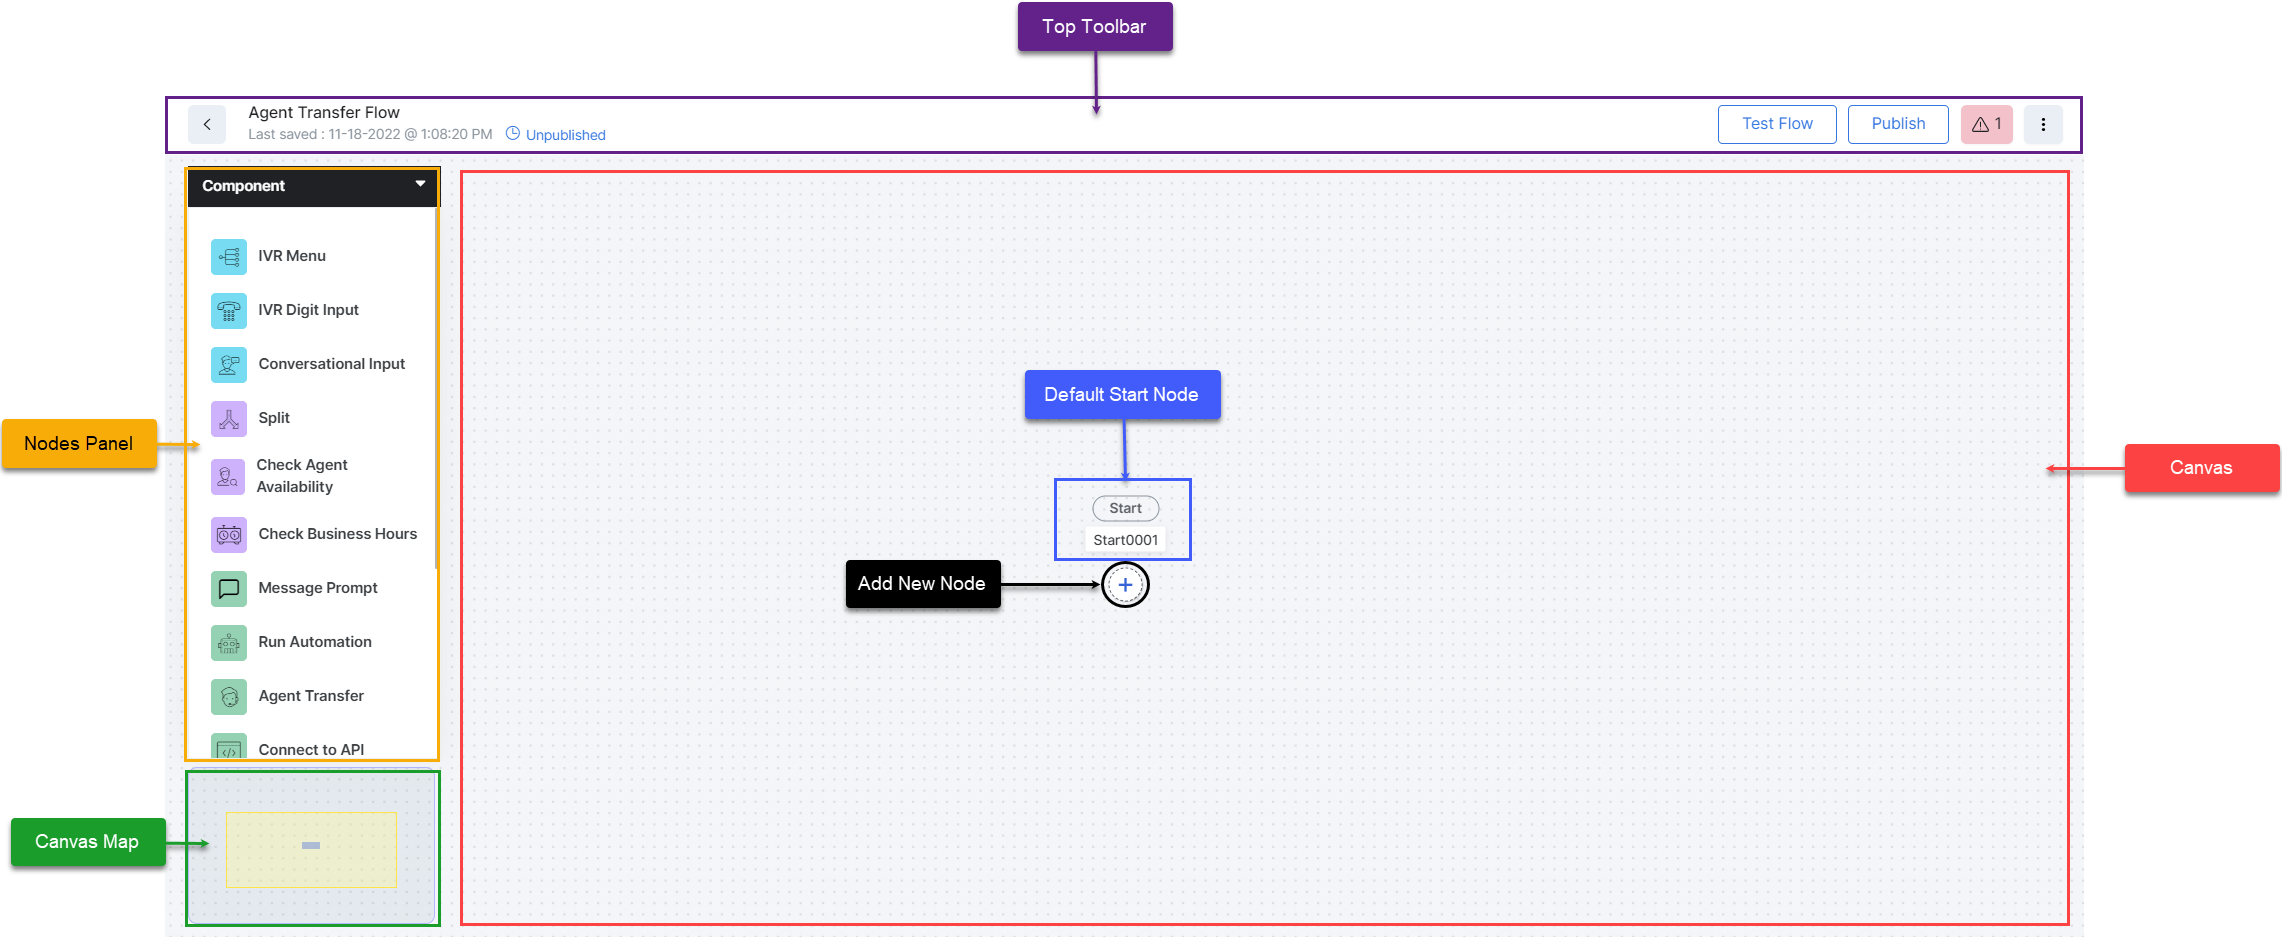
The Top Toolbar
The top toolbar provides access to the following:
- A Back button that lets you exit the designer and go back to the Experience Flow Live Board

- The Experience Flow Name provided while creating it, as explained above, under Adding an Experience Flow.
- The Last saved timestamp (The date and time when the flow was last saved).
- The Publishing status.

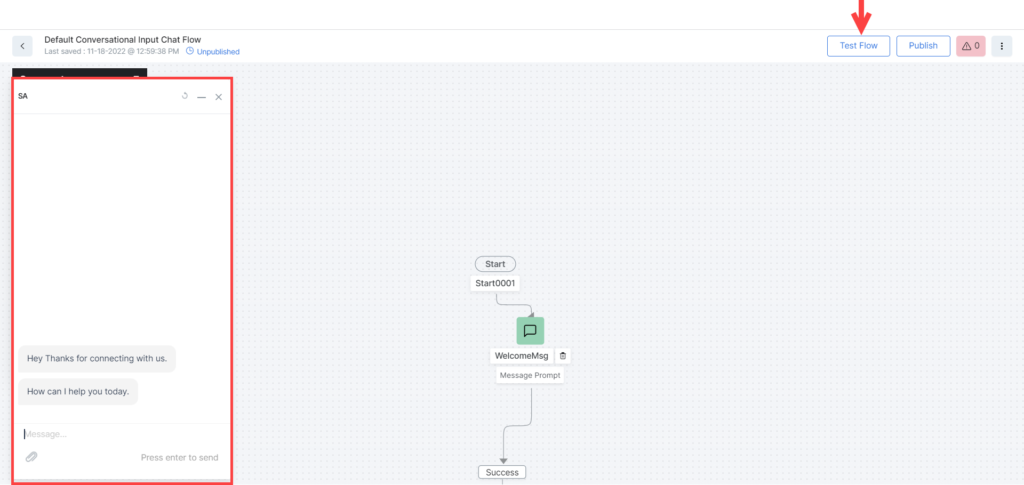
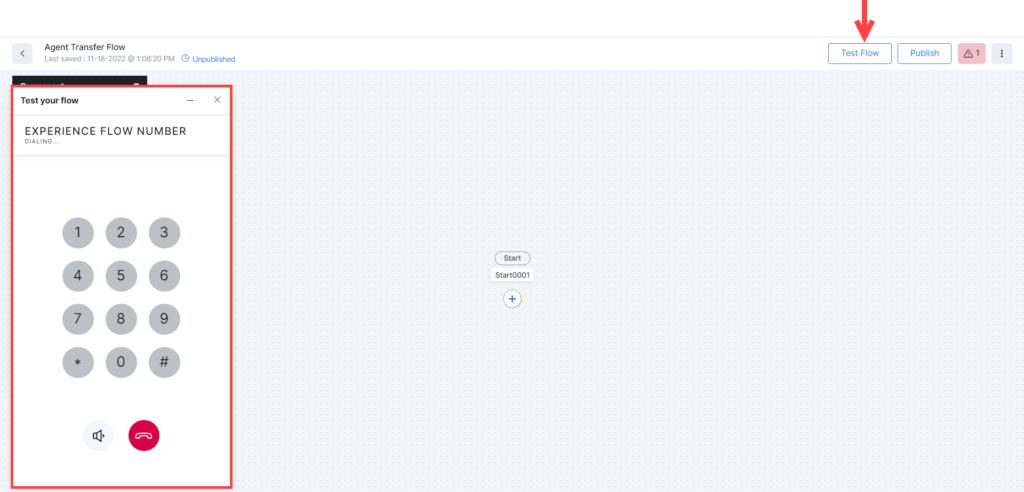
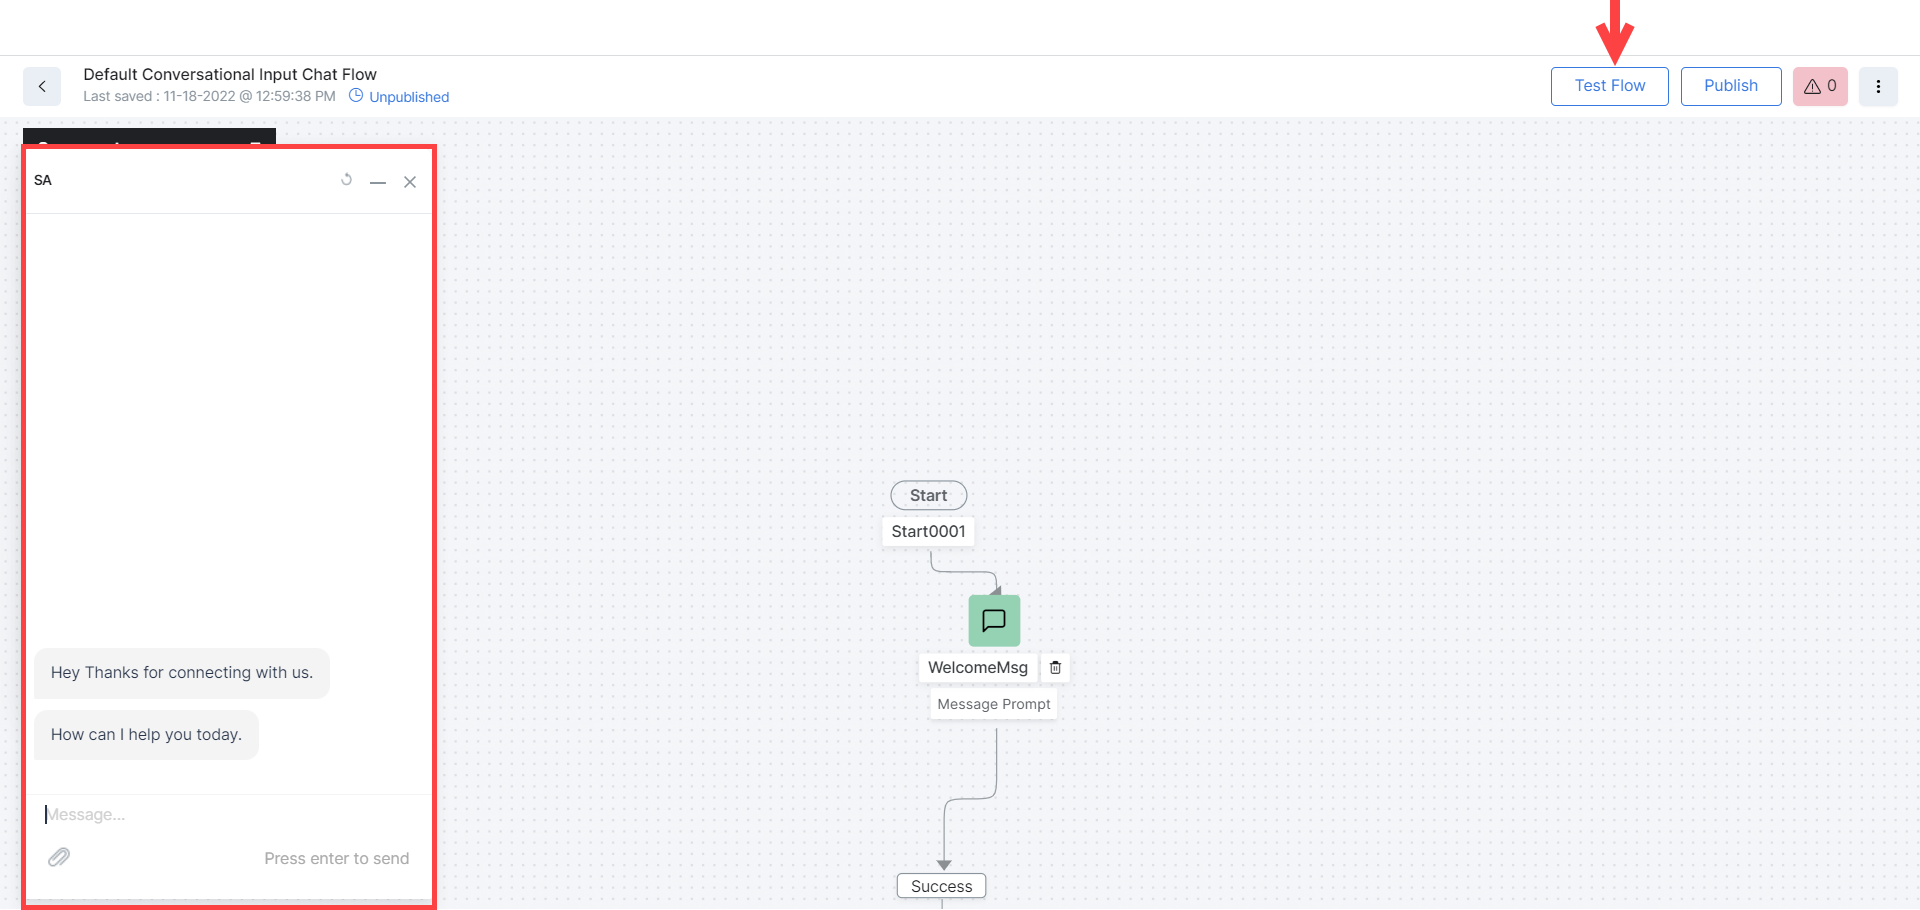
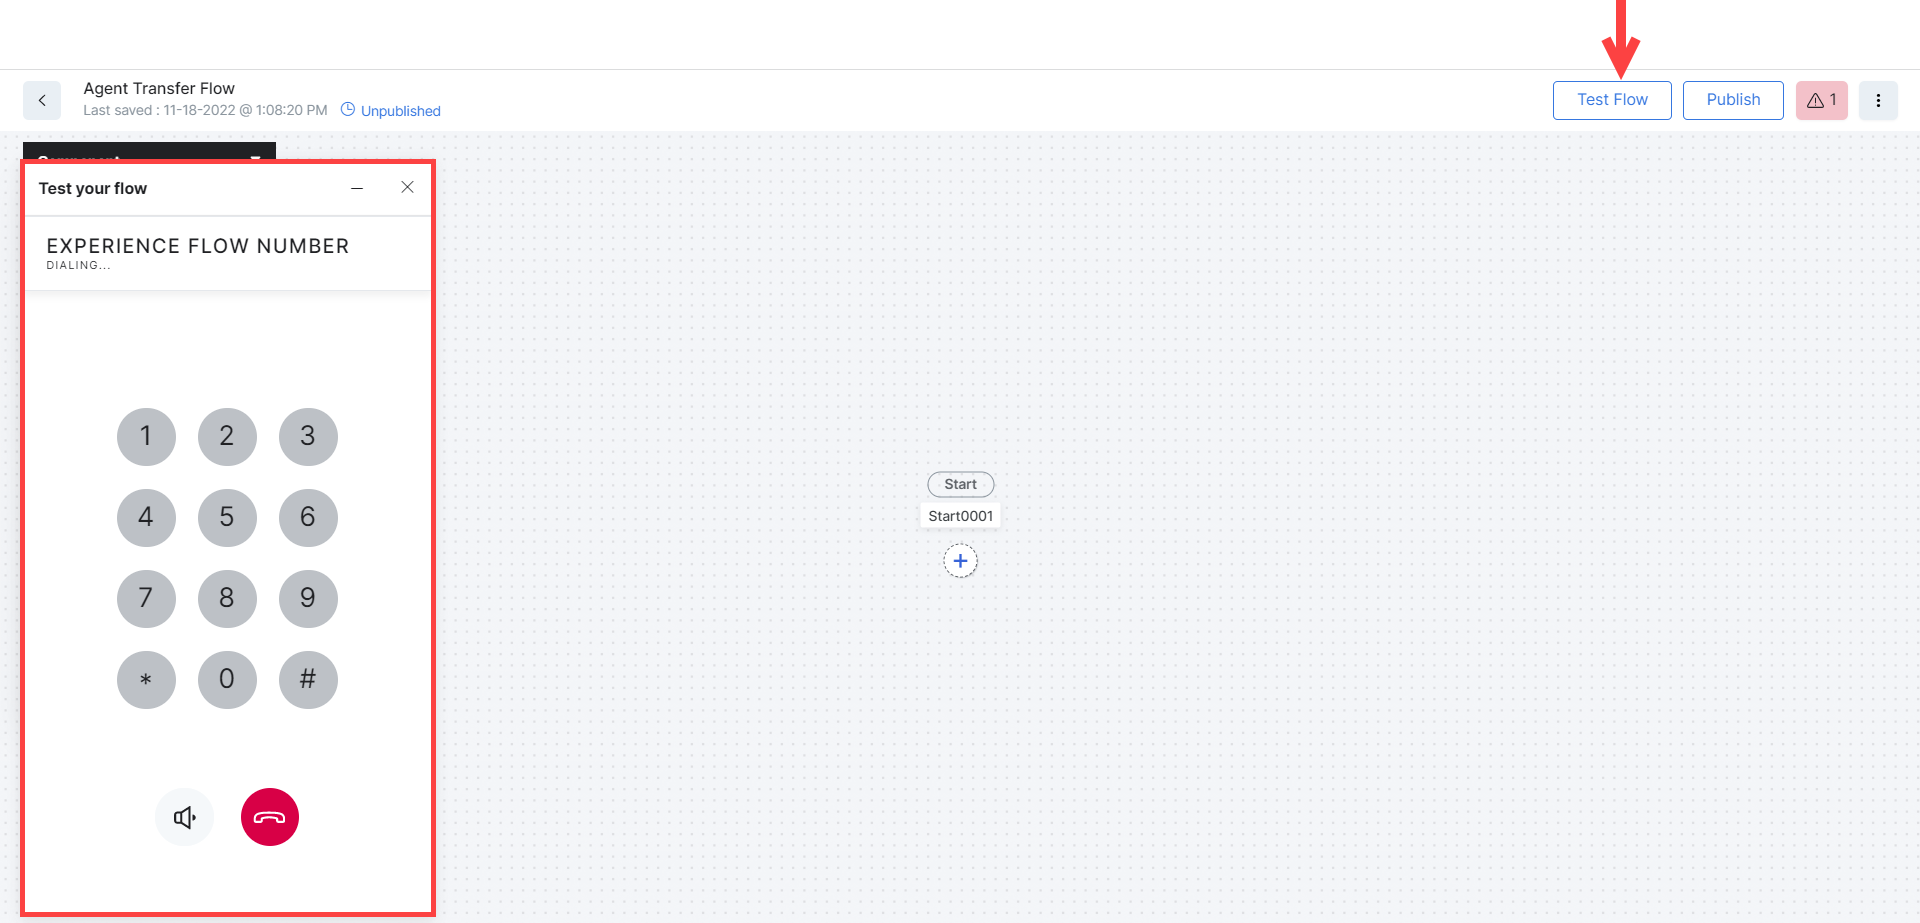
- A Test Flow button that triggers the following behavior, depending on the channel you configured for the flow:
- A chat window is displayed for the chat channel.
- A Softphone dialer pad is displayed for the voice channel.
- A chat window is displayed for the chat channel.
- Publish: Click to publish the flow to the production environment.
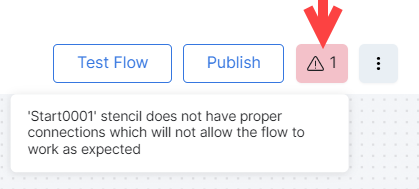
- The Error status button displays the number of errors found within your flow. Click this button to view the errors.
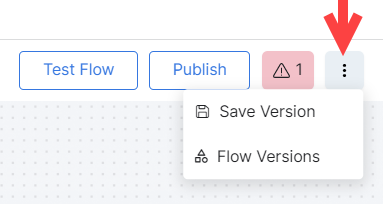
- Clicking More Options (the three ellipses icon –︙) reveals the following features:
- Save Version: Click to save the current version of the experience flow.
- Flow Versions: Click to view the Flow Versions of the current experience flow and to restore a previous version.
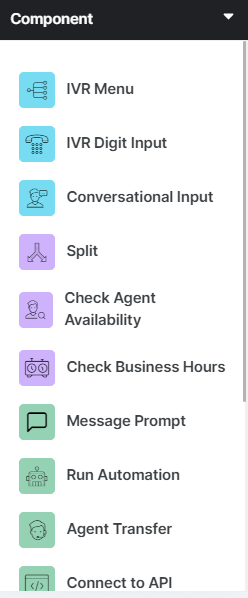
The Nodes Panel
The Component selection menu (Nodes Panel) is where you can click the node you want to insert into the canvas. To learn more about the available node types, see Experience Flow Nodes.
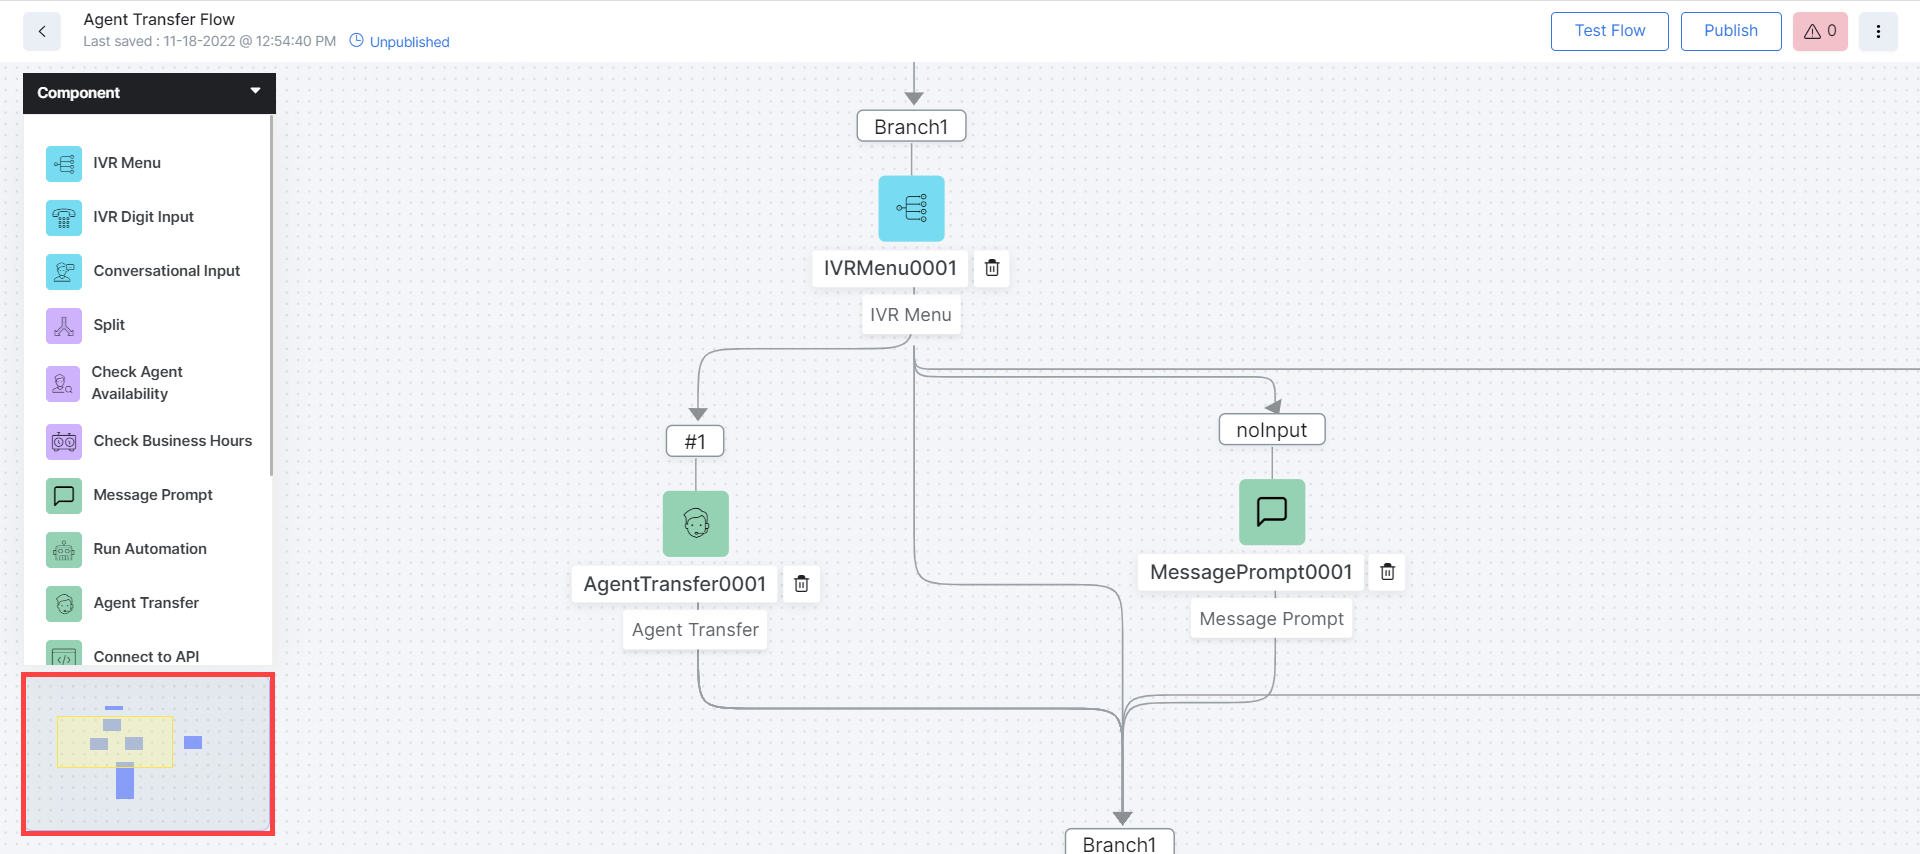
The Canvas Map
The Canvas Map allows you to quickly visualize the canvas area you are working with. It is particularly useful when working with large flows.
Saving Flow Changes
All changes are automatically saved to your Experience Flow.
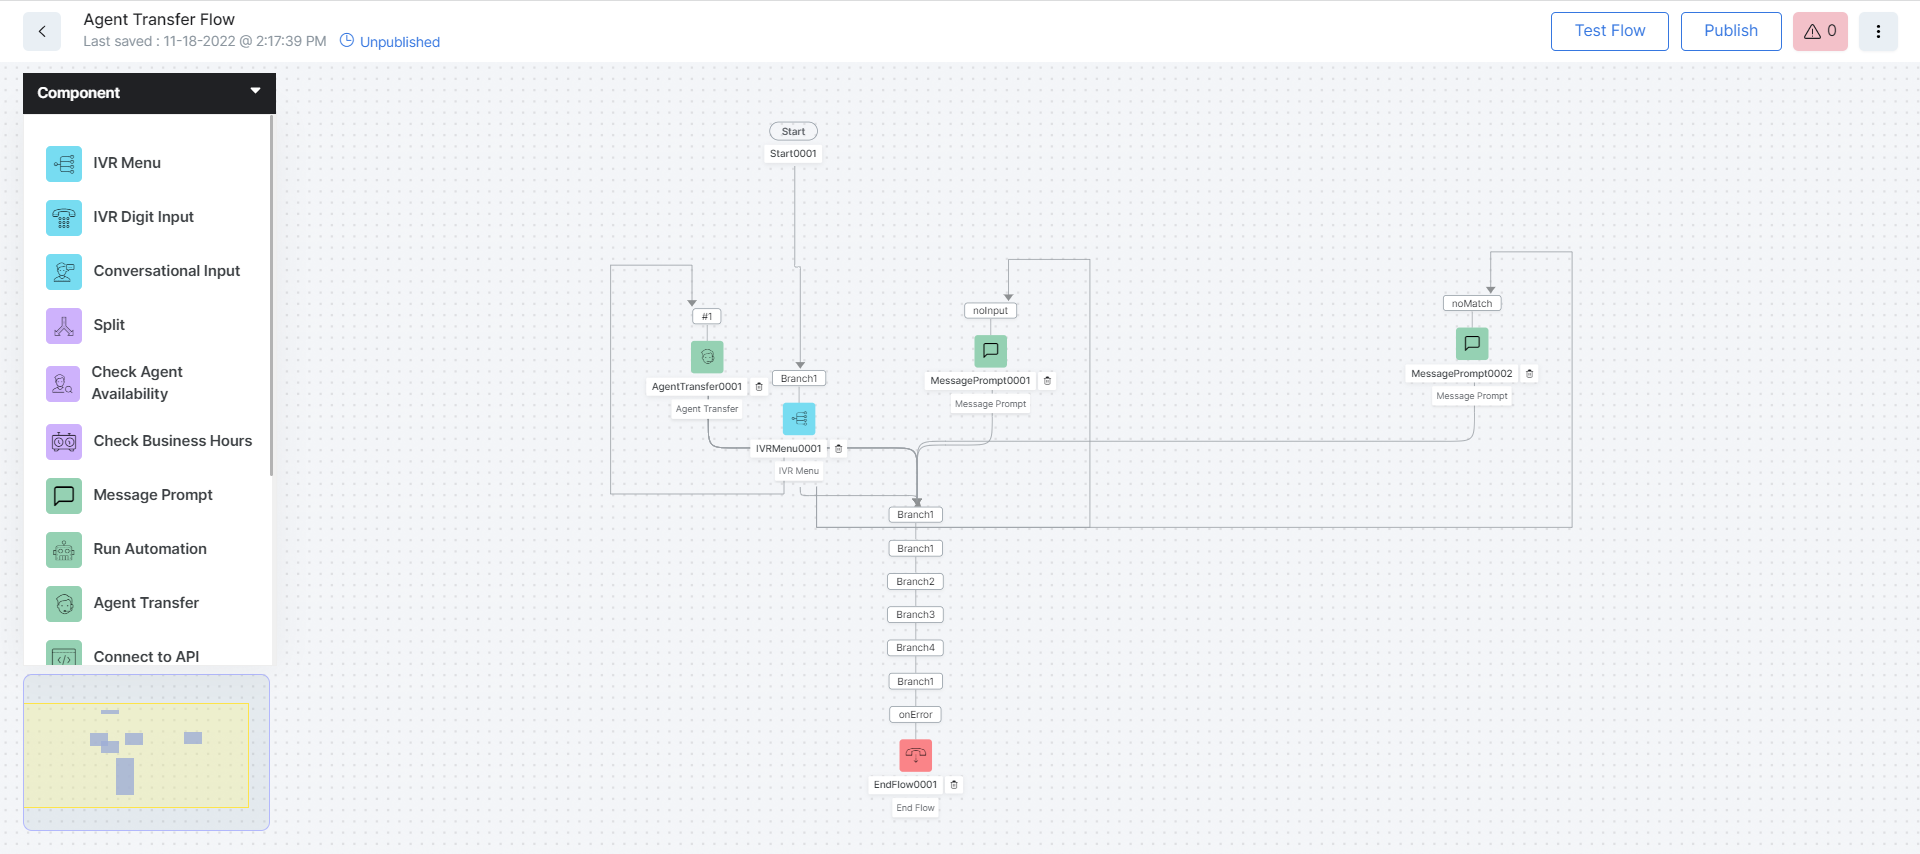
Below is a sample Agent Transfer flow: