SmartAssist allows you to integrate external systems and pages into the Agent Console. Agents can use widgets from within custom Agent Console Layouts.
Add a Widget
To Add a new external widget:
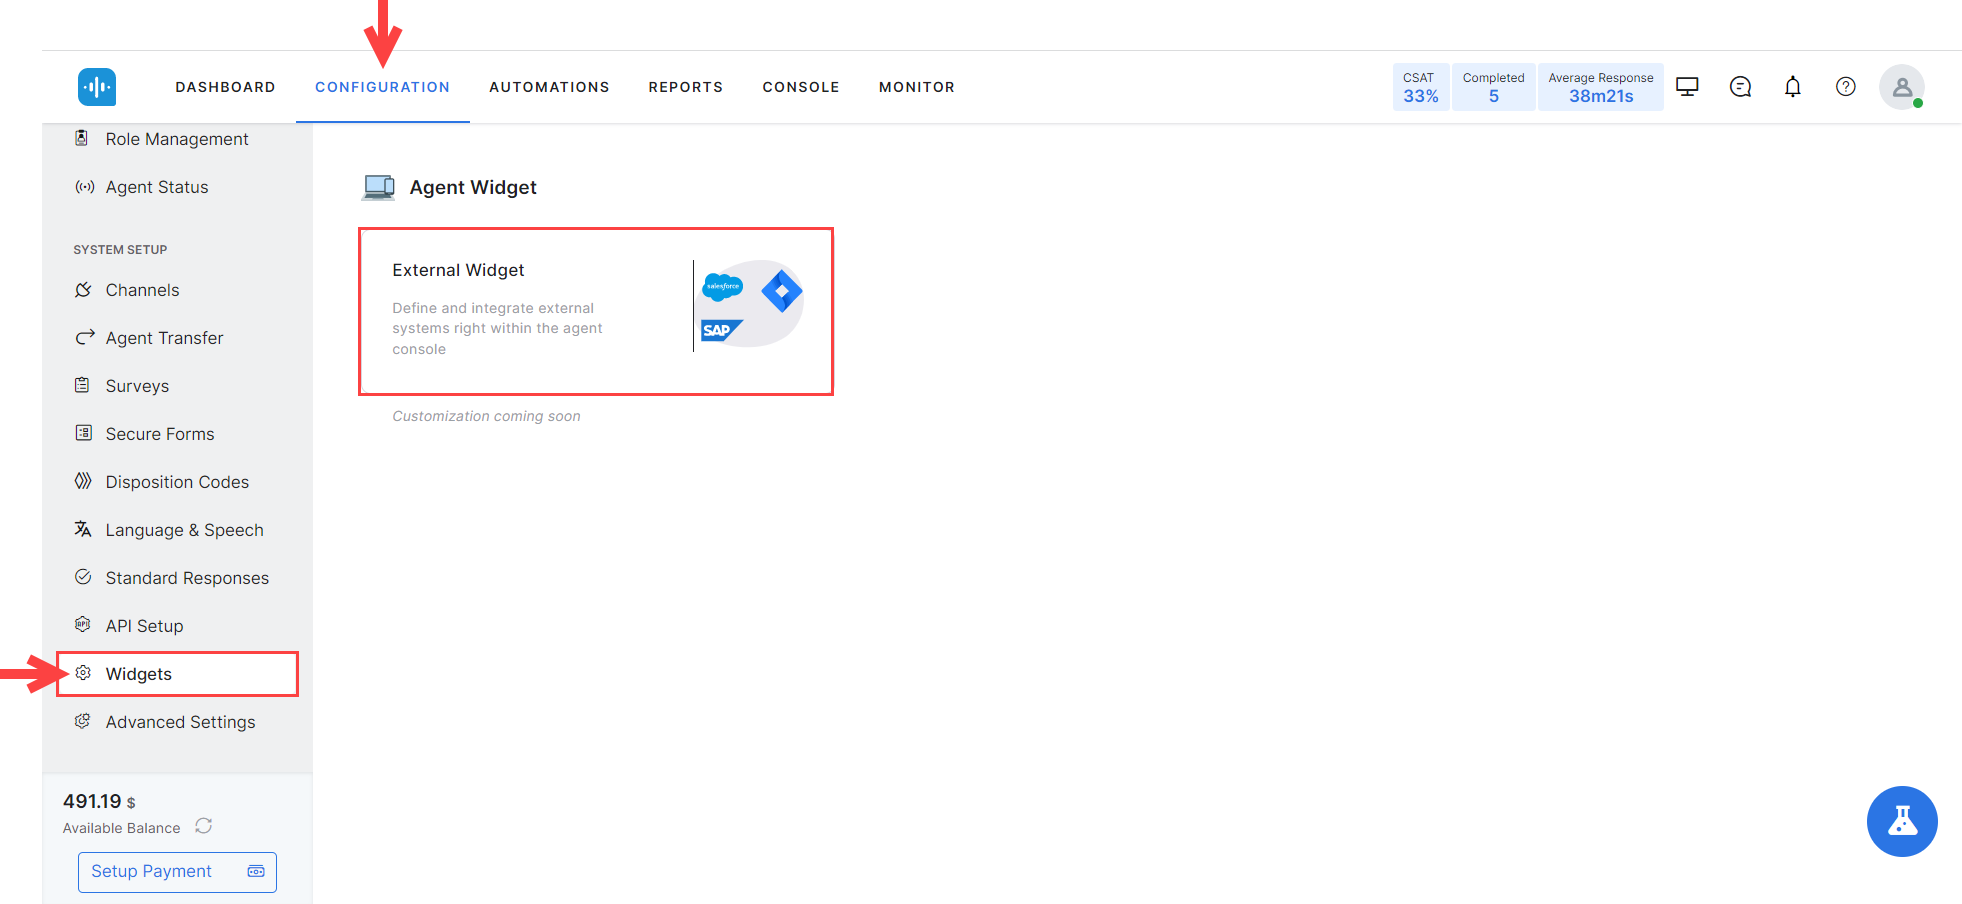
- Go to Configurations > System Setup > Widgets.
- Click the External Widget tile.
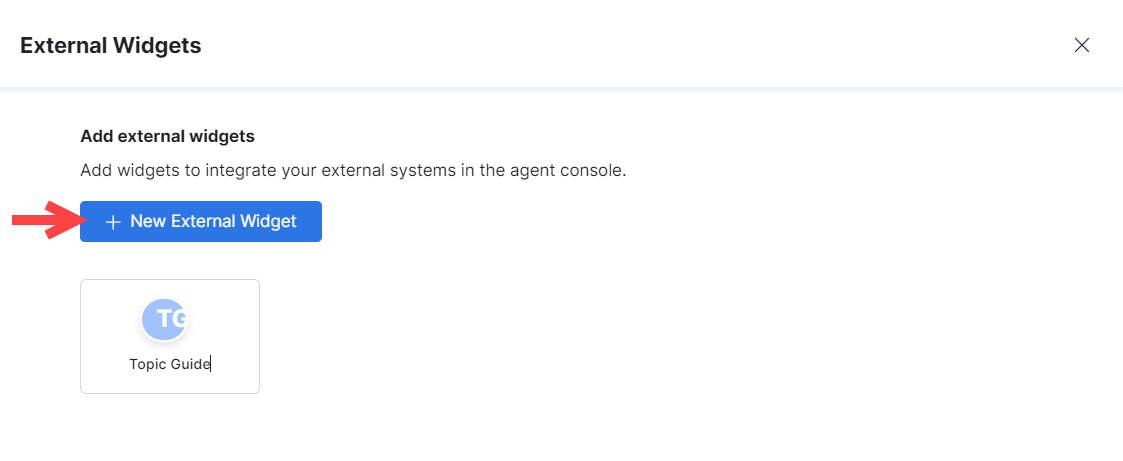
- The External Widgets window opens. Click + New External Widget.
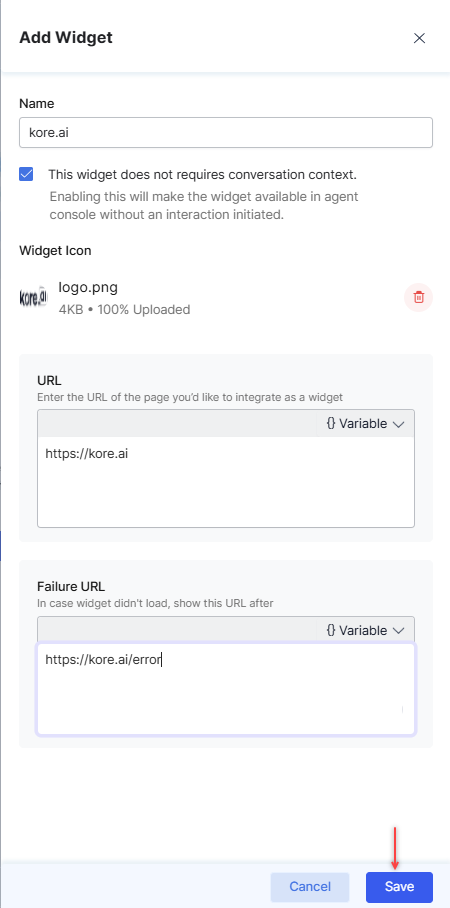
- The Add Widget window opens, and you can configure the following:
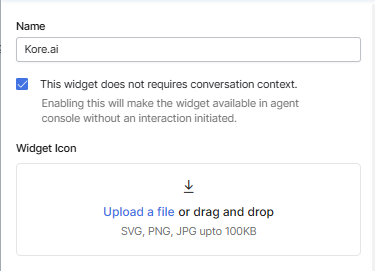
- The Widget Name by which to identify it later.
- Select the checkbox to load the custom widget independently without a conversation.
- The Widget Icon. Click the section to upload a file, or use drag-and-drop.
- If you want to remove an icon, click the Delete (bin) button on the right. You can re-upload an icon afterward as needed.

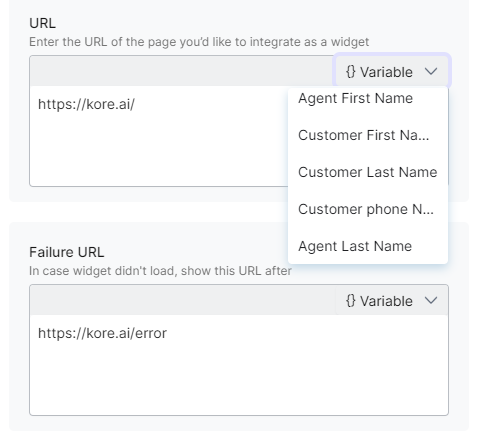
- The URL is the address of the system or webpage that you want to integrate as a widget. You can create a dynamic URL and select variables from a static list or based on custom variables that reside inside the meta-info of the conversation. Select parameters from the {} Variable drop-down. The available variables are Agent Id, Customer Email Id, Conversation Id, Agent First Name, Customer First Name, Customer Last Name, Customer phone Number, and Agent Last Name. You can also insert a custom variable.The insert custom variable feature enables you to use metadata or custom keys configured in Agent Utilities as dynamic variables. This capability allows you to customize widget URLs based on customer-specific metadata. Agents can embed metadata values directly into URLs by using variable expressions in the following format:
{{context.metaInfo.<yourCustomVarName>}}
When the widget loads, the system replaces the variable with the corresponding metadata value stored in the context.metaInfo object.
Example
In the URL field of a widget configuration, you can define a dynamic Kore website link as shown below:
https://www.kore.com/?id={{context.metaInfo.< yourCustomVarName>}}
When rendered,
<yourCustomVarName>dynamically resolves to the actual metadata value associated with the current session.For example, if
context.metaInfo.customerId=12345, the URL resolves to:https://www.kore.com/?id=12345 - The Failure URL displays in case the intended page does not load. You can set the same variables as for the main URL above.
- Click Save to save the widget.
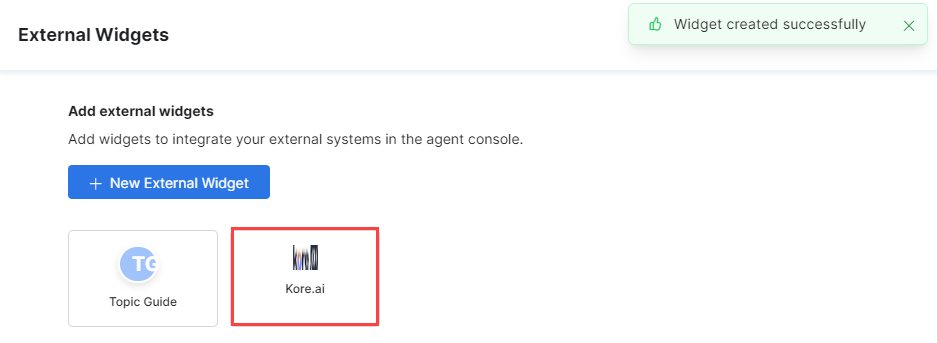
- Once saving the widget, a success message displays, and the widget is listed within the External Widgets window.
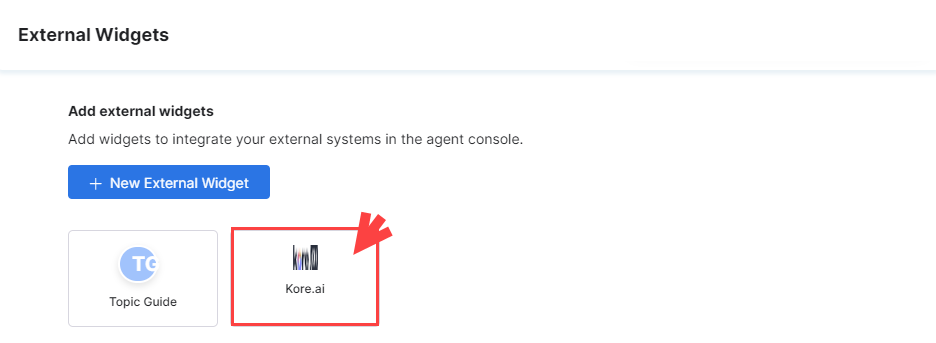
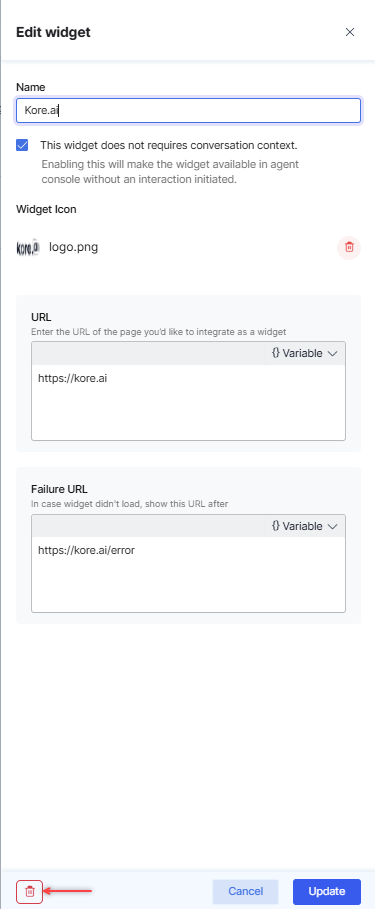
Edit a Widget
To edit an existing widget, find it in the list of External Widgets, then click on it. The configuration window opens, and you can edit the name, icon, URLs, or all.
Delete a Widget
To delete an existing widget, find it in the list of External Widgets, then click on it. Click the Delete (bin) button on the left of the bottom toolbar, then confirm your choice.
Add a Widget to an Agent Console Layout
Once you save an external widget, you can add it to the Agent Console using the Manage Layout feature.
To add a widget to an Agent Console Layout, follow these steps:
- From within SmartAssist, click Manage Layout on the top toolbar.
- From the list of available layouts, select the one to which you want to add the widget and click the Edit (✐) icon next to it.
- On the Edit Layout screen, find the widget in the left-hand-side panel. Drag and drop it to the right-hand-side panel.

- Click Save. Once the widget is added, the integrated system or page will display within the widget as part of the selected Agent Console Layout. See what it looks like in the demo below.
Delete a Widget from an Agent Console Layout
To delete a widget from an Agent Console Layout, follow these steps:
- From within any SmartAssist screen, click Manage Layout on the top toolbar.
- From the list of available layouts, select the one to which you want to add the widget and click the Edit (✐) icon next to it.
- On the Edit Layout screen, click More Options at the top of the widget, then select Delete.

Agent Desktop and External Widget Communication
A communication channel can be established between the Agent Desktop and External Widgets to enable data sharing.
Context Sharing from Internal to External Widgets:
Internal Widgets can send contextual data to an external widget as follows:
- Trigger an Event from the External Widget: The external widget triggers the following event:
liveInteraction.postMessage(“getUserContext”, **args)
- Event Listener in the liveInteraction: liveInteraction has an event listener to receive the getUserContext event. Upon receiving this event, liveInteraction fetches the user context data.
- Data Transfer to the External Widget: After fetching the user context, liveInteraction sends this data back to the external widget. This is done using the following postMessage event:
externalWidget.postMessage(“userContext”, data), where data is the user context information.
Text Transfer:
Agents can easily copy text from an external widget to the compose bar, reducing the effort of manually responding to customers. External widgets can send text to an internal widget.
This can be enabled by introducing a method that allows the sender widget to copy a message in the compose bar on the Live Interaction Pane of the agent. This is established as follows:
- Trigger an Event from the External Widget: The external widget initiates the process by sending a postMessage event to liveInteraction. The external widget triggers the following event:
liveInteraction.postMessage(“copyText”, *message, **args)
- Event Listener in liveInteraction: liveInteraction has an event listener to receive the copyText event. Upon receiving this event, liveInteraction processes the text contained in the payload.
- The received text is automatically populated in the compose bar on the Live Interaction Pane.
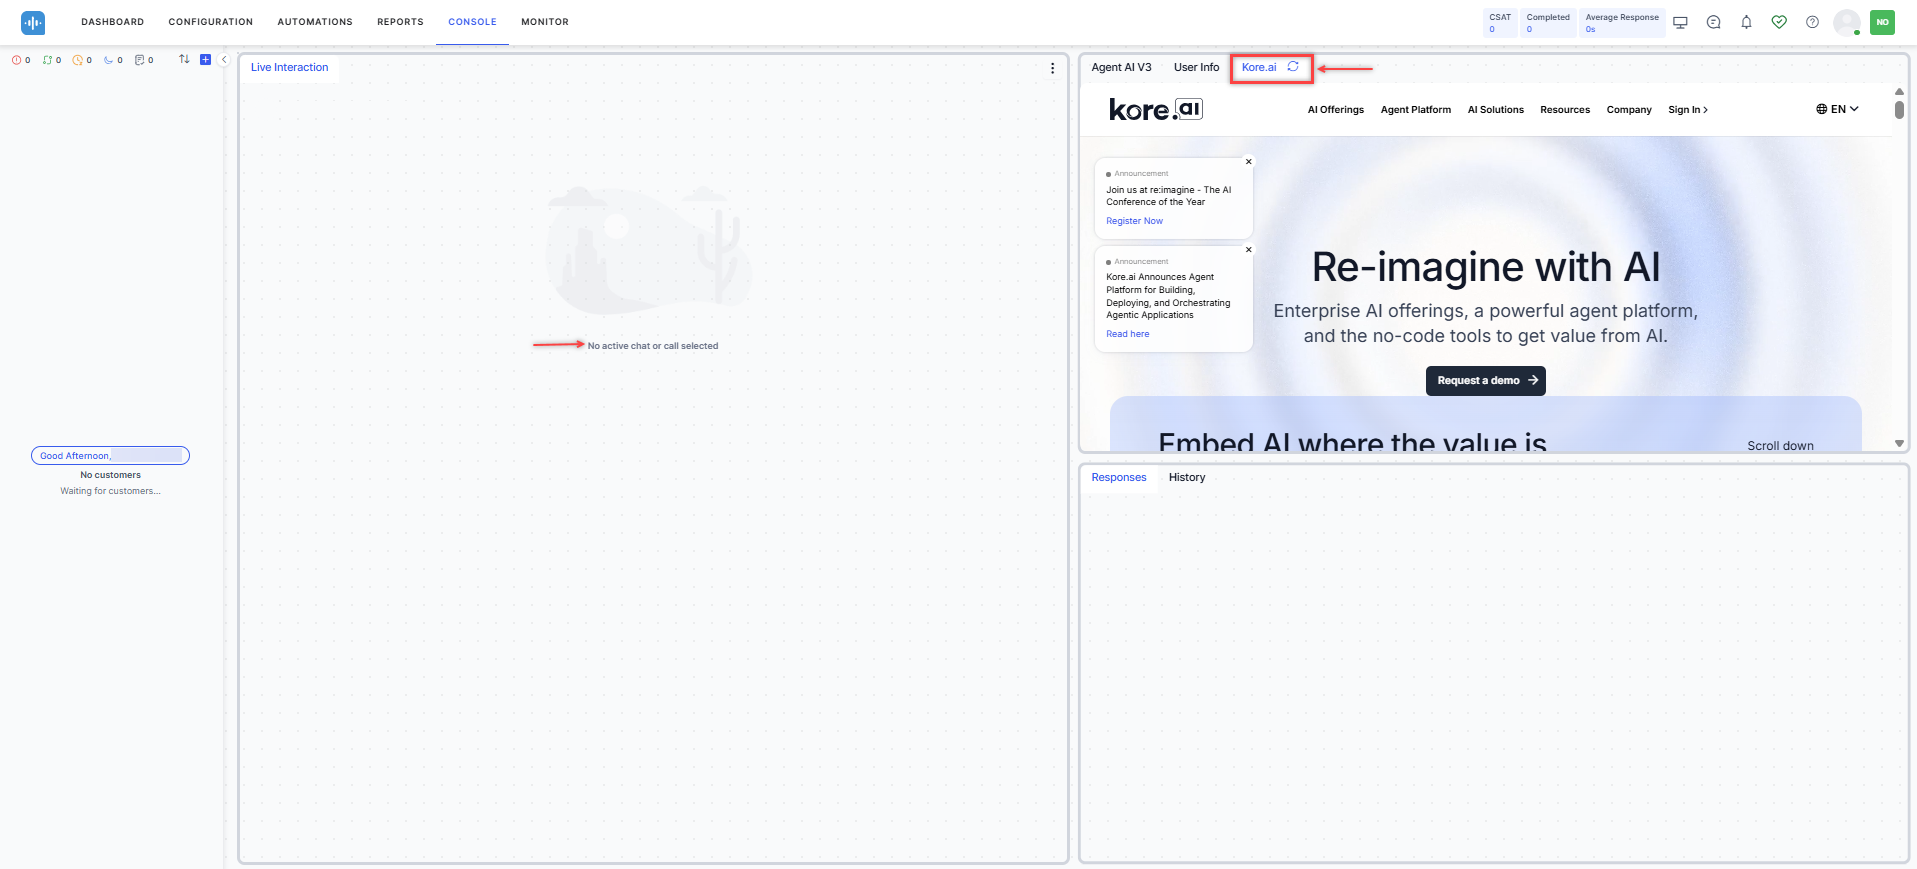
Load Widgets Without Conversations
If the checkbox to load the widget independently is selected when adding a widget, the widgets appear on the agent desktop even when a conversation is not initiated. Learn more.