No Response Message is a message to the user when there is no response for a certain time period.
Configure No Response Message
To configure the No Response message, follow the below steps:
- On the left pane, click Defaults.
- On the Defaults page, under the Phone Experiences section, click No Response card.
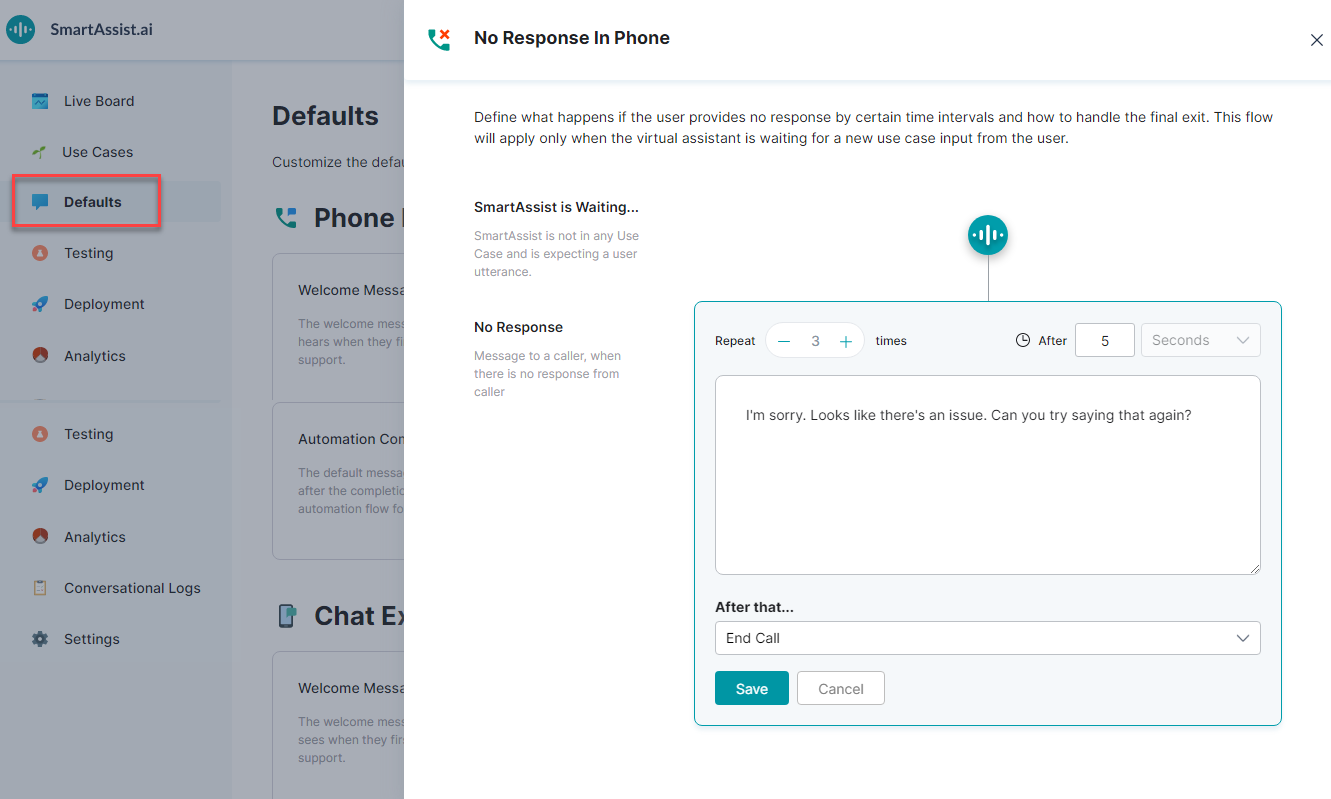
- On the No Response In Phone window, you can find a time indicator set to After 5 Seconds, a No Response message, and the exit behavior set to end call.
- Click the Edit icon to edit.
- Set the Repeat indicator. This is the number of times the message must be repeated. You can repeat a given message a maximum of 3 times.
- Set the time interval to wait for a response from the user before playing the message. You can set it to 5, 10, or 15 seconds.
- Enter the required text message.
- Define the exit behavior by selecting an option from the After that… drop-down list:
- End Call
- Transfer to Agent – Here, you can further specify if the user is given the option to switch to a chat agent for faster service by responding yes or holding on the line for a voice agent.
- Click Save.