
Introduction
This document details the procedural steps needed to establish voice automation integration between Genesys Cloud CX and Kore.ai XOCC (Kore Contact Center).
A video walkthrough of these components is available here.
Genesys administrators installing these components must have at least the Genesys Cloud Admin and Telephony Admin roles and possibly other roles, such as Developer.
You must configure the following components in Genesys for this integration:
- Outbound Configuration
- Number Management (buy a phone number)
- Architect Flow
- Create an Inbound Call Flow
- Call Route
- Trunk
- Site
- Inbound Configuration
-
- Queue
- Architect Flow
- Call Route
- DID Numbers
Outbound Configuration (Genesys to Kore.ai)
This section explains how to buy a phone number in Genesys and route the call to Kore Contact Center for voice automation.
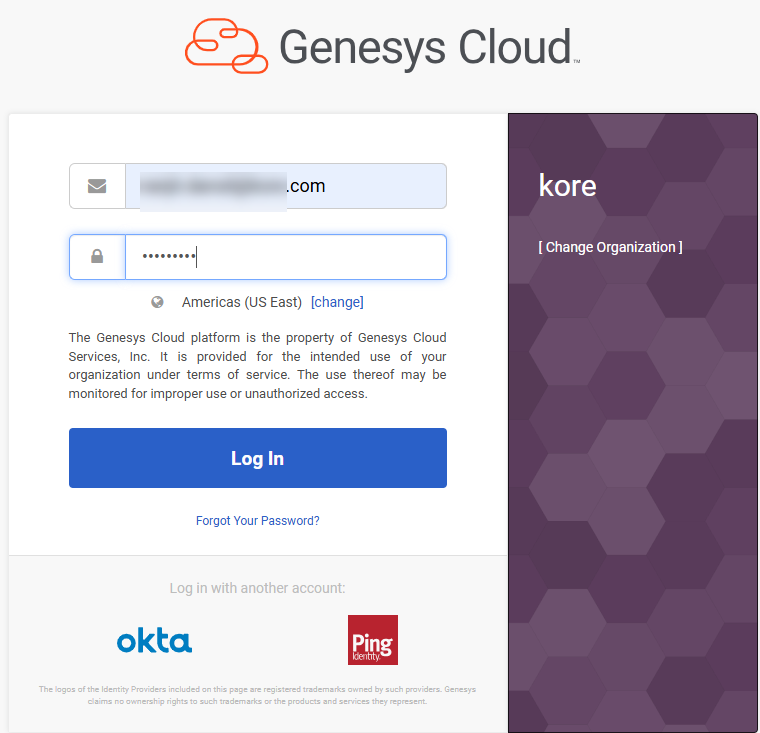
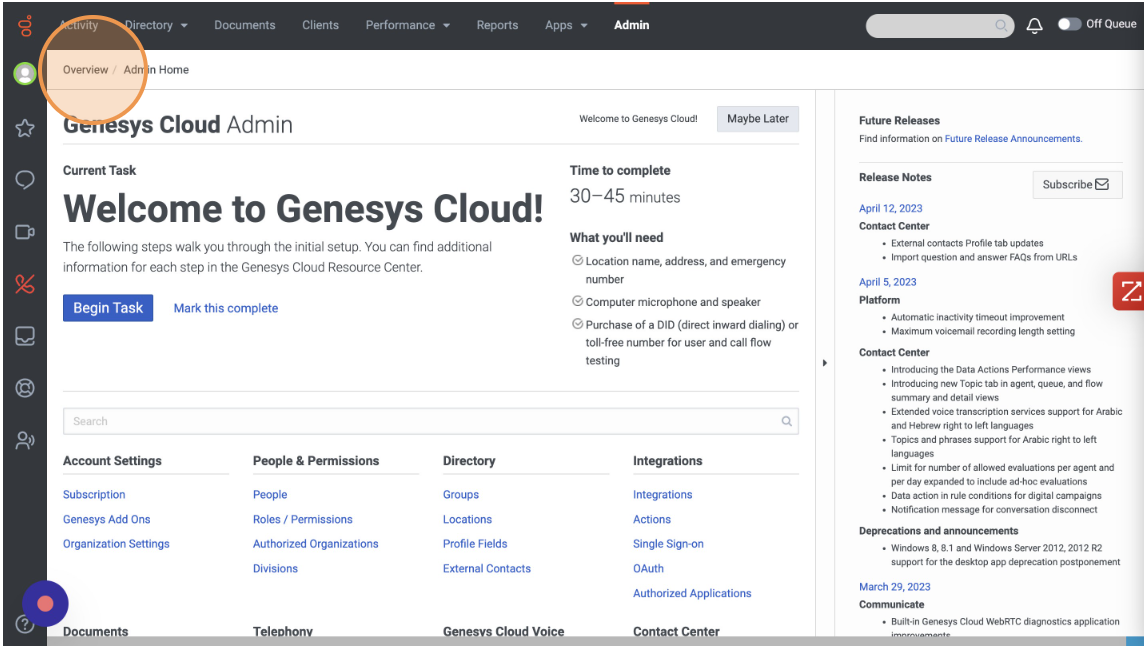
Step 1 – Accessing Genesys Cloud
- Open Genesys Cloud on your browser.
- Sign in with your Kore account credentials.
Step 2 – Buy a Phone Number
In Number Management, buy a phone number in a region or area that fits your requirements. If you have any unused numbers, you can use them.

Step 3 – Architect Flow
To route the inbound phone calls to the Kore.ai trunk, you must create a basic Architect Flow.
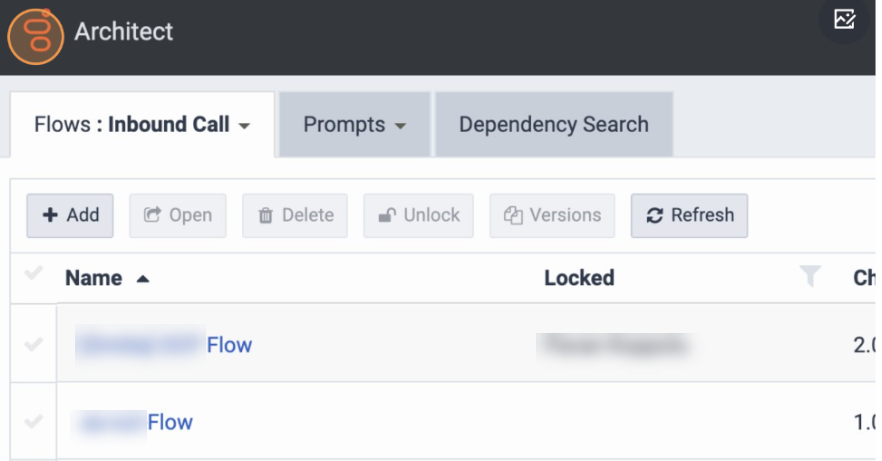
Create an Inbound Call Flow
In this section, you must create a new Inbound Call Flow that is used to transfer the inbound calls received by Genesys to Smartassist.
- Sign in to Genesys Cloud.
- Click Admin > Architect.
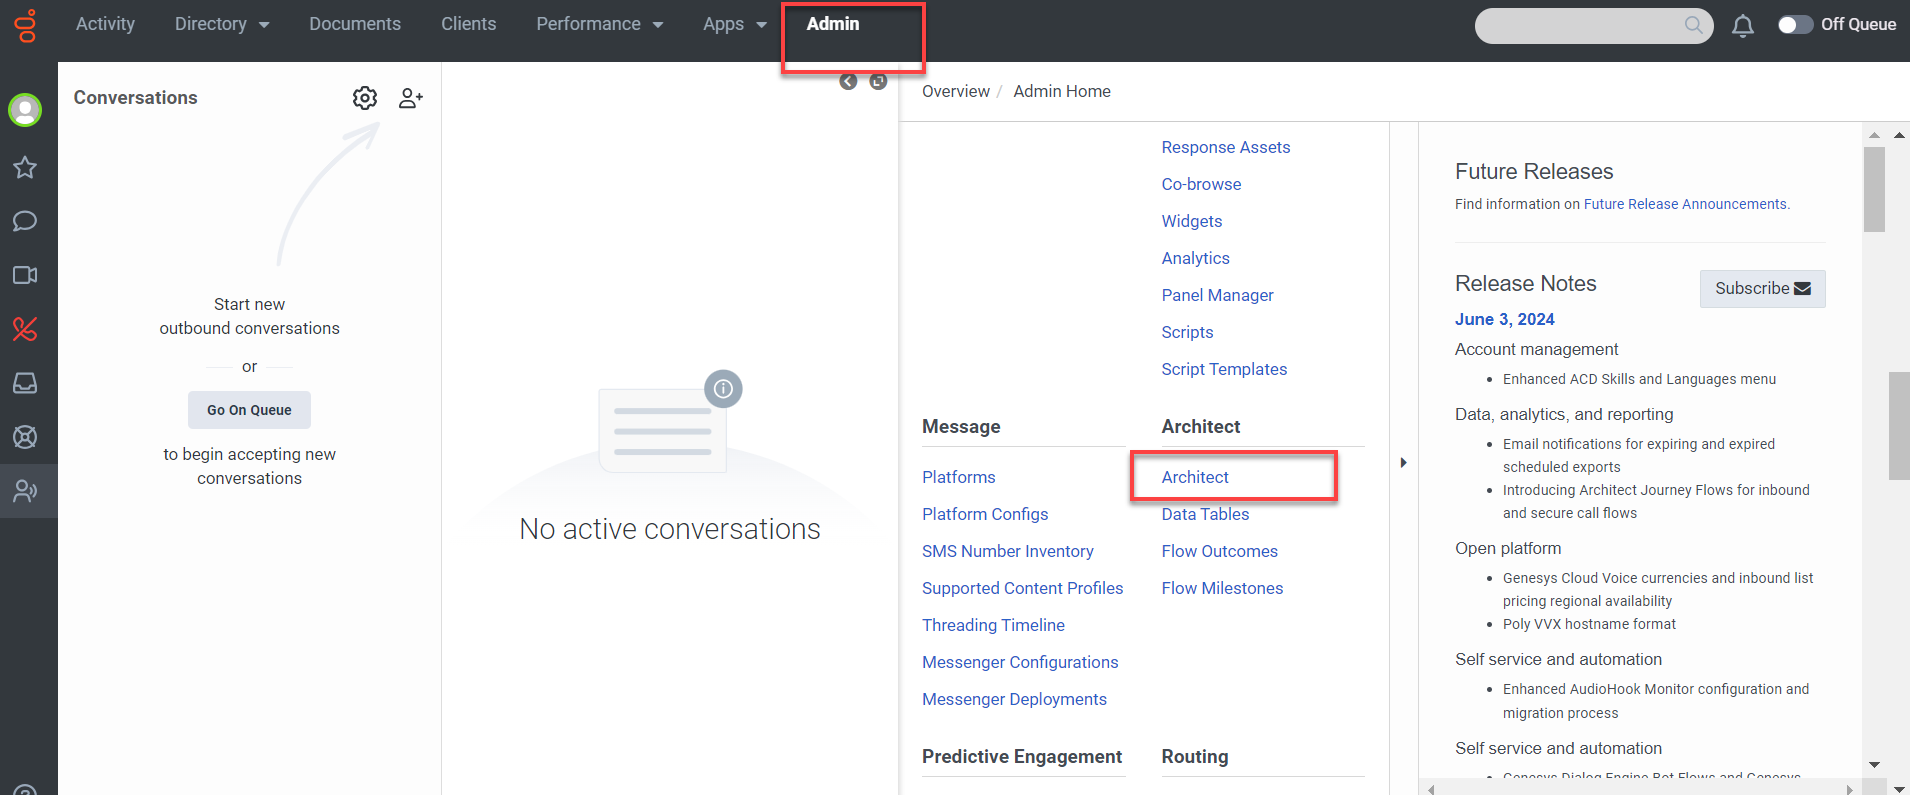
- Click + Add to add a new call flow.
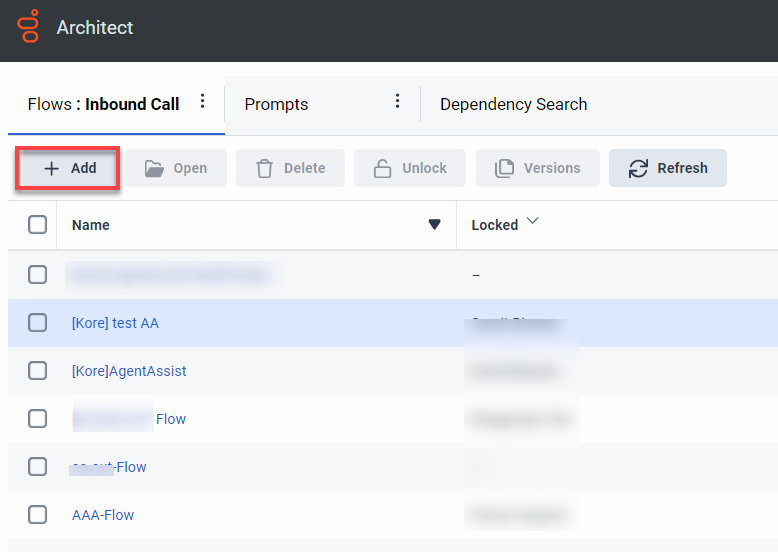
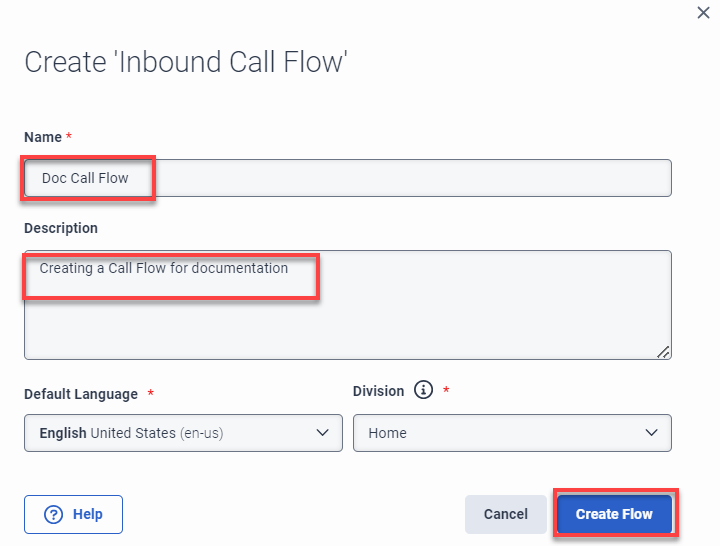
- Enter a name and a description in the Name and Description fields.
- Click Create Flow.
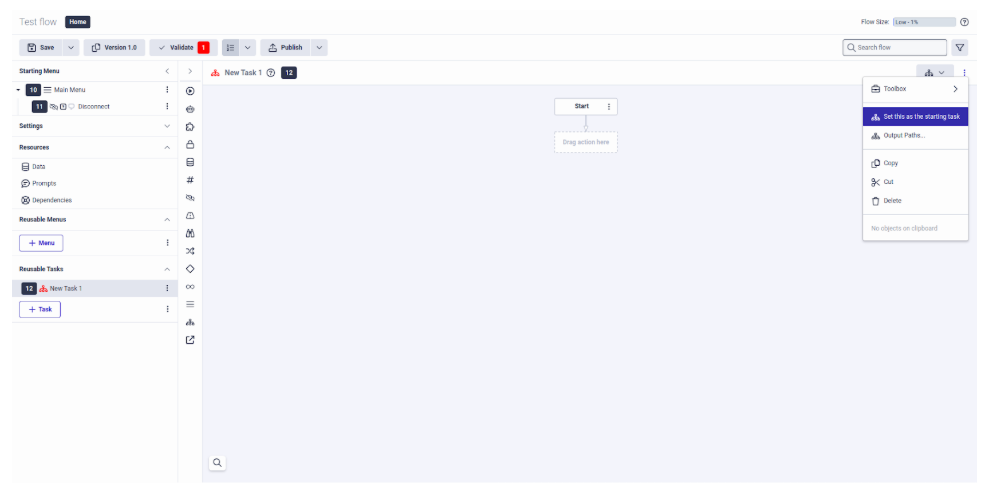
- You can create the flow (Add tasks) in the Main Menu or create a Reusable Task and mark this task as “set this as the starting task” from the three-dot menu.
- From the Start node, add a Transfer to Number node.
- Set a Number (for example, 754858) to an internally routable number (known as a Short code) you can use in a Number Plan, in a Site configuration. Kore.ai recommends a 5-6 digit number.
Note: This number will be required in Step-6.
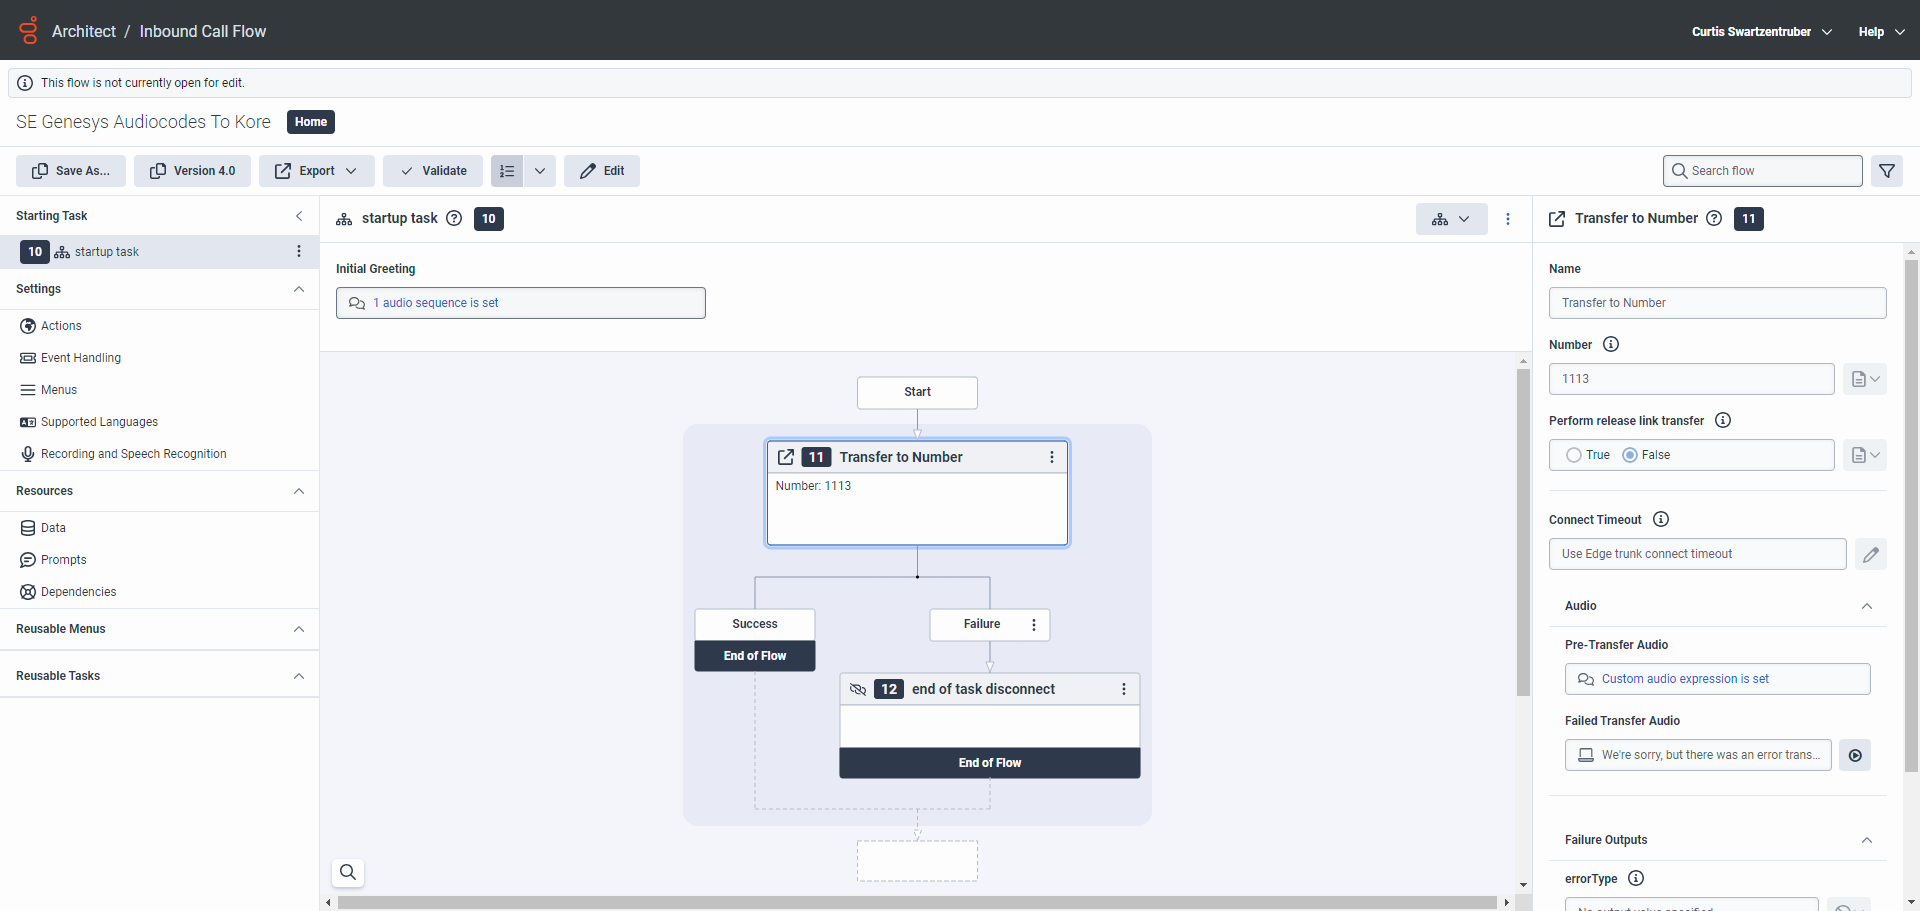
- From a logic or routing standpoint, you can add anything in the Architect Flow; however, you must include a Transfer node to direct the call to Kore.ai. For example, you can add a greeting or menu in front of the Transfer node.
- Save and Publish the Architect Flow.
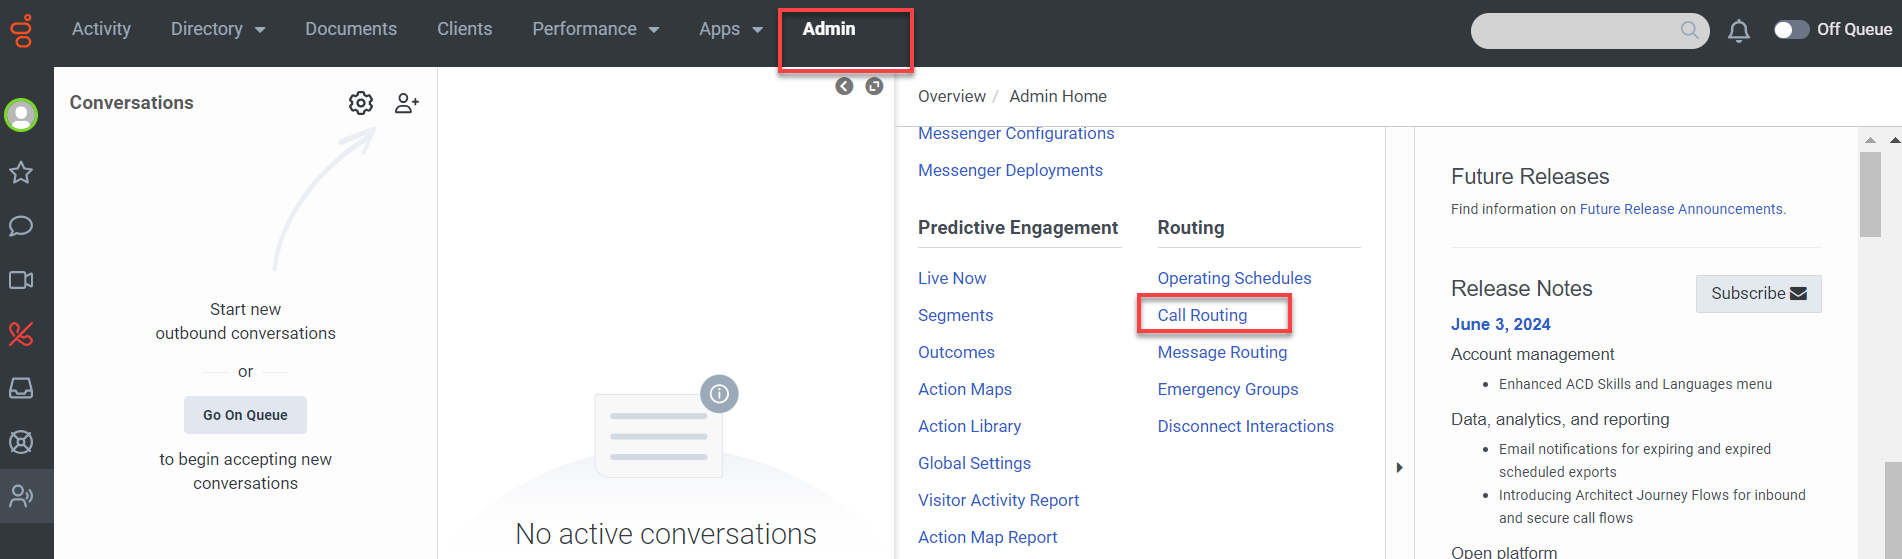
Step 4 – Call Route
- Click Admin > Call Routing.
- Click the add button to create a new call route.

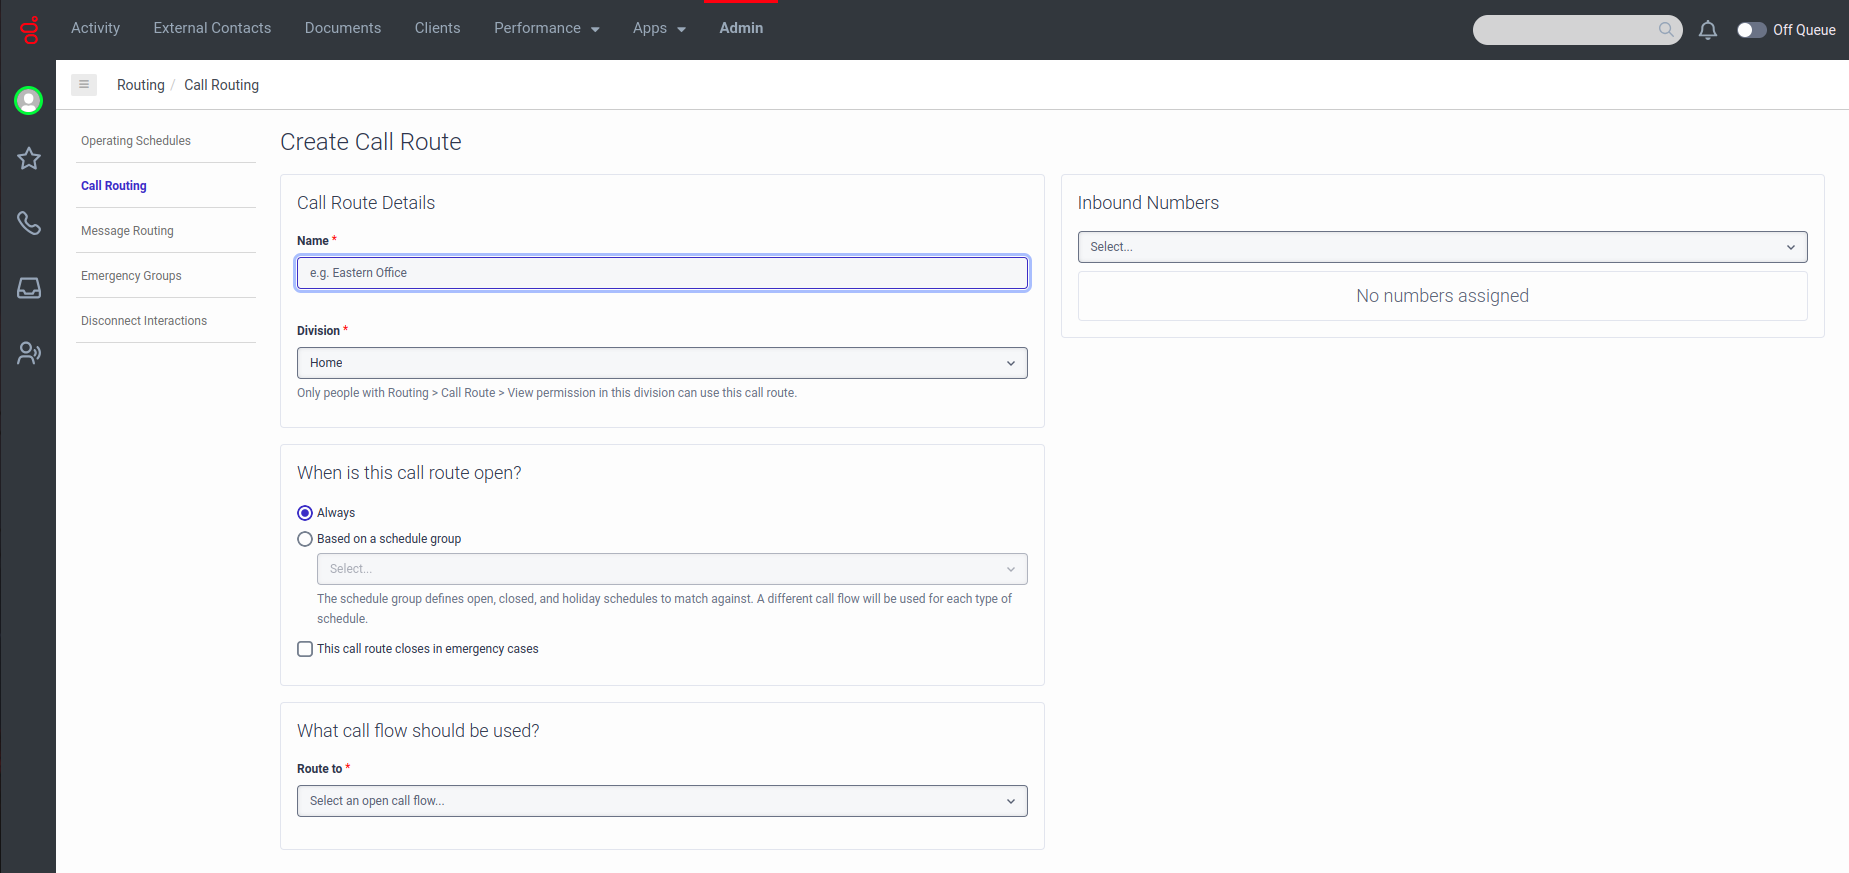
- Set up a call route to map the Inbound Number purchased in Step-2 to the call flow created in Step-3.
Step 5 – Trunk
- Configure a trunk that connects the Kore.ai session border controller (SBC) for your region. To configure a trunk, use the following steps:
- Sign in to Genesys Cloud using your Kore credentials.
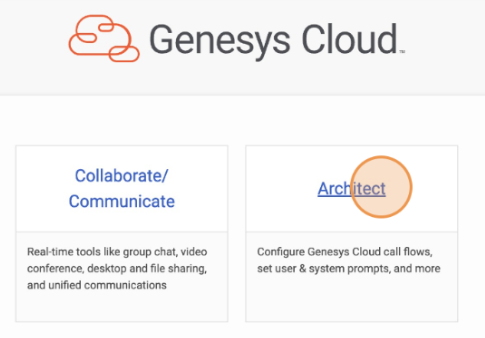
- Select Architect.

- On the landing page, click the Genesys Cloud logo on the upper-left corner.
- Click Admin to open the Admin console.
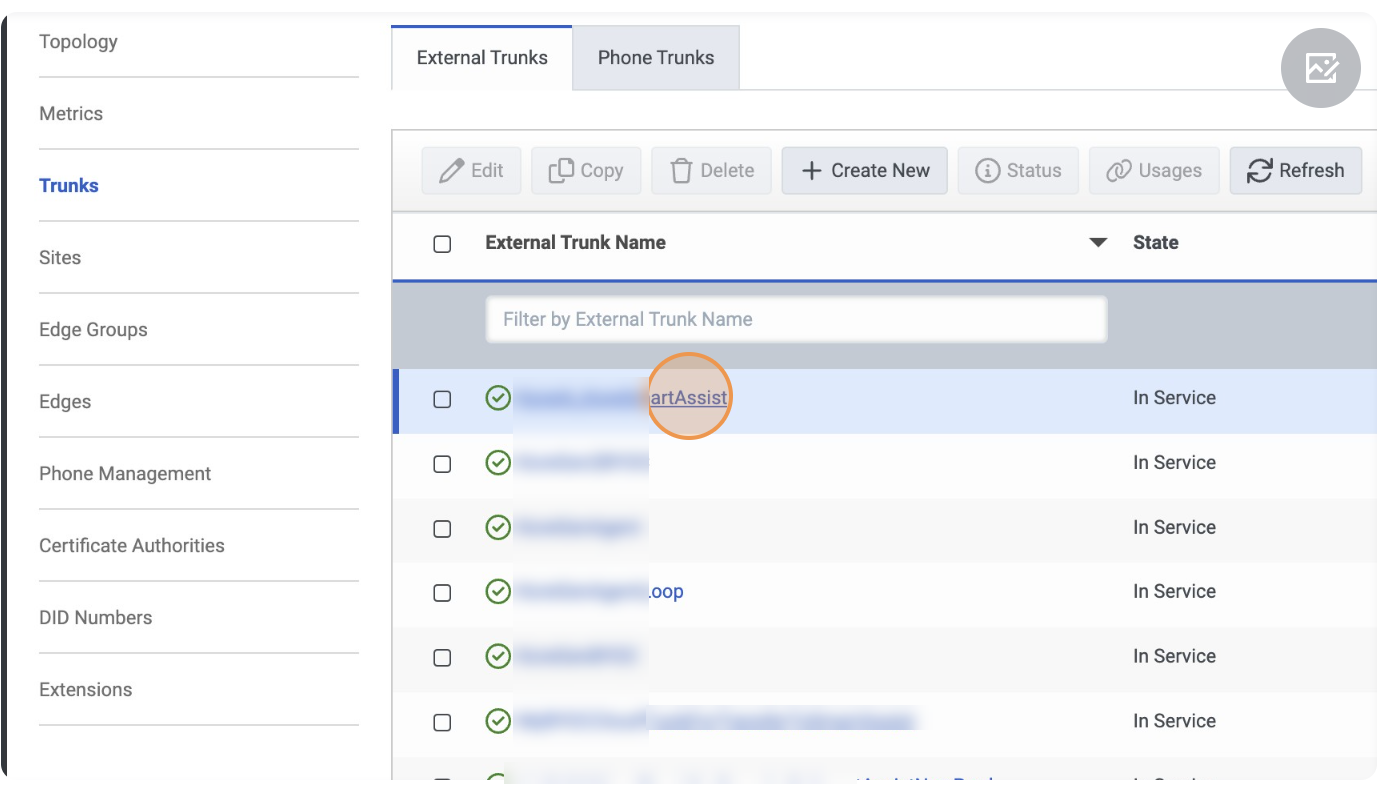
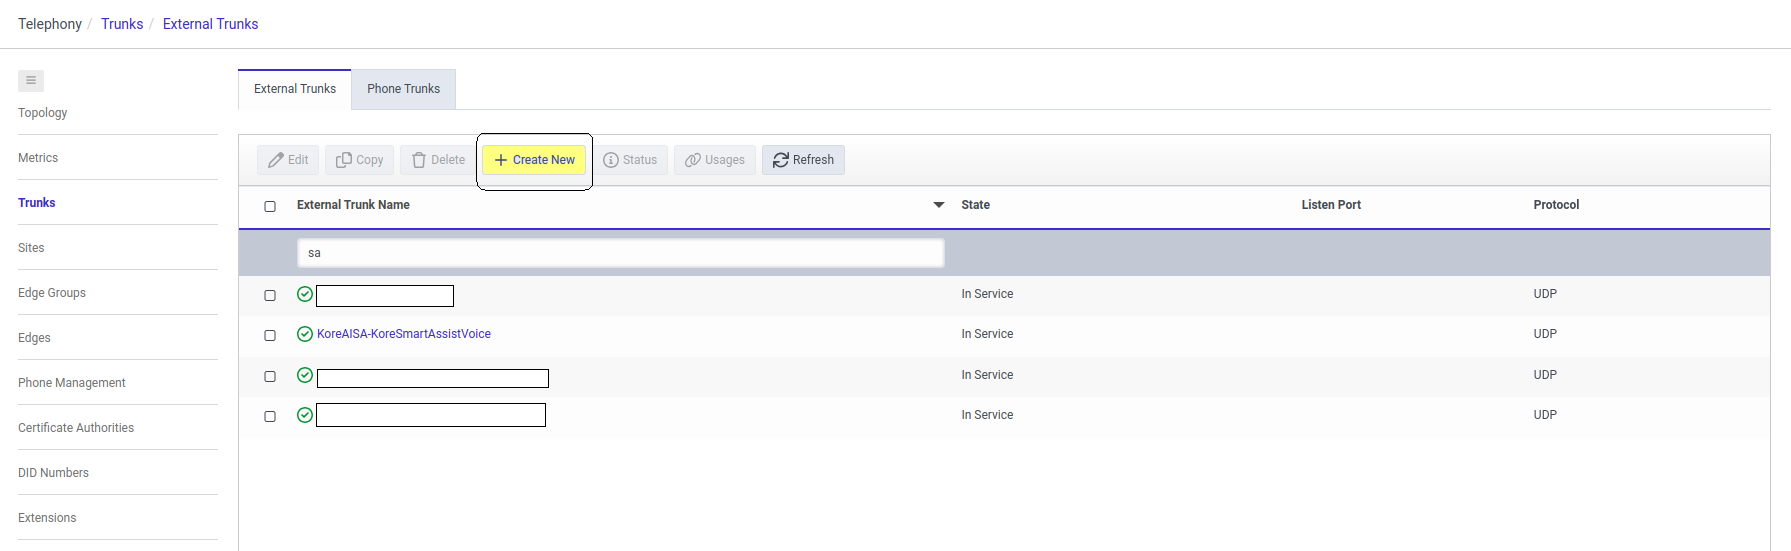
- Click Telephony > Trunks.
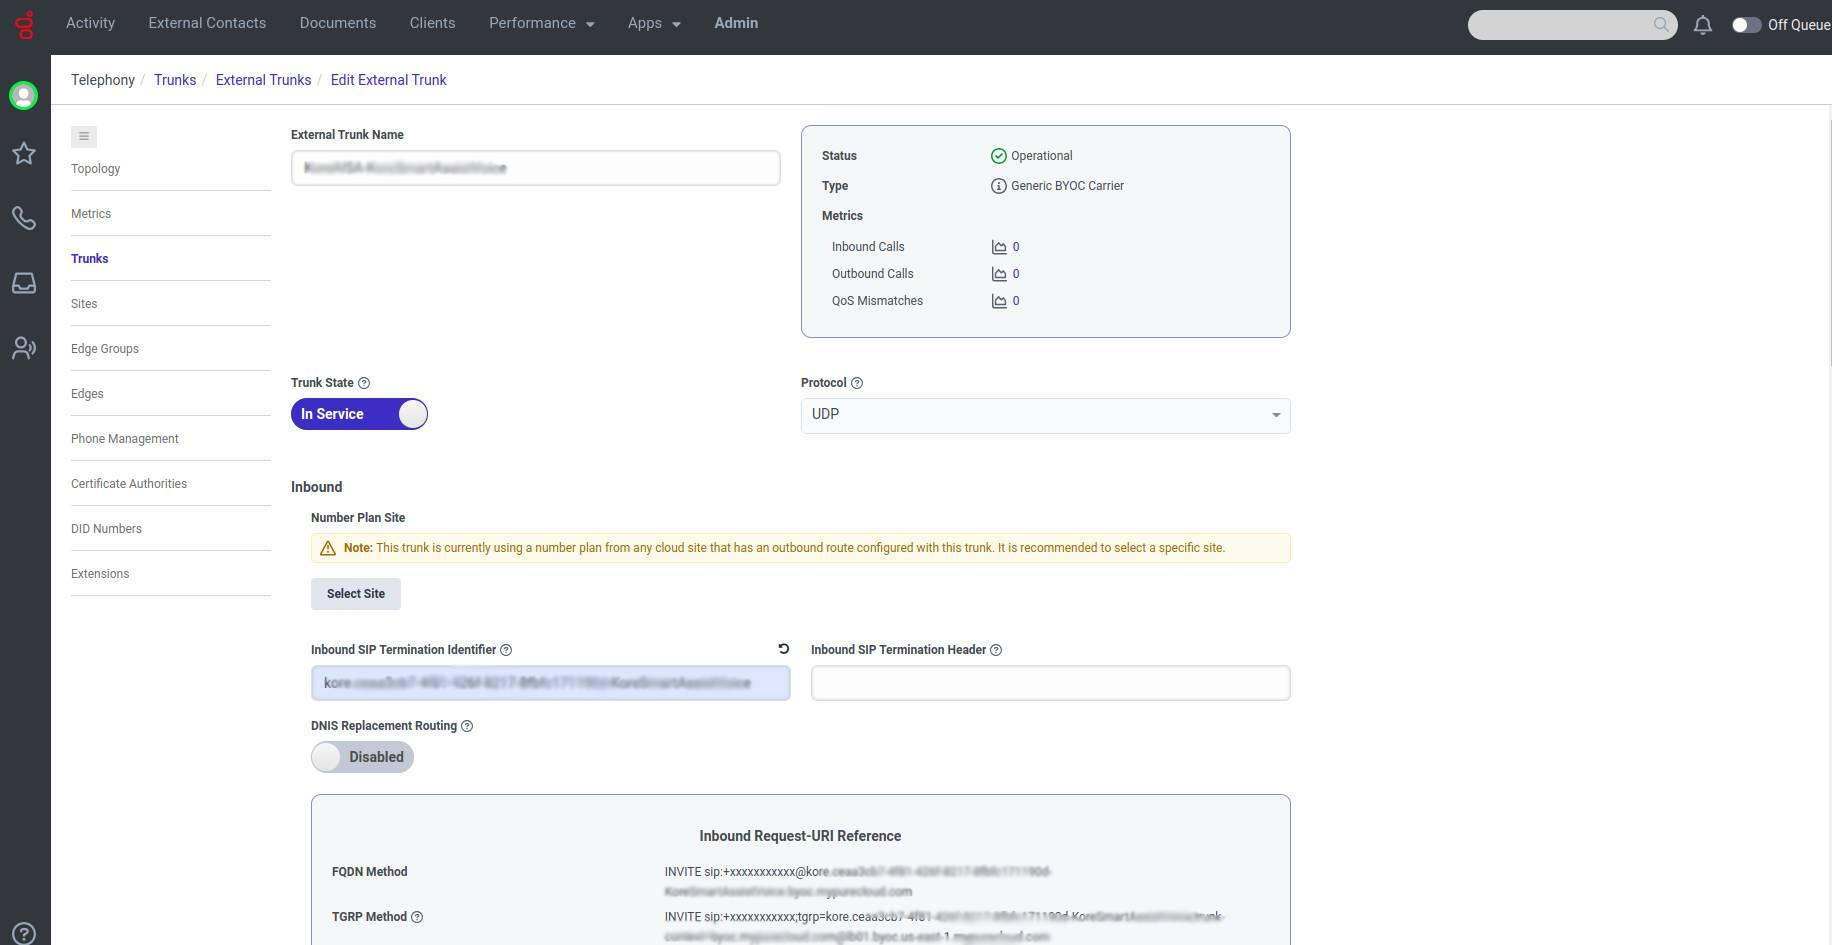
- In the Trunks tab, open the configuration of the selected trunk and ensure the following fields are filled:
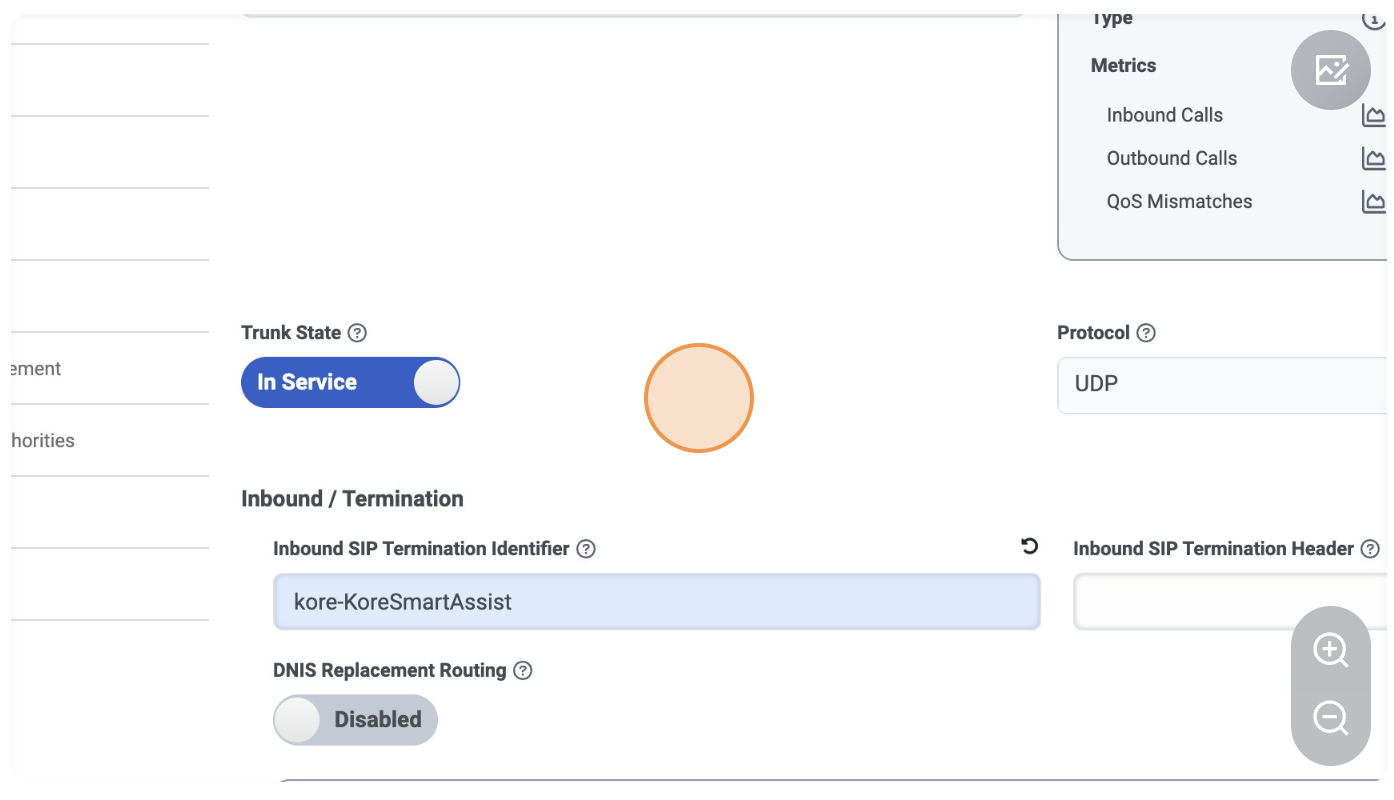
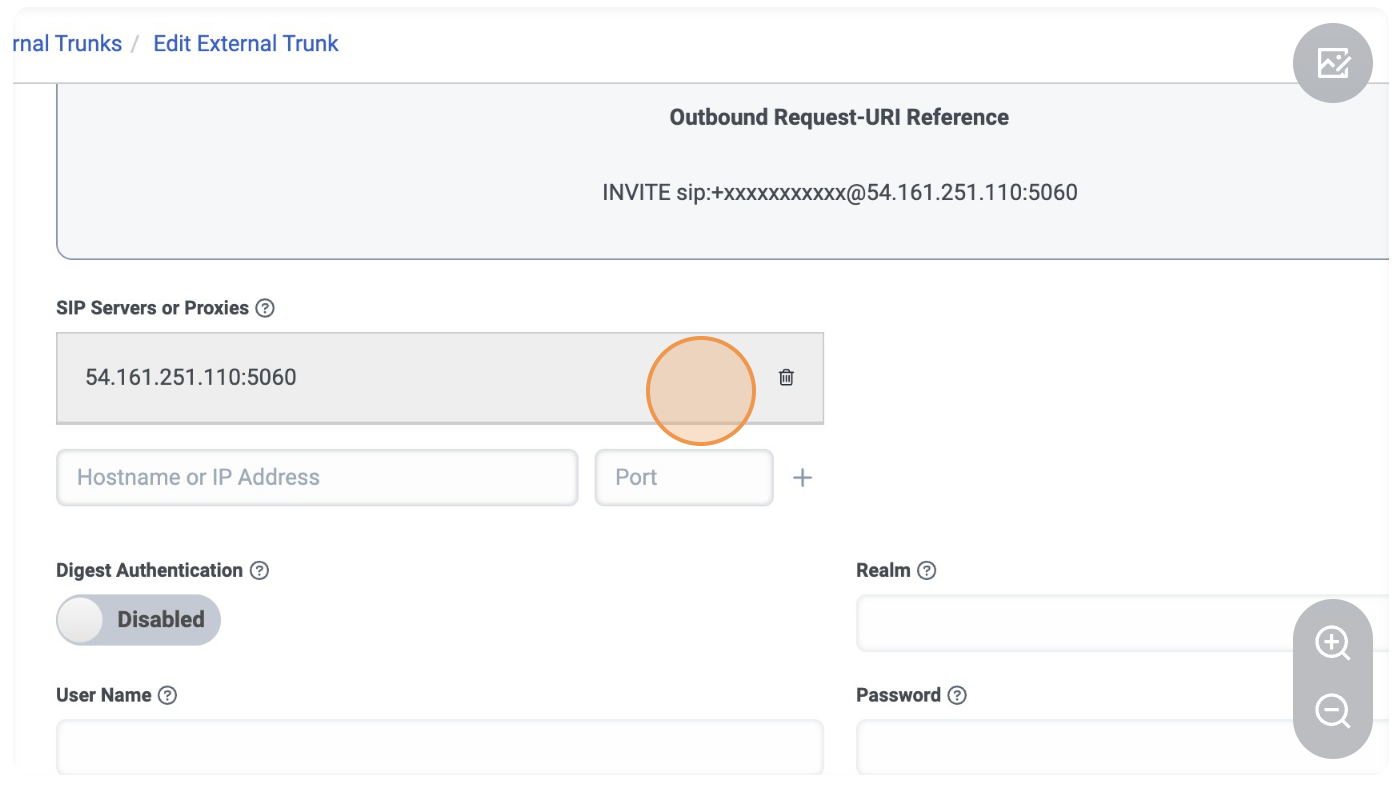
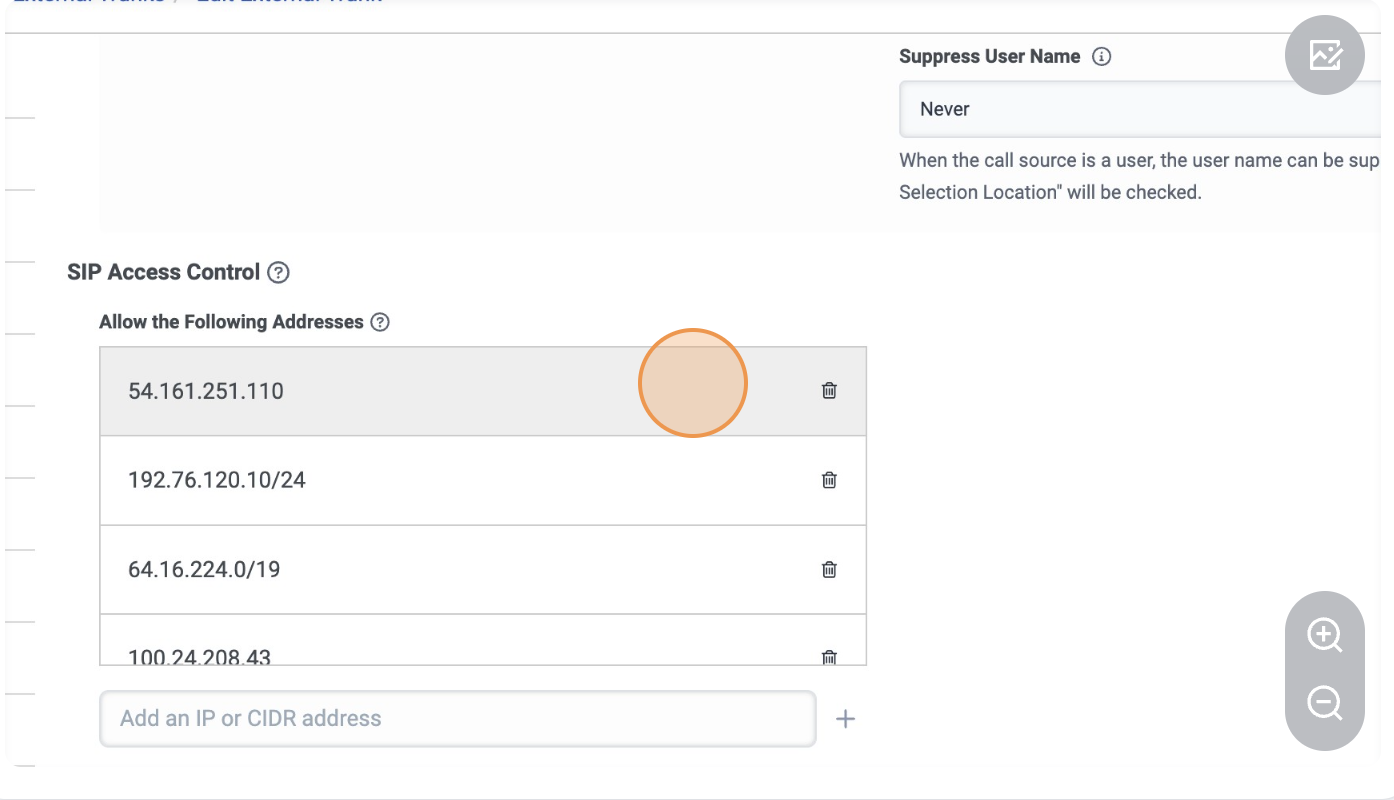
- SIP Server / SIP Access Control
- Kore.ai provides the list of IP addresses (single, CIDR ranges) that must be allowed.
- Supported Region: US Only
- For Genesys Cloud connecting to Kore Cloud: Whitelist AudioCodes SBC
- IP Address: 54.161.251.110 Port: 5060
- For Genesys cloud/on-prem connecting to Kore on-prem: Whitelist KoreVG SBC
- Component SIP Server – 1
- IP Address 3.224.189.218
- FQDN savg-sbc1.kore.ai
- TCP / UDP Port 5060
- TLS Port 5061
- Component SIP Server – 2
- IP Address 35.174.41.205
- FQDN savg-sbc2.kore.ai
- TCP / UDP Port 5060
- TLS Port 5061
- Component SIP Server – 1
- SIP Server / SIP Access Control
- Media: Here, you can enable recording if you want to record the calls that connect over this trunk. You can also enable the Dual channel option.
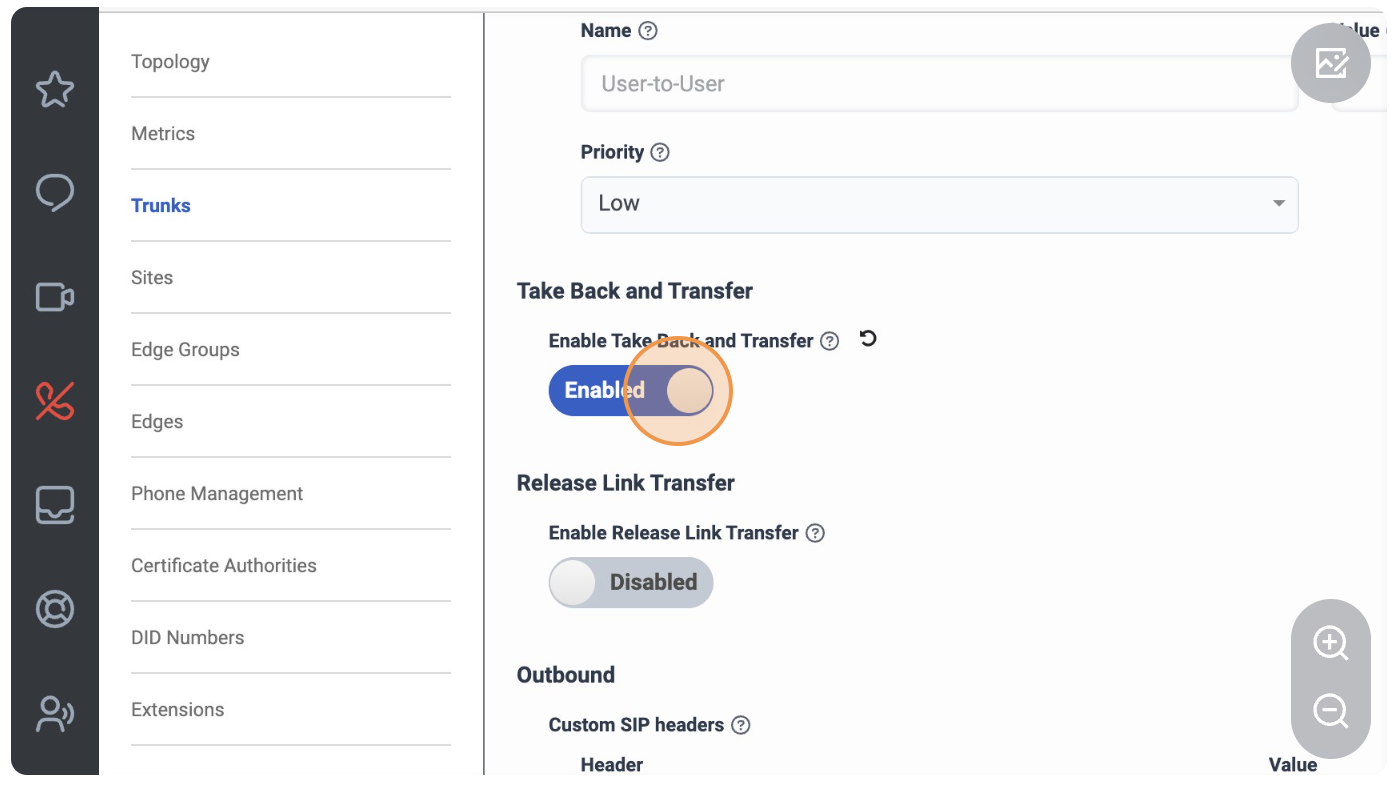
Note: If you turn on recording, turn off the Suppress Recording During checkboxes. - Click Protocol, and enable the Take Back and Transfer toggle.
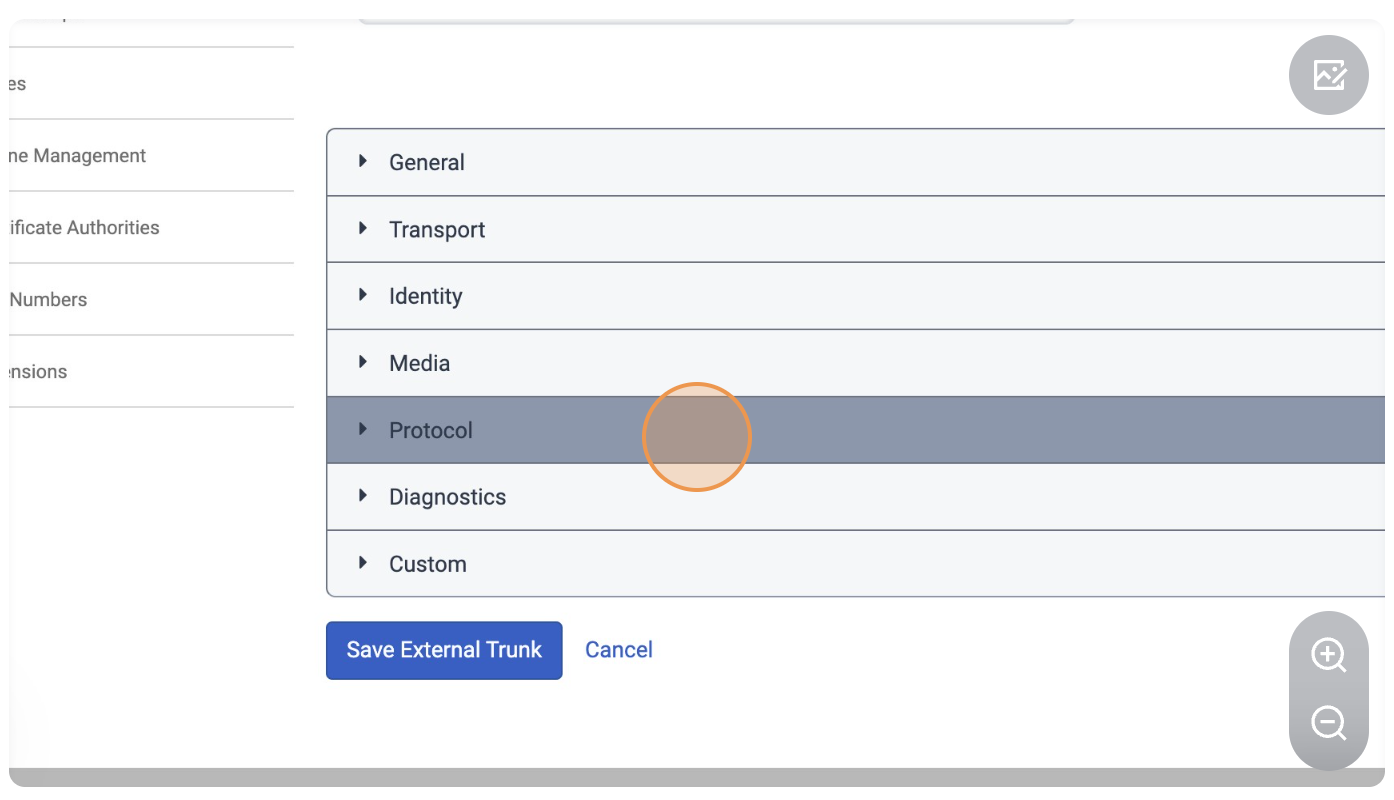
 Protocol
Some of these settings are used for more advanced communications between the platforms; you can customize them based on your needs.Kore.ai recommends the following:- Conversation Headers: enabled
- User to User Information
- UUI Passthrough: enabled
- Encoding Format: Ascii
- Protocol Discriminator: 00
- Transfer
Important: If you want to transfer calls back to a live agent in Genesys, you must enable the Take Back and Transfer settings.
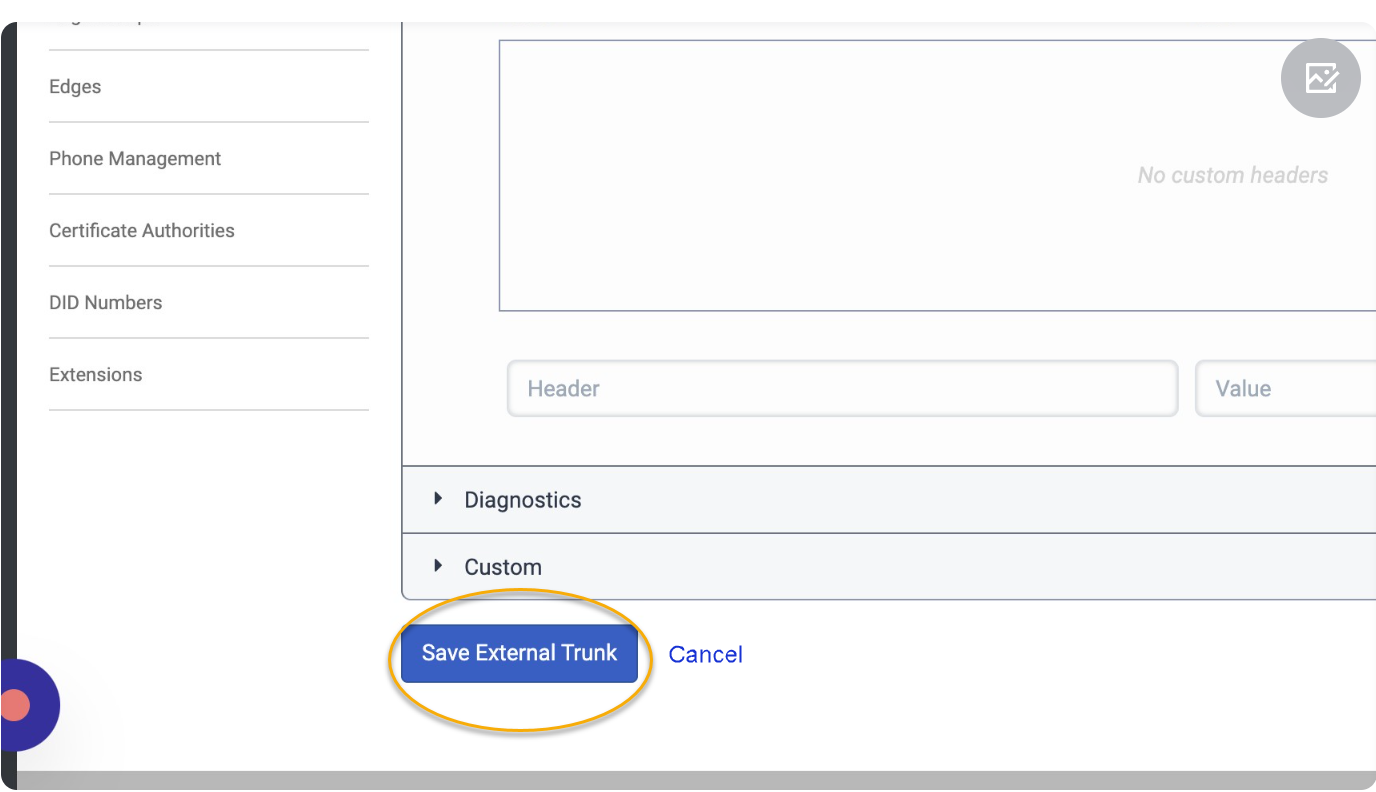
- Click Save External Trunk.
- If you need transport layer security (TLS) connectivity, work with Kore.ai Telephony resources, as some settings might differ.
- Create a new external trunk.
- Provide a unique name for the trunk.
- In the Inbound section, select your default site (see Step-6). The default site is important for proper routing as other sites may not take precedence, and the configuration may not work for other sites.
Step 6 – Site
Use the Default Site for this setup. Kore.ai uses its own classifications and settings to keep its integration isolated.
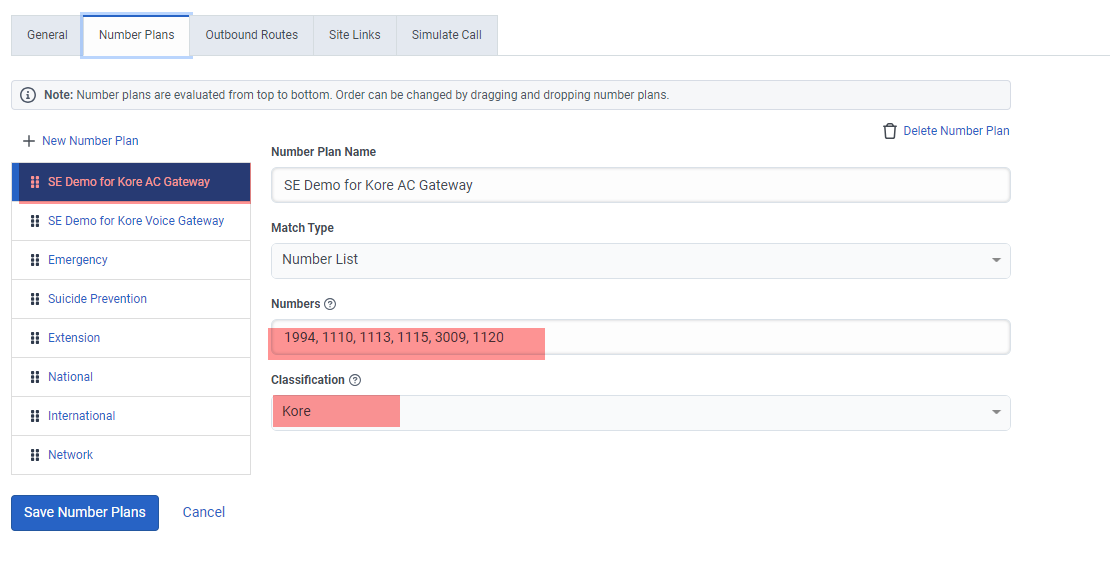
Number Plans
Create a new Number Plan with a meaningful name to distinguish it.
Match Type: Number List
Numbers: Use the number (Short code) used in the transfer step in Step-3.
Classification: Use a unique name, such as Kore.
Move this Number Plan above the standard plans like Extension to avoid conflicts, and ensure it is evaluated first. Determine the best placement based on your existing configuration.
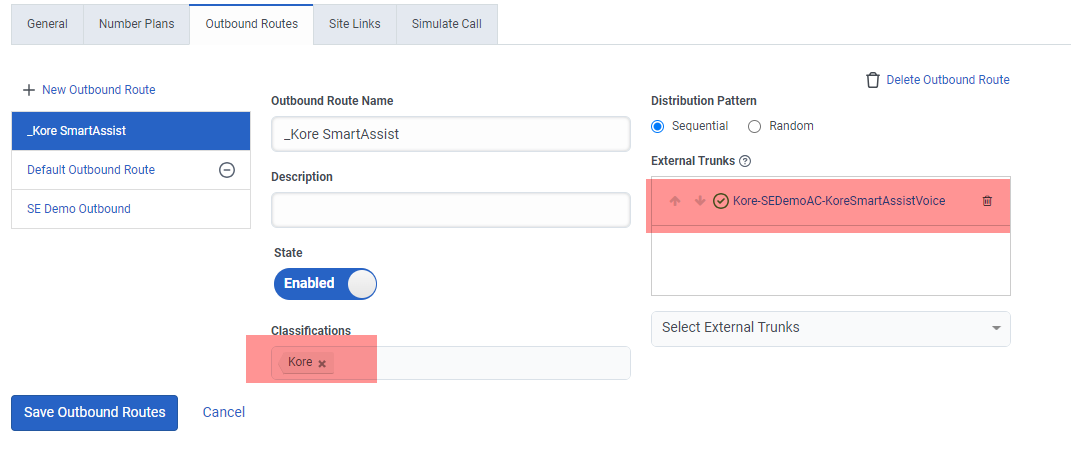
Outbound Routes
- Create a new Outbound Route.
- Use the Classification you created in this section above.
- Ensure the State is enabled.
- Set the External Trunks section to the new trunk created in Step-4.
- Use Simulate Call with your Number Plan number to confirm everything is resolving and routing properly inside Genesys.
Inbound (Kore.ai to Genesys)
Step 7 – Queue
If you haven’t created an agent Queue to route live agent transfers, create one and add the necessary members.
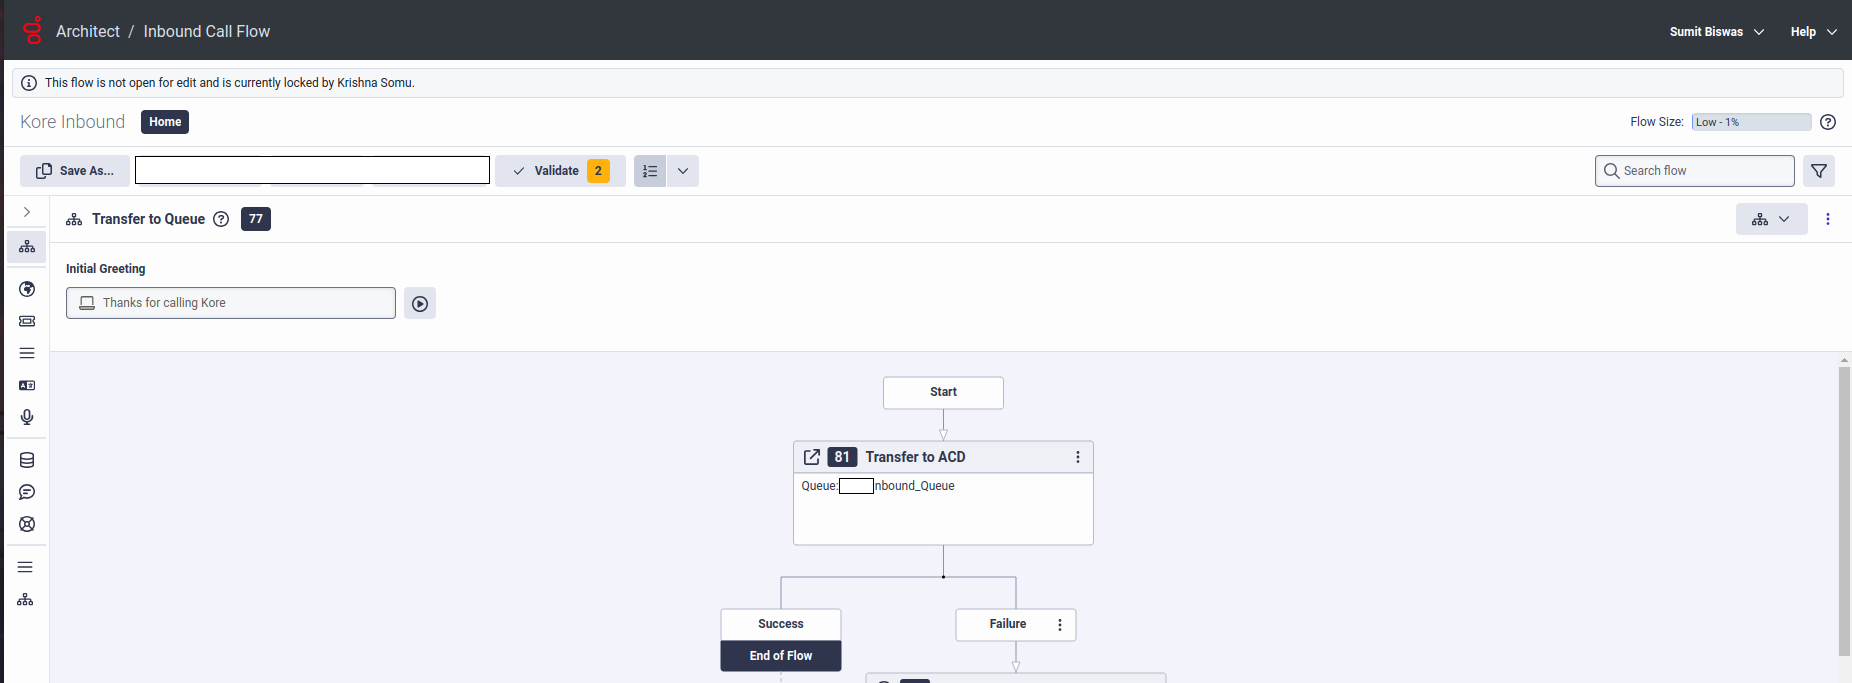
Step 8 – Architect Flow
- Create another Inbound Call Flow that will be used when a call is sent back to Genesys to route to a live agent.
- Add at least one Transfer to ACD node and point it to the Queue you want to use for agents.
 You can add additional functionalities to this Call Flow later. For instance, you can look at the UUID SIP Header for information on how to use Data Actions or variables for an Agent Script. You could also route to more than one Queue, based on SIP Headers or other information.
Step 9 – Call Route
Set up another Call Route that points to the inbound Architect Flow from Step-8. This step will be similar to Step-4.
Step 10 – DID Numbers
You need a DID Number that is internally routable inside Genesys.
Note: This is combined with the trunk domain for the SIP Address used to REFER the call back to Genesys.
DID Ranges
Create a new single-number DID range (keep start and end as the same number) that is not a typical external number. For example, +12223334444.

For Service Provider, use Internal and add a comment on what the range is used for.
DID Assignments
Assign the number you created to the Call Route from Step-9.
Assignee Type: Call Flow
DID Number: Your number
Kore SmartAssist Side Configuration
Follow Genesys and SmartAssist Voice Bot Interaction.
Make a test call
Once the setup process is complete, call the Genesys telephone number you created for initiating customer interactions. On successful connection, you should encounter the expected prompt, confirming the successful configuration of Kore.ai for voice automation at the beginning of your customer voice interactions.