The Start Node is the entry point of the interaction and serves as the initial touchpoint for user engagement. It sets up the flow by greeting the user or playing a predefined message, establishing the first contact. The Start Node is designed to collect the user’s initial intent or response, such as prompting the user for a spoken request or selecting an option from a menu.
It can trigger specific events like welcoming messages, IVR instructions, or routing users to appropriate modules based on their input or profile. Based on conditions (user type, time of day, etc.), the Start Node can decide the conversation’s path (for example, routing to a specific department, agent, or self-service task).
To configure the Start node, you must set up the following:
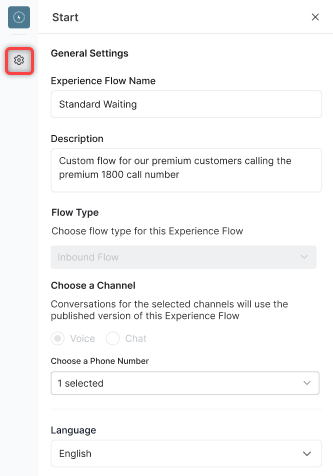
General Settings
Click the General Settings icon and provide the following information:
- Experience Flow Name
- Description
- Flow Type
- Channel (voice or chat). Select a Phone Number from the dropdown if the voice channel is selected.
- Language
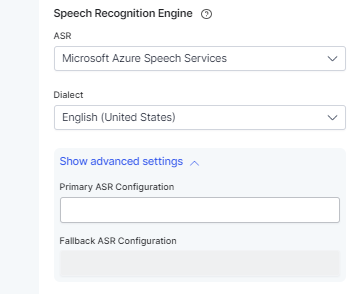
- Automatic Speech Recognition Engine (ASR)
- ASR
- Dialect
- Primary ASR Configuration (Advanced Setting)
- Fallback ASR Configuration (Advanced Setting)
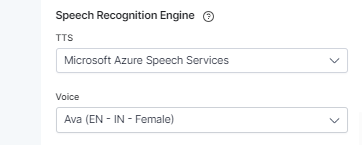
- Text to Speech Engine (TTS)
- TTS
- Voice
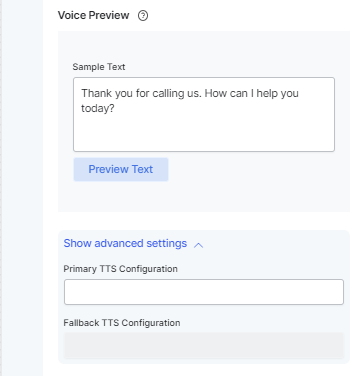
- Voice Preview
- Sample Text: Enter Sample Text to preview your voice selection. You can play, navigate through the audio (Back/Forward), and adjust the preview volume. Clicking the More Options (⋮) button reveals options to adjust Playback Speed. Click the Play button next to any available voice to preview it. Voices are available for all TTS engines, but each has voice options. Select a different Voice Language if required.
- Primary TTS Configuration (Advanced Setting)
- Fallback TTS Configuration (Advanced Setting)
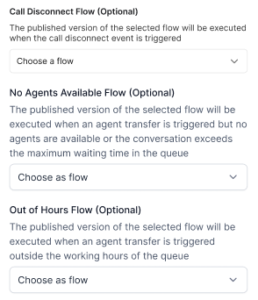
- Select a Call Disconnect Flow (Optional): The published version of the selected flow will be executed when the call disconnect event is triggered. You can choose the default Call Disconnect Flow or one you created yourself.
- Select a No Agents Available Flow (Optional): The published version of the selected flow will be executed when an agent transfer is triggered but no agents are available or the conversation exceeds the maximum waiting time in the queue.
- Select an Out of Hours Flow (Optional): The published version of the selected flow will be executed when an agent transfer is triggered outside the working hours of the queue.