By setting up the Google Drive connector in SearchAssist, you can enhance the search capabilities of your Google drive managed content and experience smooth integration for maximum efficiency.
Configuring Google Drive as a content source involves:
- Creating an application project in your Google account
- Configuring the Google Drive connector in SearchAssist
Step 1: Creating an application project in the Google account
Login to your Google developer console.

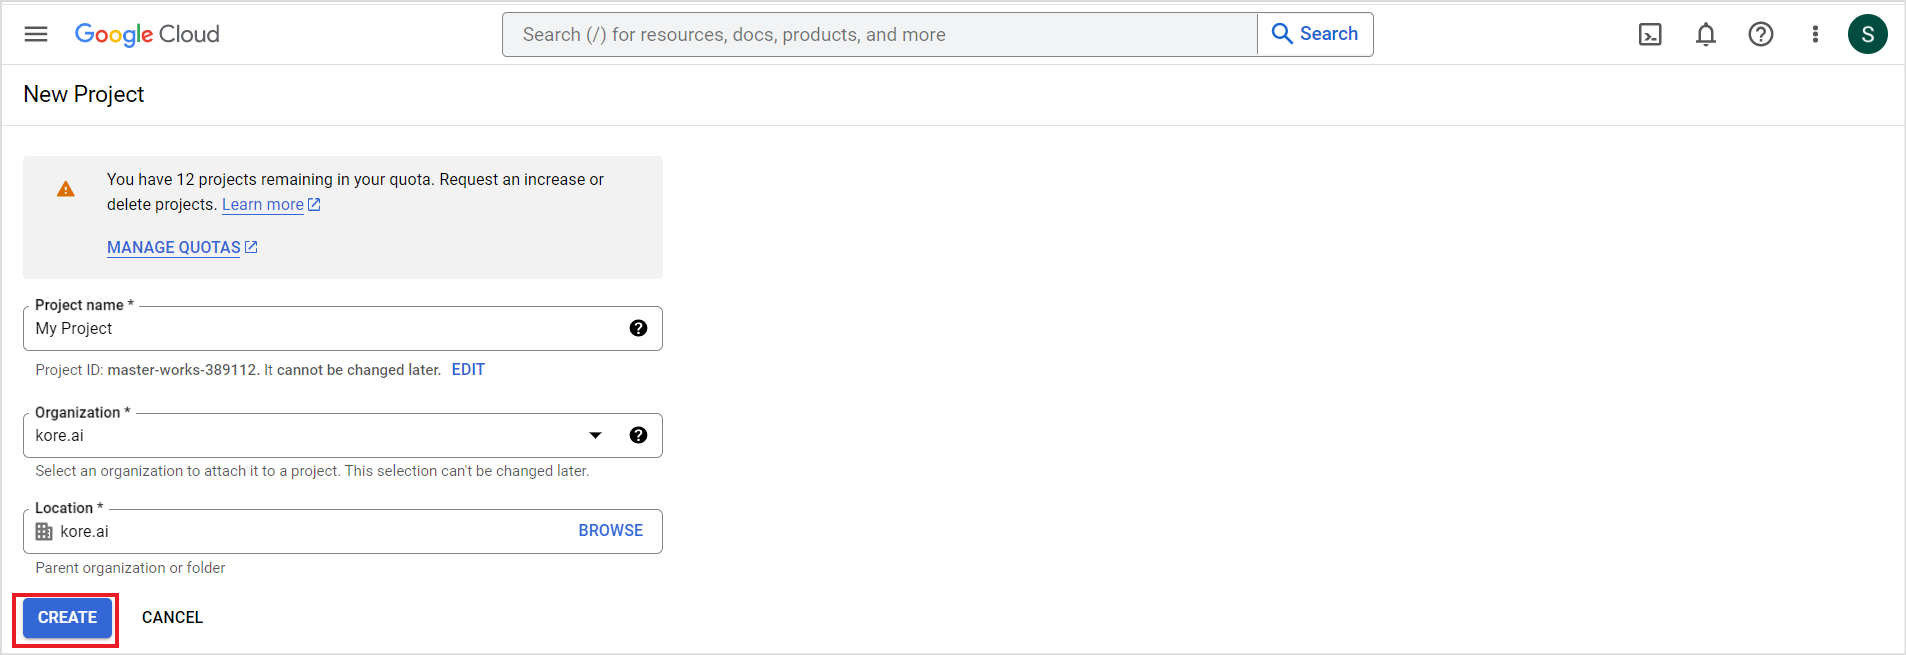
Select the drop-down for the project and create a new project.

Provide the basic details for the project and click CREATE.
From the left navigation menu, go to APIs & Services and click Enabled APIs & services.
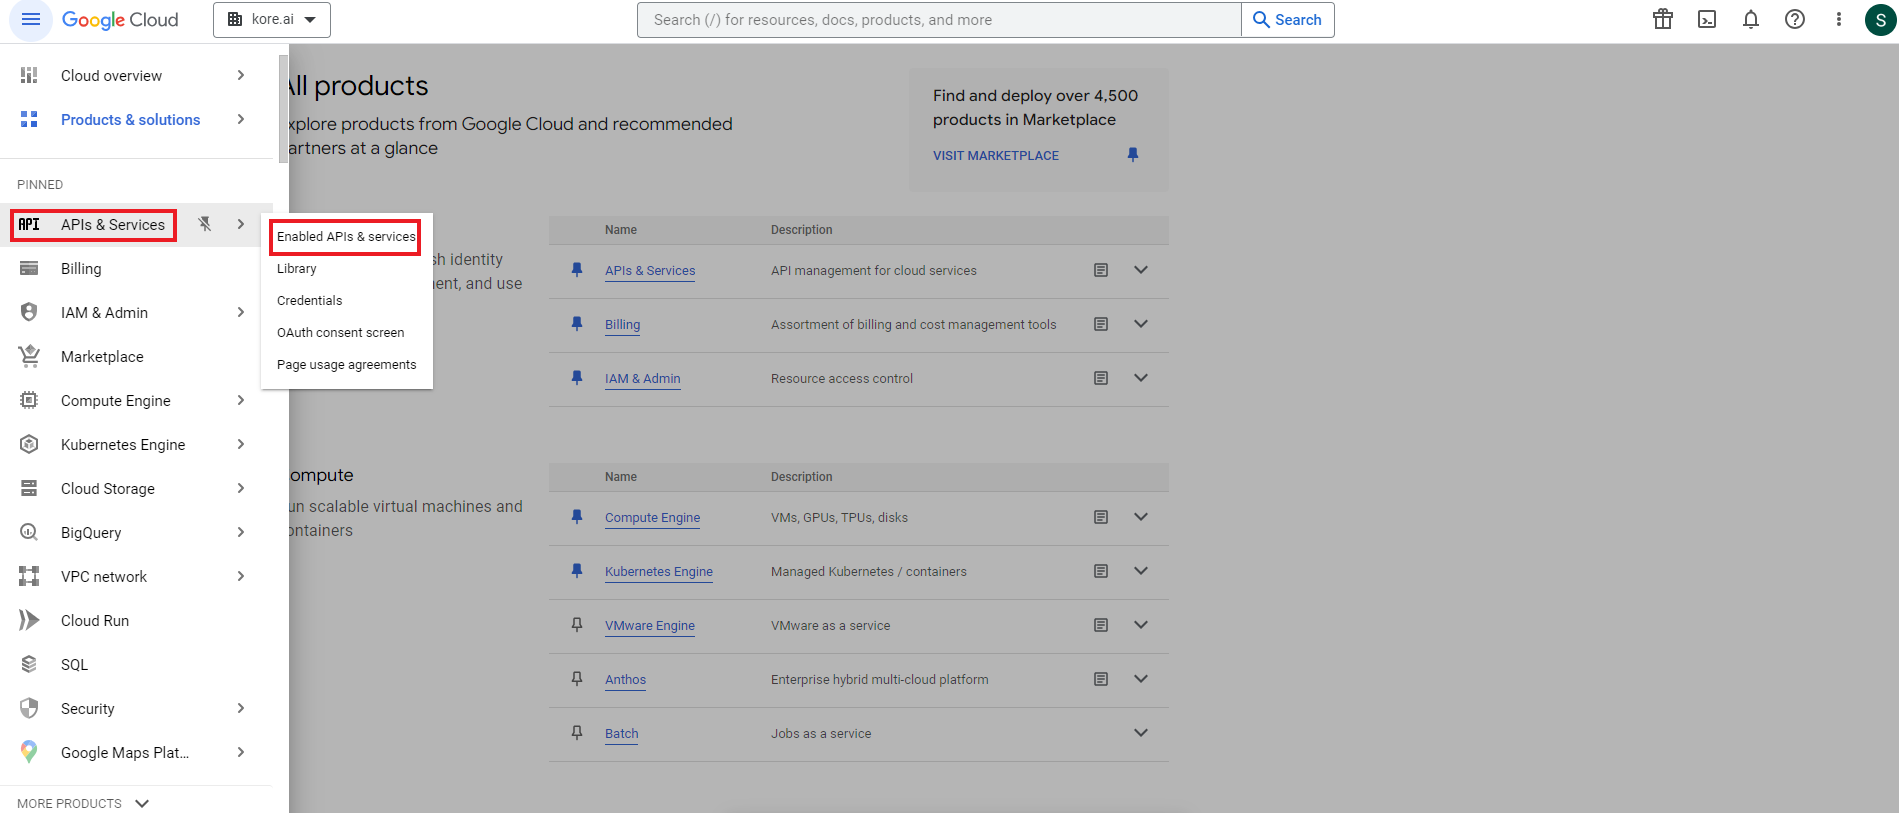
Select your project.

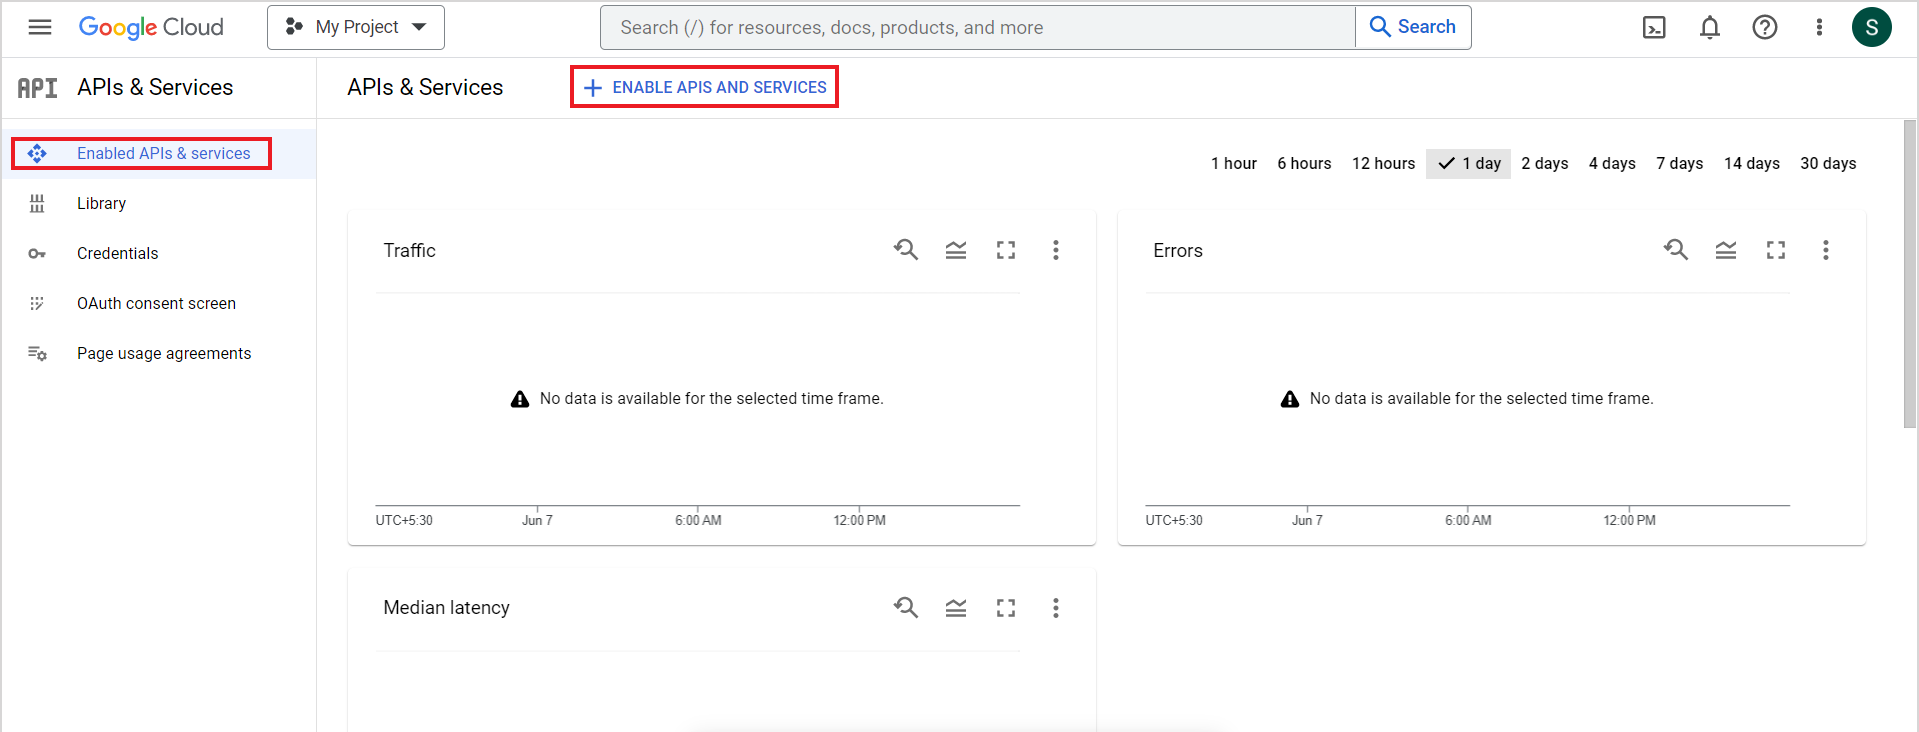
Click on ENABLE APIS AND SERVICES.
The following page will list all the API libraries. Find Google Drive API and enable it. 
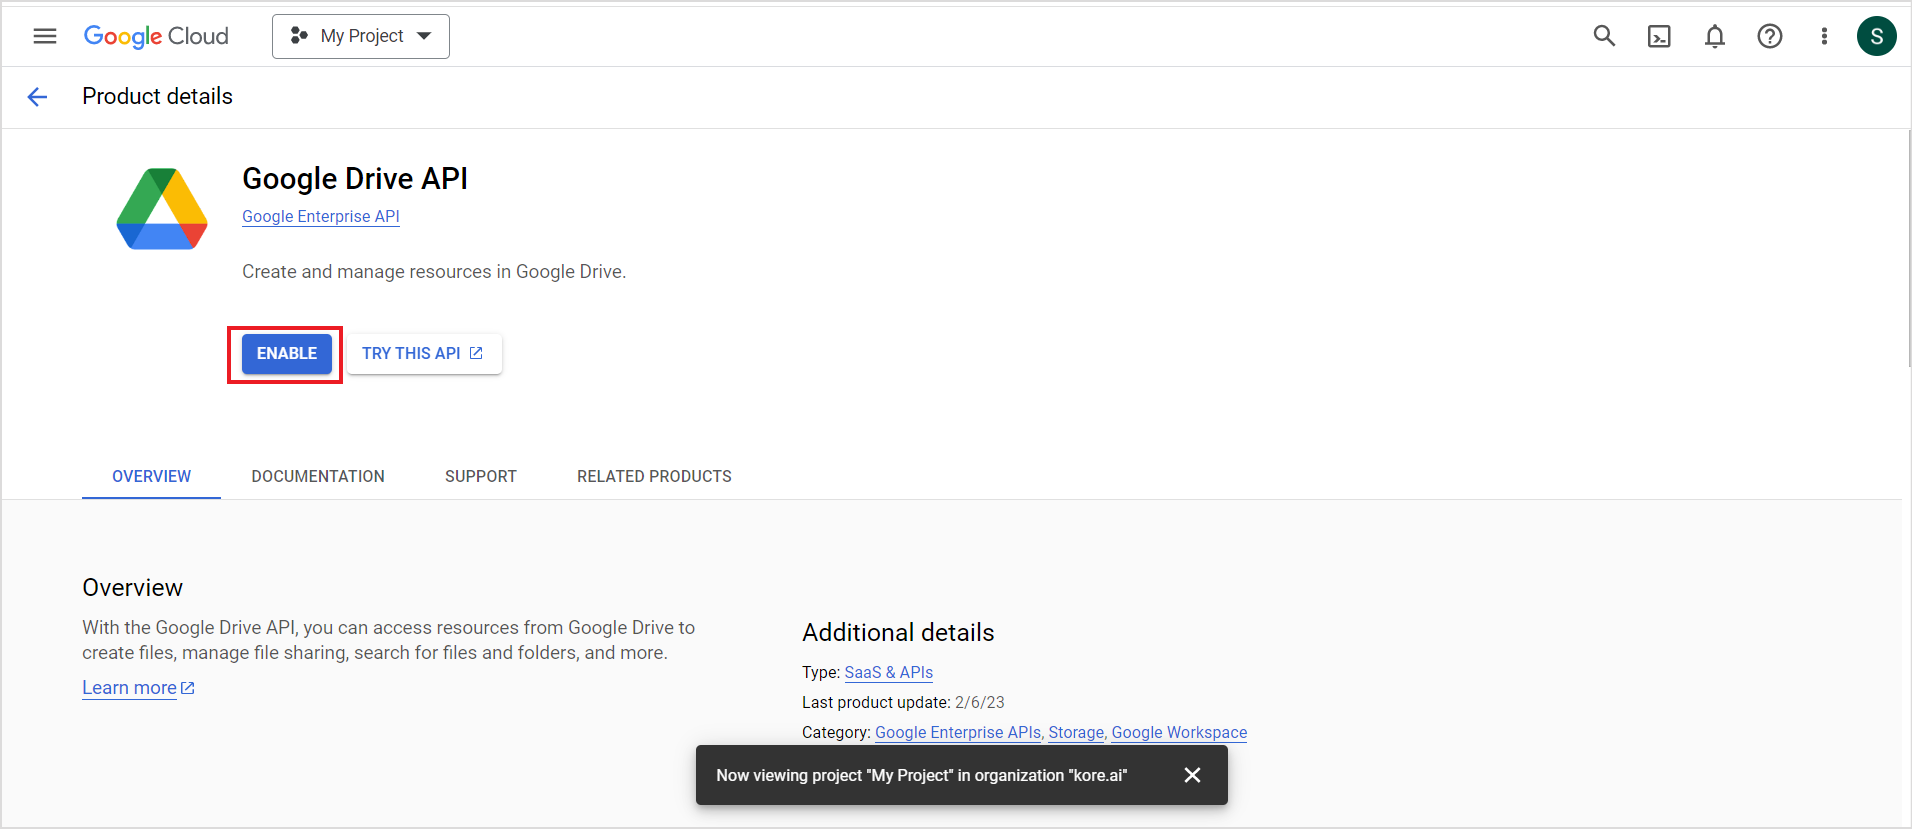
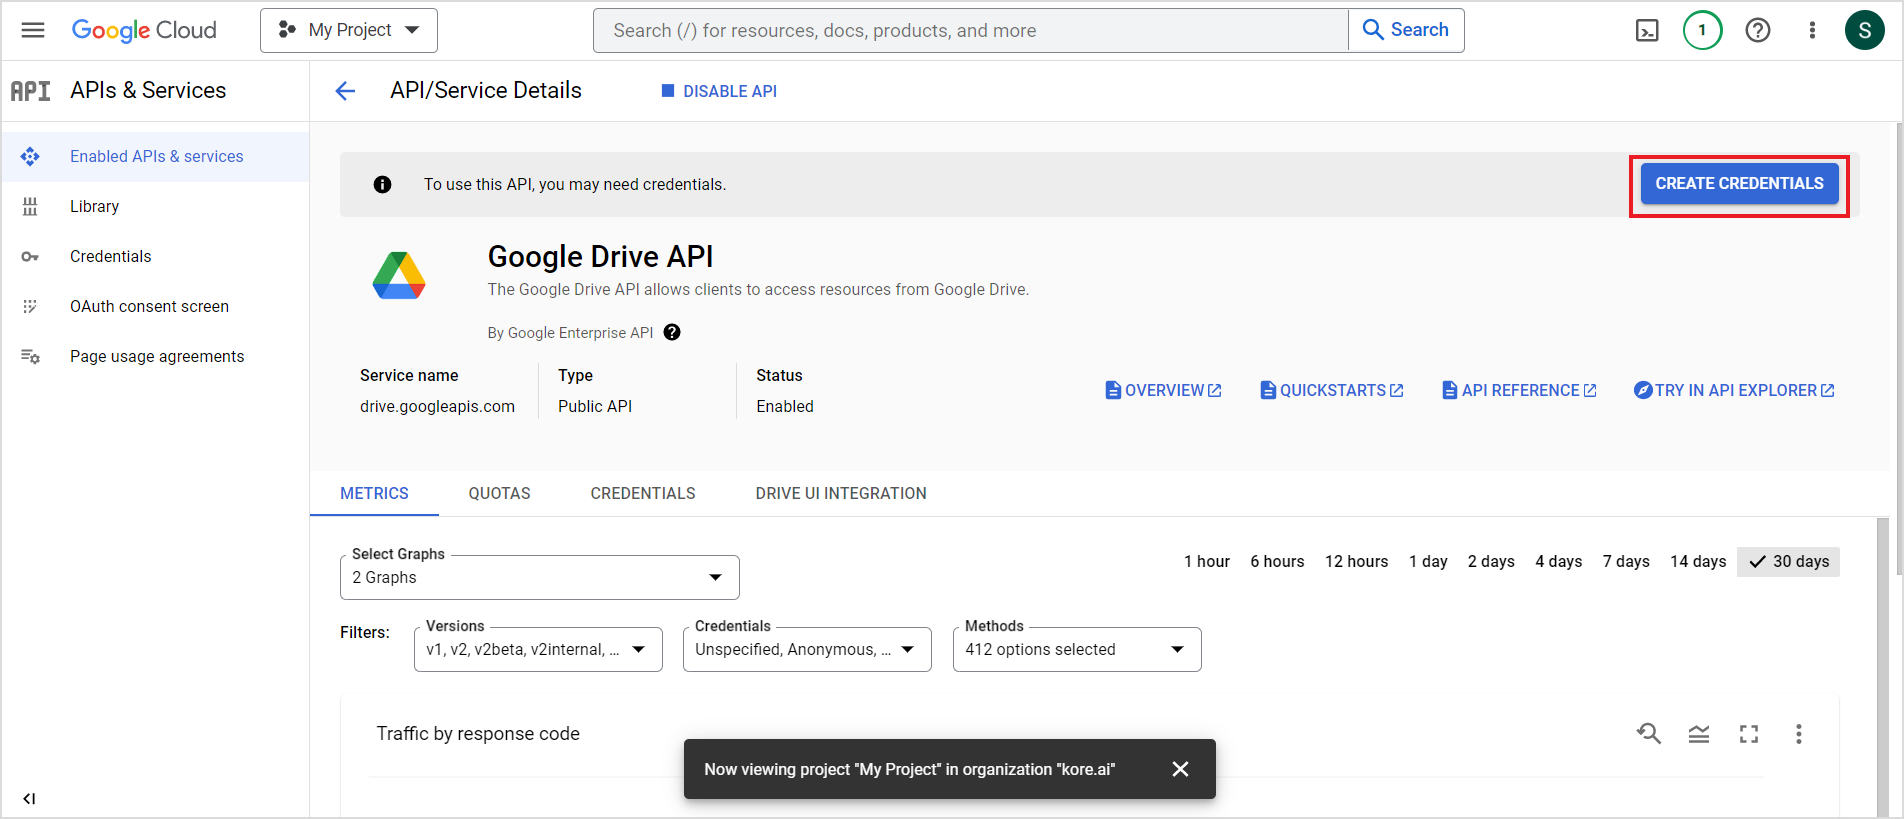
Once enabled, it will show the details of the API. Click on CREATE CREDENTIALS.
Under Select an API drop-down, select Google Drive API and select the User Data radio button to indicate that the project requires access to the user data via Google Drive APIs. Click Next. 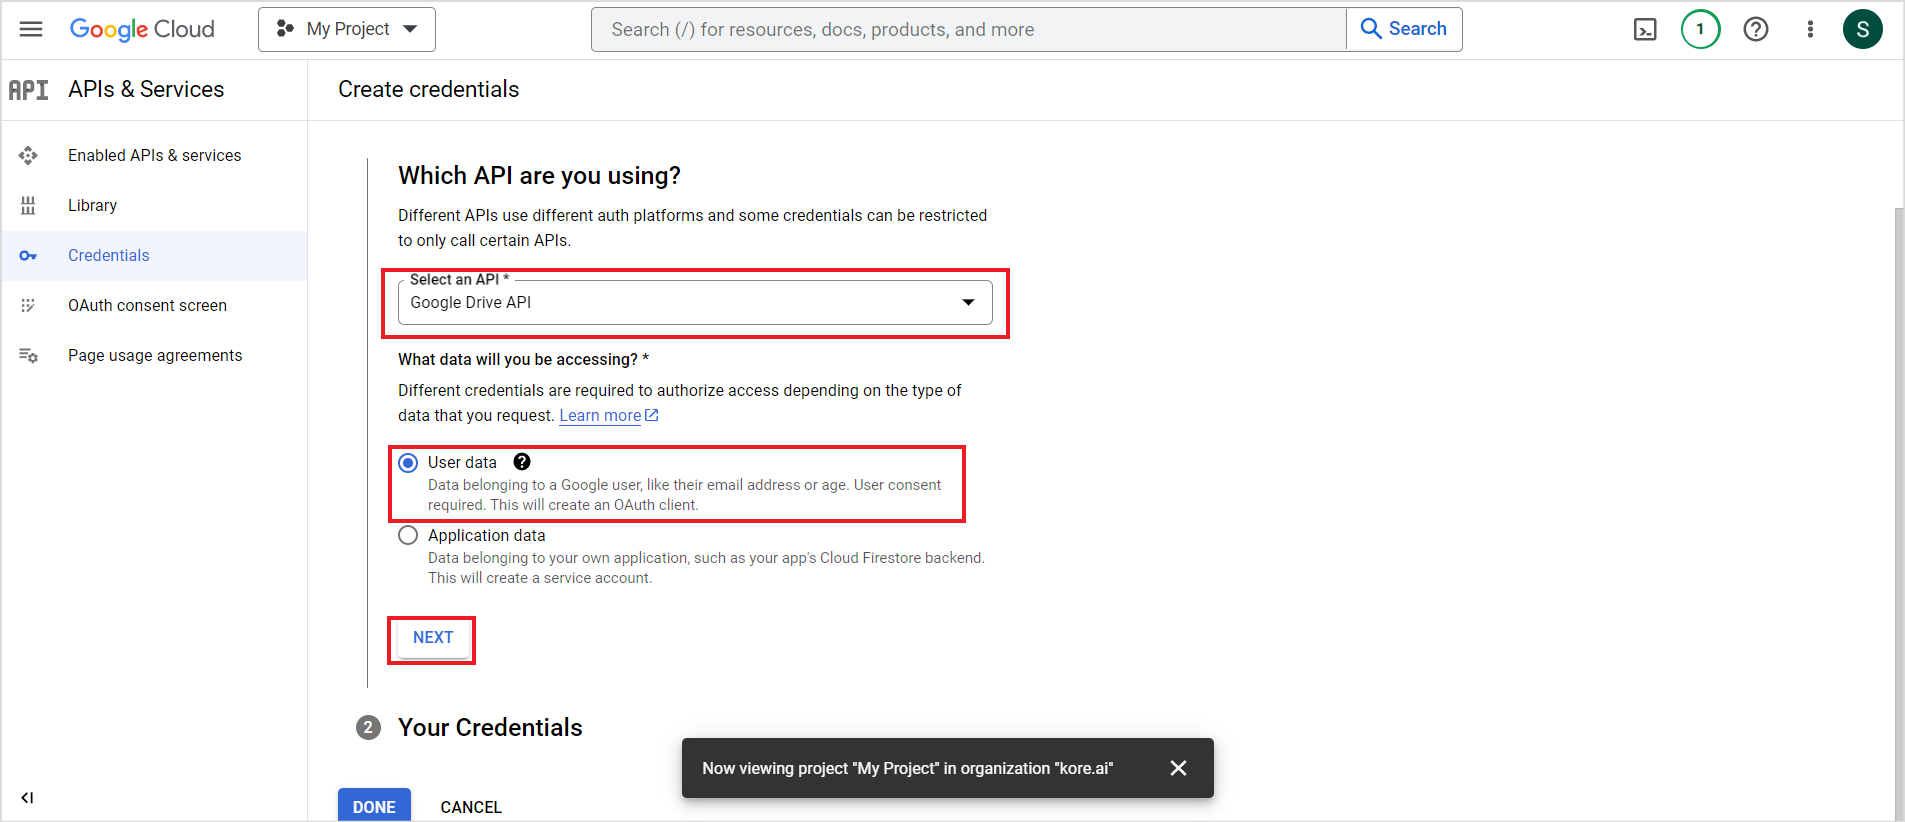
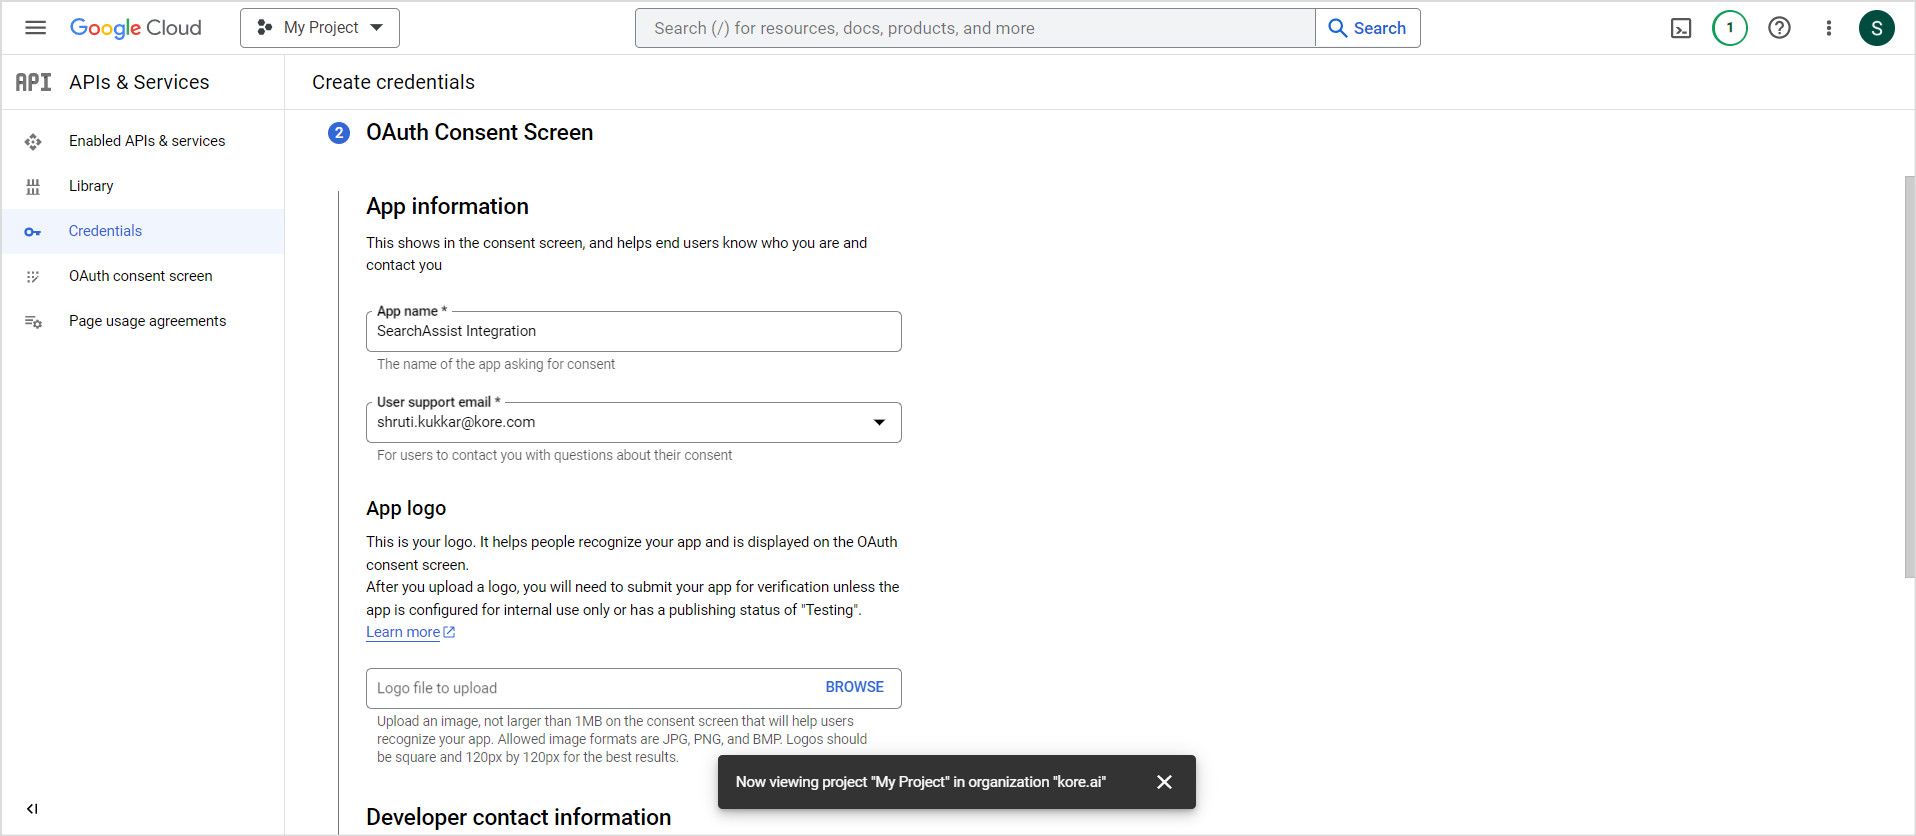
Next, set up the consent screen. Provide the name of the application, email address, app logo, and developer contact information.
Set up permissions for the application in the next step. Under Scopes, click on ADD OR REMOVE SCOPES. Select the following scopes for Google Drive API and click on UPDATE at the bottom of the page.
- …/auth/drive.file
- …/auth/drive.appdata
- …/auth/drive


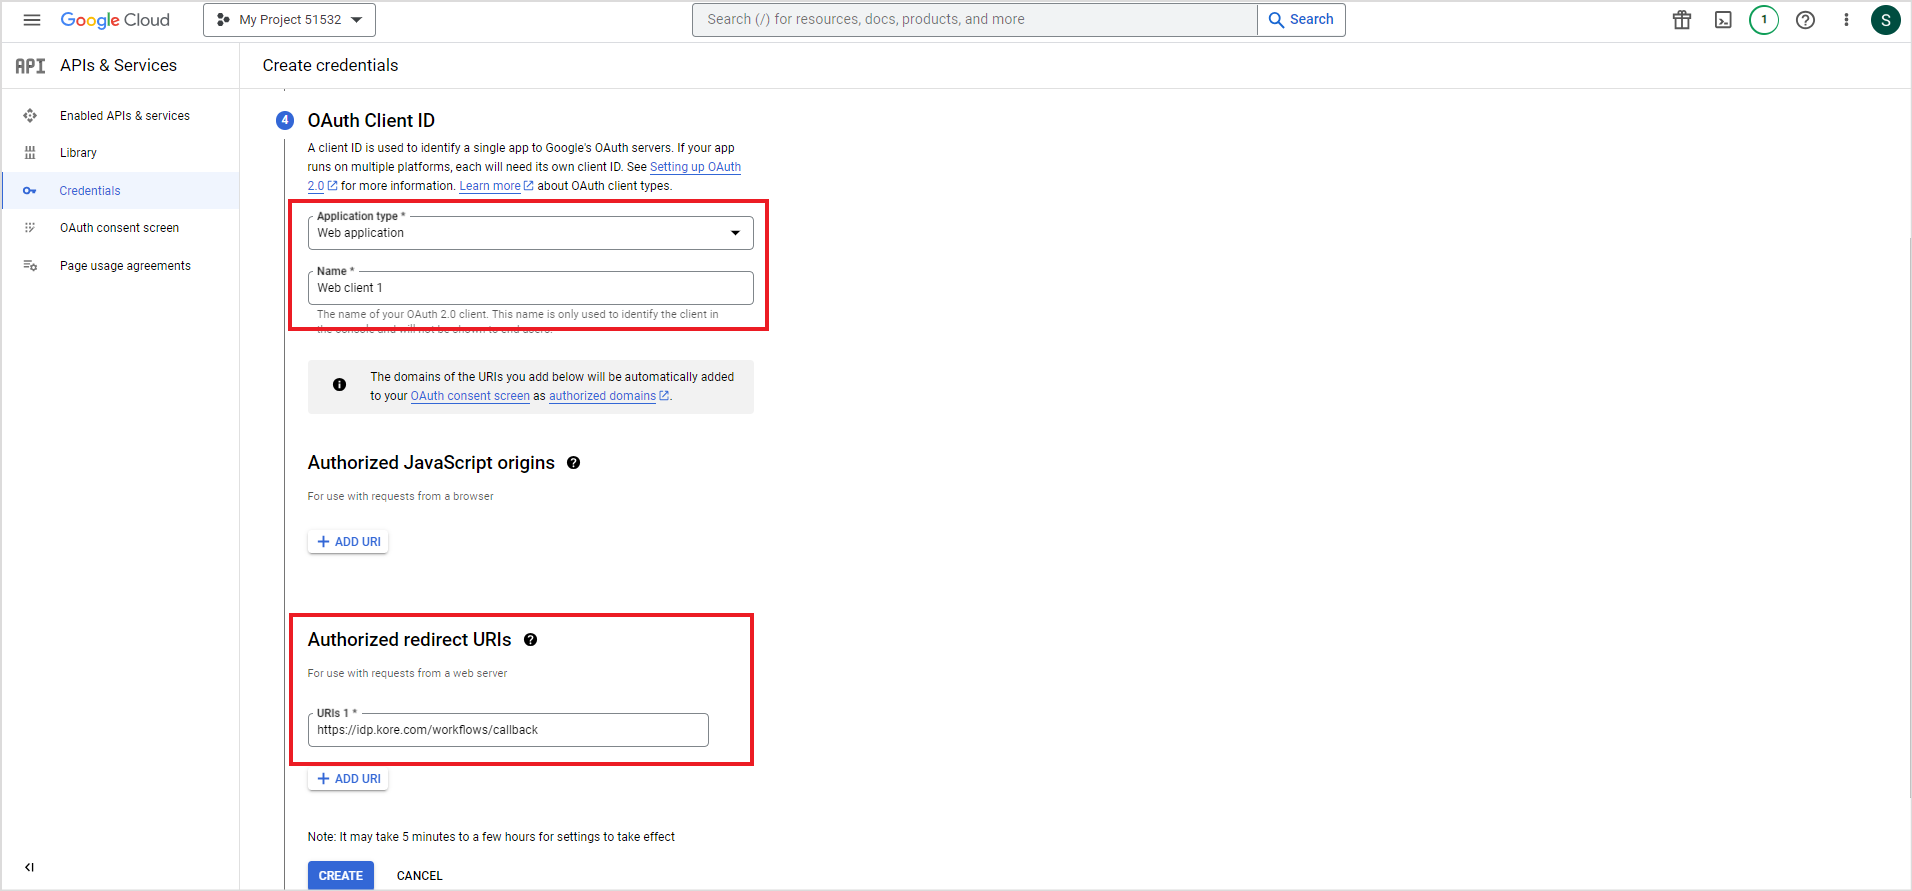
In the next step, generate the client ID for the application. Enter the Application type as Web Application and give it a name. Add the URL of your SearchAssist deployment as Authorized redirect URIs and click CREATE.
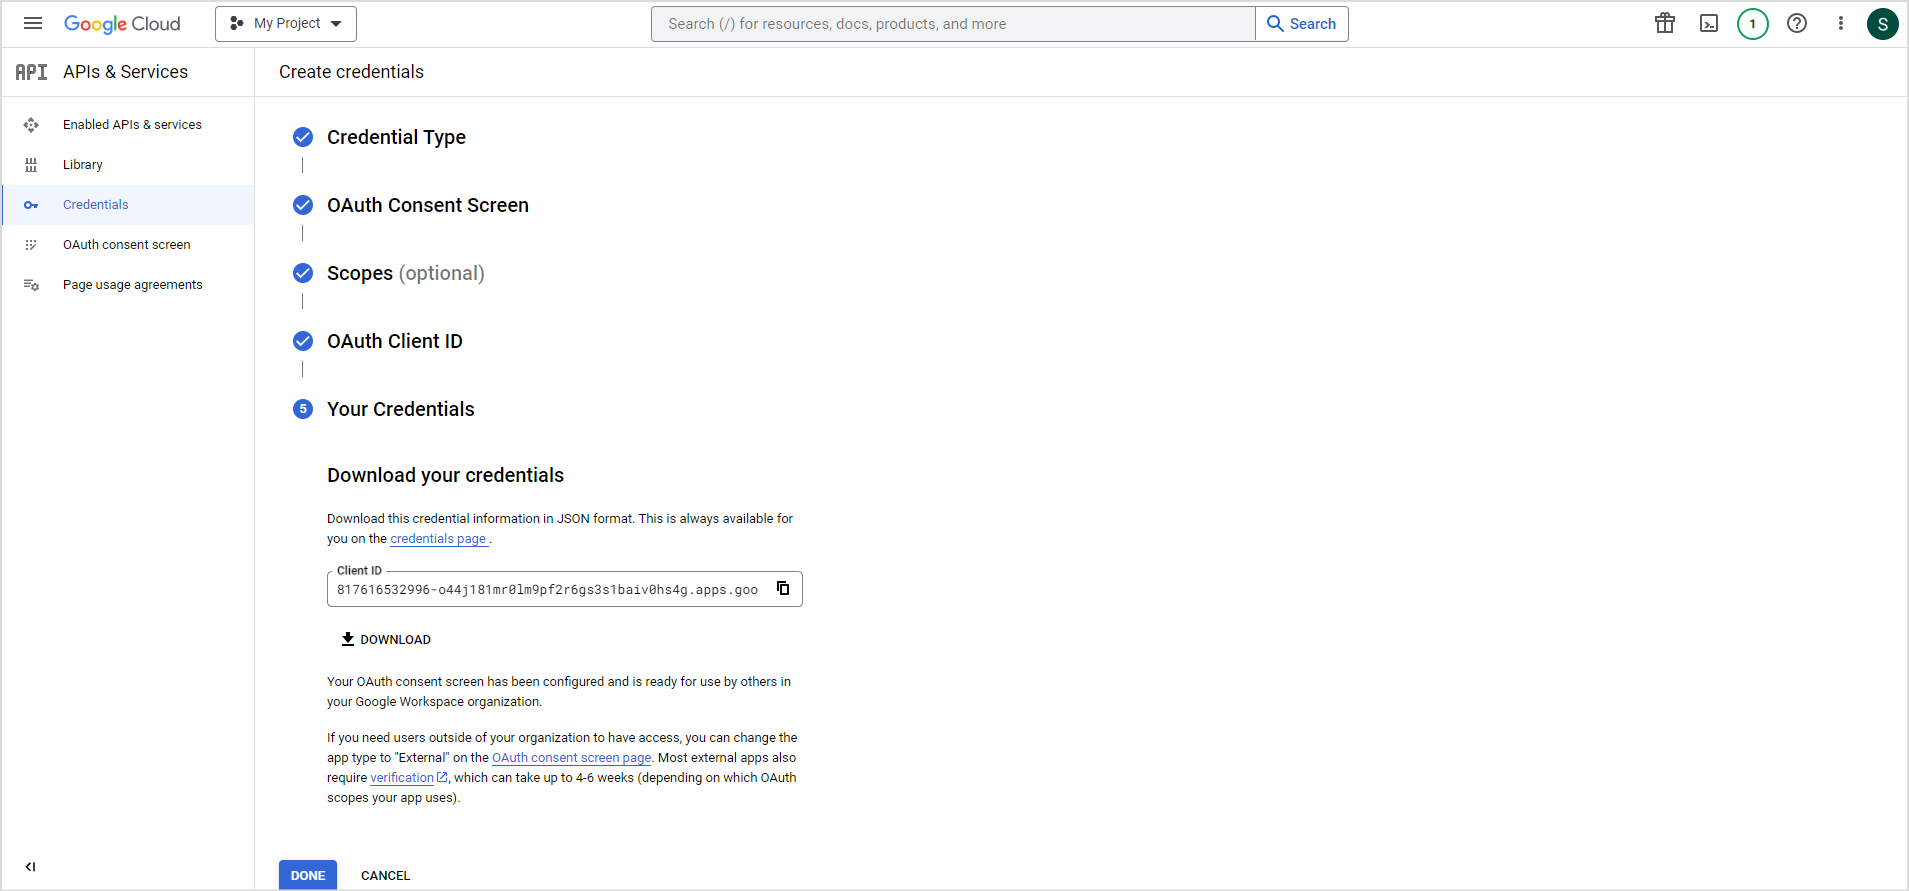
This will generate the client ID. Download your credentials and click DONE. The downloaded file is in JSON format and has client id and client secret amongst other fields.
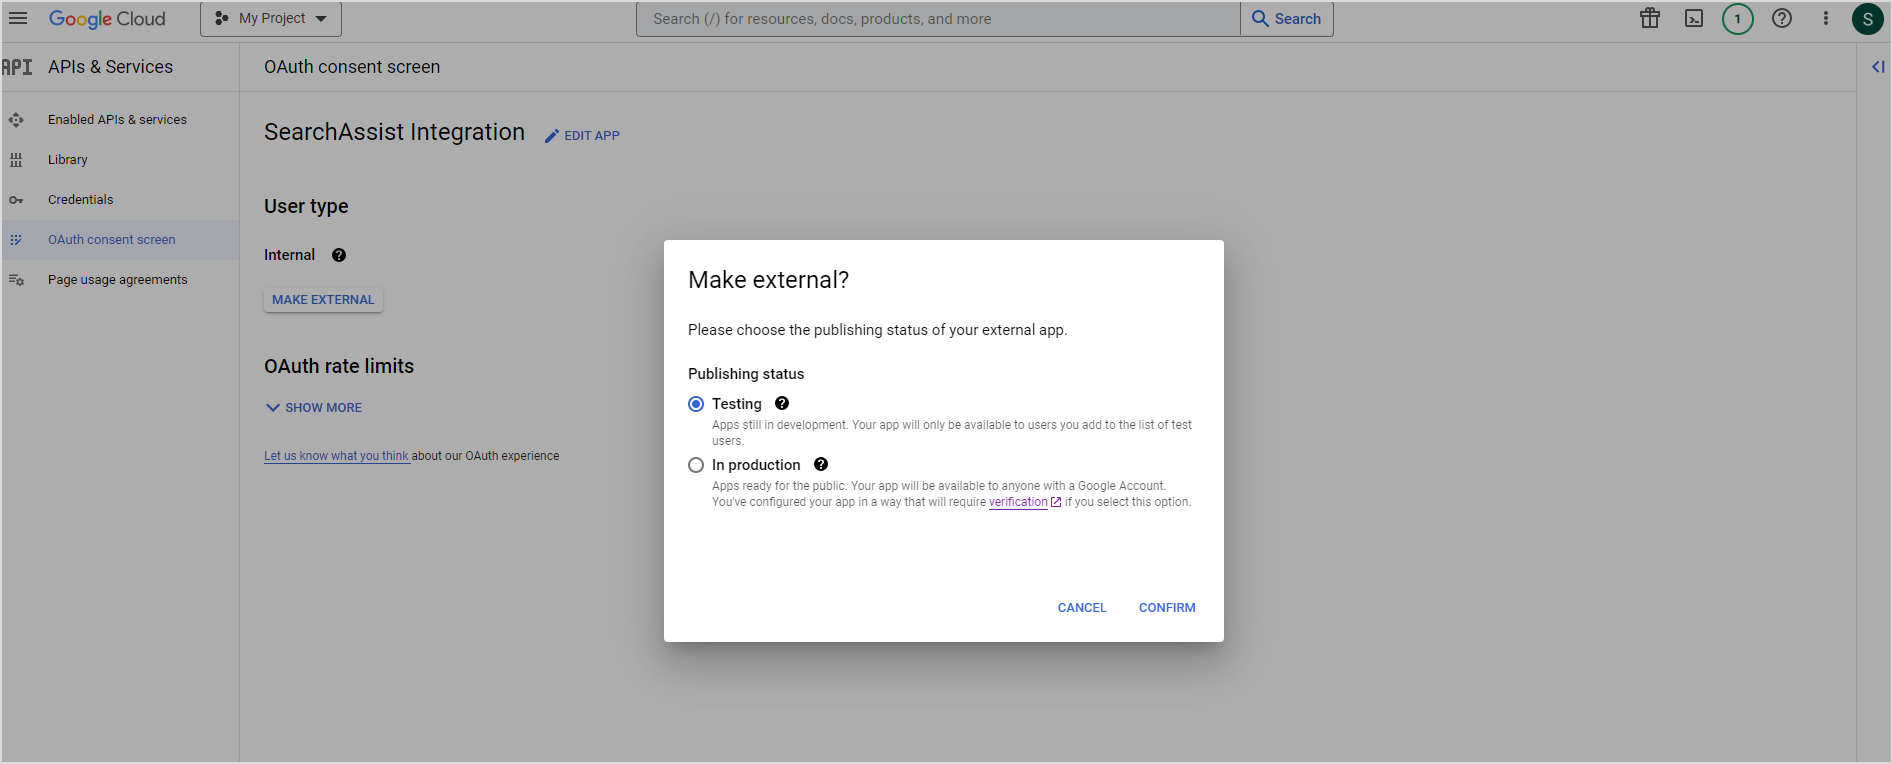
Next, set the user type for the application as external. Go to the OAuth Consent screen and click on MAKE EXTERNAL to change the user type to External. 
While you are still in development or testing mode, you can set the publishing status of the application to Testing. In testing mode, only the users added can access the application while in production mode, the application is available publicly to everyone with a Google account.
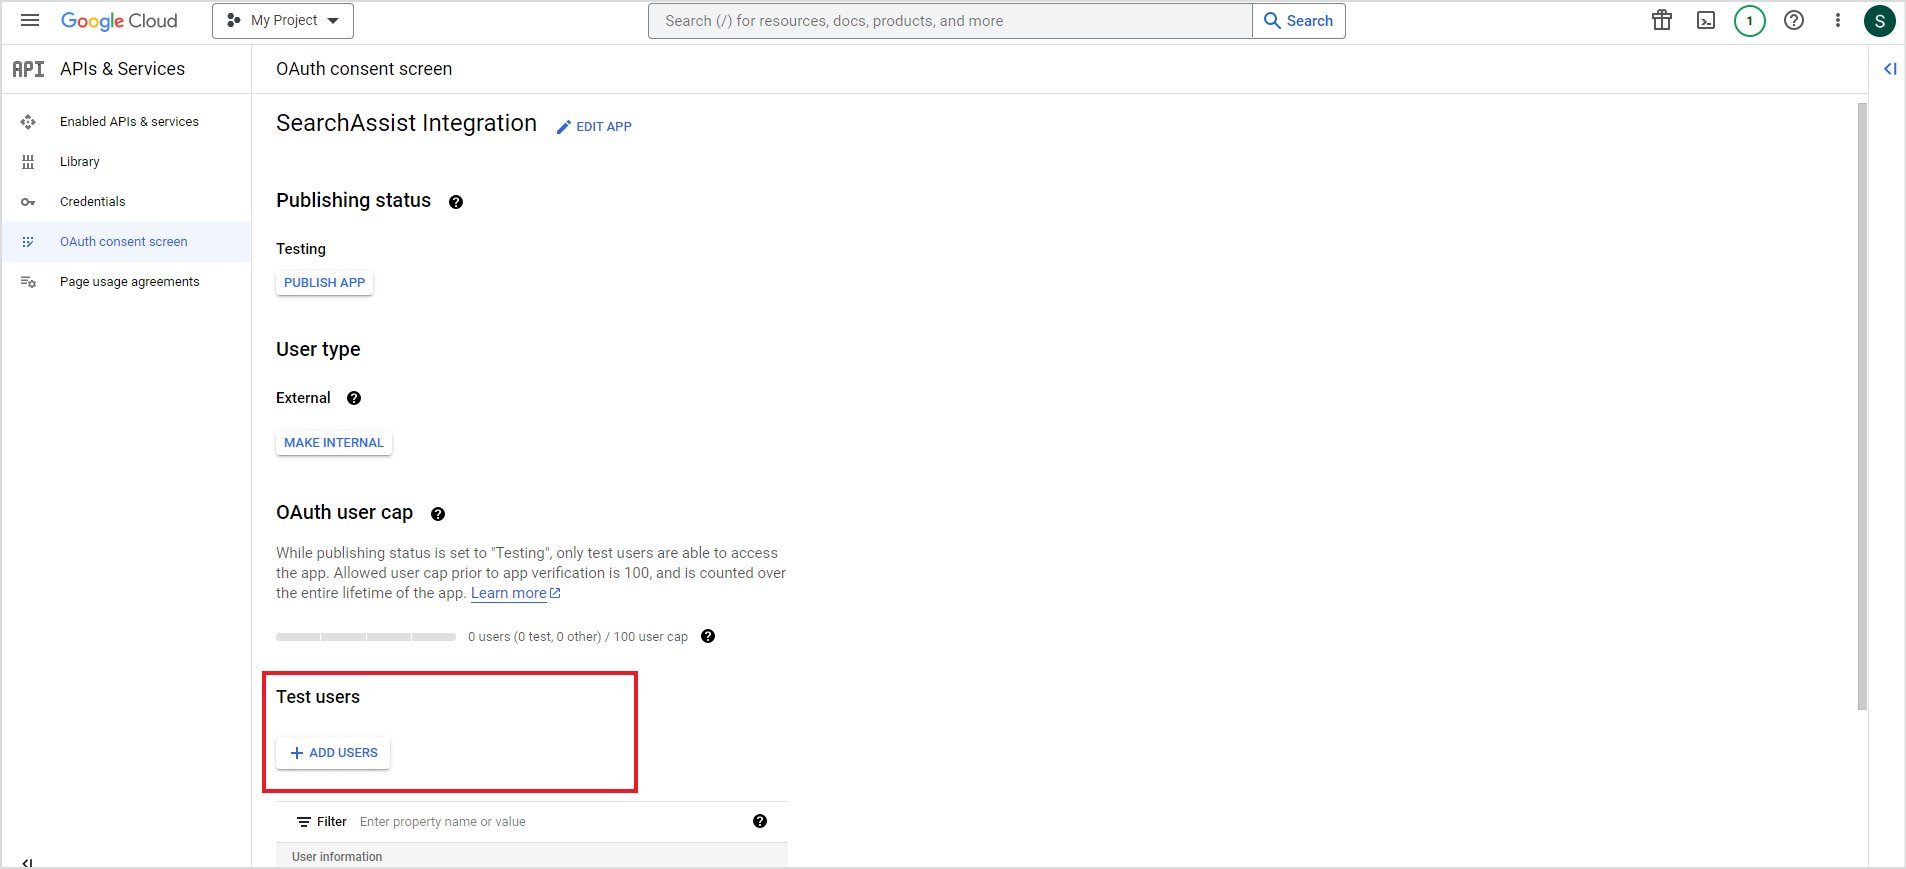
Once the user type is set to external and the publishing status is set to Testing, you can add your test users by clicking on ADD USERS on the same page.
Step 2: Configuring the Google Drive connector in SearchAssist
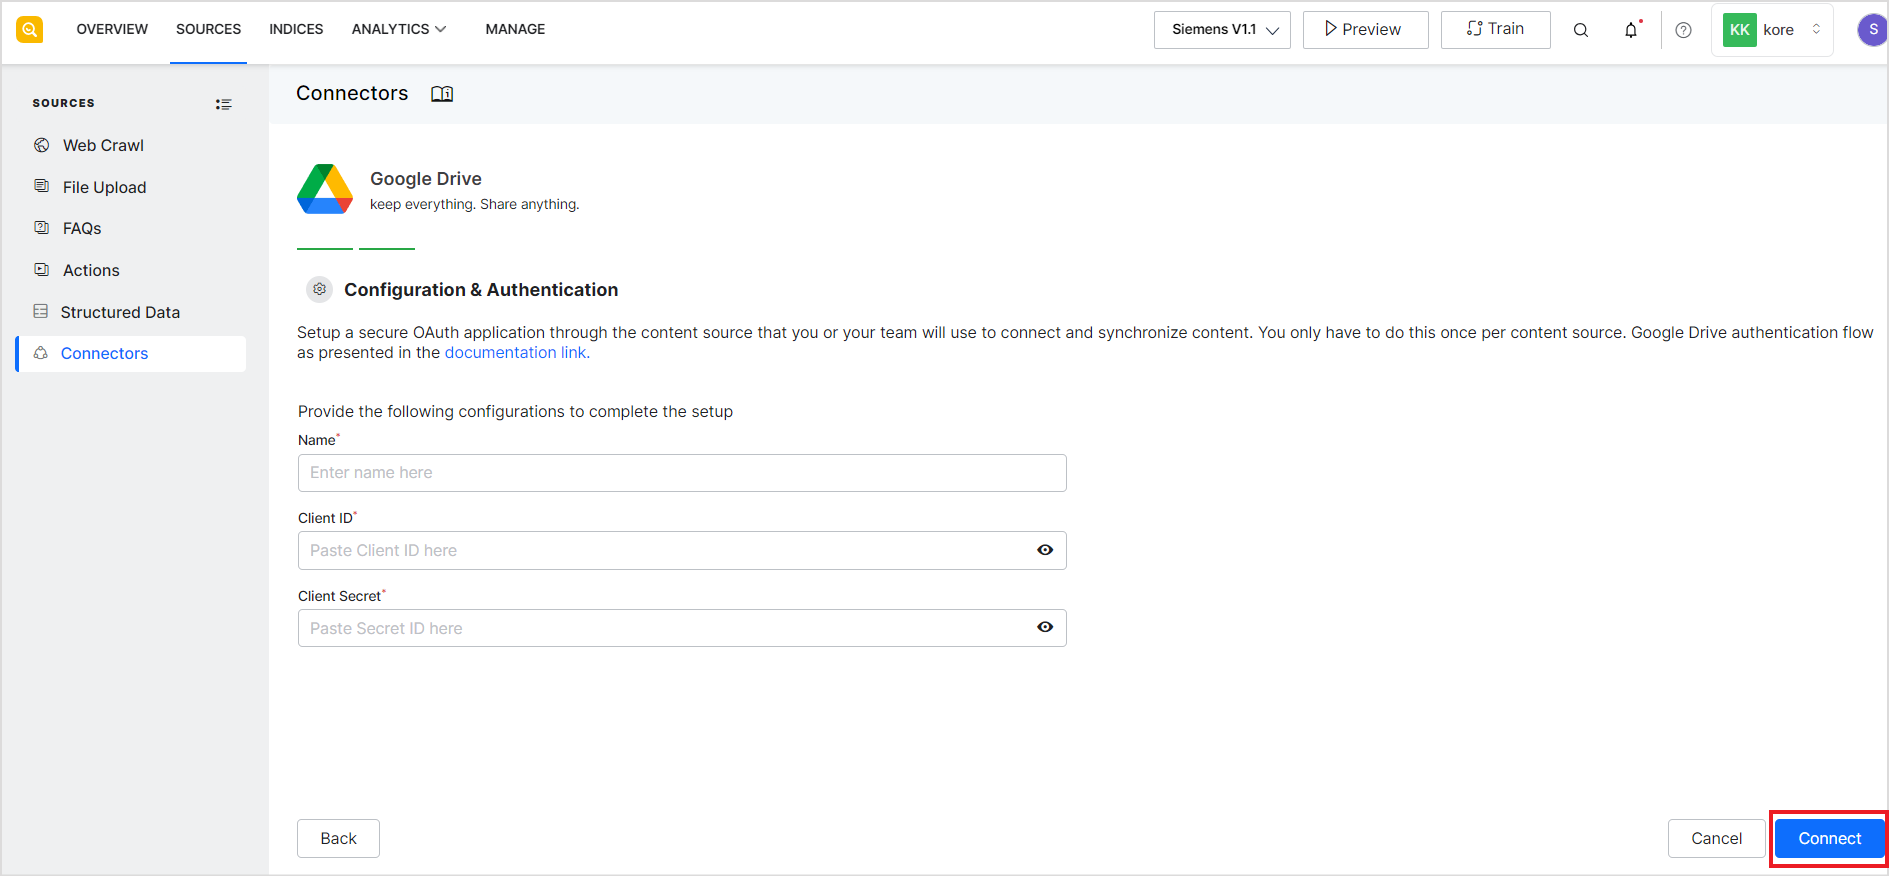
To configure the Google Drive connector in SearchAssist, go to the Connectors under Sources tab and select Google Drive. 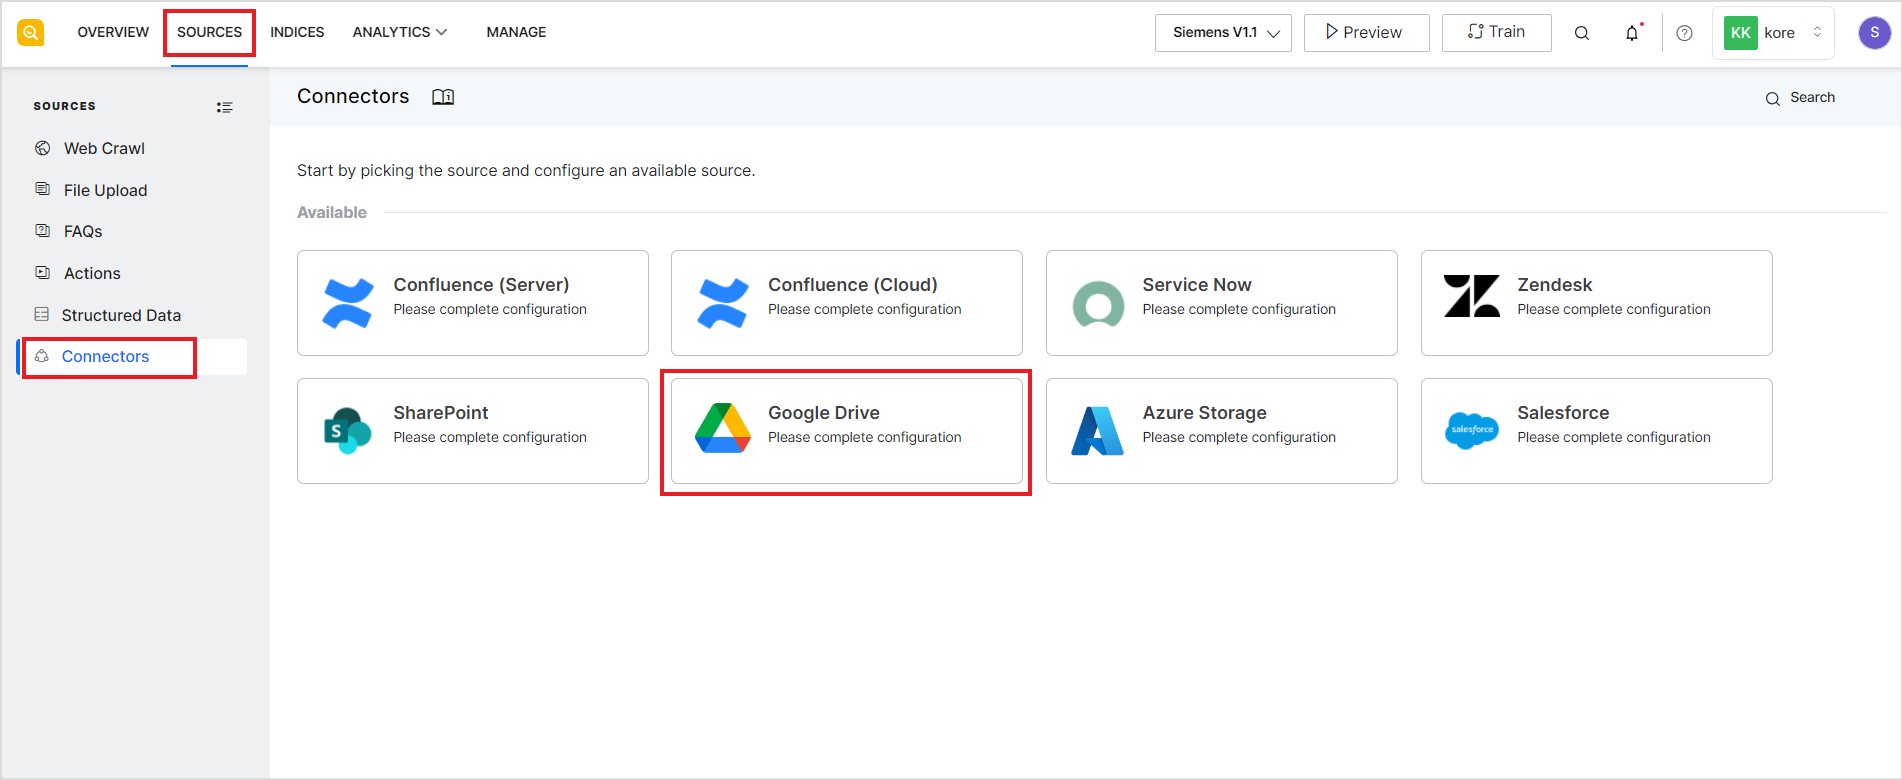
The following page displays the instructions to configure the project and permissions in the Google account. Click Proceed.
Next, provide a name for the connector. You can use any name as a unique identifier of the connector. Enter the credentials generated while creating the Google project – client ID and secret and click Connect. You can find both the client ID and secret in the JSON file downloaded in the Create Credentials step above.