
Adding Experiments
You can define experiment parameters and add them to an active SearchAssist app. By activating an experiment, you are allowing search query traffic to be split randomly among the variants.
Follow these steps to create an experiment:
- Click the Analytics menu tab
- Select Experiments on the drop-down menu.
- Click Add Experiment.
- In the New Experiment dialog box, enter a unique name in the field.
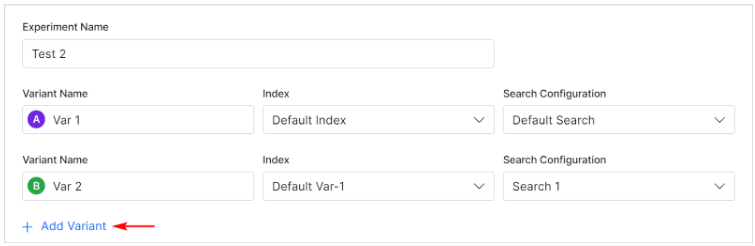
Adding Variants
By default, SearchAssist displays two rows of variants. Click Add variant to add up to two more variations (for a total maximum of four variants).
- Enter a unique Variant Name.
- Click the Index field and select an option on the drop-down menu.
- Click the Search Configuration field and select an option on the drop-down menu.
- Repeat steps to create a second variant.
- Click Add Variant. (optional)
Note: Make sure you train each index before running an experiment. Untrained indices prevent the experiment from running.
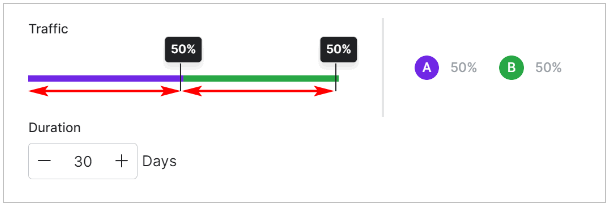
Customizing Traffic Settings
- Under the Traffic section, adjust the slider to set a value indicating the percent of the user query traffic to flow through each variant.
- In the Duration field, enter the number of days the experiment needs to be run, up to a maximum of 90 days.
- Click Add.
Running Experiments
To run an experiment:
- Click the Analytics menu tab.
- Click Experiments in the drop-down menu.
- On the Experiments page, find the list of experiments.
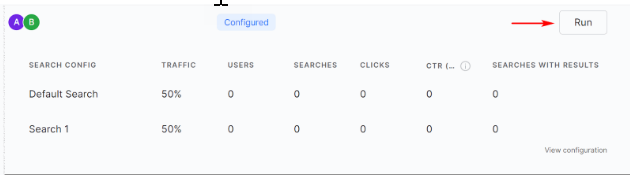
- Click Run on the respective experiment.
Note: you can run only one experiment at a time.
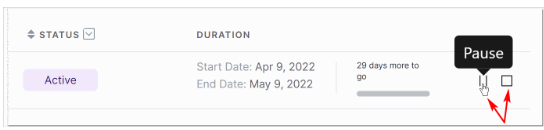
Once the experiment starts, SearchAssist changes the status to Active and displays the duration.

Notes
- You cannot run multiple experiments with two variants attached to each experiment. If you want to run a new experiment, pause or stop the current Active experiment.
- You cannot edit a completed experiment.
Getting Insights from Experiments
You can monitor active progress by clicking the experiment. Based on the insights drawn from the Experiment metrics, you can make informed decisions like which variant to apply to achieve the desired business objectives.
You can view the following analytics and draw insights from the same for a given Variant name:
- Index assigned
- Search configuration mapped
- Traffic percentage assigned
- Number of users
- Number of searches
- Count of clicks
- Click-through rate for each variant (i.e. number of unique clicks per appearance)
Managing Experiments
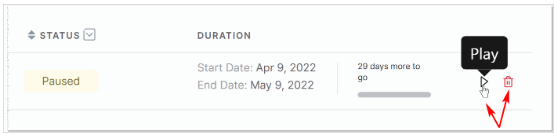
SearchAssist allows you to perform various actions on experiments. Hover the mouse on the right side of the experiment row to display action icons.
- pause or stop an active experiment
- restart or delete a paused or stopped the experiment
- Edit an Experiment
You cannot edit a completed experiment. To edit a configured, but not active, experiment:
- Click the Configured label. The experiment table expands.
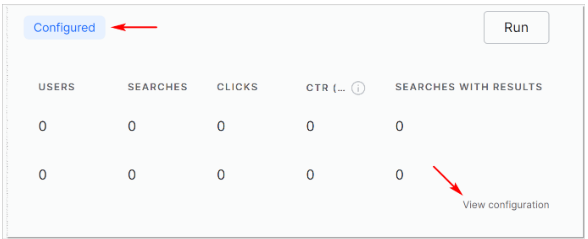
- Click View configuration.
- Make changes.
- Click Add.