SearchAssist can be configured to connect to the ServiceNow application to enable users to fetch query results using the data and information available in ServiceNow.
Specifications
| Type of Repository | Cloud |
| Supported API version | |
| Search Results Support | knowledge articles managed by ServiceNow. |
| Extractive Model for Answers | knowledge articles managed by ServiceNow. |
| Generative Model for Answers | knowledge articles managed by ServiceNow. |
| RACL Support | Yes |
To configure ServiceNow as a content source, follow the steps listed below.
Step 1: Configure an OAuth endpoint in ServiceNow
The first step is to create a new application registry using the Service Management console of the ServiceNow application. This requires admin privileges for the user creating the application on ServiceNow. Follow the steps listed below to set up an OAuth application in ServiceNow.
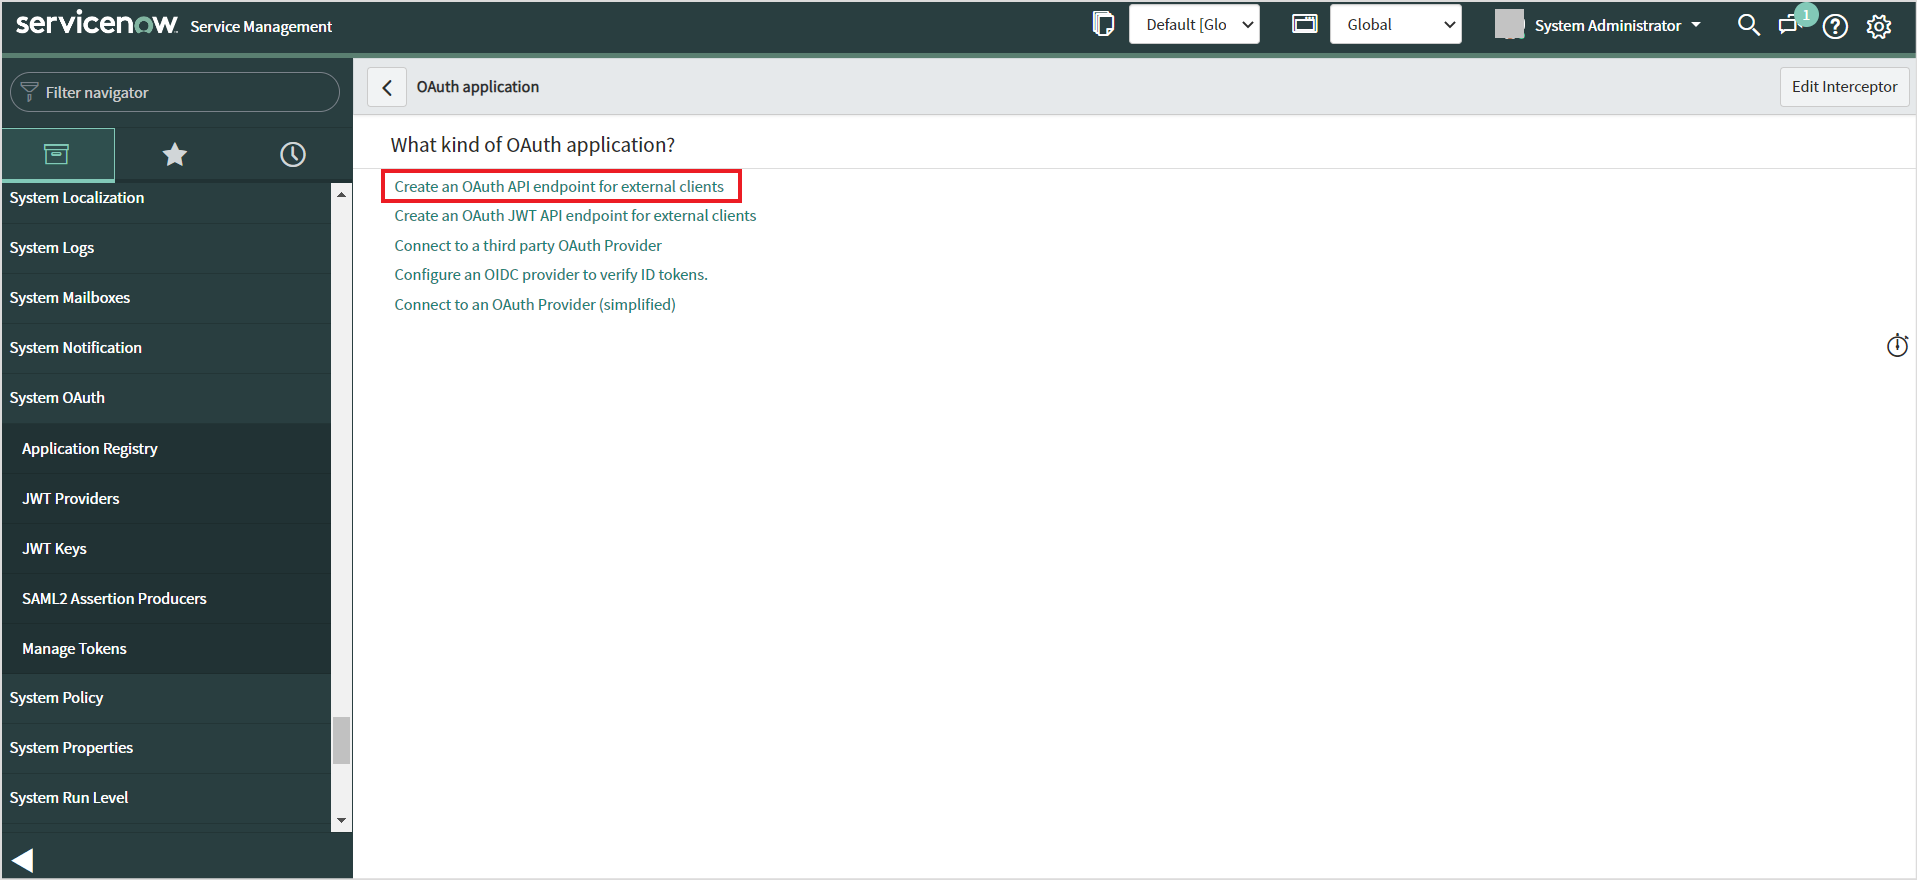
Login to the ServiceNow account. Navigate to All > System OAuth > Application Registry and click New to create a new application.

Choose the option ‘Create an OAuth API endpoint for external clients’ as the type of application.
Give a name to the application and provide other details. For detailed instructions of the fields, refer to the ServiceNow documentation. Enter one of the following Callback URLs as the Redirect URL as per your location.
| US Prod | https://idp.kore.com/workflows/callback |
| JP | https://jp-bots-idp.kore.ai/workflows/callback |
| DE | https://de-bots-idp.kore.ai/workflows/callback |
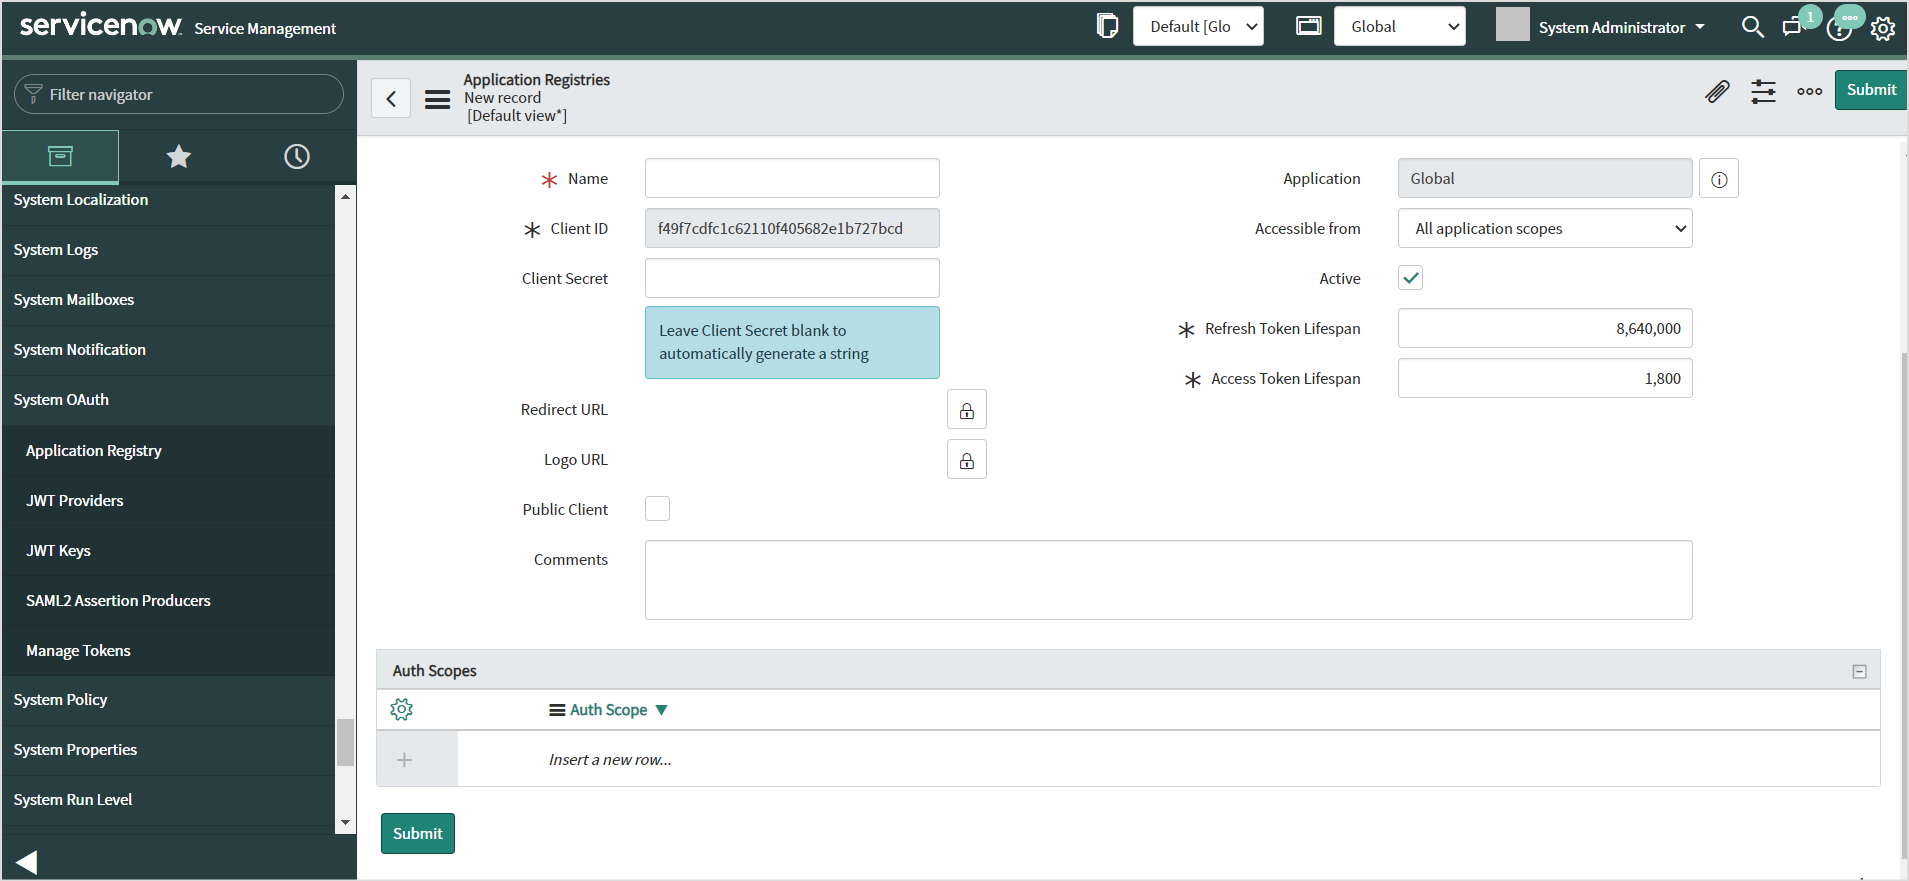
On successful creation, a client ID and client secret will be generated. This will be used while configuring the connector in the SearchAssist application.
Step 2: Configure the ServiceNow connector in SearchAssist
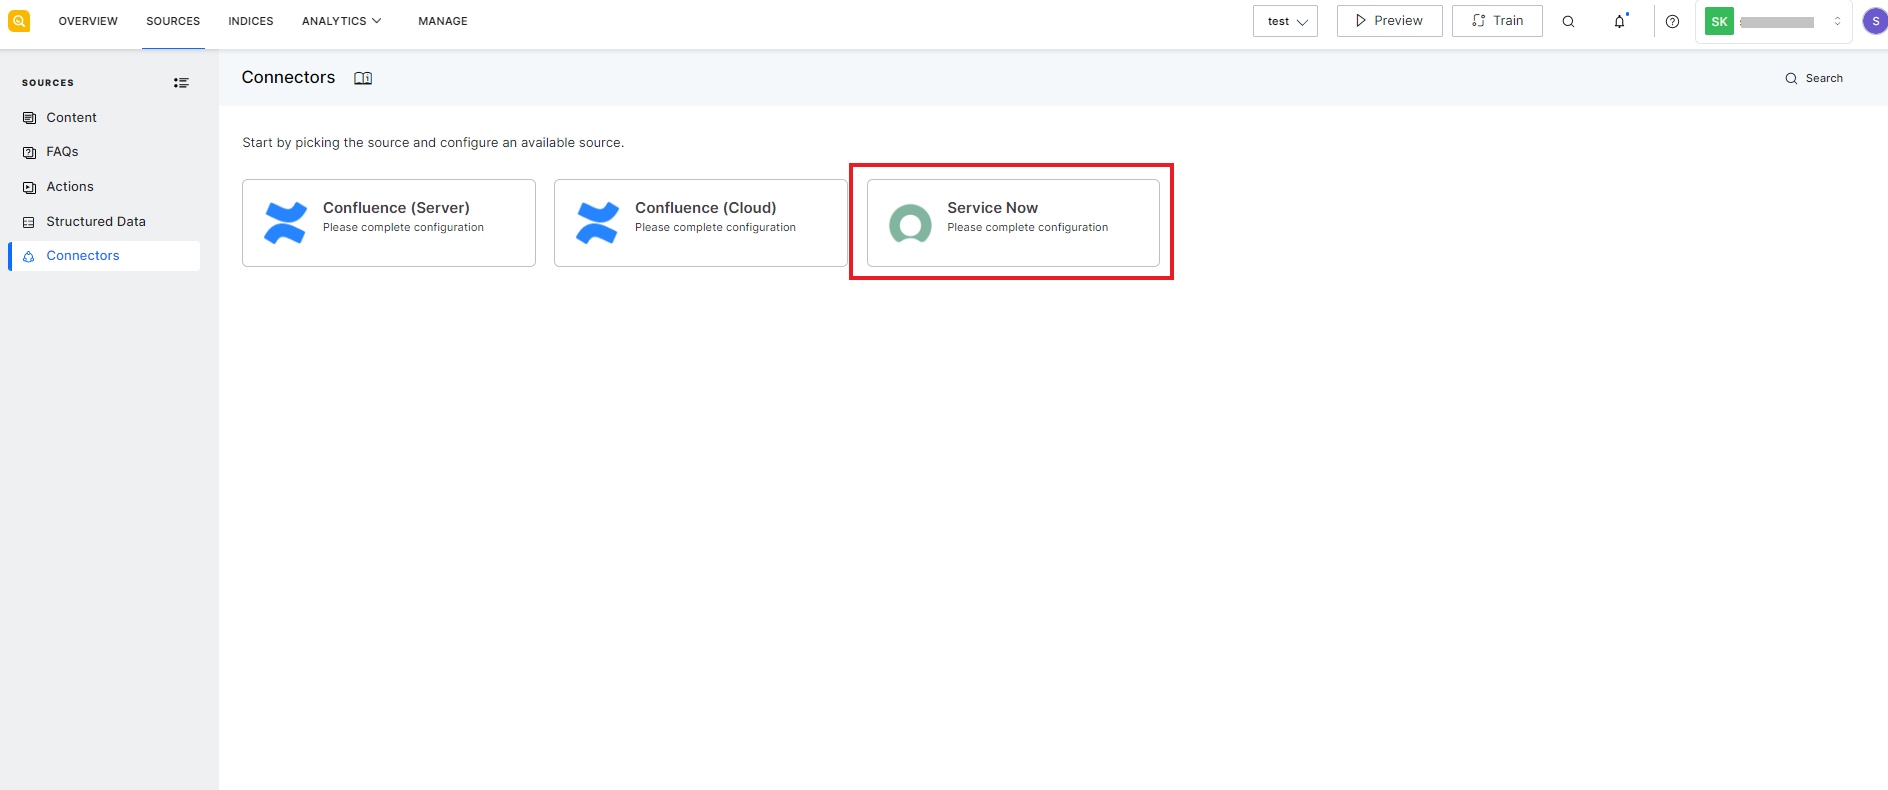
Go to the Connectors under the SOURCES tab and click ServiceNow.
This will take you to the Introduction page describing the steps to complete the configuration.
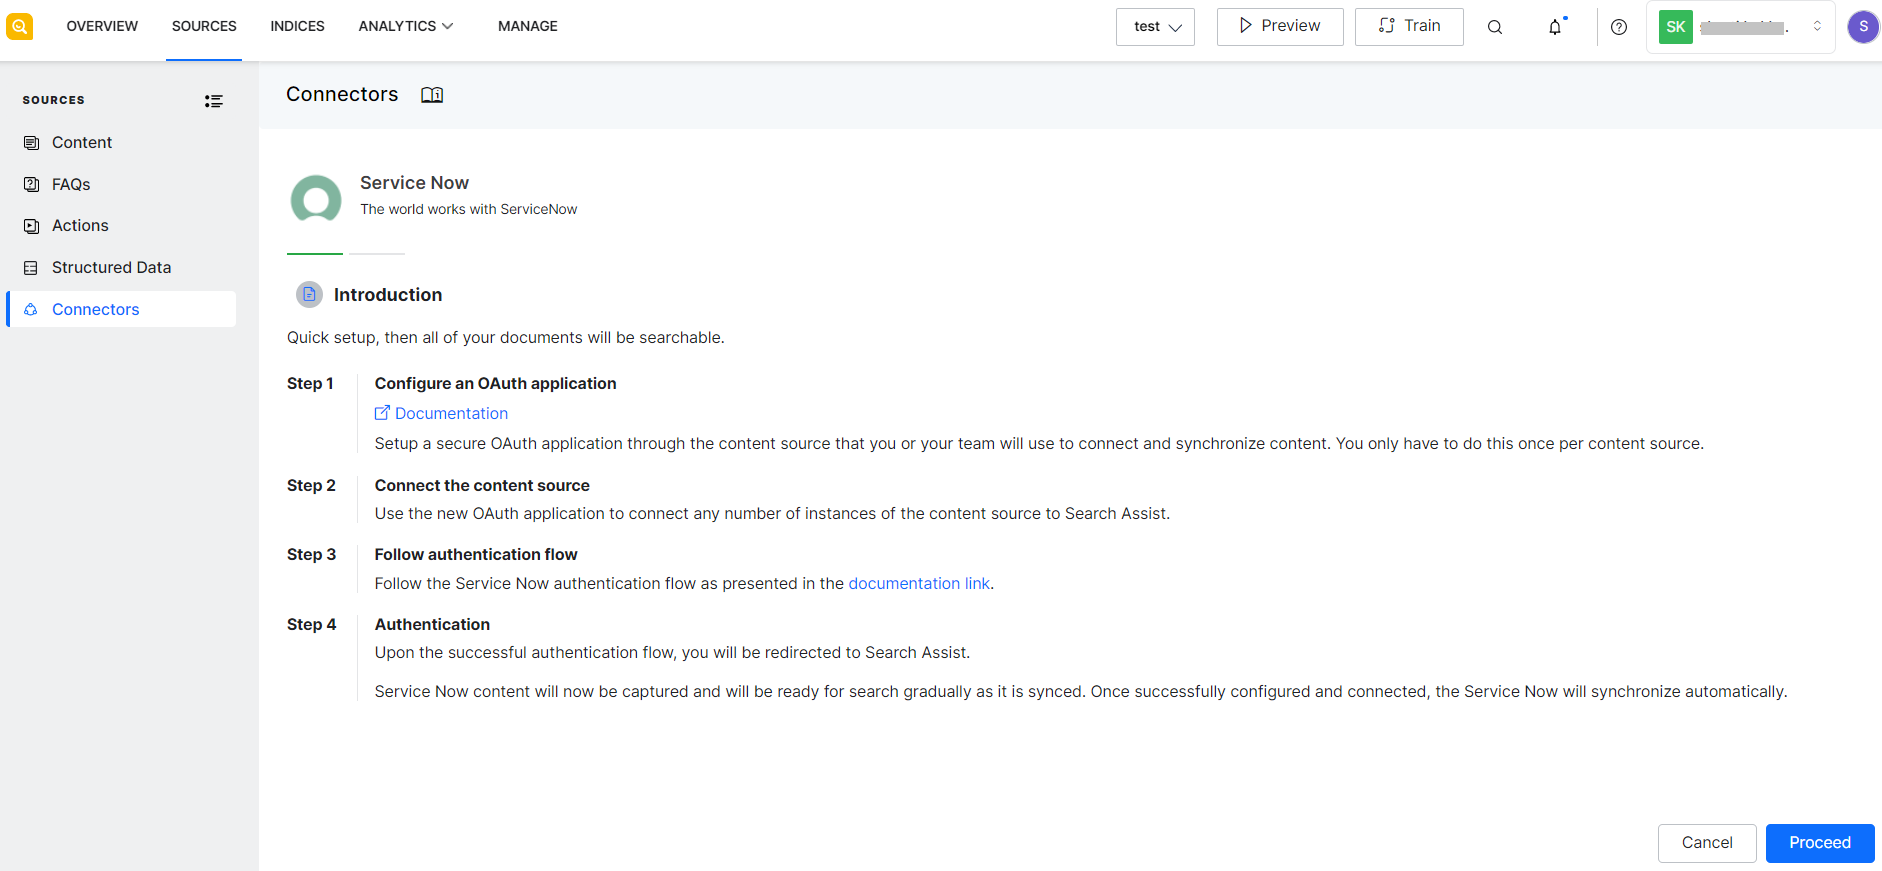
Click Proceed and provide the Configuration and Authentication details.
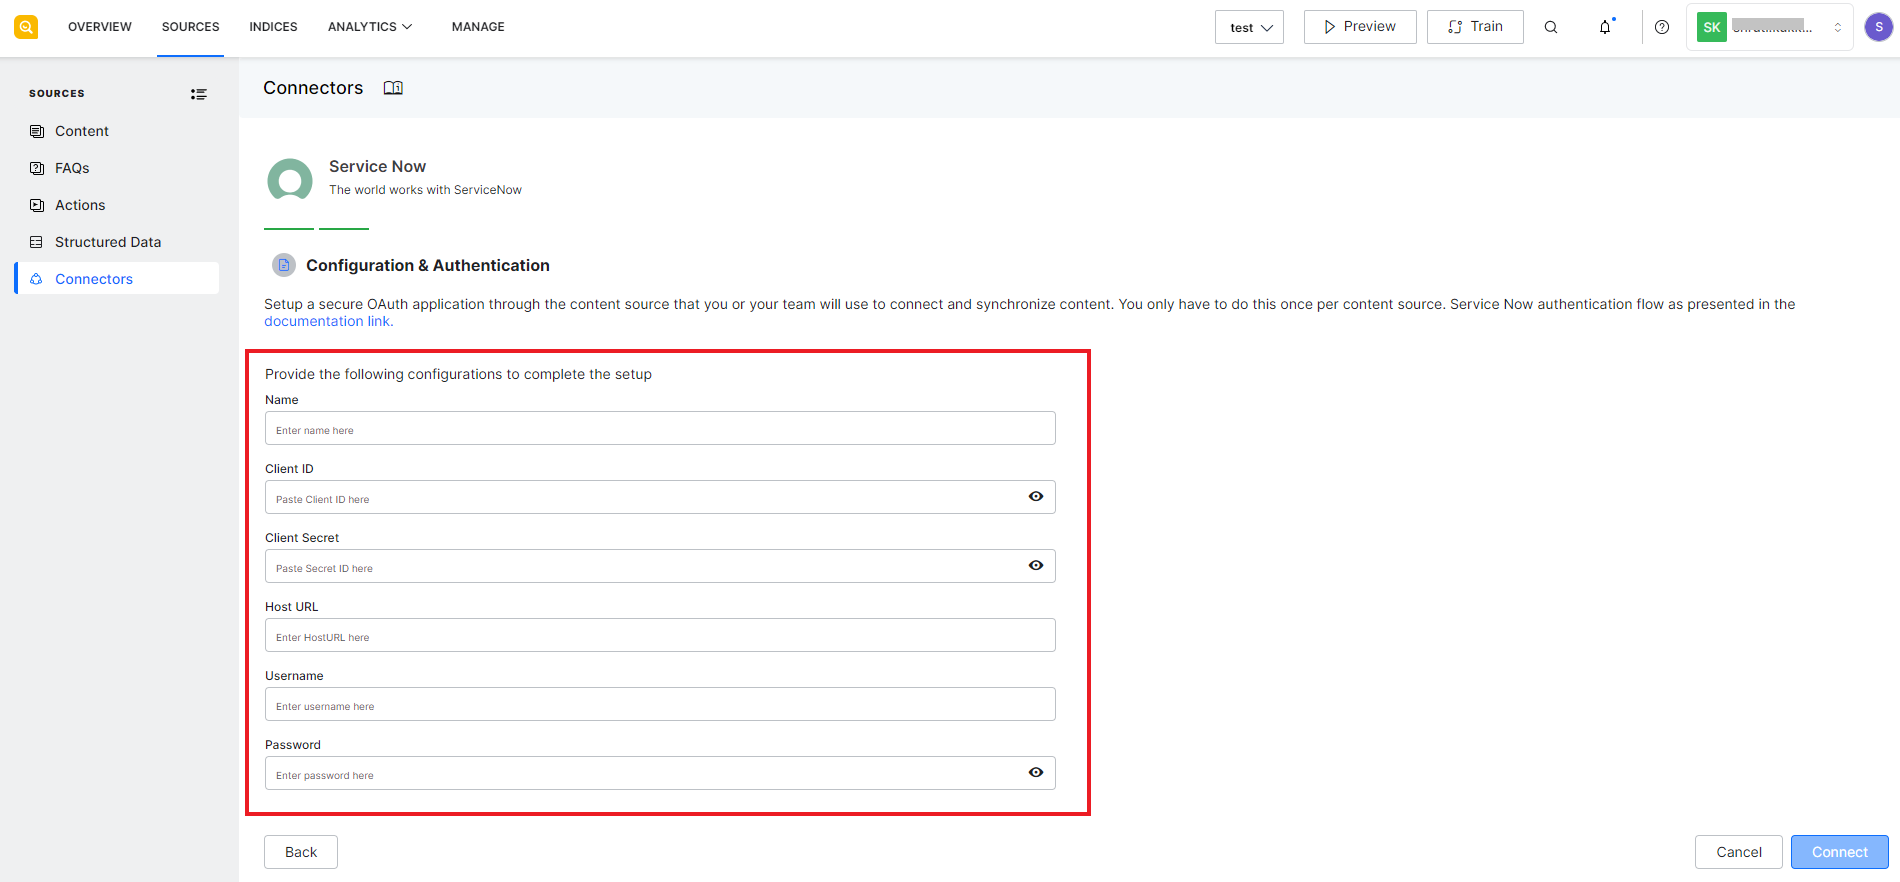
Provide a name for the connector. Enter the other properties from the ServiceNow application created in Step 1. Click Connect.
On successful authentication, you will see a success message as shown below. SearchAssist crawls the data from the connector in the background.
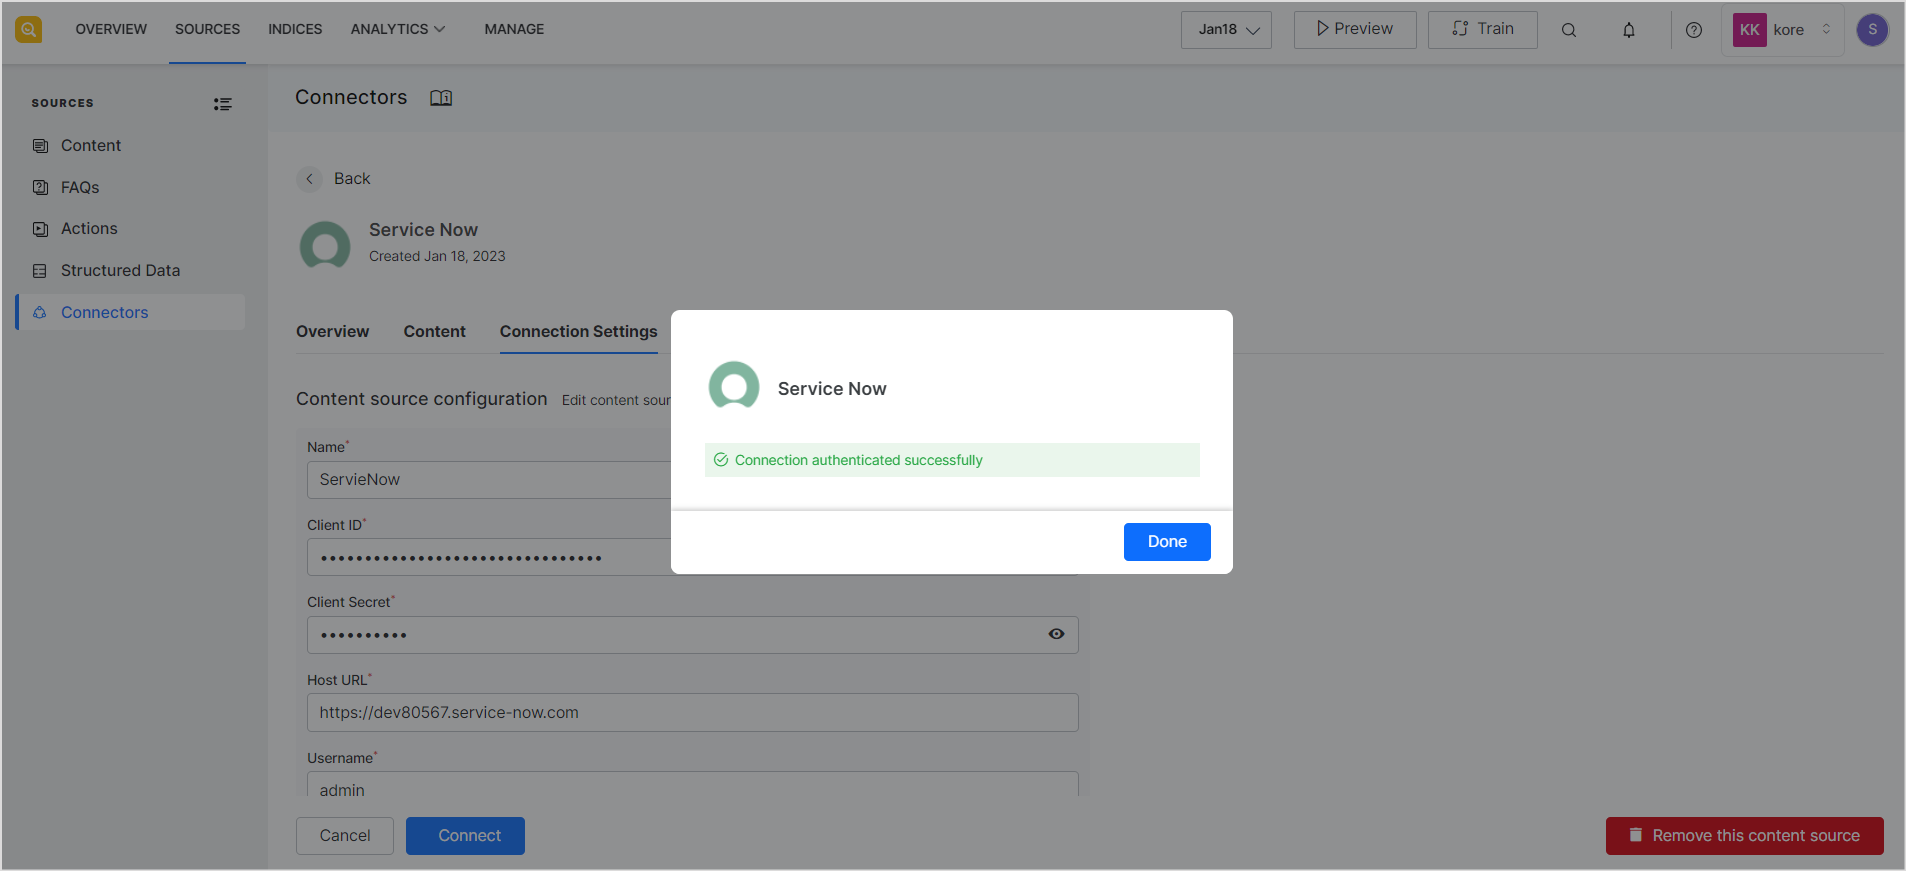
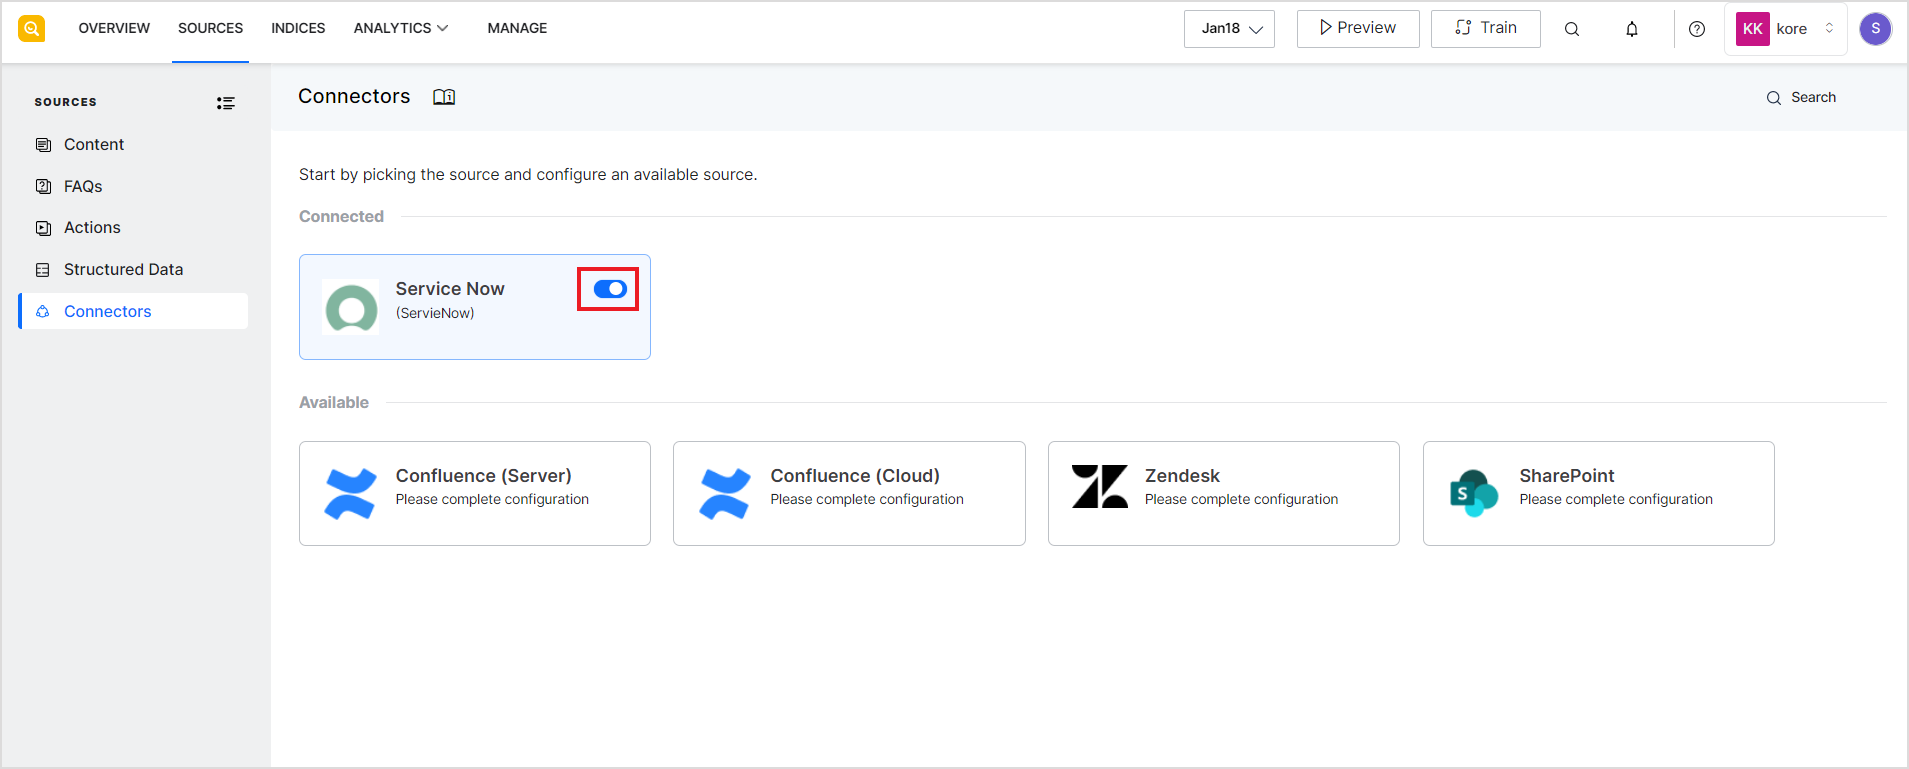
On clicking the Done button, you will be redirected to the Connectors home page where you will see ServiceNow in the connected sources.
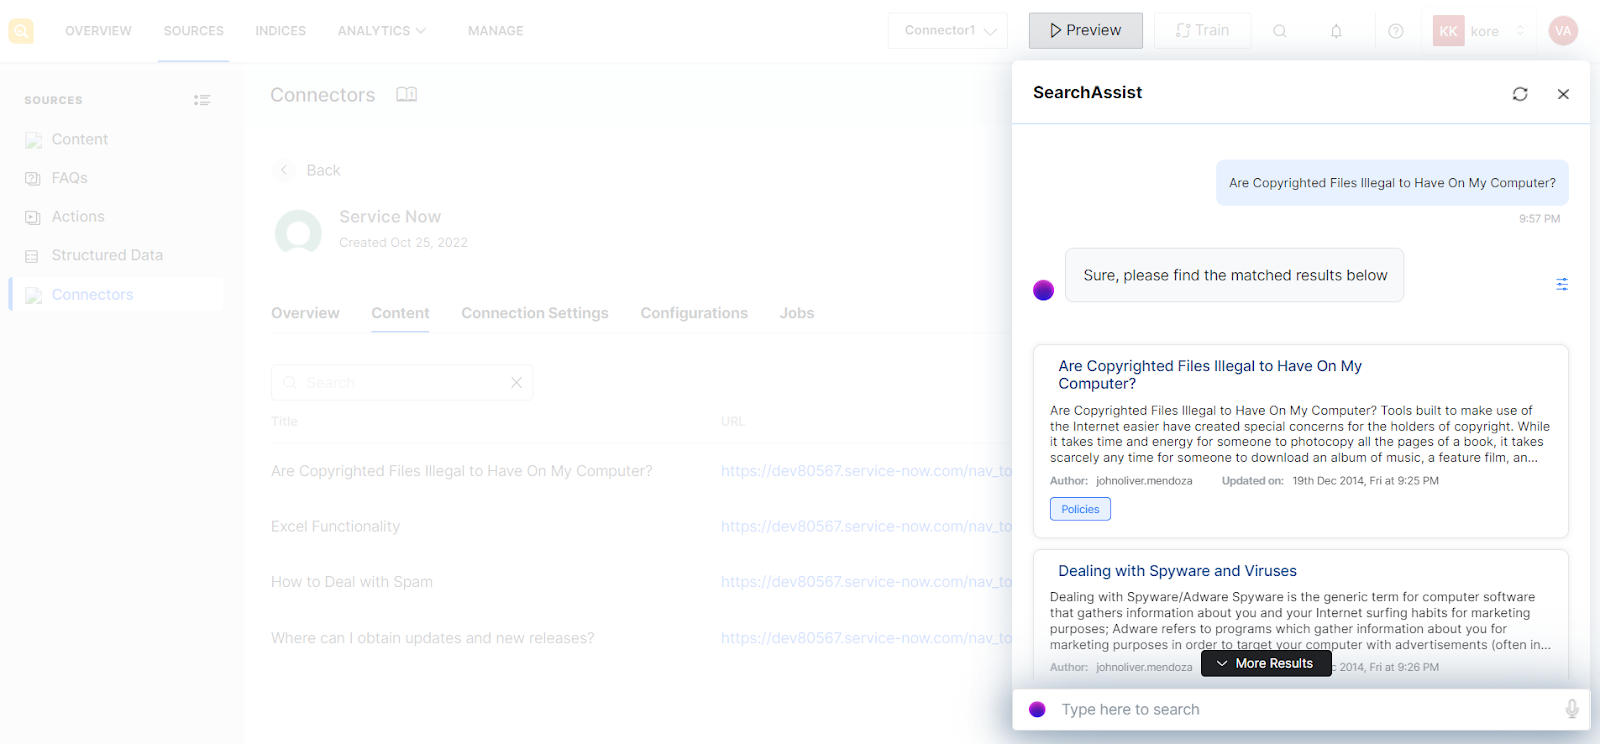
After the content synchronization is complete and you add indices corresponding to the data from ServiceNow application, you can search for the content from the source using the Preview option.
To temporarily enable or disable the connection, use the toggle button against the connector.
To view the connection details, click the details link.

RACL Support
SearchAssist offers Role-Based Access Control (RACL) support for content ingested from ServiceNow Knowledgebases. Currently, SearchAssist enforces access control at the knowledge base level.
To learn the basics of RACL in SearchAssist, refer to this.
Understanding User Permissions in ServiceNow
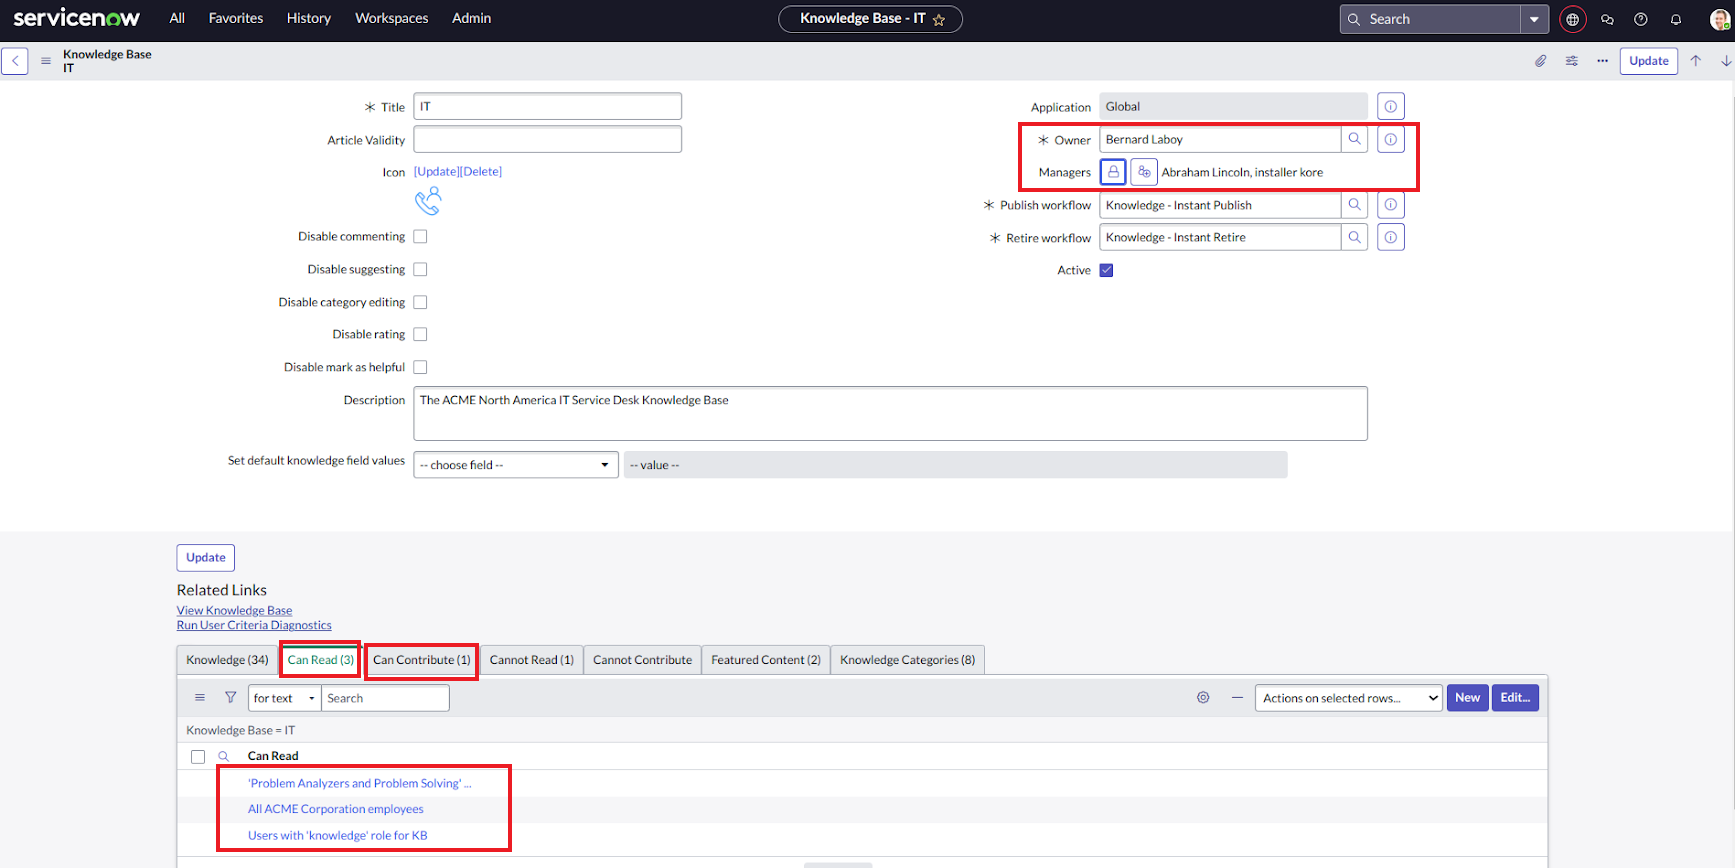
In ServiceNow, user access to knowledge base articles can be defined in three ways:
- Owners of the Knowledgebase
- Managers of the Knowledgebase
- User Criteria with specific access permissions (Can Read and Can Contribute)
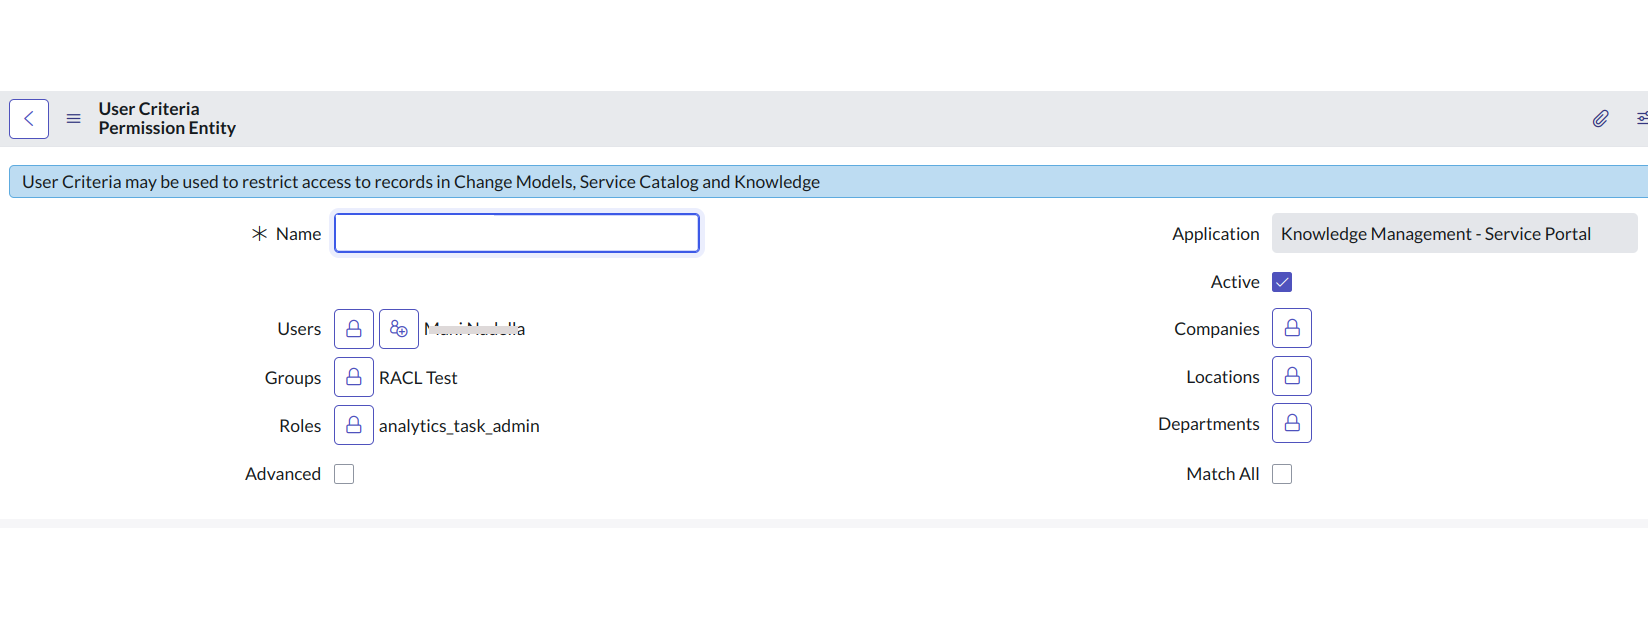
 User Criteria in ServiceNow is a method to group users based on specific conditions. Users can be added directly or included based on conditions such as department, role, etc.
Access Control in SearchAssist
By default, SearchAssist grants access to the following:
-
- Owners of the Knowledgebase – This list of owners will be added directly in racl fields in the indexed content.
- Managers of the Knowledgebase – This list of managers will be added directly in racl fields of the indexed content.
- Individual users listed under each User Criteria with Can Read and Can Contribute permissions.
Each User Criteria is retrieved as a Permission Entity. Only users directly listed in the criteria are retrieved as part of the Permission Entity by default. The permission entity ID is added and is visible in the racl fields of the indexed content. Users associated with other conditions (e.g., department or role) are not automatically included. Therefore, these users cannot access articles unless they are explicitly added to the permission entity.For instance, if the owner of a knowledgebase is John@example.com and the knowledgebase can be accessed by users who fulfil a given user criteria, the indexed content will look something like this. The alphanumeric field “25431493ff4221009b20ffffffffffe0” in the indexed content refers to the Permission Entity corresponding to the user criteria for the article."sourceAcl": [ "25431493ff4221009b20ffffffffffe0", "John@example.com" ],
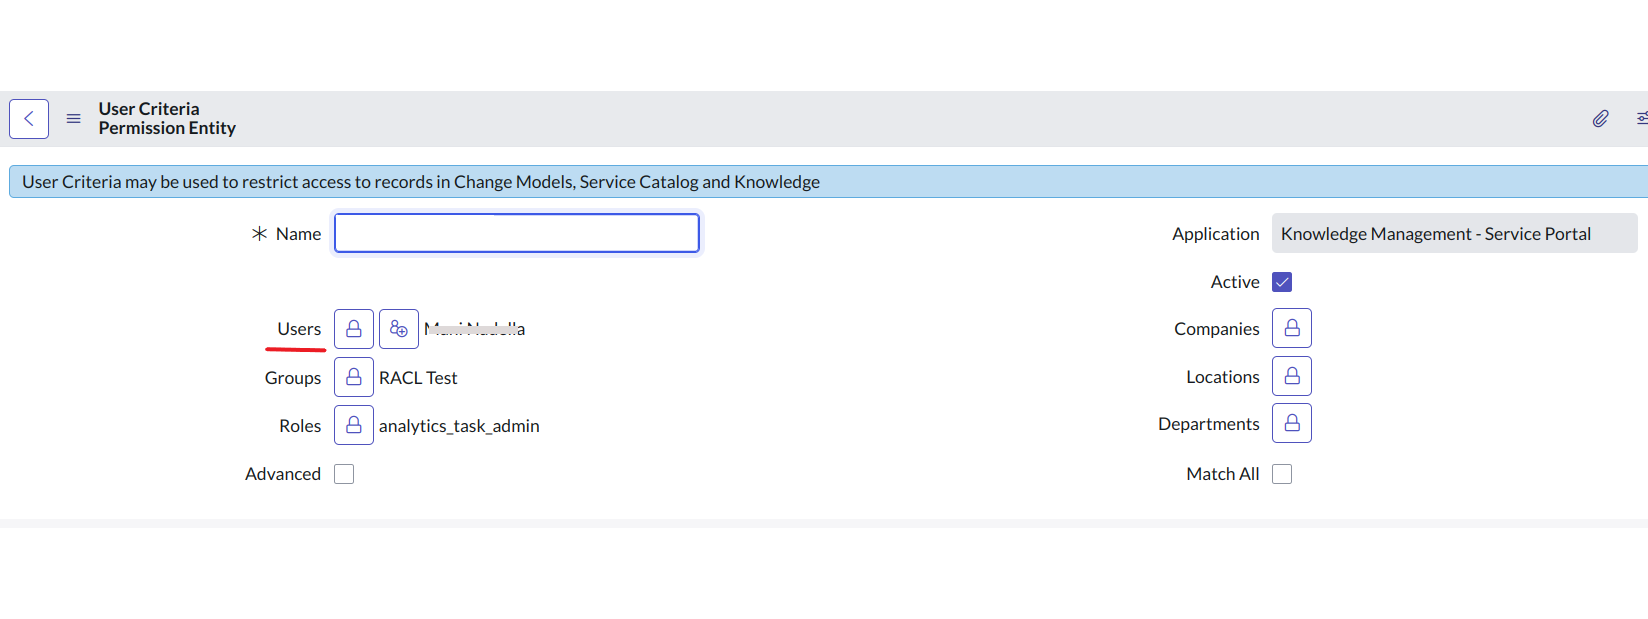
If there are any identities directly added as Users inside the user criteria, those users will be automatically added to the permission entity. To grant access to all others within the user criteria, those added through other conditions, use the Permission Entity API to associate them with the permission entity.
Advanced Filters
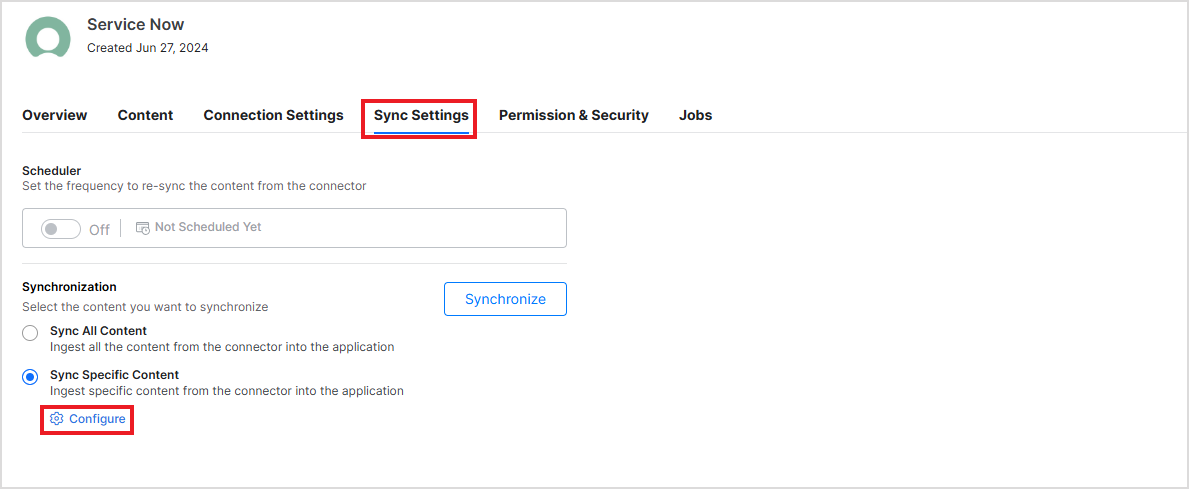
SearchAssist allows setting up advanced filters to select the content for ingestion. Selective content ingestion can be done using the content properties like status, type, number, knowledge base, source, etc. To set up advanced filtering, go to the Sync Settings tab, select Sync Specific Content, and click the Configure link.
Use the Parameter, Operator, and Value fields to add a filter. The commonly used parameters are listed in the drop-down menu. You can also add other parameters. Refer to this for the complete list of parameters.
For instance, to ingest articles with a given sys ID, use the filter as shown below.
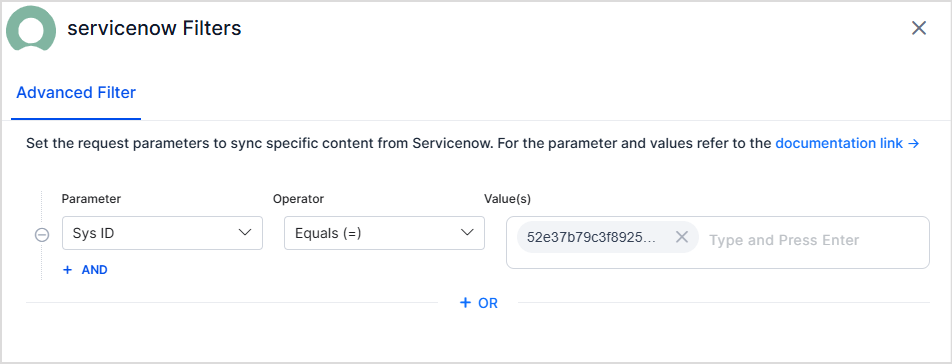
Click on Test and Save to enable the filter. The filter is used on the next scheduled or manual sync with the ServiceNow application.
Note:
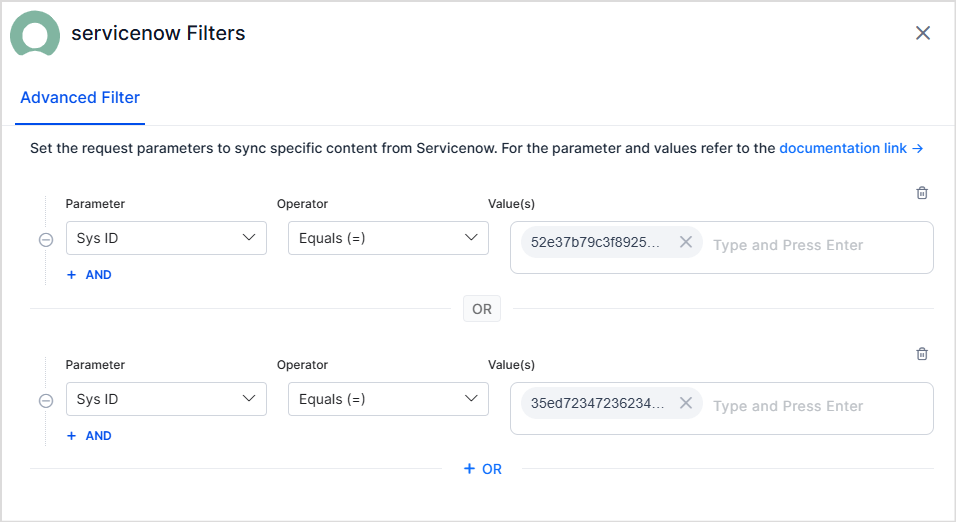
- You can define one or more rules to create a filter. Content that satisfies any one of the rules in the filter is selected for ingestion. For instance, the following filter can be used to select articles where sys ID is either of the list.
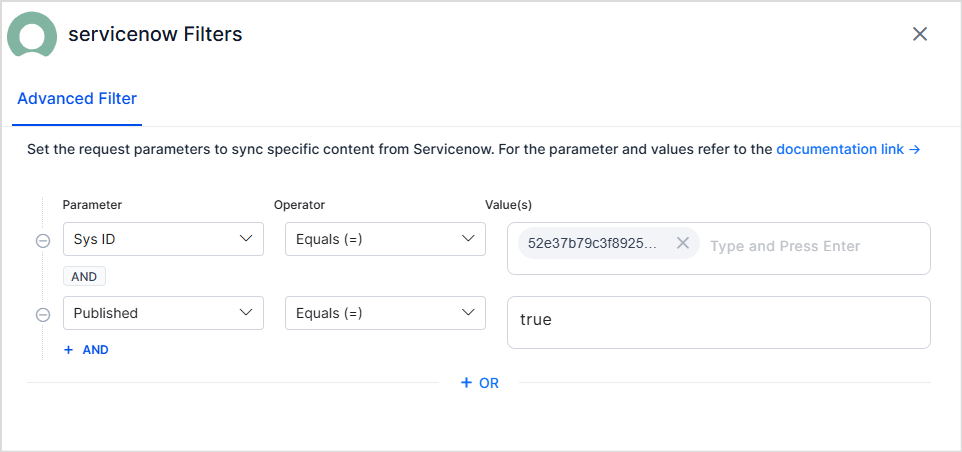
- Every rule can have one or more conditions. The conditions in a rule are linked with a logical AND which suggests that specific content is selected for ingestion when all the conditions in the rule are satisfied. For instance, the following filter can be used to select published articles with a given Sys Id.