Prerequisites
- An Azure subscription.
- Access is granted to Azure OpenAI in the desired Azure subscription.
- An Azure OpenAI resource with a model deployed. This is required before you can use it to start generating text. If you already have the resource, use it else follow the steps listed below to create a resource and deploy a model.
Creating a resource
- Log in to the Azure portal and go to the Azure OpenAI service.
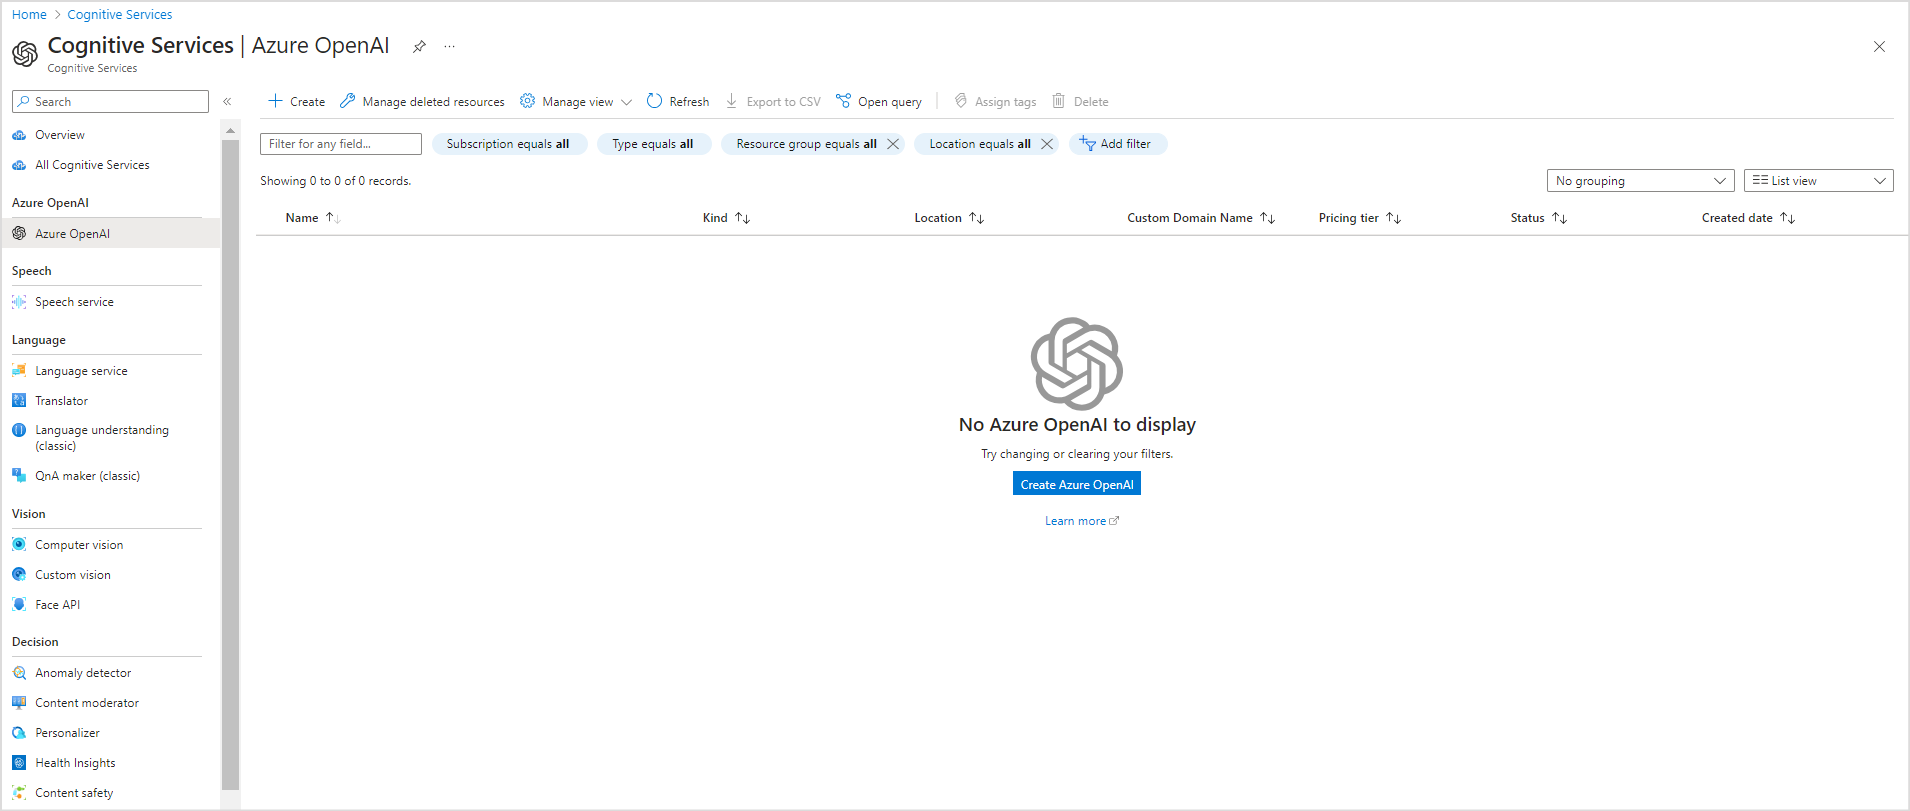
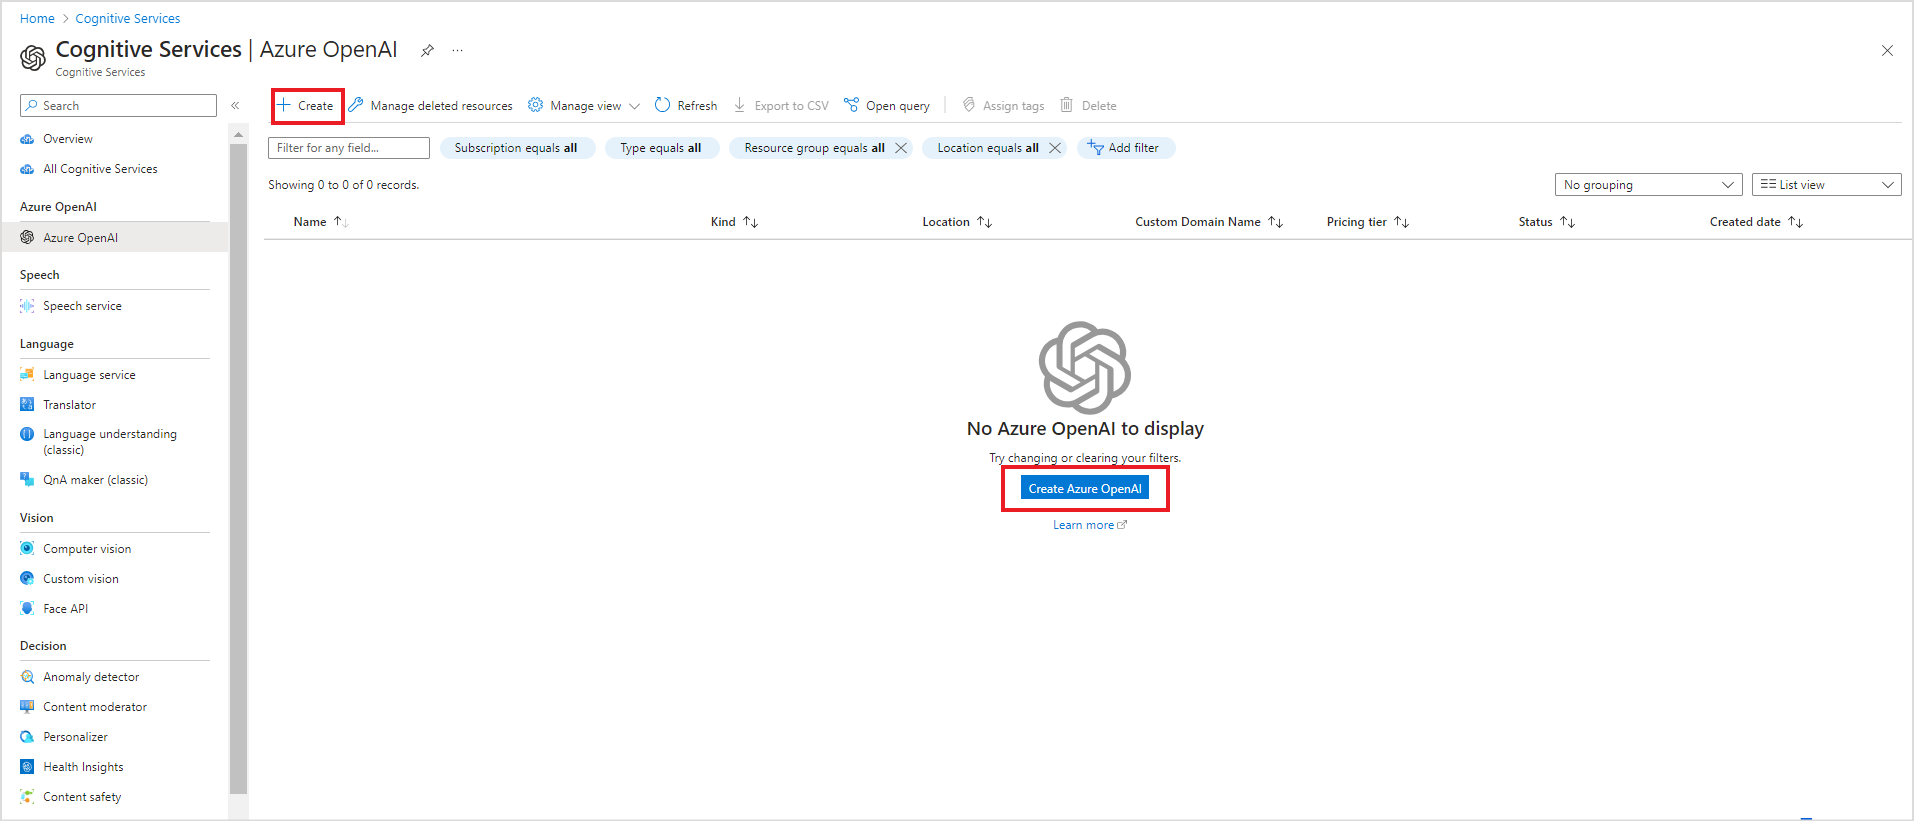
- Click on Create and enter the following details to create a new resource.
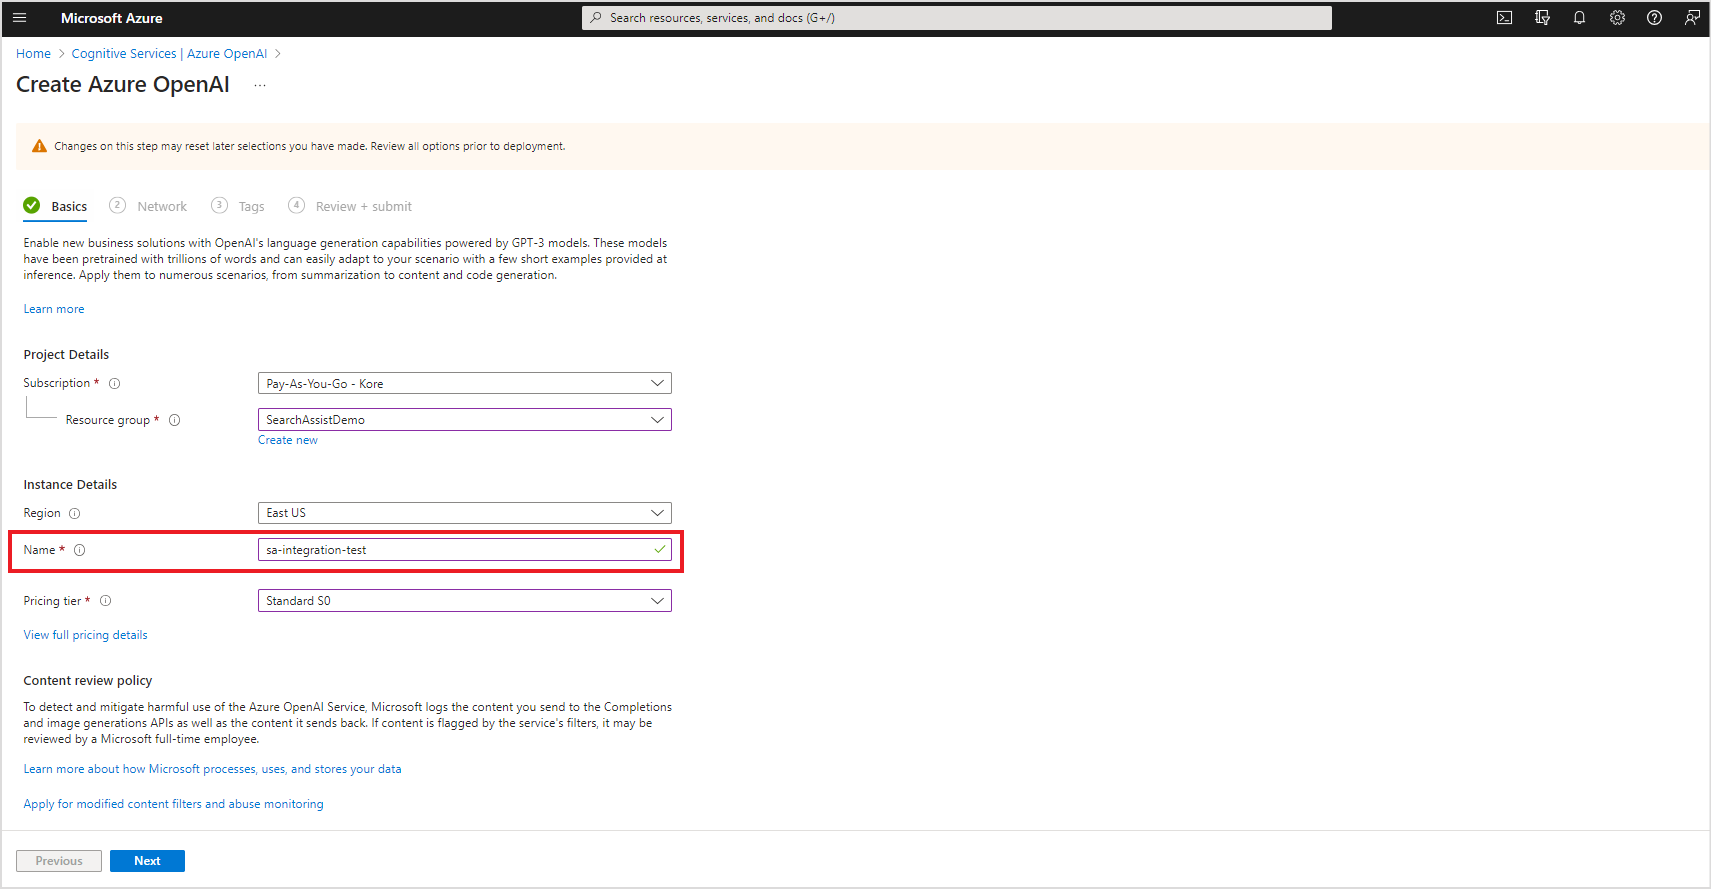
- Enter the details of the resource and click Next. The name of the resource provided here will be used as your custom domain name and will be required to complete the integration process in SearchAssist. To know more about the fields on this page, refer to this documentation..
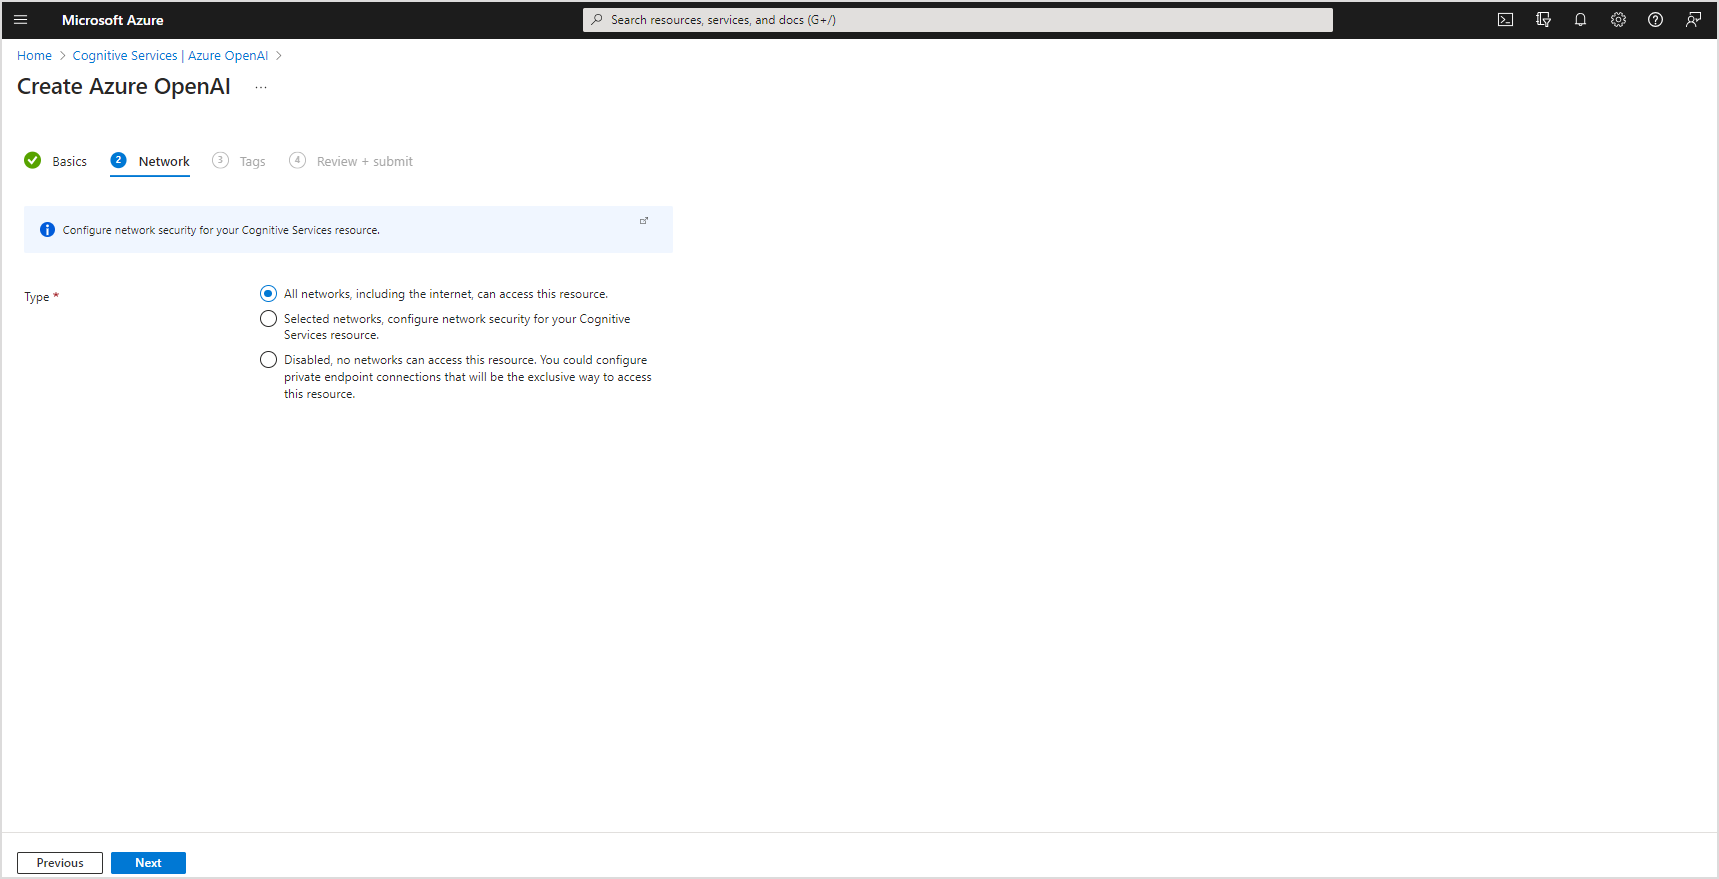
- Enter the network information and tags and review the information provided.
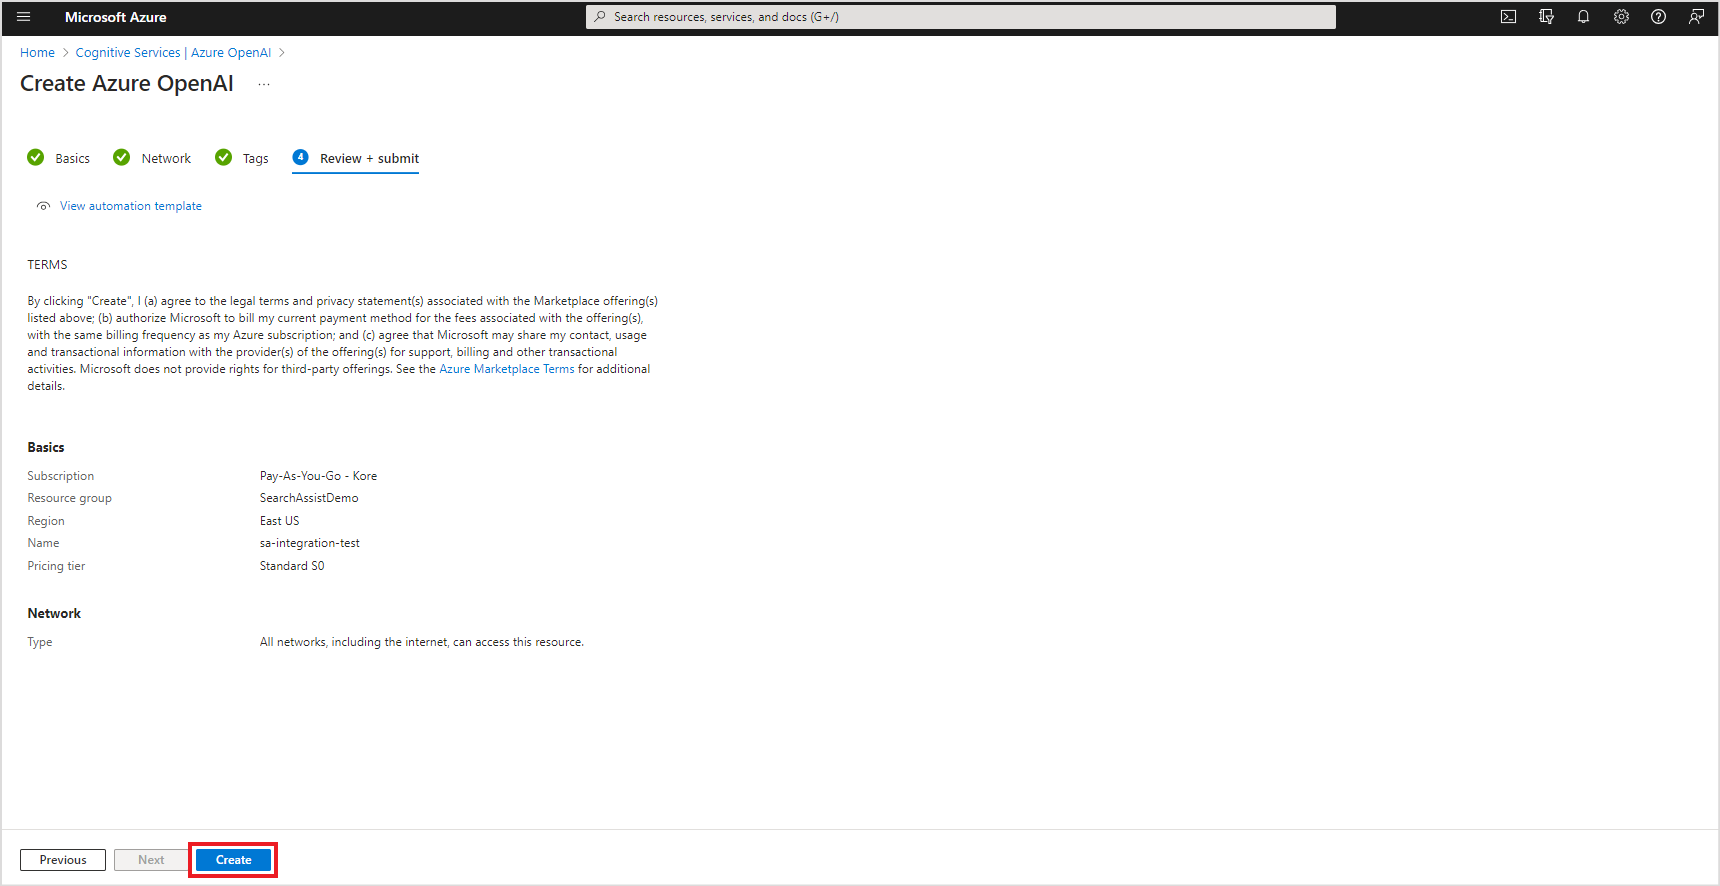
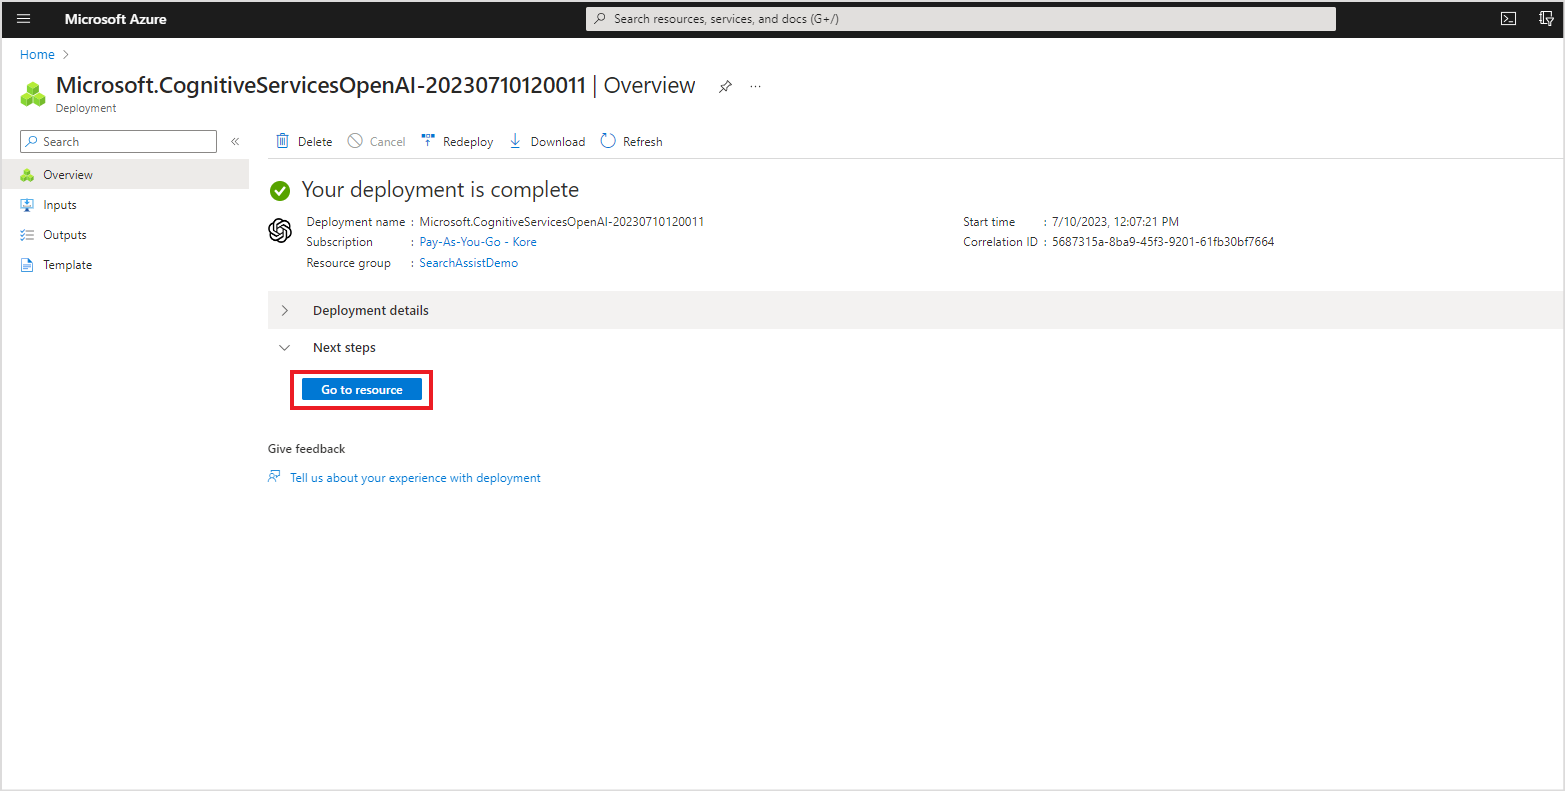
- After the review is complete, click Create. Note that the creation process may take a few minutes. This will create and deploy the Azure OpenAI resource. Click Go to Resource to view the details of the resource.
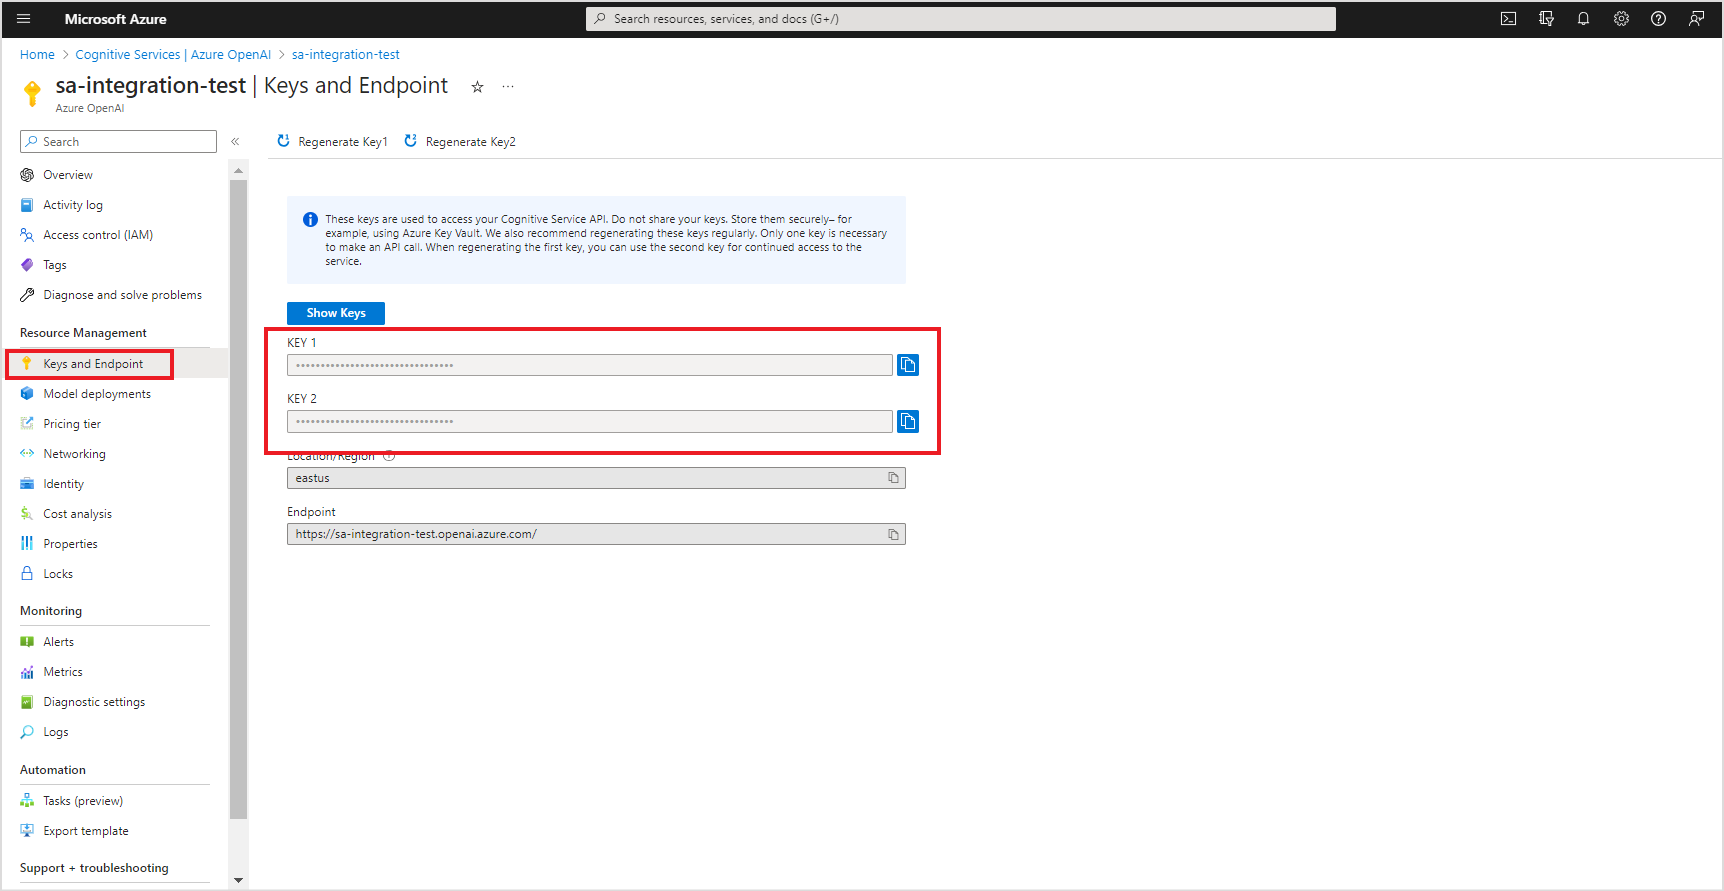
- Click on Keys and Endpoint and copy the API keys. This key will be required for completing the configuration in SearchAssist.
Deploying a model
Before you can generate text or inference, you need to deploy a model.
- Go to the Model Deployments tab and click on Manage Deployments.

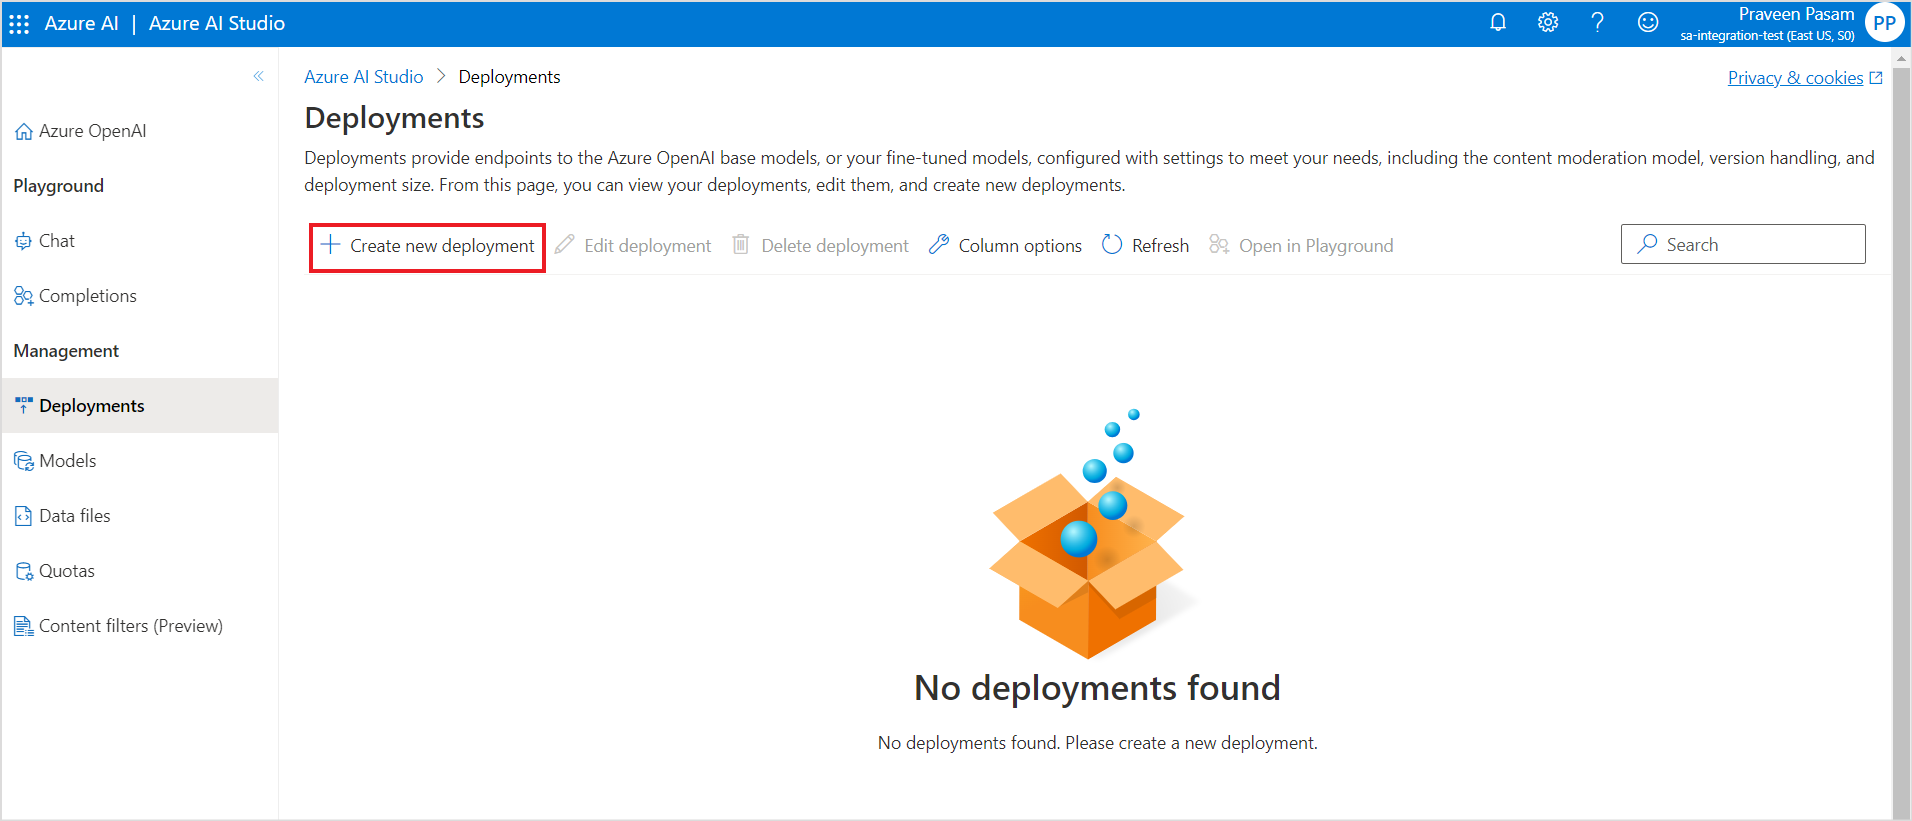
- This will take you to the Deployments page in Azure OpenAI Studio. The existing deployments are listed on this page. To create a new deployment, click Create new deployment.
- Enter the details of the deployment.

- Give the deployment a name and select a suitable model from the list of available models. Also enter a model version, if required, and click Create.
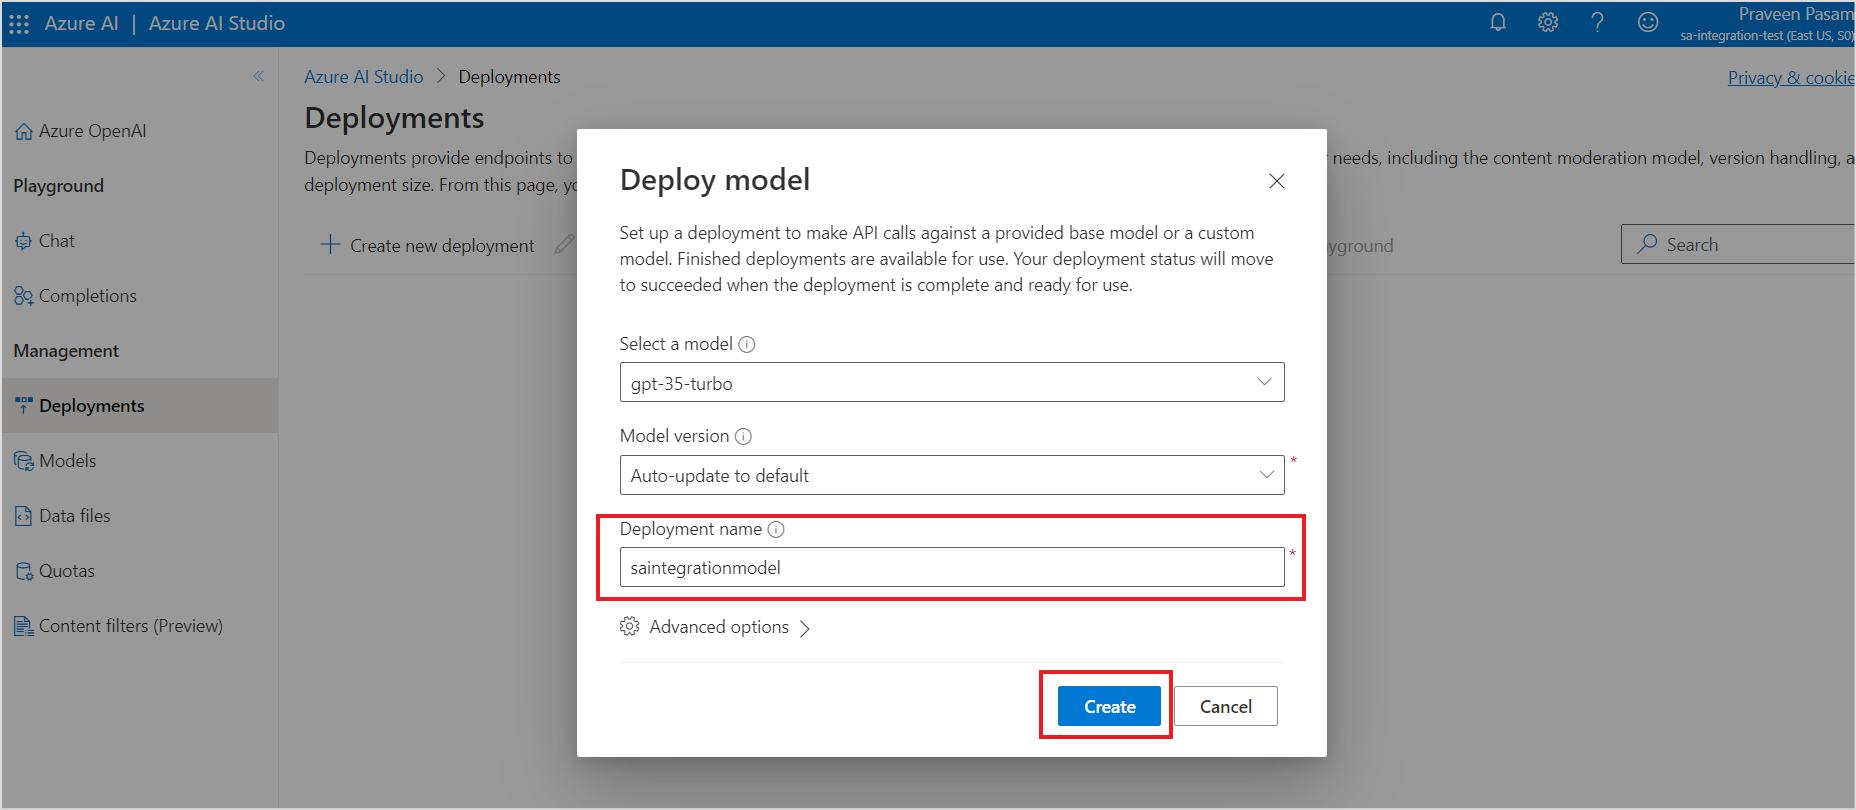
- Save the model deployment name. This will be used for configuration in SearchAssist.
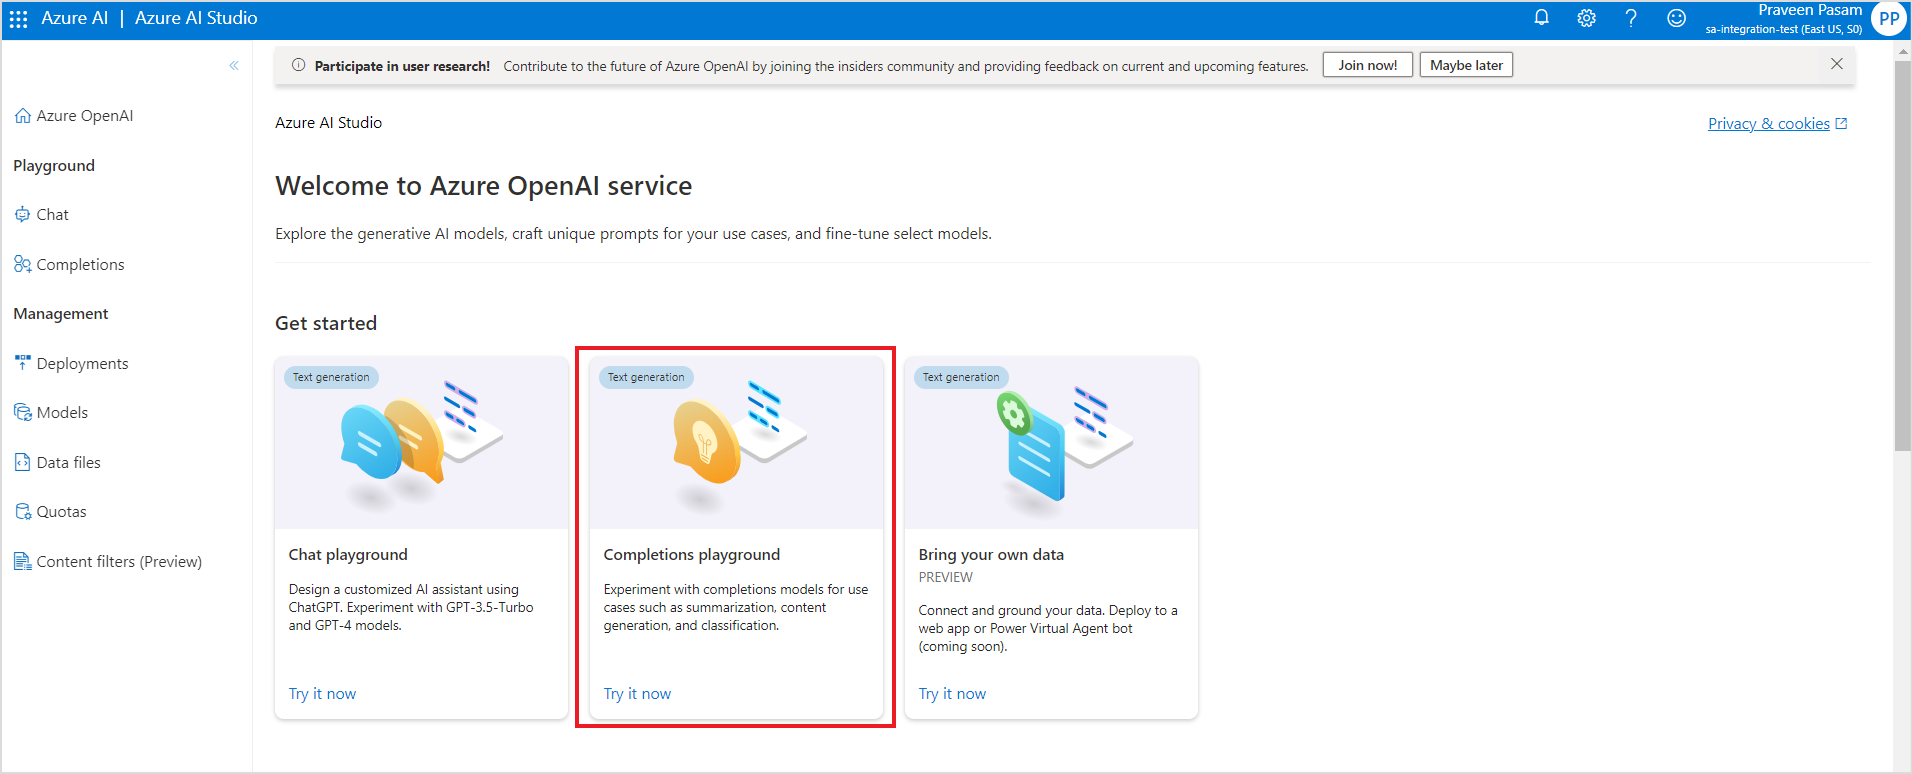
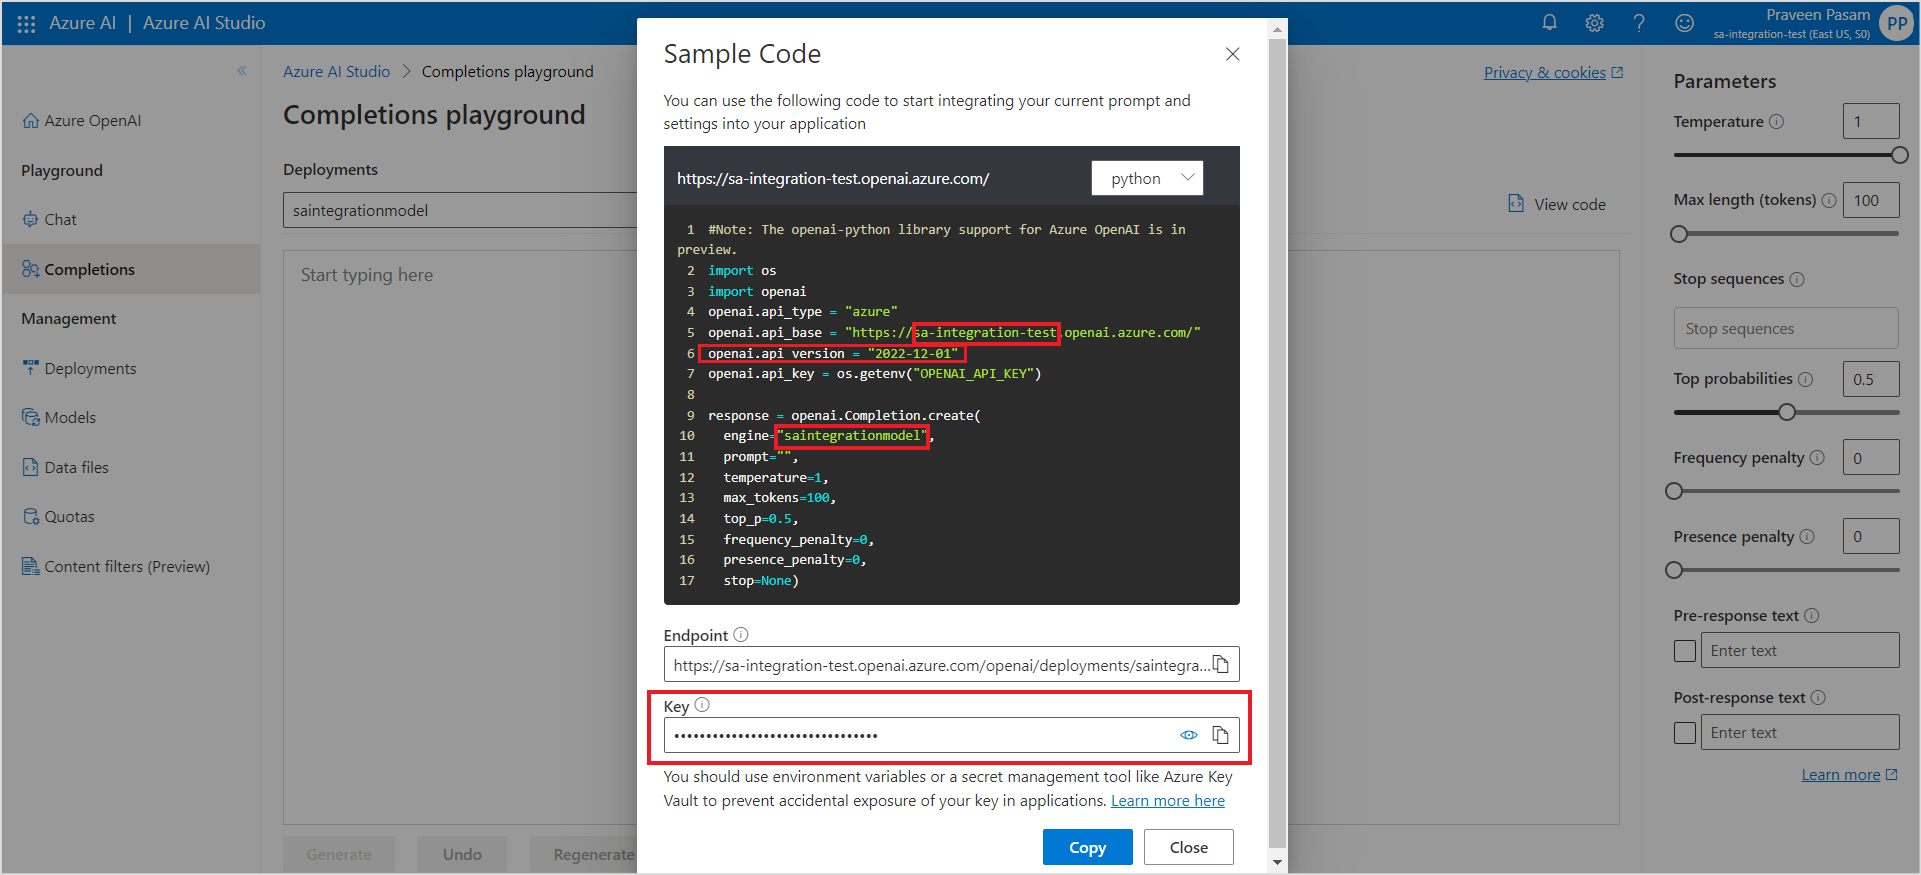
- Go to Completions Playground for the resource you created. If you already have an Azure OpenAI resource with a model deployed, sign in to Azure OpenAI studio with credentials that have access to your OpenAI resource and click on Completions Playground.
- Select your deployment and click on View code.
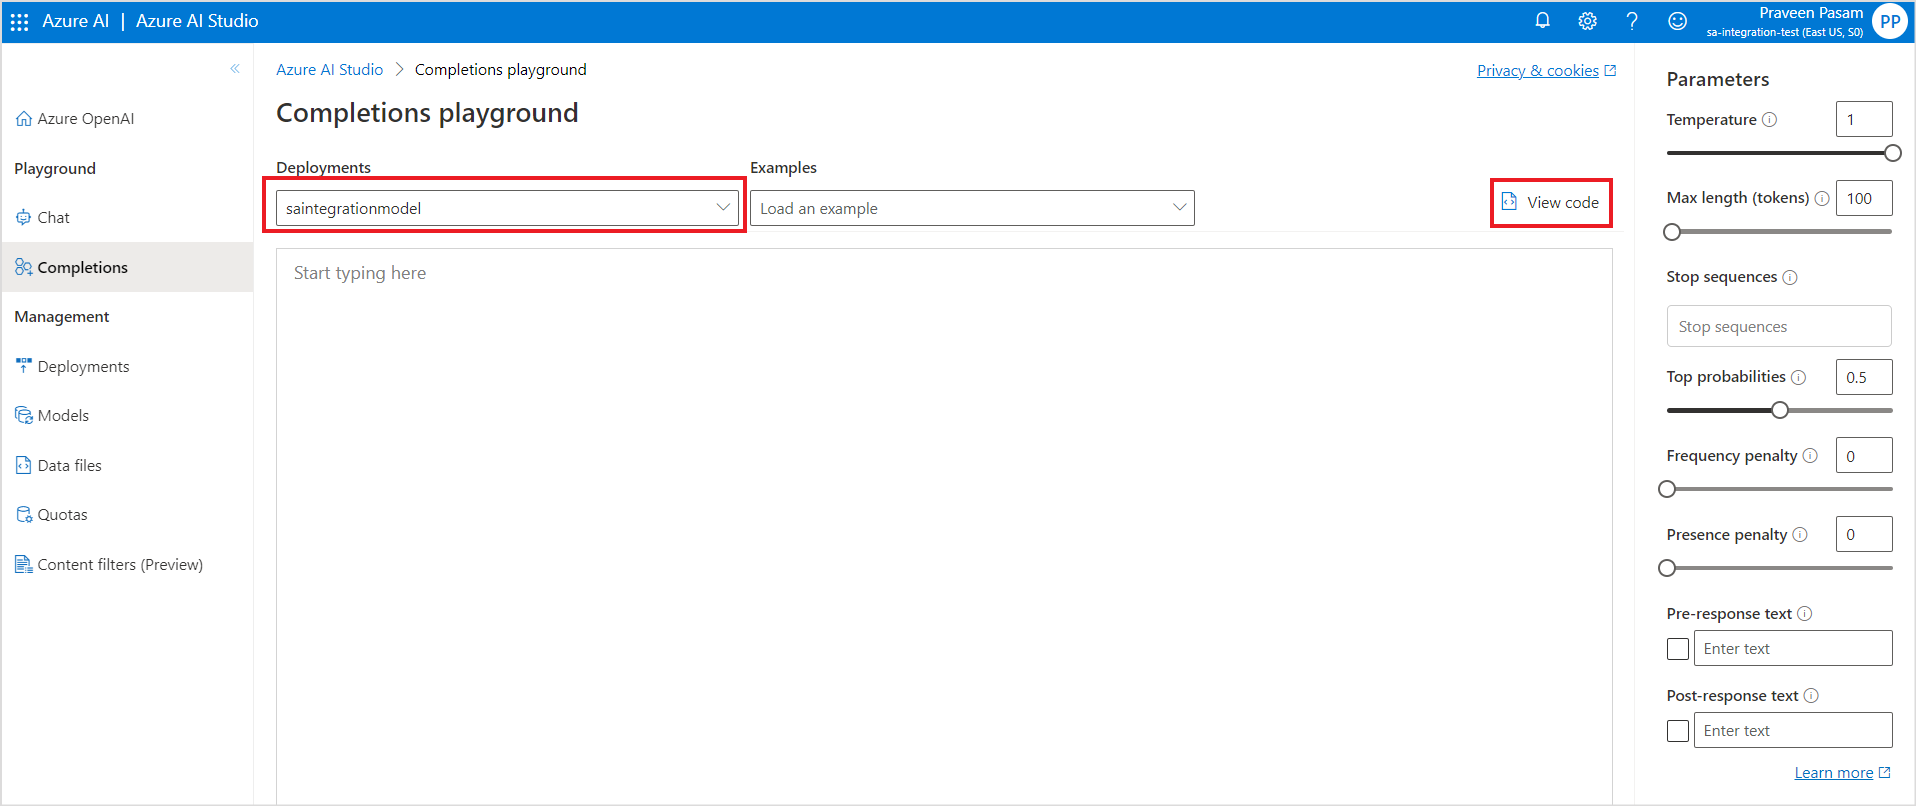
- The code will show your user domain( field name: openai.api_base), deployment name ( field name: engine), API version (field name: openai.api_version), and API Key along with other information. Save these fields for completing the integration with SearchAssist.
SearchAssist Configuration
Next, complete the configuration in SearchAssist to enable interaction between SearchAssist and Azure OpenAI.
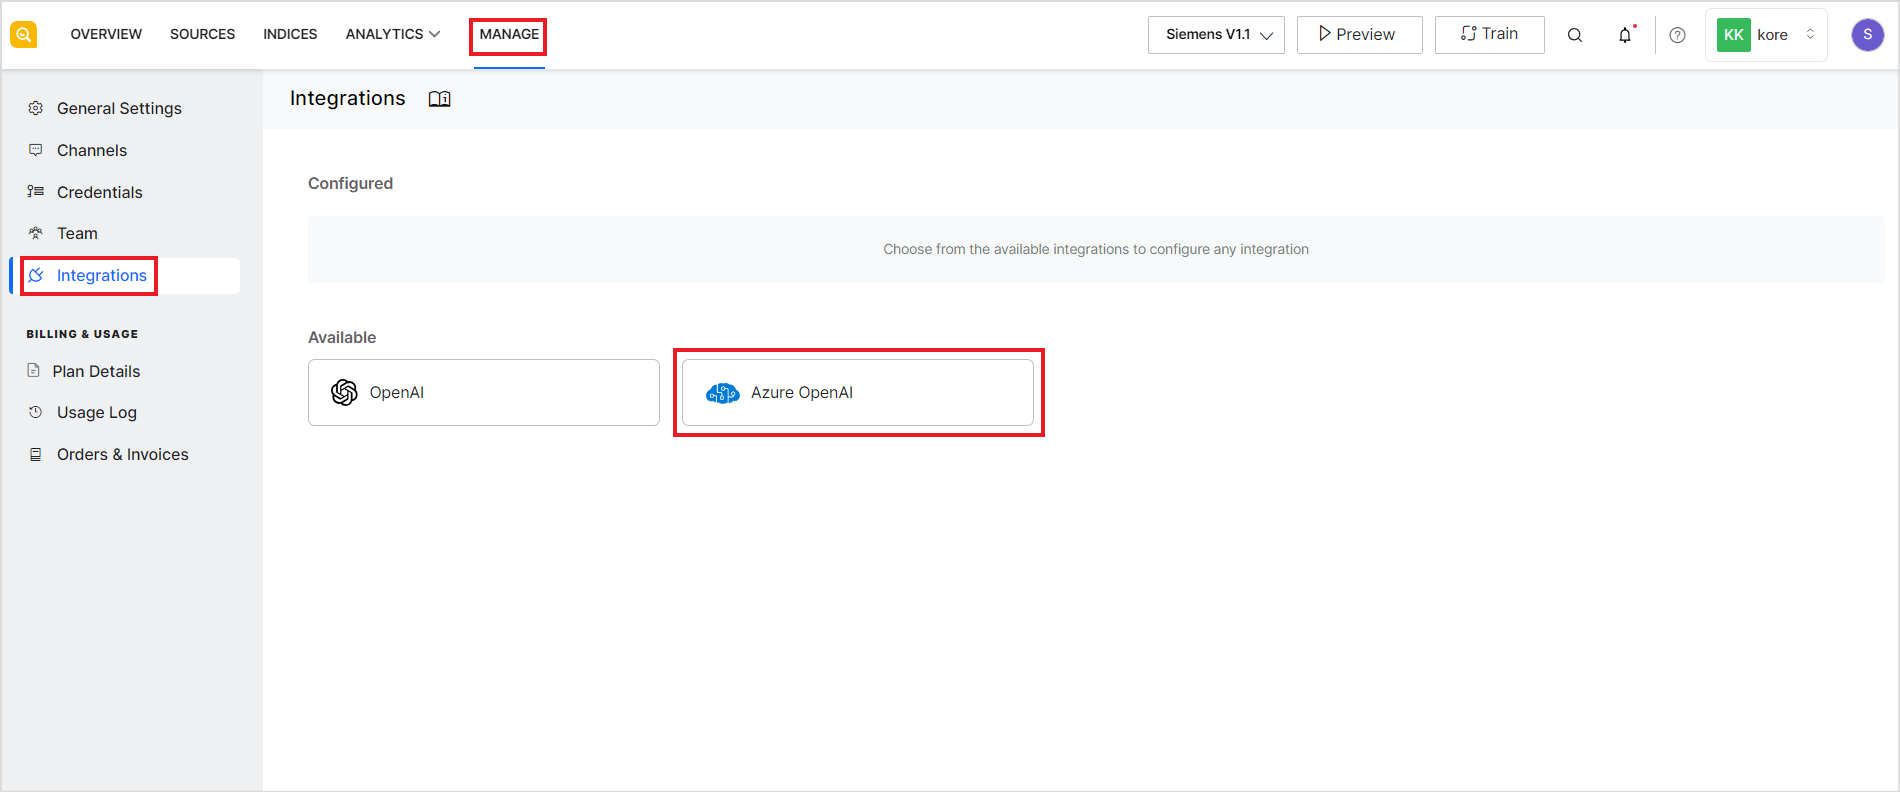
- Log in to SearchAssist. Go to the Integrations page under the Manage tab and click on Azure OpenAI.
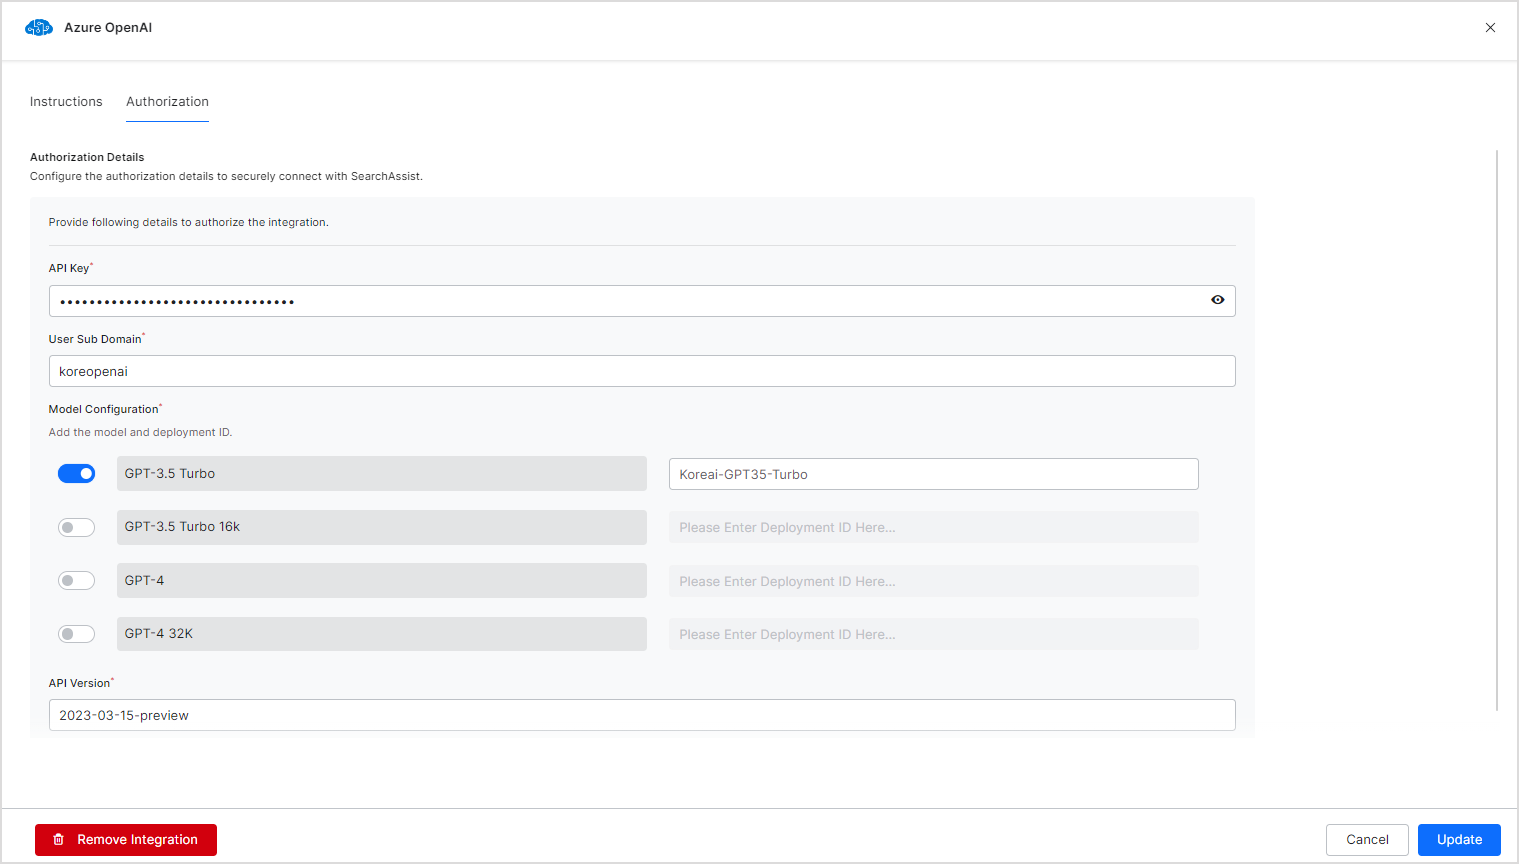
- Go to the Authorization tab, enter the resource and deployment information from the previous step, and click Enable. Listed below are the configuration parameters in the SearchAssist application along with the corresponding field names in Azure OpenAI UI.
- API Key – Provide the key generated above.
- User Sub Domain – Provide the domain from the value of the field – ‘openai.api_base’.
- Model Configuration – For all the models that you want to use, enable the model and enter the corresponding Deployment ID. This is the value of the field – ‘engine’.
- API Version – Provide the version info from the value of the field – ‘openai.api_version’. This is in date format.
Note: Azure OpenAI has announced the discontinuation of older API versions from April 2, 2024. Update your Azure OpenAI integration to the latest API version to continue using the same features. For more details, please refer to the Azure OpenAI documentation.