To enable efficient searching of your content managed by Salesforce, configure the Salesforce connector in SearchAssist and start benefiting from seamless integration.
Specifications
| Type of Repository | Cloud |
| Supported API version | API v57.0 |
| Search Results Support | Knowledge articles managed by Salesforce. |
| Extractive Model for Answers | Not supported |
| Generative Model for Answers | Knowledge articles managed by Salesforce. |
Configuring the connector as a content source in SearchAssist requires:
- Creating an OAuth application in Salesforce
- Configuration of the Salesforce connector in SearchAssist
Step1: Creating OAuth app in Salesforce
- Login to the Salesforce application. Click on the Setup icon and go to the Setup.
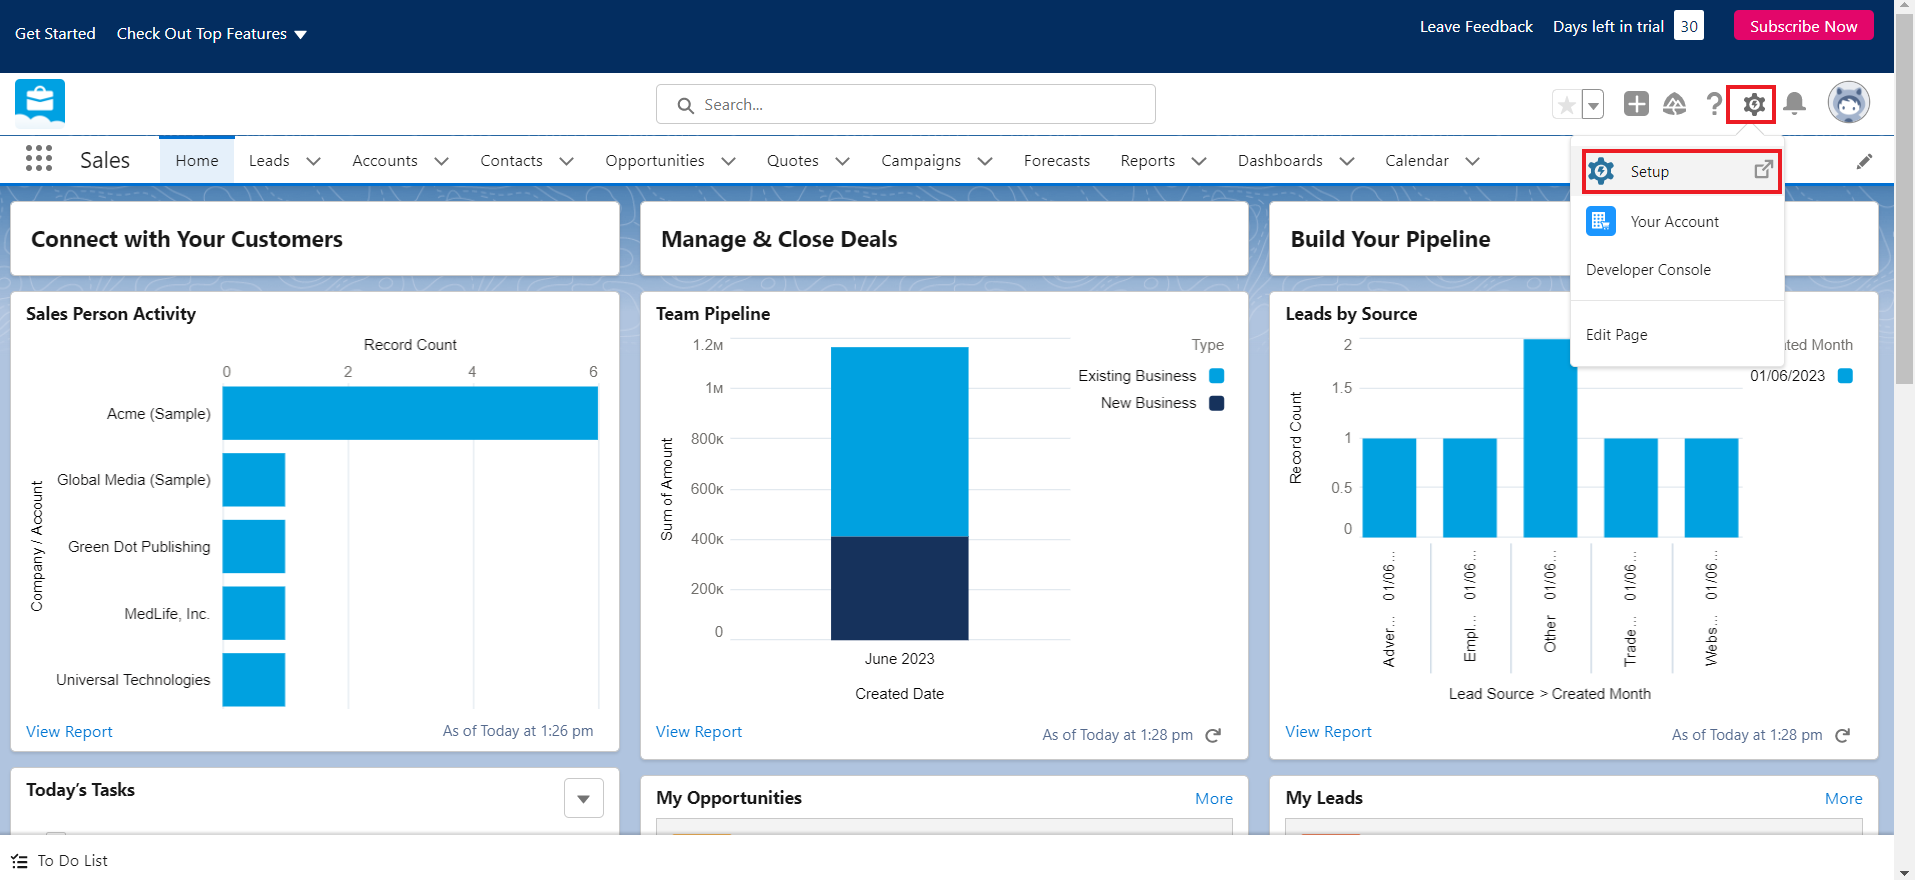
- This will open the Object Manager home page as shown below.
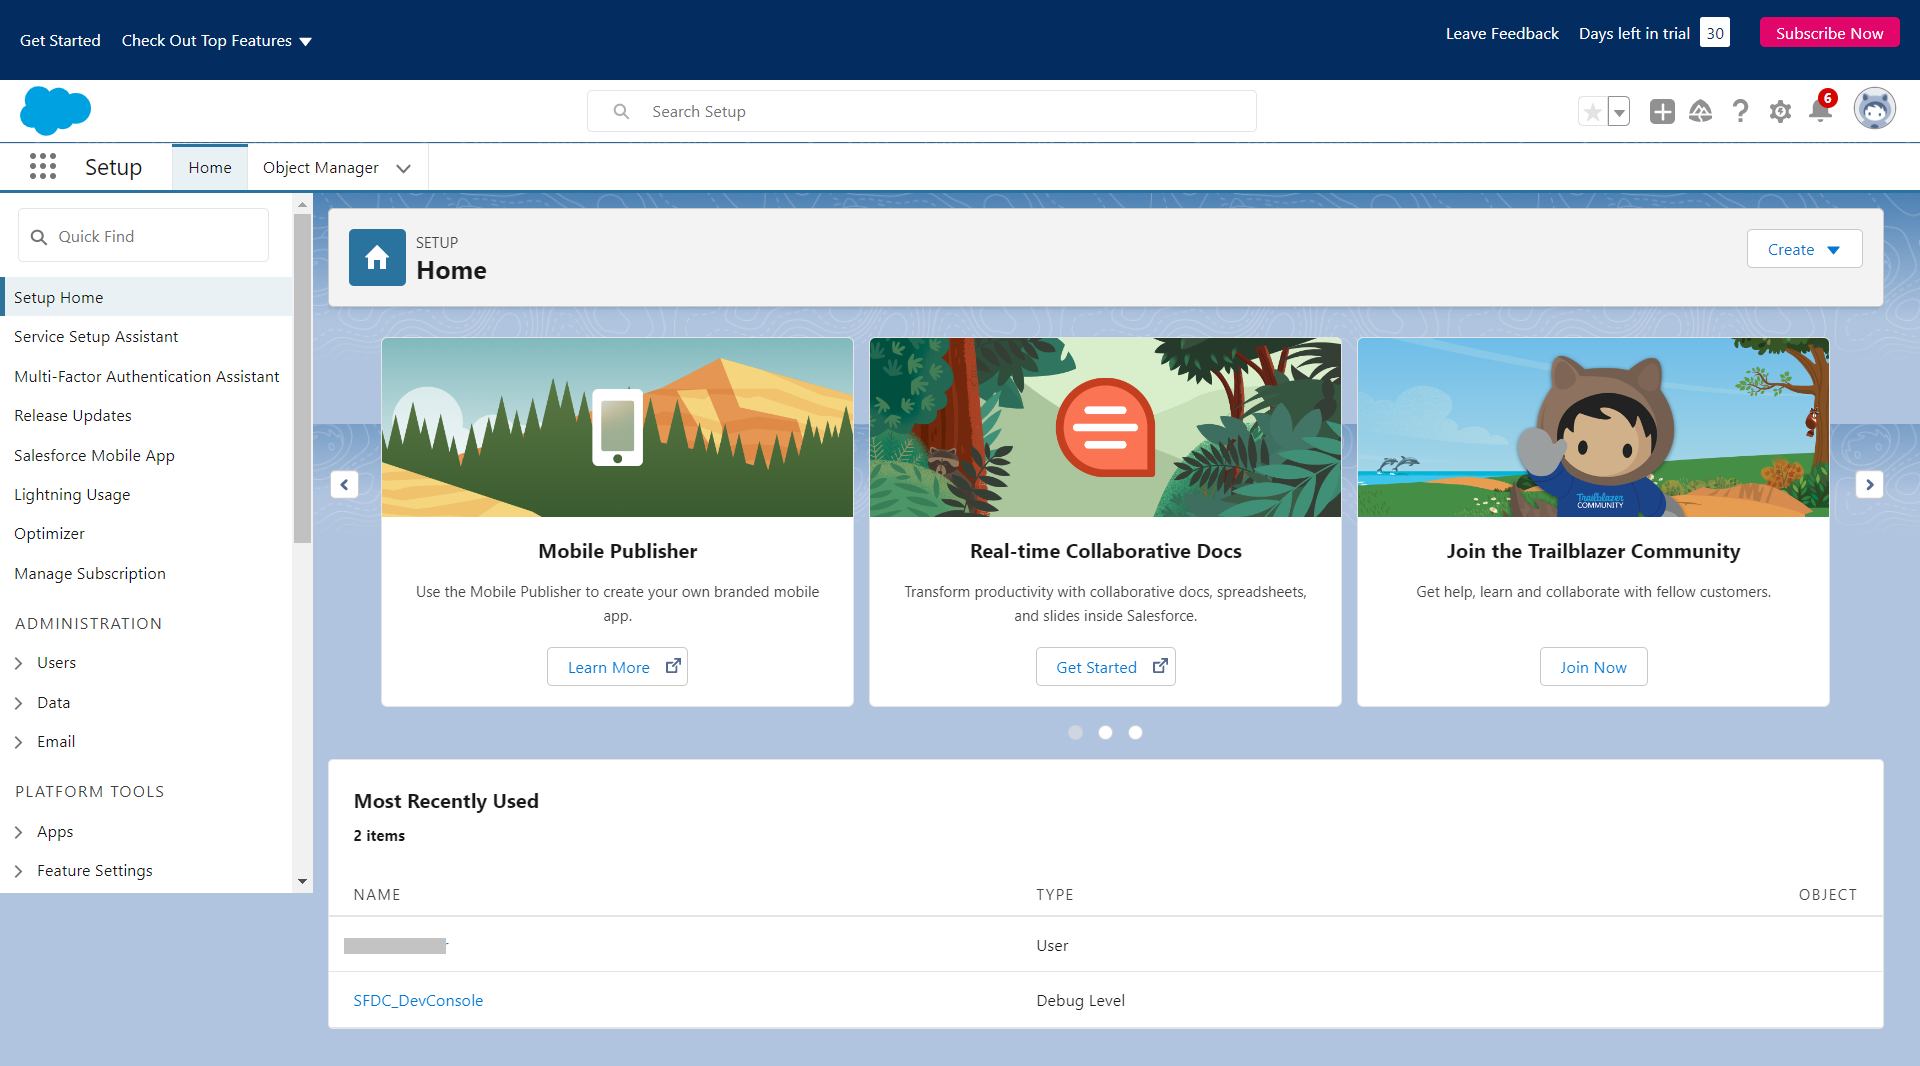
- Go to the App Manager and click on New Connected App.
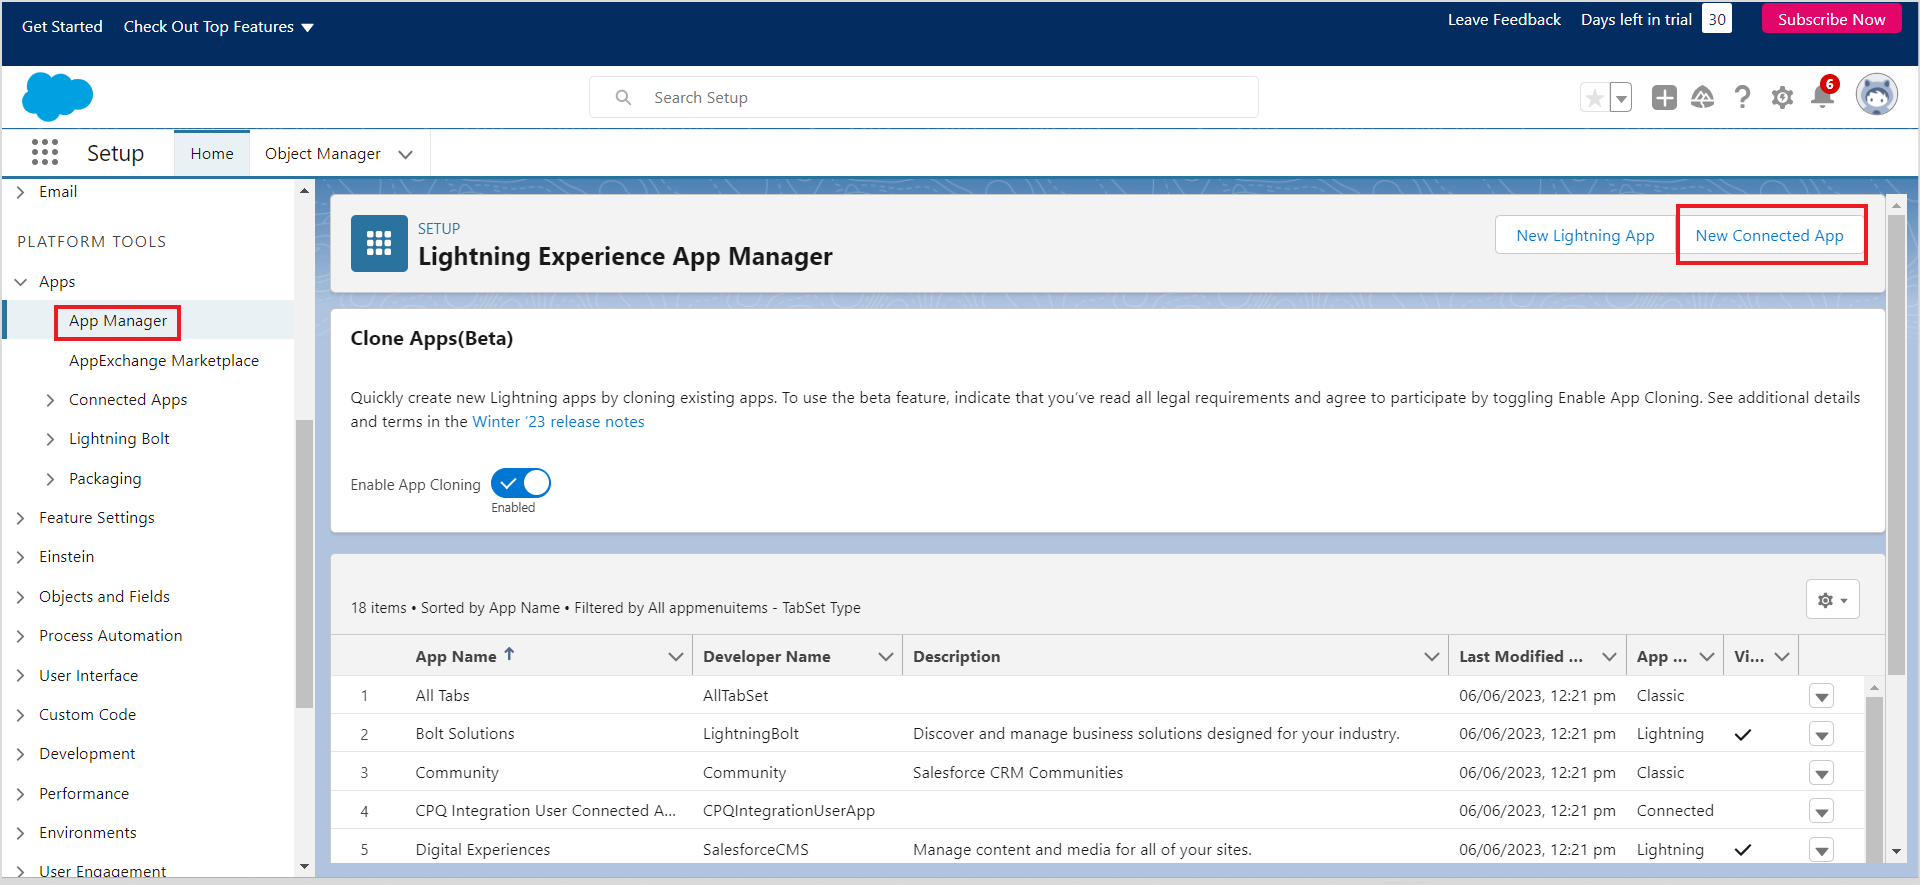
- Provide the details for the app.
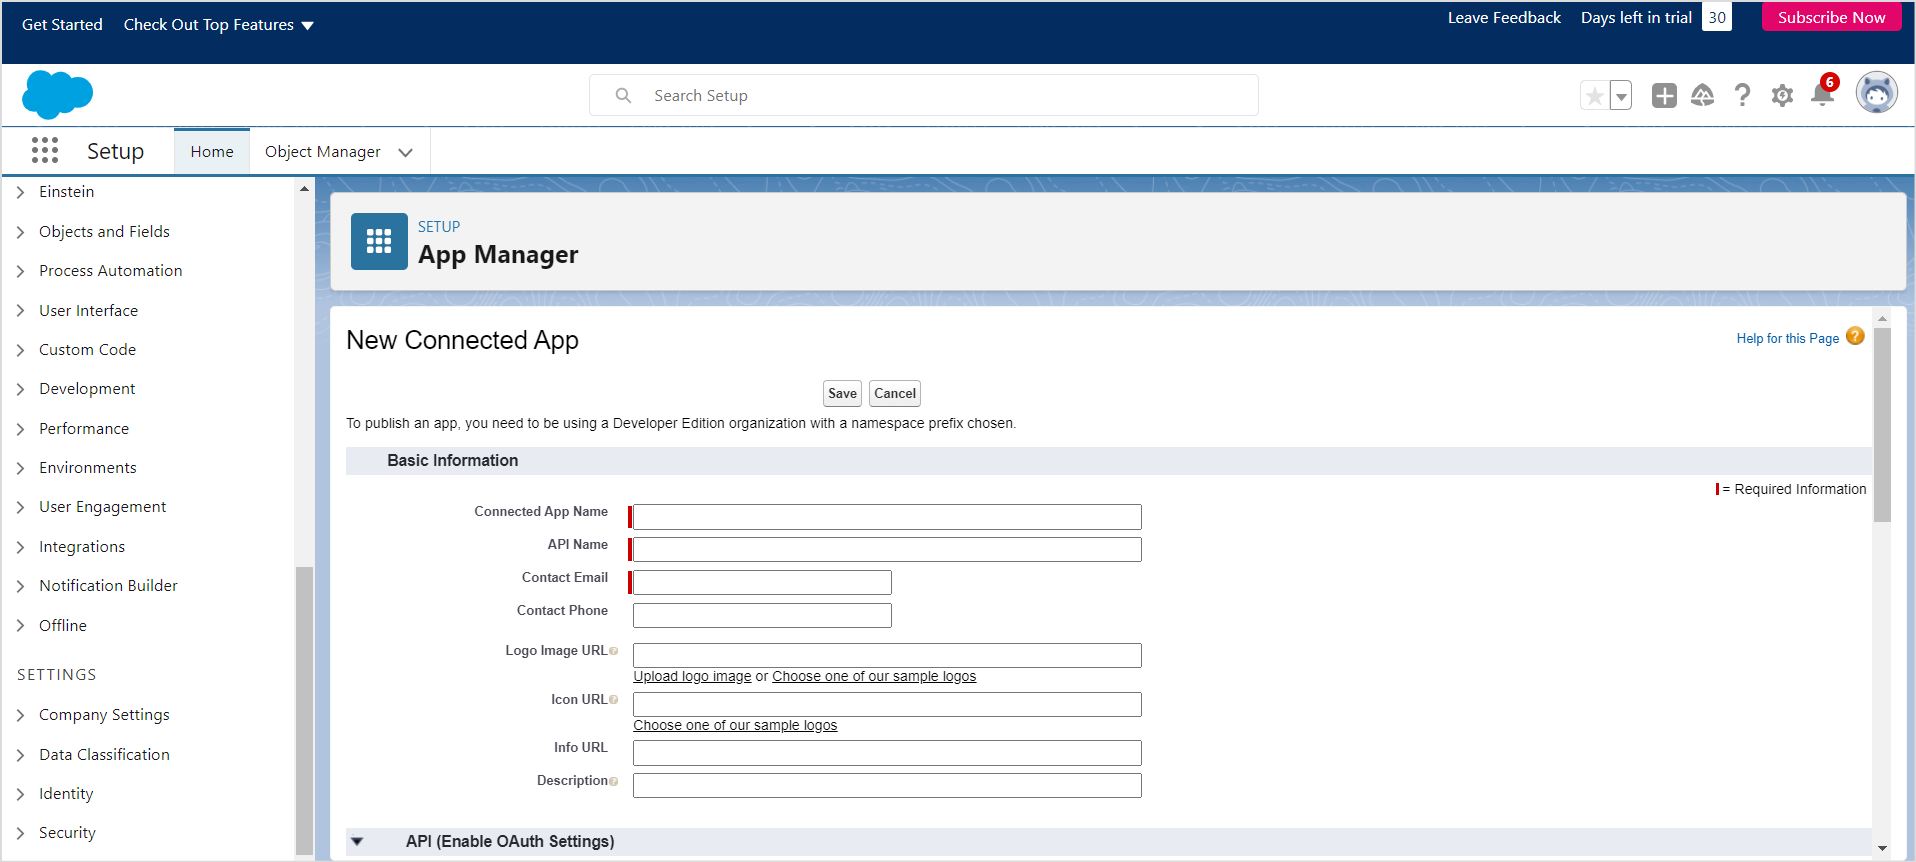
- Provide basic information about the application like the name, email address, logo, icon, etc.
- Enable OAuth settings for API Integration under the API section and provide the callback URL. You can use one of the following callback URLs:
- JP Region Callback URLs: https://jp-bots-idp.kore.ai/workflows/callback
- DE Region Callback URLs: https://de-bots-idp.kore.ai/workflows/callback
- Prod Region Callback URLs: https://idp.kore.com/workflows/callback.
- Select and add the following to the Selected OAuth Scopes.
- Full access (full)
- Perform requests at any time (refresh_token, offline_access)
- Leave other settings as default and click Save and Continue. The summary page for the application will be displayed as shown below.
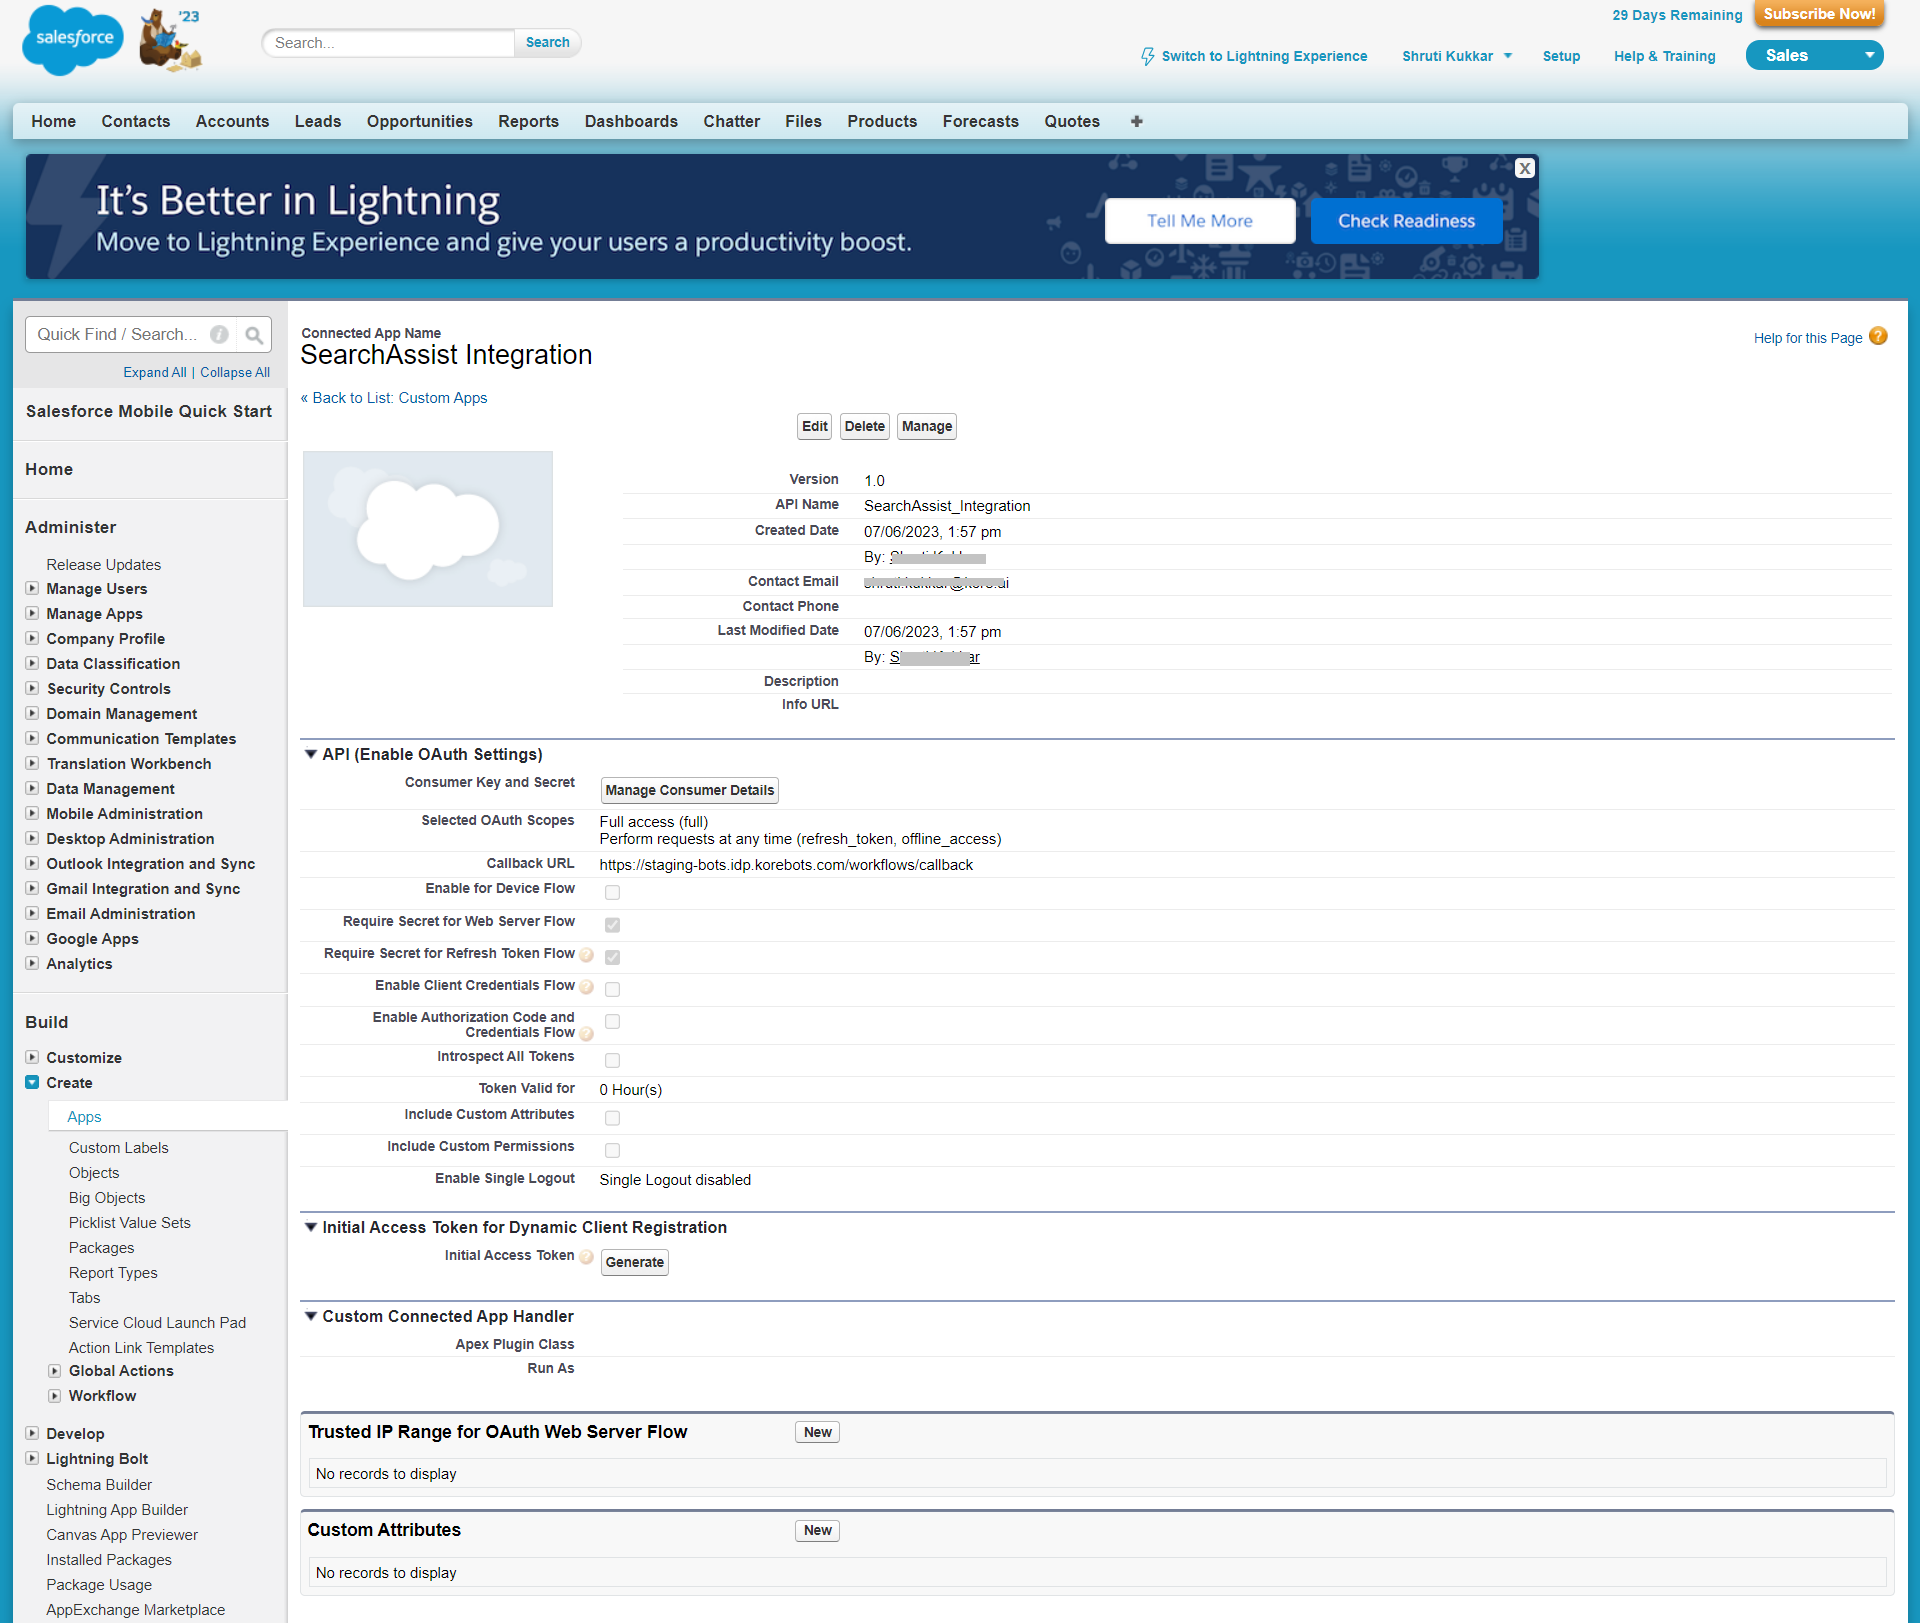
- Next, click Manage Consumer Details to generate the consumer ID and secret from this page. Save this information. You will have to add these to the SearchAssist UI to complete the integration.
Step2: Configuration of the Salesforce connector in SearchAssist
The next step is to configure the Salesforce connector in SearchAssist.
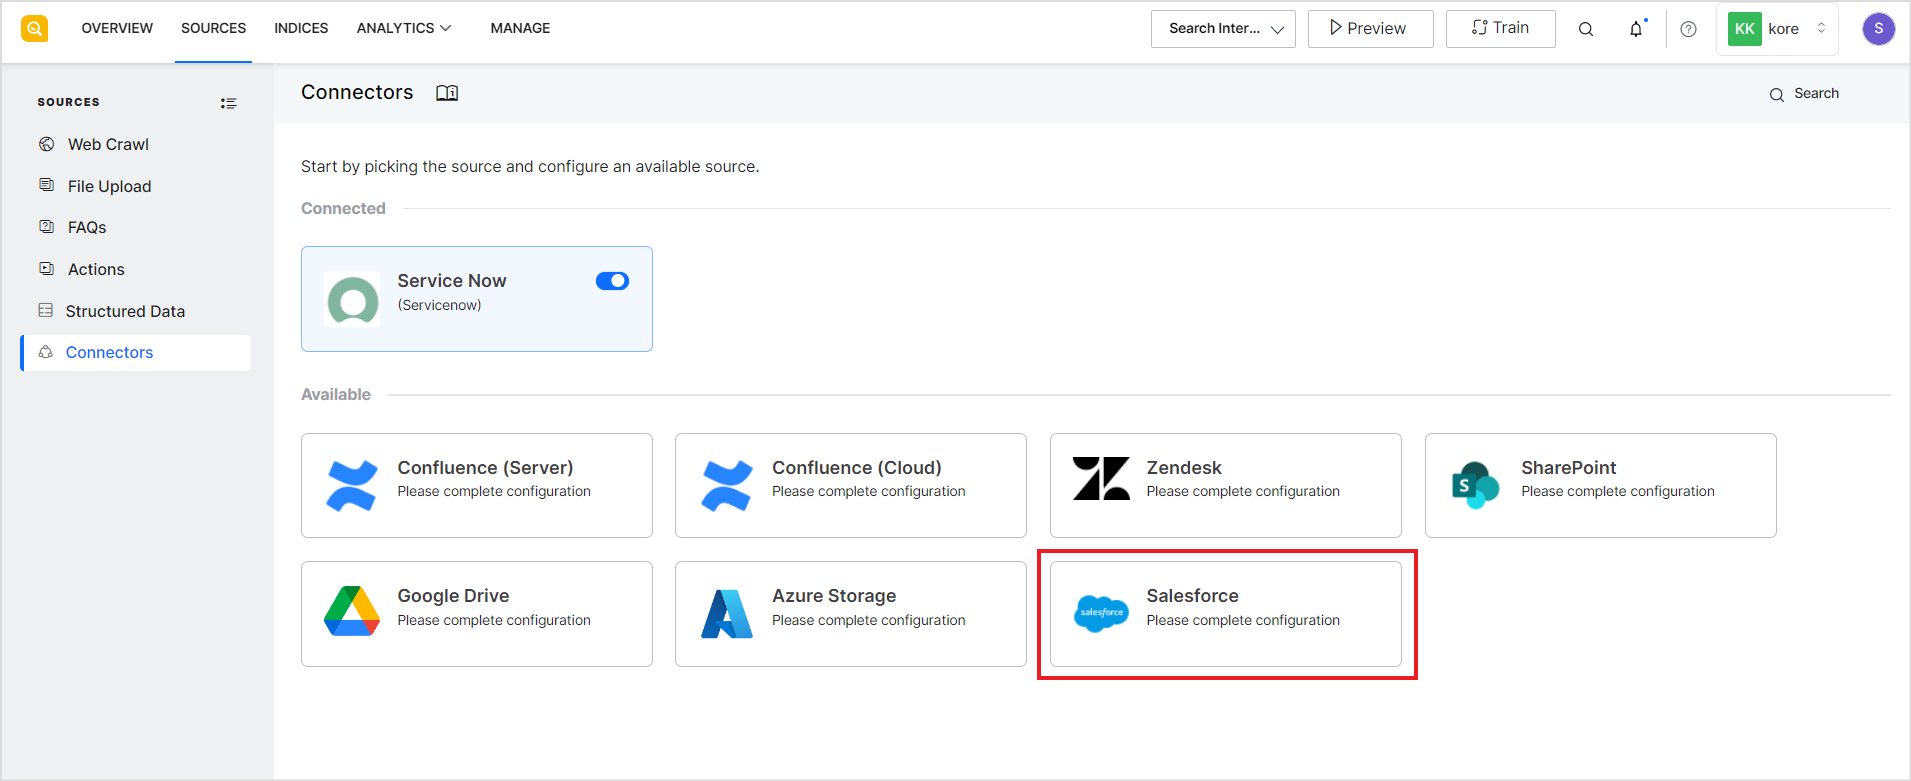
- Go to the Connectors under Sources and select Salesforce from the list of available connectors.
- The following page shows Configuration instructions. Click Proceed.
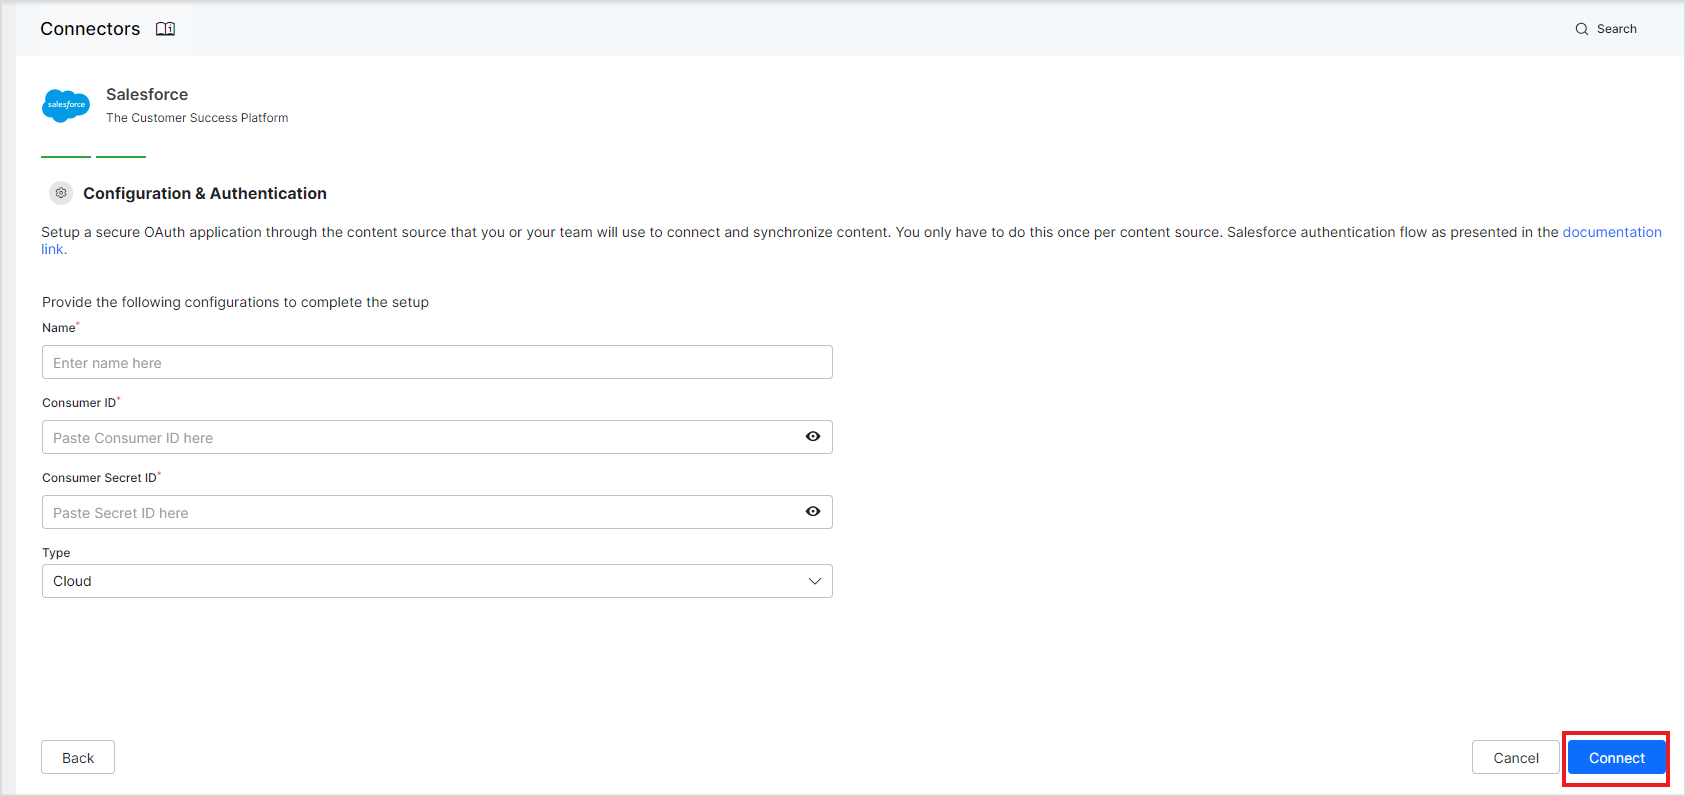
- Enter a name for the connector, provide the Consumer ID and Consumer Secret Key, generated in the previous section, select the type of source, and click Connect. Type can take the following values:
- Cloud – Production environment/instance
- Sandbox – Test environment/instance.
- After the connection is successfully established, configure content synchronization for ingestion of content from the Salesforce application.
Content Filtering and Ingestion
Salesforce Connector allows selective ingestion of content. Select Sync Specific Content under the Sync Settings and click the Configure link to set content filters. 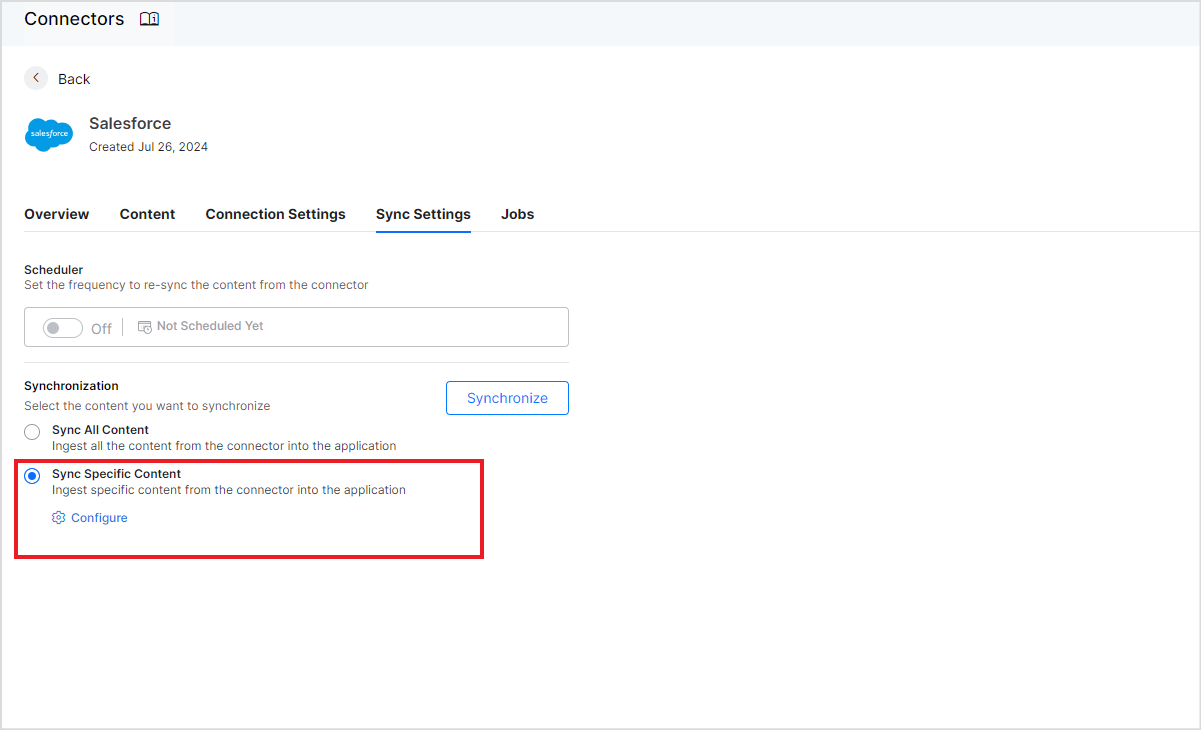
The following page allows you to define rules for selecting the content. Each rule can be defined using a parameter, operator, and its value. 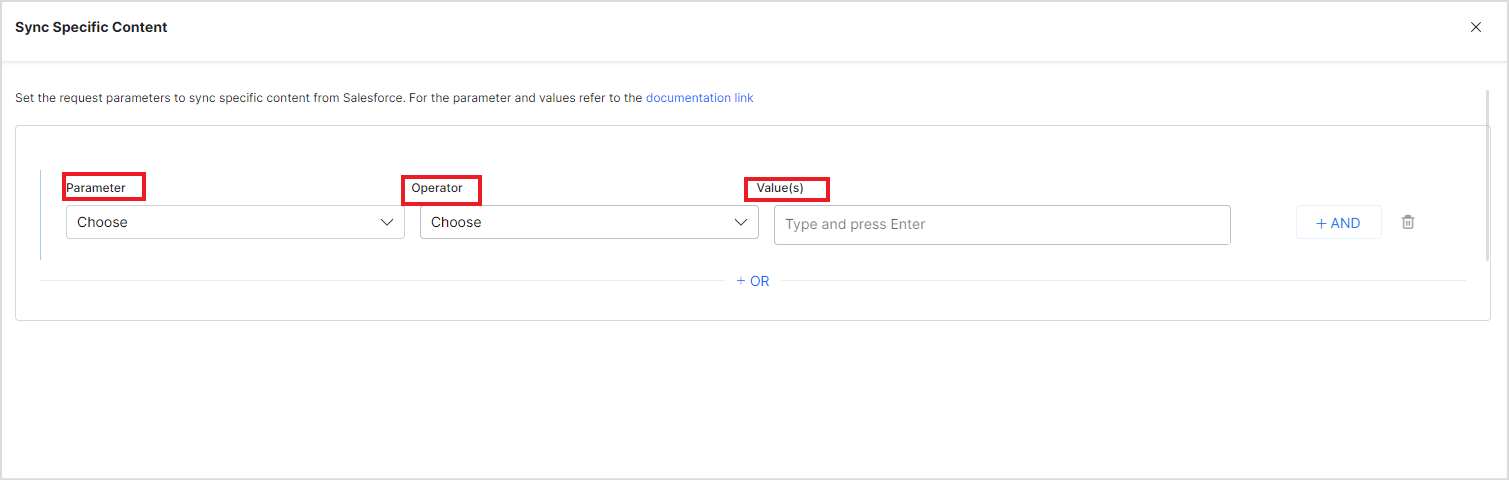
The most commonly used Parameter fields are listed in the dropdown. Using the +Add option, you can add new parameters if the content supports it. Refer to the complete list of supported parameters here.
The Operator field can take different values depending upon the parameter selected, such as equals to, not equals to, contains, etc.
The Value field is used to set the expected value of the parameter. The values that any parameter can take are strictly as per the Parameters defined and supported by your application. Refer to the Salesforce Documentation before adding parameters and their values.
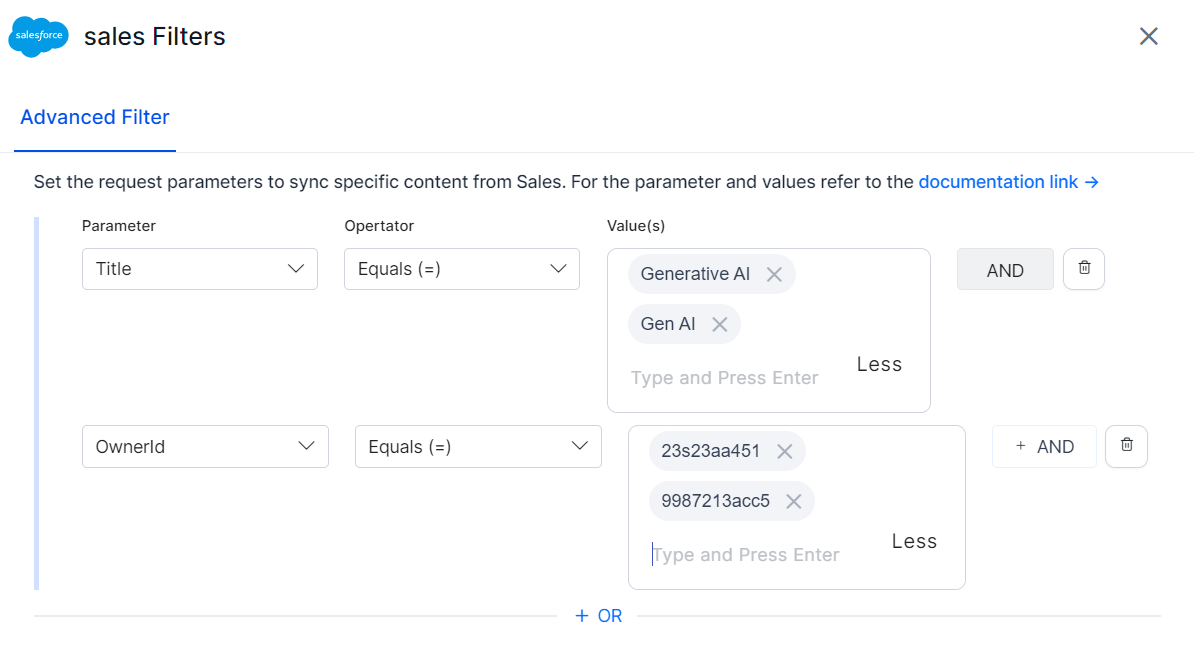
Filter examples
To select all the knowledge articles published on a certain date, set the filter as shown below. 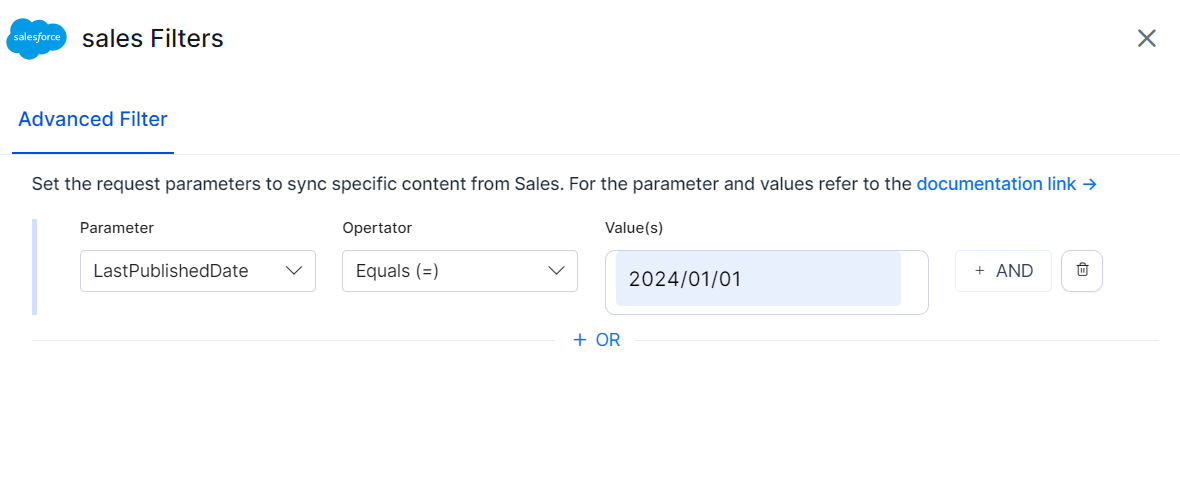
To selectively ingest only the articles with a specific title and author, you can configure the filter as shown below.