
You can easily configure SearchAssist to connect to the Zendesk application to enable users to fetch query results using the data and information available in Zendesk.
Specifications
| Type of Repository | Cloud |
| Supported API version | REST API v2 |
| Search Results Support | Zendesk knowledge base articles |
| Extractive Model for Answers | Zendesk knowledge base articles |
| Generative Model for Answers | Zendesk knowledge base articles |
To configure Zendesk as a content source, it requires:
- Configuring an OAuth application in Zendesk
- Configuring the Zendesk connector in SearchAssist
Step 1: Setup an OAuth client in Zendesk
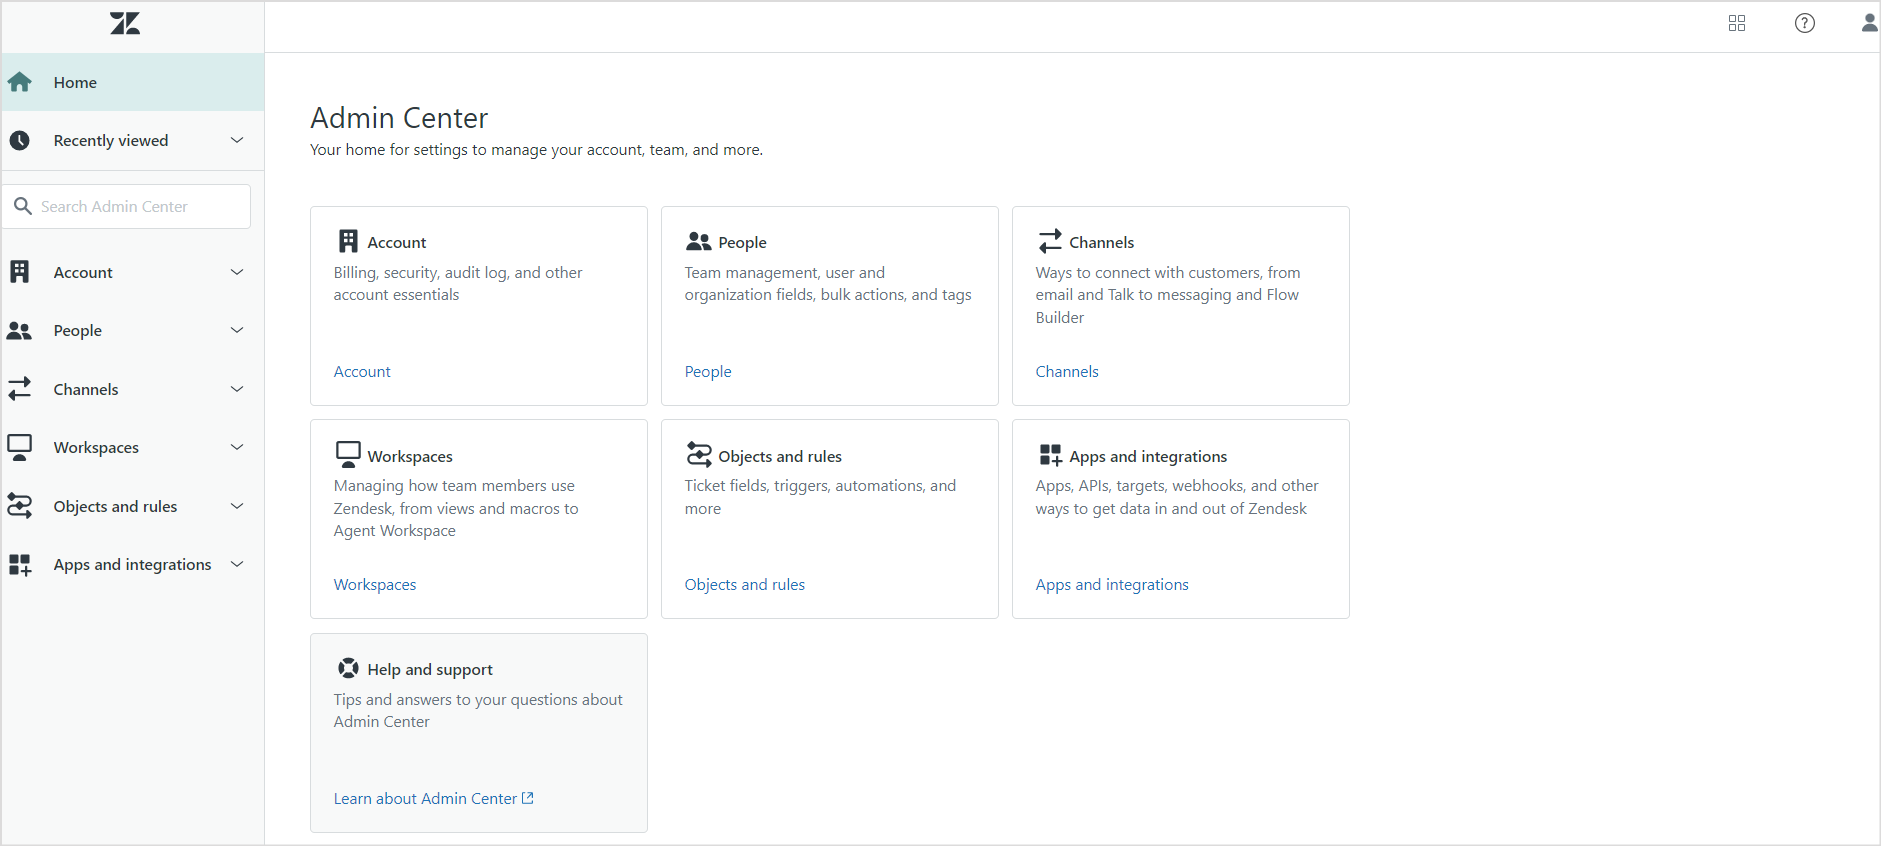
You need to add an OAuth client in the Zendesk application to generate OAuth credentials that SearchAssist will use to authenticate the requests sent to Zendesk. To do so, log in to the Zendesk application and go to the Admin Center.
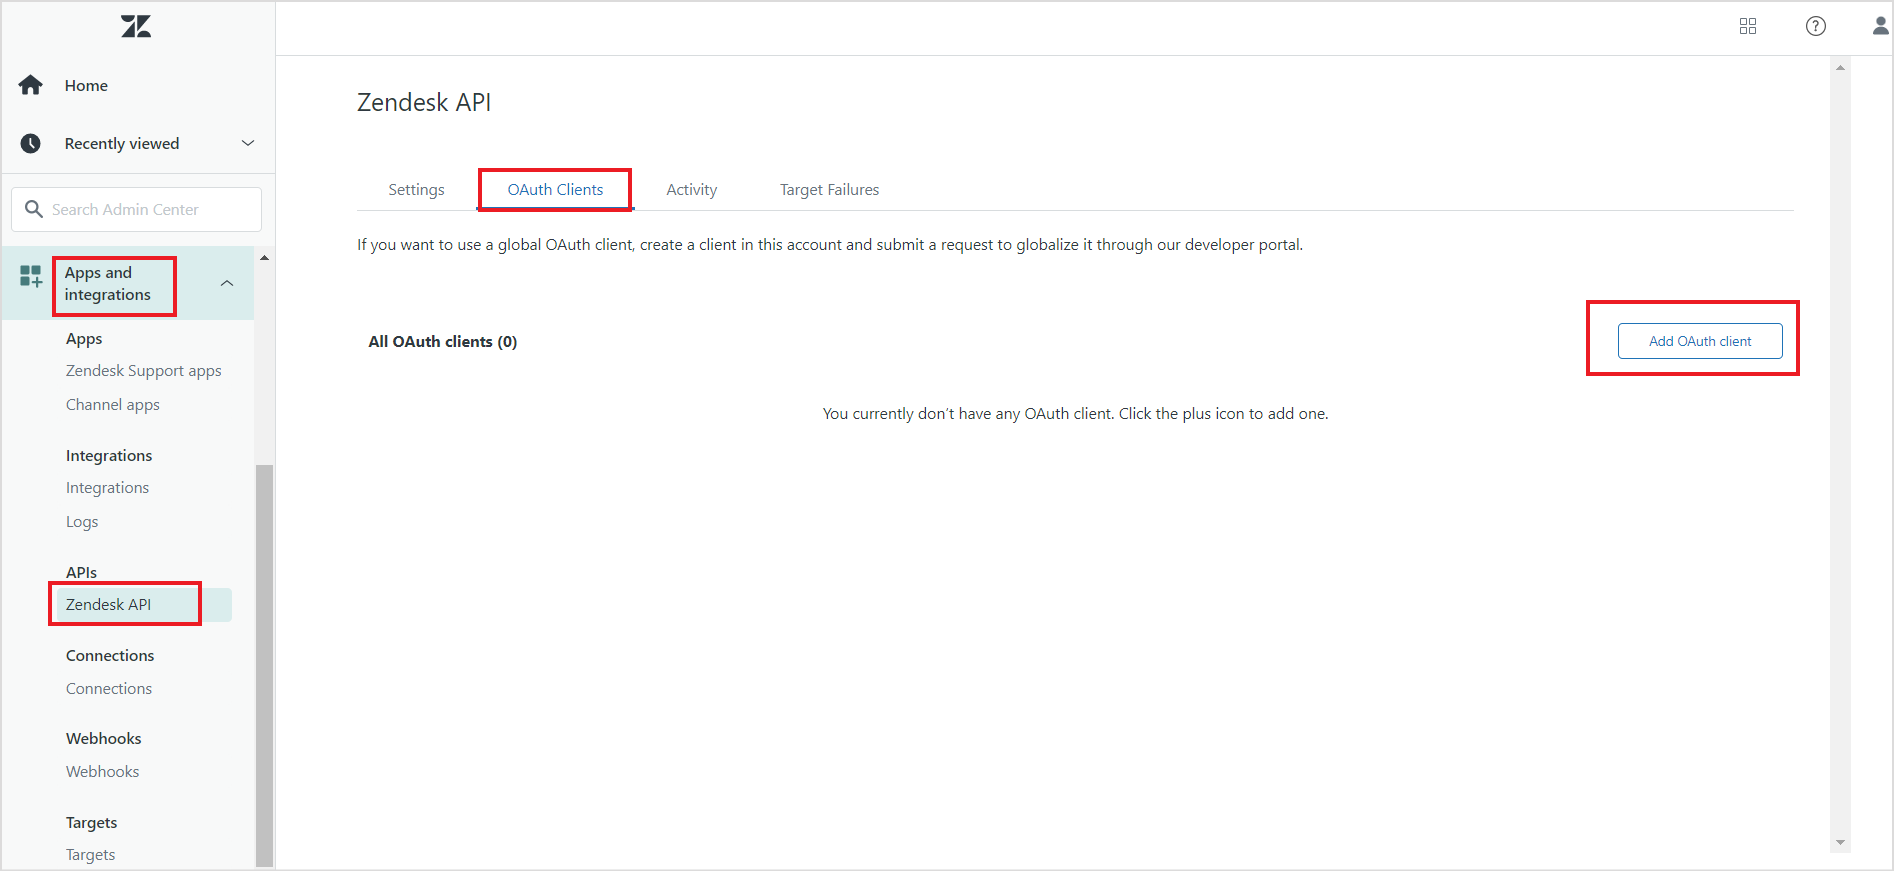
 Under Apps and Integration, select Zendesk API to build a custom integration with SearchAssist. Add a new OAuth Client.
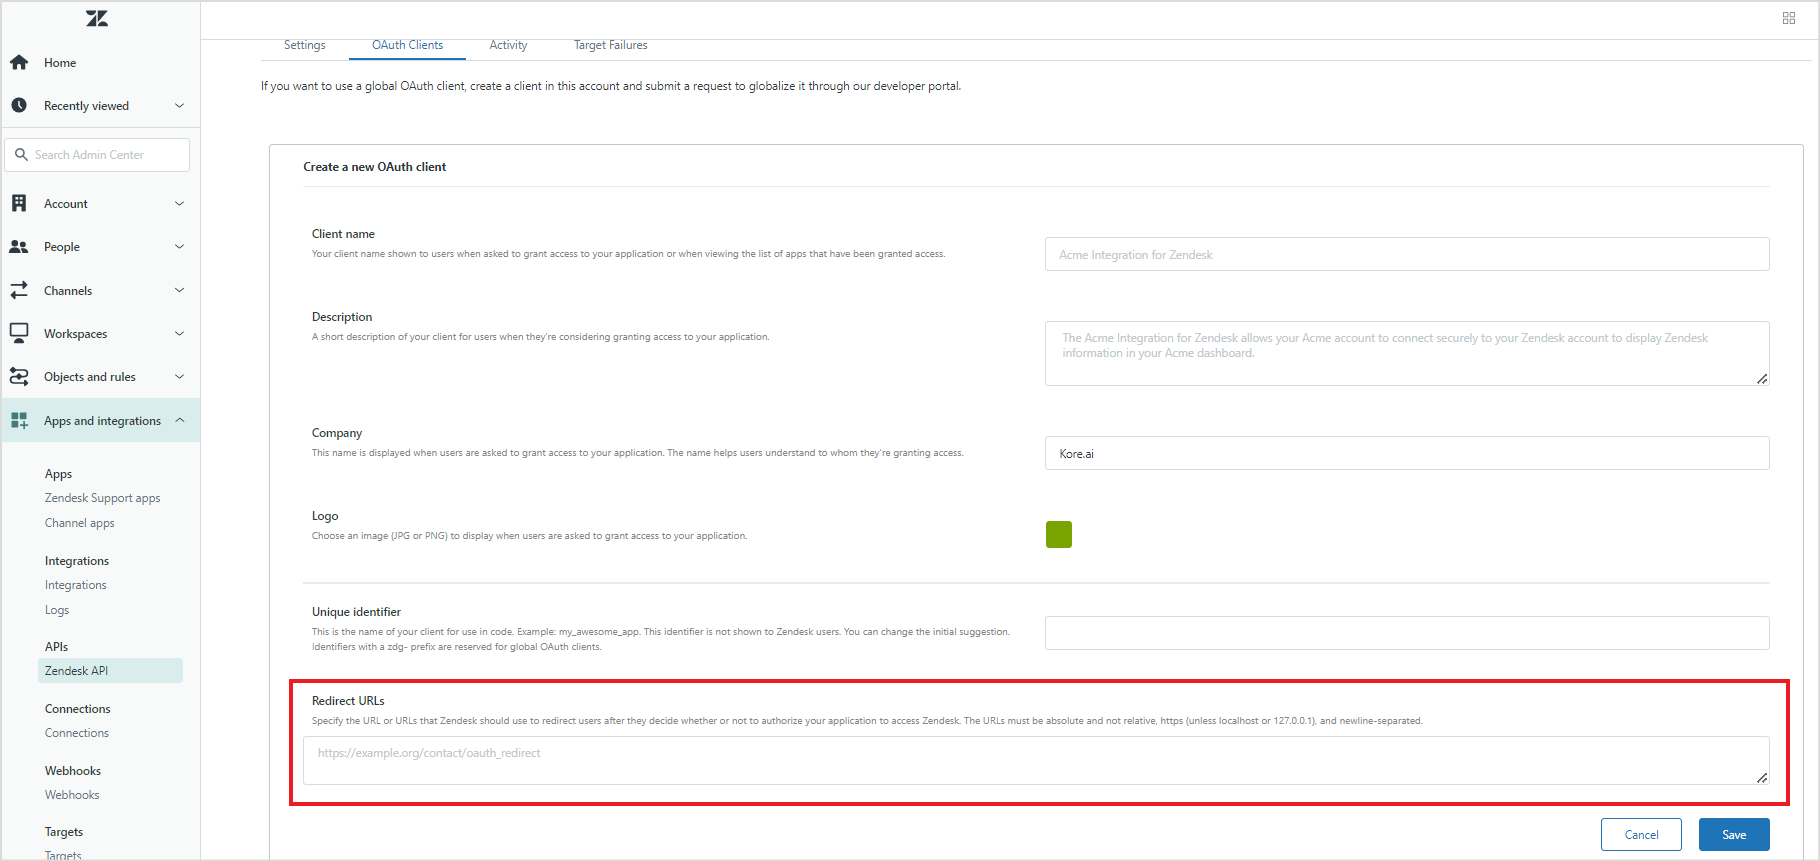
 Enter the details required for the client like name, description, company, etc. Set the Redirect URLs field to point to your SearchAssist instance. You can use one of the following callback URLs as per your region.
- JP Region Callback URLs: https://jp-bots-idp.kore.ai/workflows/callback
- DE Region Callback URLs: https://de-bots-idp.kore.ai/workflows/callback
- Prod Region Callback URLs: https://idp.kore.com/workflows/callback
 On saving the details, a pre-populated Secret field will appear on the lower side. This is the client secret specified in the OAuth2 spec. The client name along with the secret generated is required for configuration in the SearchAssist application. For detailed instructions, refer to the article, Registering your application with Zendesk.
Step 2: Configure the Zendesk connector in SearchAssist
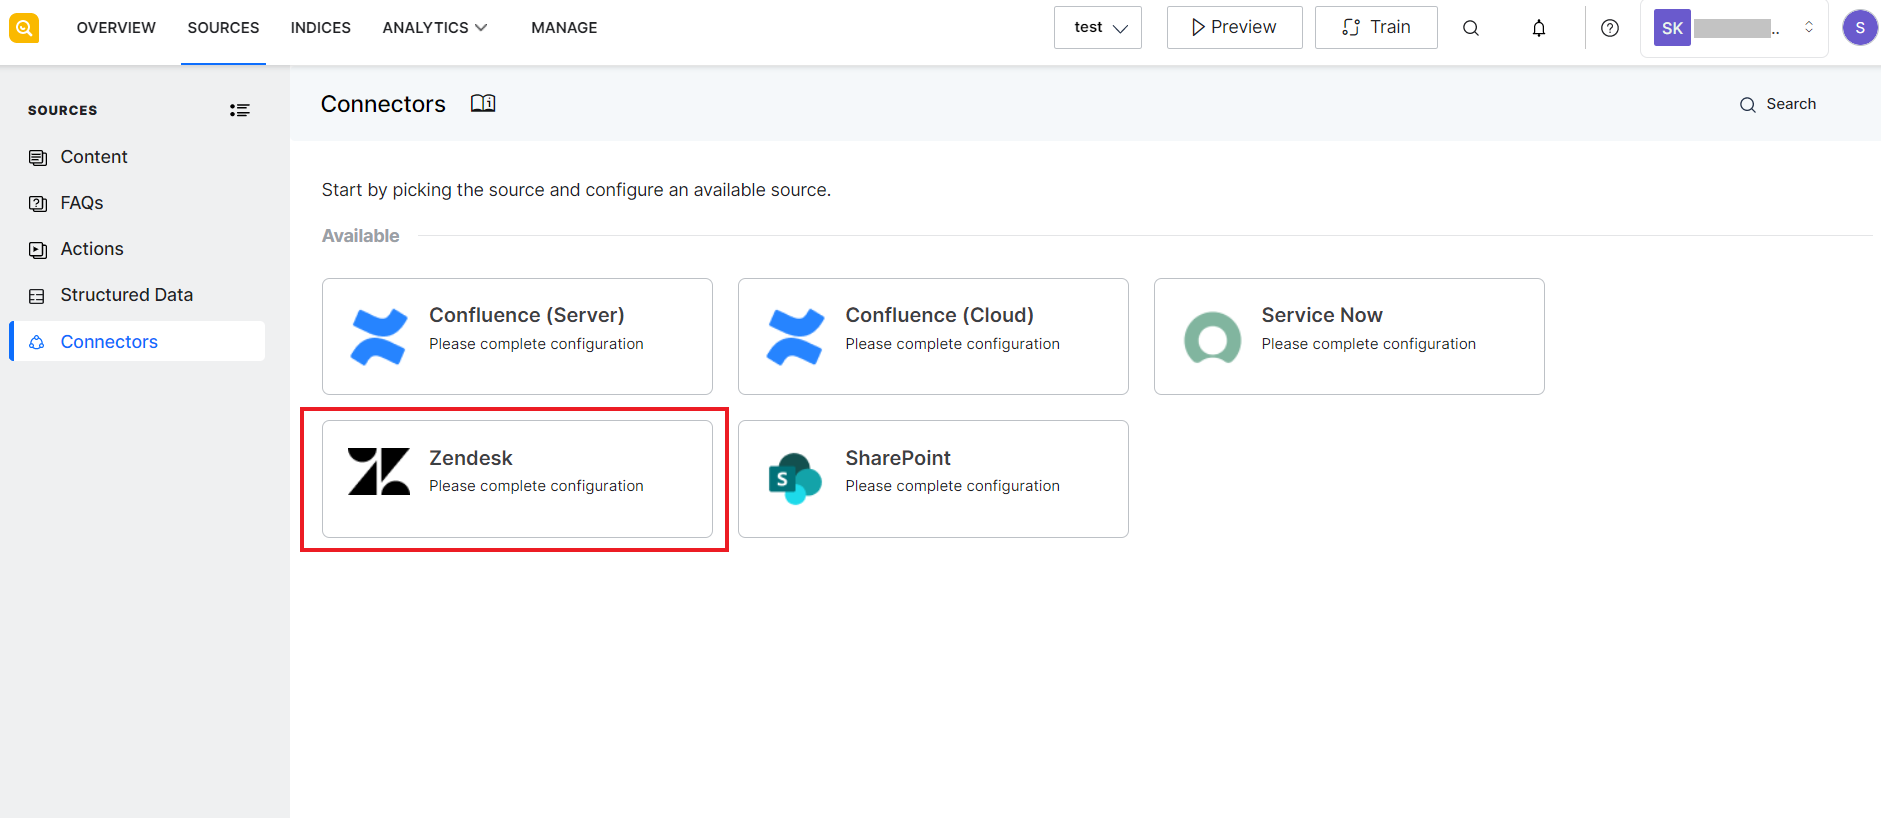
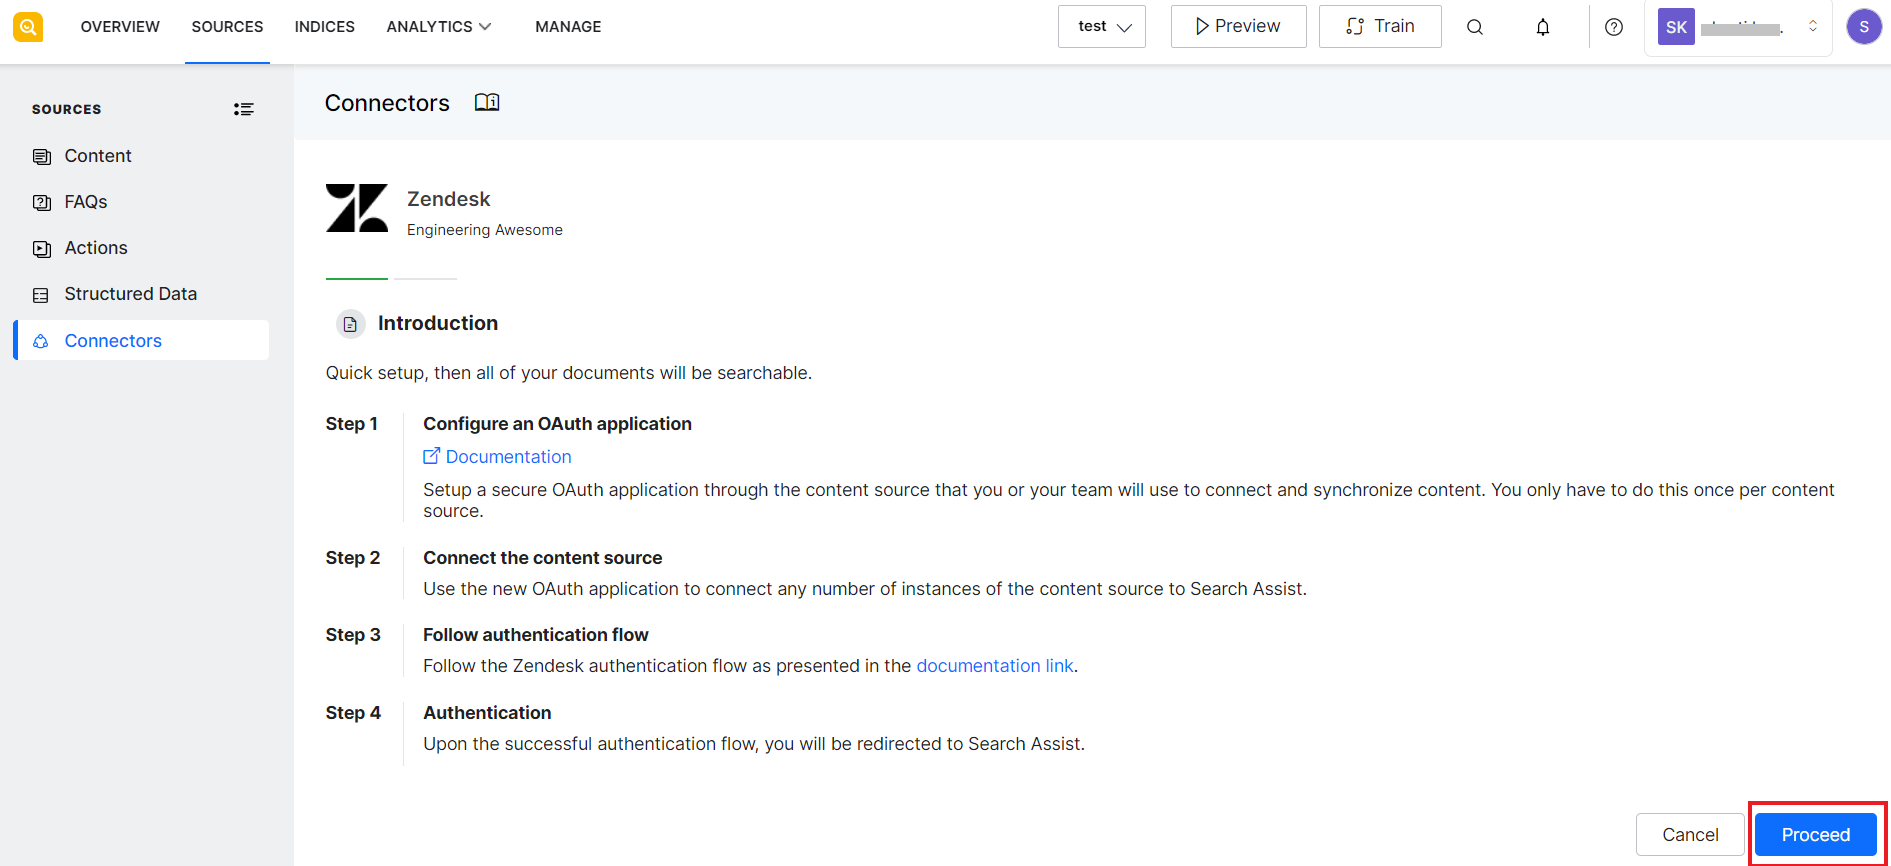
Go to the Connectors page under the Sources tab in SearchAssist application and select Zendesk.
The page shows the steps to take for Zendesk configuration. Click Proceed.
Enter the following using the details of the OAuth client created in the Zendesk application.
| Field | Description |
| Name | Name with which the connector will be referred to in the Zendesk application. |
| Client ID | Client Name as given in the OAuth client configured in the Zendesk application. |
| Client Secret | Client secret generated after configuring OAuth client in the Zendesk application. |
| Host URL | URL pointing to the Zendesk account. |

Click Connect to complete the setup. Once the set up is complete, SearchAssist will automatically synchronize with the Zendesk content and make it available for search.