
Design search experiences for your customers or employees. You can customize the search experience both in the user-engagement phase while entering queries and in the results display phase. Configure a top-down (traditional search bar) or bottom-up (conversational UI) experience. End-users can see the results in views selected by you as per business requirements.
Customize the overall search experience through:
- the Search Interface is used by the users to enter queries. To learn more, see Designing Search Experience.
- Result Templates allow you to decide how individual search results are formatted and displayed in the results interface. To learn more, see Designing Results Views.
Designing Search Experience
You can customize three different features: search experience, search widget, and interactions.
Search Experience
Choose the position of the search bar which, in turn, changes how the page shows results to the user.
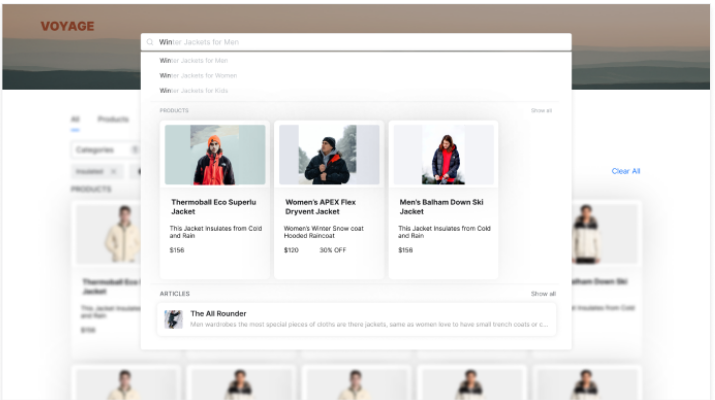
- Search Bar This top-down option places the bar at the top of the window. Used by most e-commerce websites, search results are displayed from top to bottom in the search bar. As the user types a query, live search results are displayed as a drop-down list; full-page results are given on the page itself. The user can select an option from the live search drop-down list or browse through the full results page.
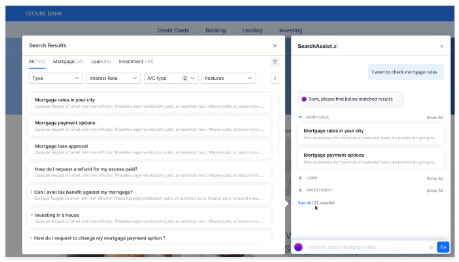
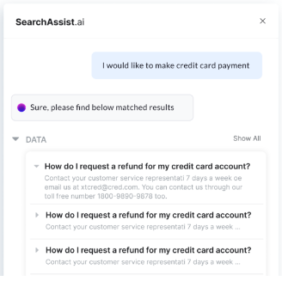
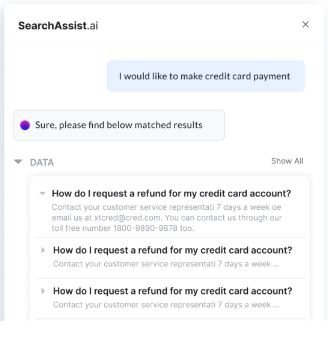
- Assistant Commonly used on banking and insurance websites, this bottom-up option places the search bar at the bottom of the chat window. A live virtual assistant helps perform actions (e.g. paying bills, renewing cards) at the top or bottom of the chat window. Live search results are displayed as the user types the query. Conversational search results are displayed in the chat window. Users can select an option from the live search list or browse options given in the conversational search results. The user can also be presented with an option to view the full page results on a slide-out page.
Search Widget
Customize the appearance of the widget. This includes placeholder text inside the search bar, text color, Search bar border color, search Icon, and search button customization.
Interactions
Improve the user experience by customizing interactions.
- Greeting Message: Change the launch message in the search bar. Enter up to 60 characters and customize the text color.
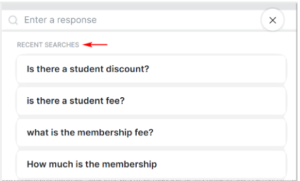
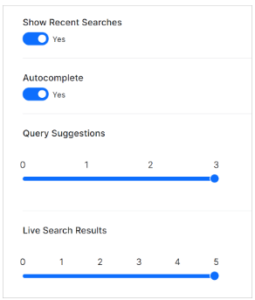
- Show Recent Searches: When enabled, show users their previous queries. These queries pop up as cards in the search window as soon as the user selects the search bar.
- Auto-complete: When enabled, this option saves users time by predicting the rest of the word as they type a query.

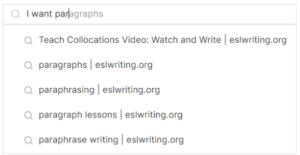
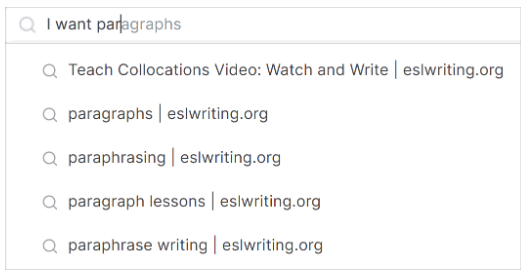
- Query Suggestion: Reduce the time to enter a search query by providing suggestions. These suggestions help users to enter long queries or select a query as they type. Set the number of displayed suggestions from 0 through 5 for bottom-up experiences, and 0 through 10 for top-down Live Search Results. When used along with Live Search Results, the user can scroll to browse the results that appear in the background.
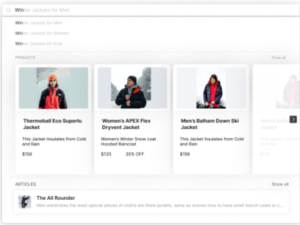
- Live Search Results: While entering a query, show results from the very first keystroke. Allow the user to see search results without redirecting to a results page. You can set the number of results to be displayed from 0 through 5 for bottom-up experience, and from 0 through 10 for a top-down experience. When used along with Query Suggestion, the user can scroll to browse the results that appear in the background.


Configuring Search Experience
SearchAssist allows you to choose and configure the type of search experience you want to provide your users. The choices are a search bar at the top of the page or an Assistant at the bottom of the page.
Follow these steps:
- Click the Indices menu tab.
- In the left pane, click Search Interface.
- Select an option: Search Bar or Assistant.
- Click Next. On the Search Widget page, add customizations.
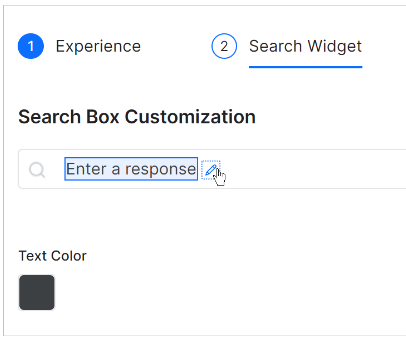
Customizing the Widget
To change the text color in the search box:
- Hover the text in the box.
- Click the pencil icon.
- Change the text color. (optional)

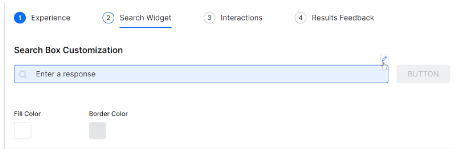
To change the border color of the search box:
- Hover the right side of the search box.
- Click the pencil icon.
- Change the fill and text color. (optional)
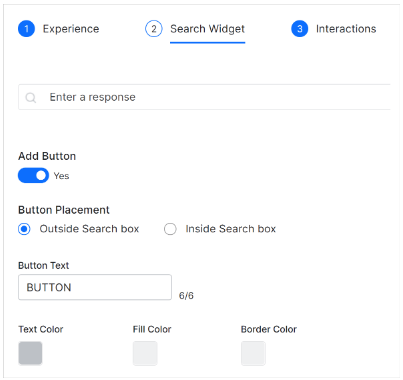
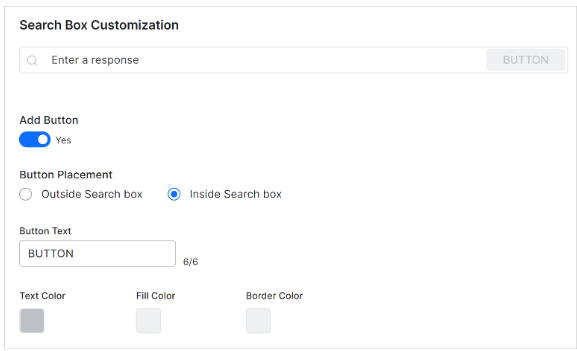
Customizing Search Button
To customize the search button:
- Hover the button on the right side of the search box.
- Click the pencil icon.
- Switch the toggle to the YES position to display a button. (optional)
- Click an option to place the button inside or outside the search box.
- Change the button label. The default setting is BUTTON.
- Change the color of the button text, fill, and border. (optional)
- Click Next.
Customizing Interactions
On this page, configure the message that the SearchAssist app shows the user in the search bar or Assistant.
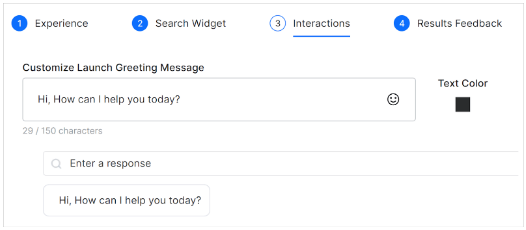
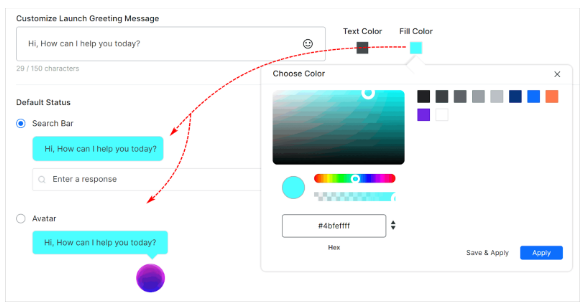
Greeting Message
- Review the default text in the Customize Launch Greeting Message box. Edit as required.
- Click the color square to change the message text color and then click Apply. (optional)If you select the Assistant option (search bar at bottom of page), customize the fill color of the message bar. (optional)
Query options
- Switch the toggle to the Yes position to show users their recent searches.
- Switch the toggle to the Yes position to enable this auto-complete feature. This option auto-completes search text as the user types.
- Drag the Query Suggestions slider to set the number of displayed suggestions. The range is 1 to 5 for the Search Bar option and 1 to 3 for the Assistant option.
- Drag the Live Search Results slider to set the number of displayed live search results. The range is 1 to 10 for the Search Bar option and 1 to 5 for the Assistant option.
- Click Next.

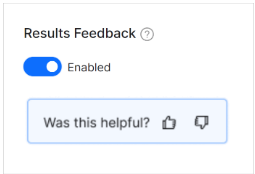
Results Feedback
On this page, enable or disable a feedback feature.
- Switch the toggle to the Enabled to show a feedback question. Users click an icon to submit a voluntary answer.
- Click Done.
Designing Results Templates
SearchAssist allows you to customize display layouts with result templates.
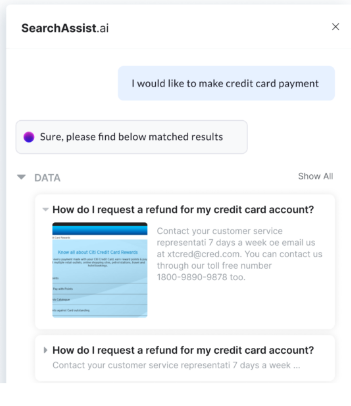
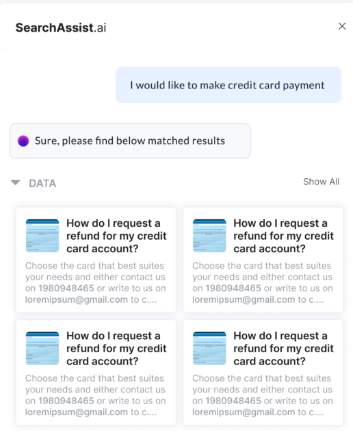
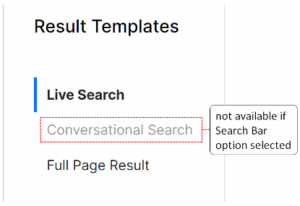
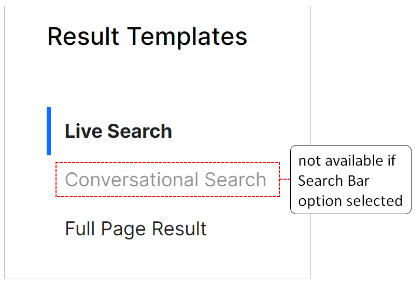
- Live Search Displays results as the user types a query.
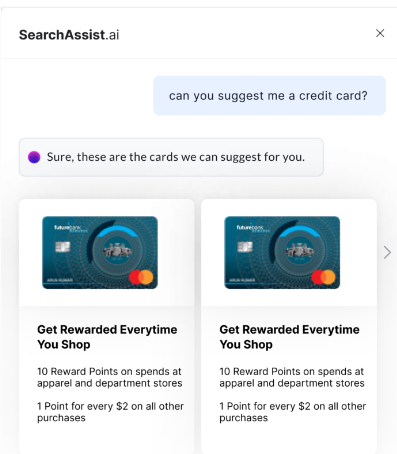
- Conversational Search Displays results in the chatbot with a link to view the full page results. Available only for the Assistant (bottom-up) search experience. (Click Indices > Search Interface > Experience.)
- Full Page Result Displays complete results on the main page for the search bar (top-down) option or as a slide-out page for the Assistant (bottom-up search experience) option.
SearchAssist offers the following off-the-shelf templates ready:
List Template
List Template with Images
Grid Template
Carousel Template
Configuring Result Views
You can configure one default display template and use it for all search results (e.g. web, FAQs, etc.). Or, you can configure Result Groups, an option that lets you configure a separate template for each type of search results (e.g. web, FAQ, file).
Follow these steps:
- Click the Indices menu tab.
- In the left pane, click Result Templates.
- On the Result Templates page, click Live Search, Conversational Search, or Full Page Result.Note: You cannot customize the Conversational Search for a search bar (top-down) search experience.
Configuring the Default Display
Configure one display template and use it for all search results.
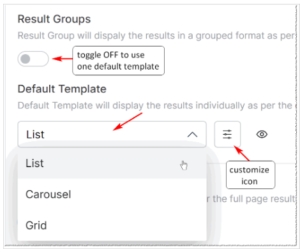
- Make sure the Result Groups toggle is in the OFF position.
- Click the Default Template field.
- Select an option on the drop-down menu.
- Copy a set of configuration settings. (optional, see below)
- Click the Preview icon to see the display format. (optional)
- Click the Customize Template icon to configure the results page.

Copying Configuration Settings
Use this time-saving option to copy configuration settings from a previous template into the new template.
- Click the Copy Configuration button.
- Locate a highlighted button (indicates settings that can be copied).
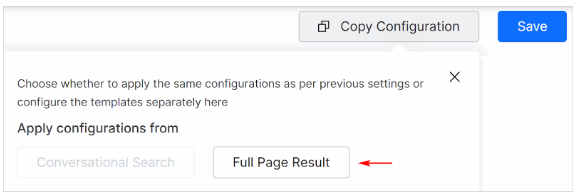
- Click the button.
- SearchAssist applies the settings.
- Click the Customize Template icon to review and modify settings, as required.
Adding Filter Facets
If you select the Full Page Result display option, you can add facets to the results display layout.
- Switch the toggle to the Enabled position. The default setting is disabled.
- Choose left or right alignment.
- Click Save.
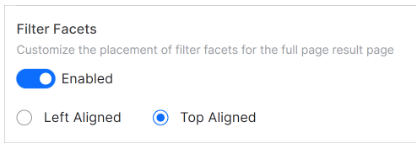
Note: The Filter Facets option is not available for Live Search or Conversational Search.
Configuring Default Settings
Now customize the results template. The list of available options on the Customize page varies according to the default type you selected in the previous step (i.e. List, Carousel, or Grid). Generally, there are three steps:
- Scroll down to the left side of the screen and select a template.
- At the top of the page, choose a display option.
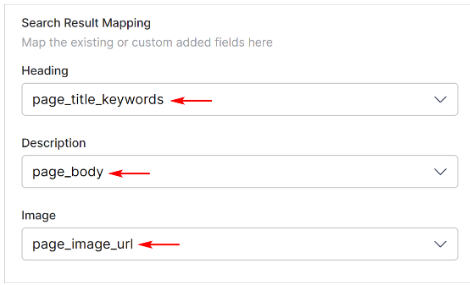
- Under the Search Result Mapping heading, click a field and select a data source for each heading.
- Review the Clickable Results setting. (see below)
- Click Save.
- Click Test to review the results display.

Note: The number of mapping steps varies with each template.
Clickable Results
At the bottom of the page, check the Search Result and click the Settings toggle. The default setting is No. If Clickable is enabled, the results act as a link to the value in the field that is mapped to the URL. Results can be non-clickable for list templates. In these cases, SearchAssist presents results in an expanded or collapsed state depending on the content in the response.
To enable a clickable section:
- Switch the toggle to the Yes position.
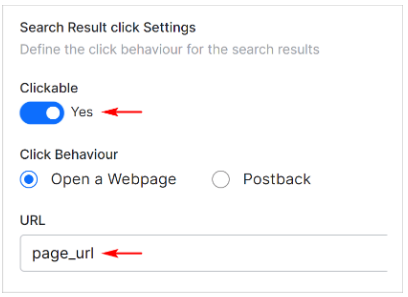
- Choose a behavior: Open a web page or Postback.
- Click the URL field and select an option.
- Click Save.
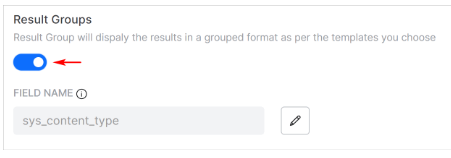
Configuring Result Groups
Instead of one default template for all types of results, you can configure a separate template for two or more different result groups.
- Go to the Result Templates page.
- Switch the Result Groups toggle to the ON position.
- Ignore the default Field Name. (recommended)
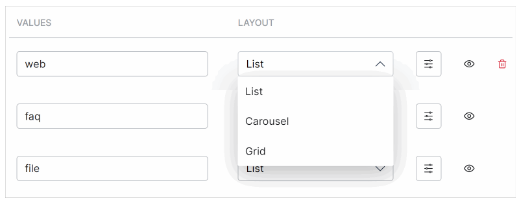
Choosing a template
SearchAssist auto-fills the Values. Currently, there are four types of values: Web, FAQ, File, and Data. The classification field is non-editable.
- Click a Layout field and select a template (List, Carousel, or Grid) for each value.
- Click the Preview icon to see the display format. (optional)
- Click the Customize Template icon to configure a template.
Configuring Template Settings
The list of customization options varies according to the template type. Generally, there are three steps:
- Scroll to the left side of the screen and select a template.
- At the top of the page, choose a display option.
- Under the Search Result Mapping heading, click a field and select a data source for each heading.
- Review the Clickable Results setting. (see below)
- Click Save.
- Click Test to review the results display.

Note: The number of mapping steps varies with each template.
Clickable Results
At the bottom of the page, check the Search Result and click the Settings toggle. The default setting is No. If Clickable is enabled, the results act as a link to the value in the field that is mapped to the URL. Results can be non-clickable for list templates. In these cases, SearchAssist presents results in an expanded or collapsed state depending on the content in the response.
To enable a clickable section:
- Switch the toggle to the Yes position.
- Choose a behavior: Open a web page or Postback.
- Click the URL field and select an option.
- Click Save.