Business information is available in a variety of formats and types, like, the company website, third-party content sources, blogs, etc. A lot of information is also available as documents and files on internal servers. SearchAssist allows you to upload and index files hosted on local machines or remote servers. This functionality streamlines the process of locating information, eliminating the need to manually locate specific documents and sift through their contents, thus saving users both time and energy.
You have the option to upload single files from a local device or a URL. Alternatively, you can also upload many files simultaneously from a designated directory. The uploaded files are organized into directories in the SearchAssist application. A default directory is always present to store individual files. Once a file is successfully uploaded to the SearchAssist application, it is automatically indexed and is readily available for search.
When content from a file is used to generate answers or search results, the response includes a preview of the relevant content along with a link to the file as a citation or source. Users can download the file using this link. Note that the URLs provided in the response are single-use only. This method ensures enhanced security and confidentiality by limiting access to a one-time use.
Supported File formats:
- Search Results: PDF, DOCX, PPT, JPEG, PNG, and TXT
- Extractive Answers: PDF
- Generative Answers: PDF, DOCX, PPT and TXT
Scanned PDFs and password-encrypted PDFs are not currently supported.
Add content
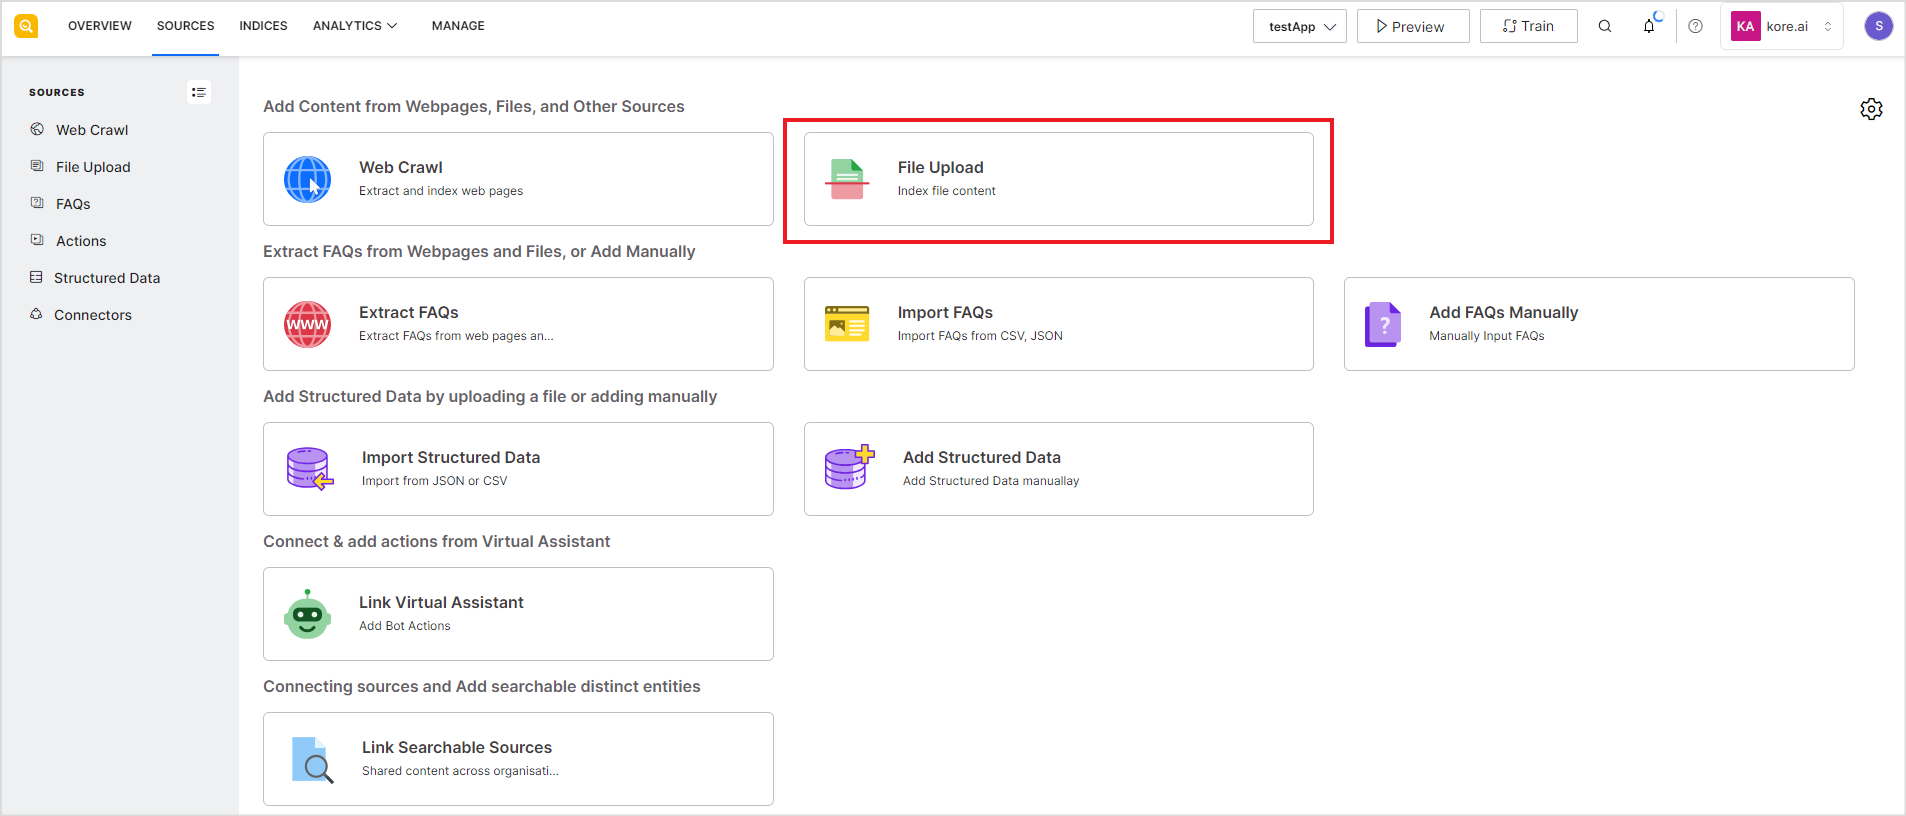
To add content from files, go to the File Upload page under the Sources tab. Click the Upload button. 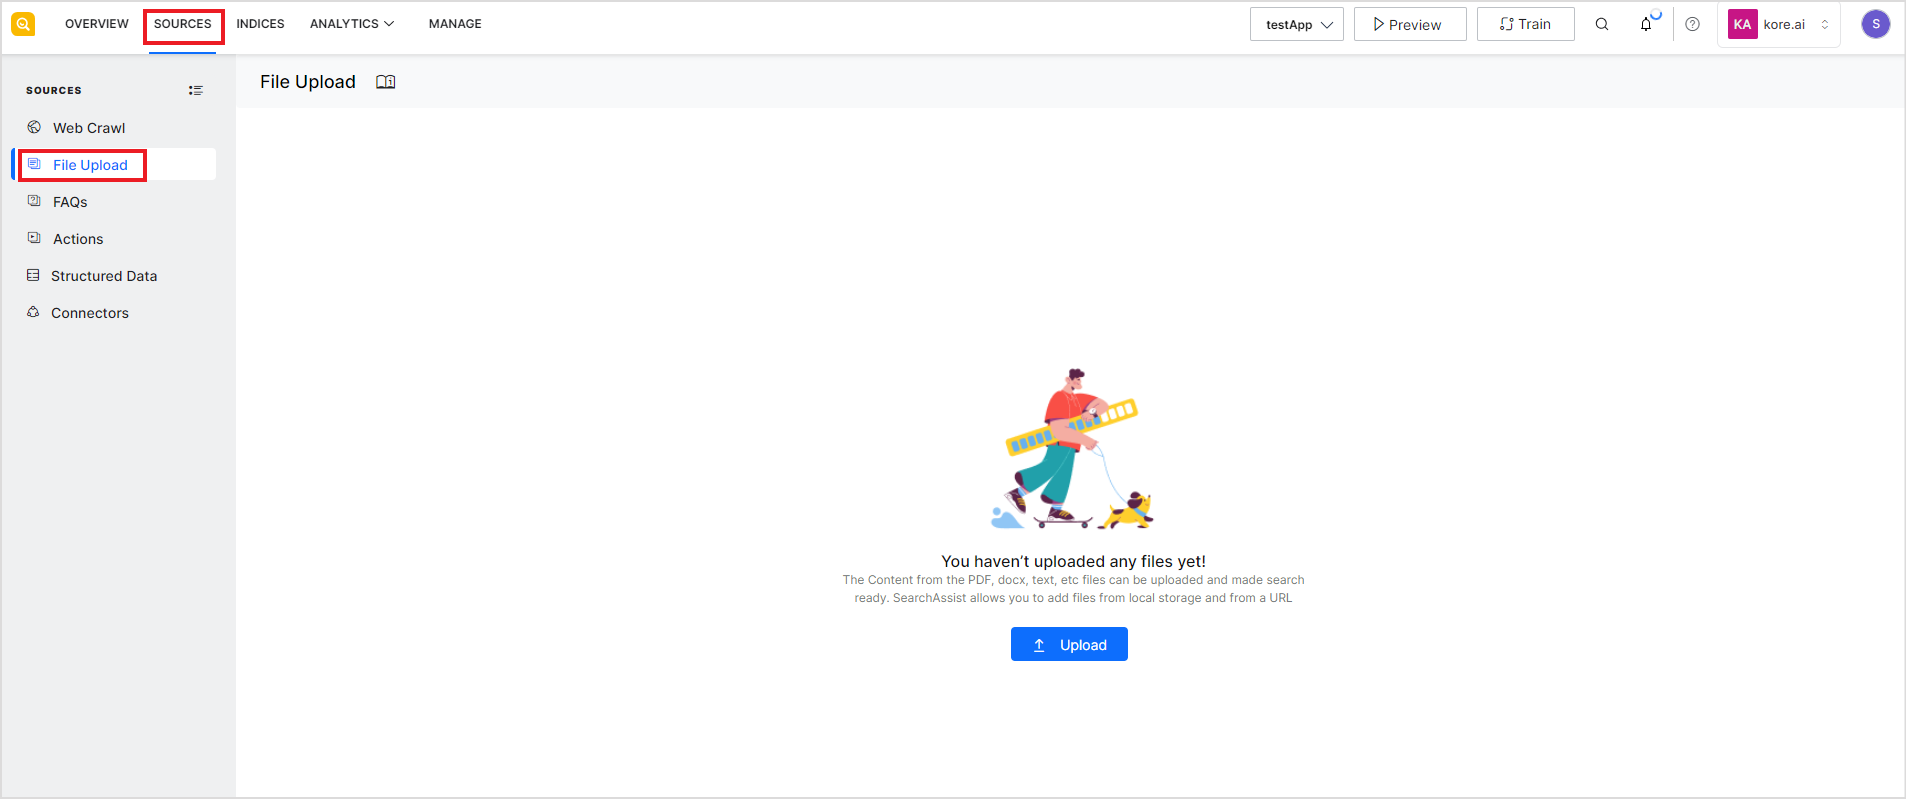
Alternatively, if you are on the home page under Sources, click File Upload.
The upload page gives you the option to upload a single file from your local device, a remotely hosted file, or a bunch of files from a given directory. 
To upload an individual file, select the FILE radio button. Select the directory under which you want the file to be uploaded in the SearchAssist application. If no directory is created in the application, the files are uploaded to the default directory. After selecting the directory, provide the location of the file, and click Proceed. This will upload the local file and make it available in the SearchAssist application.
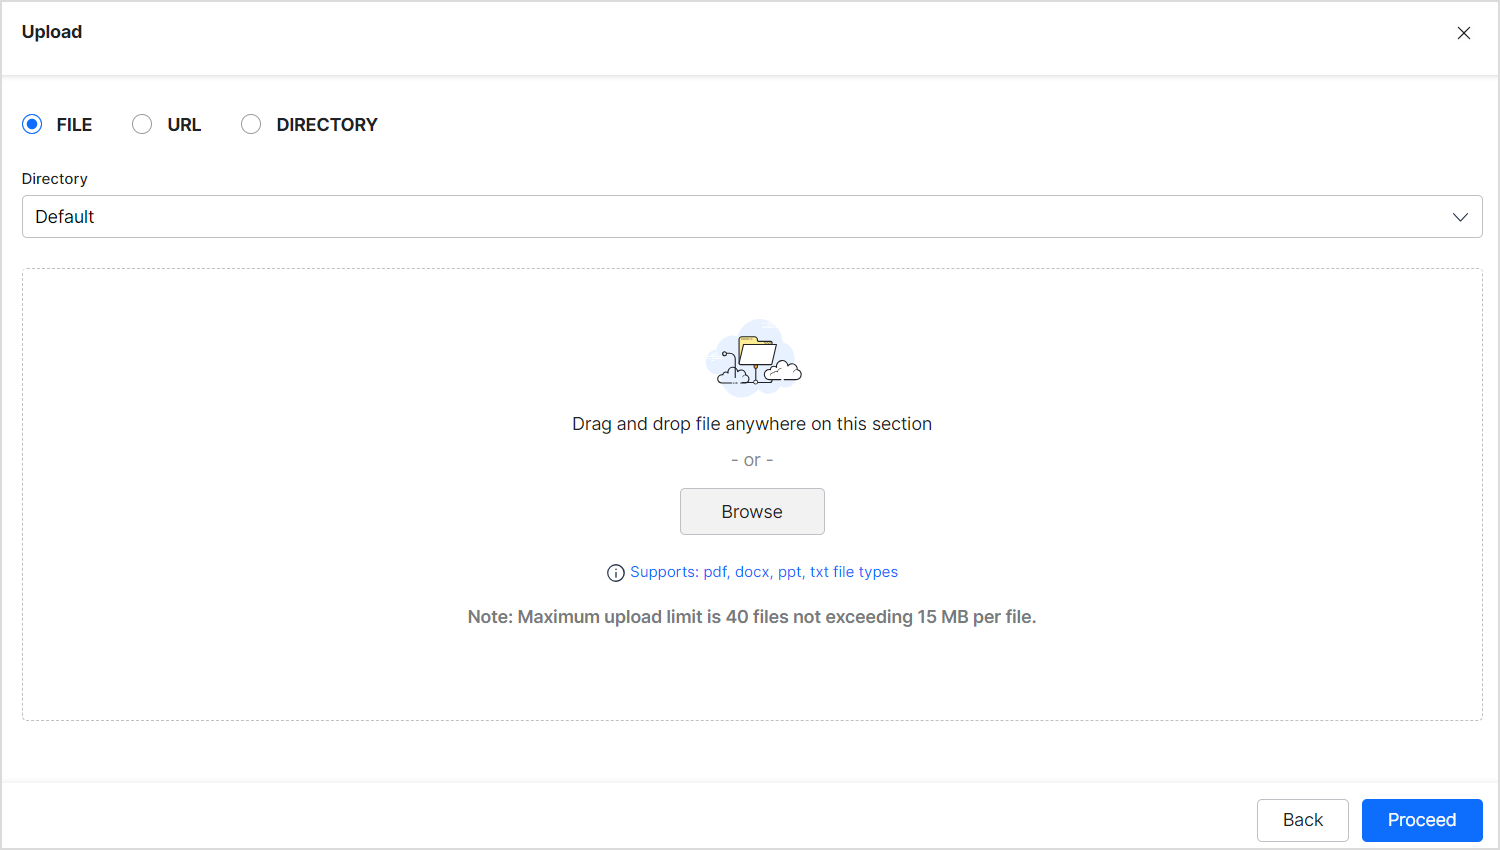
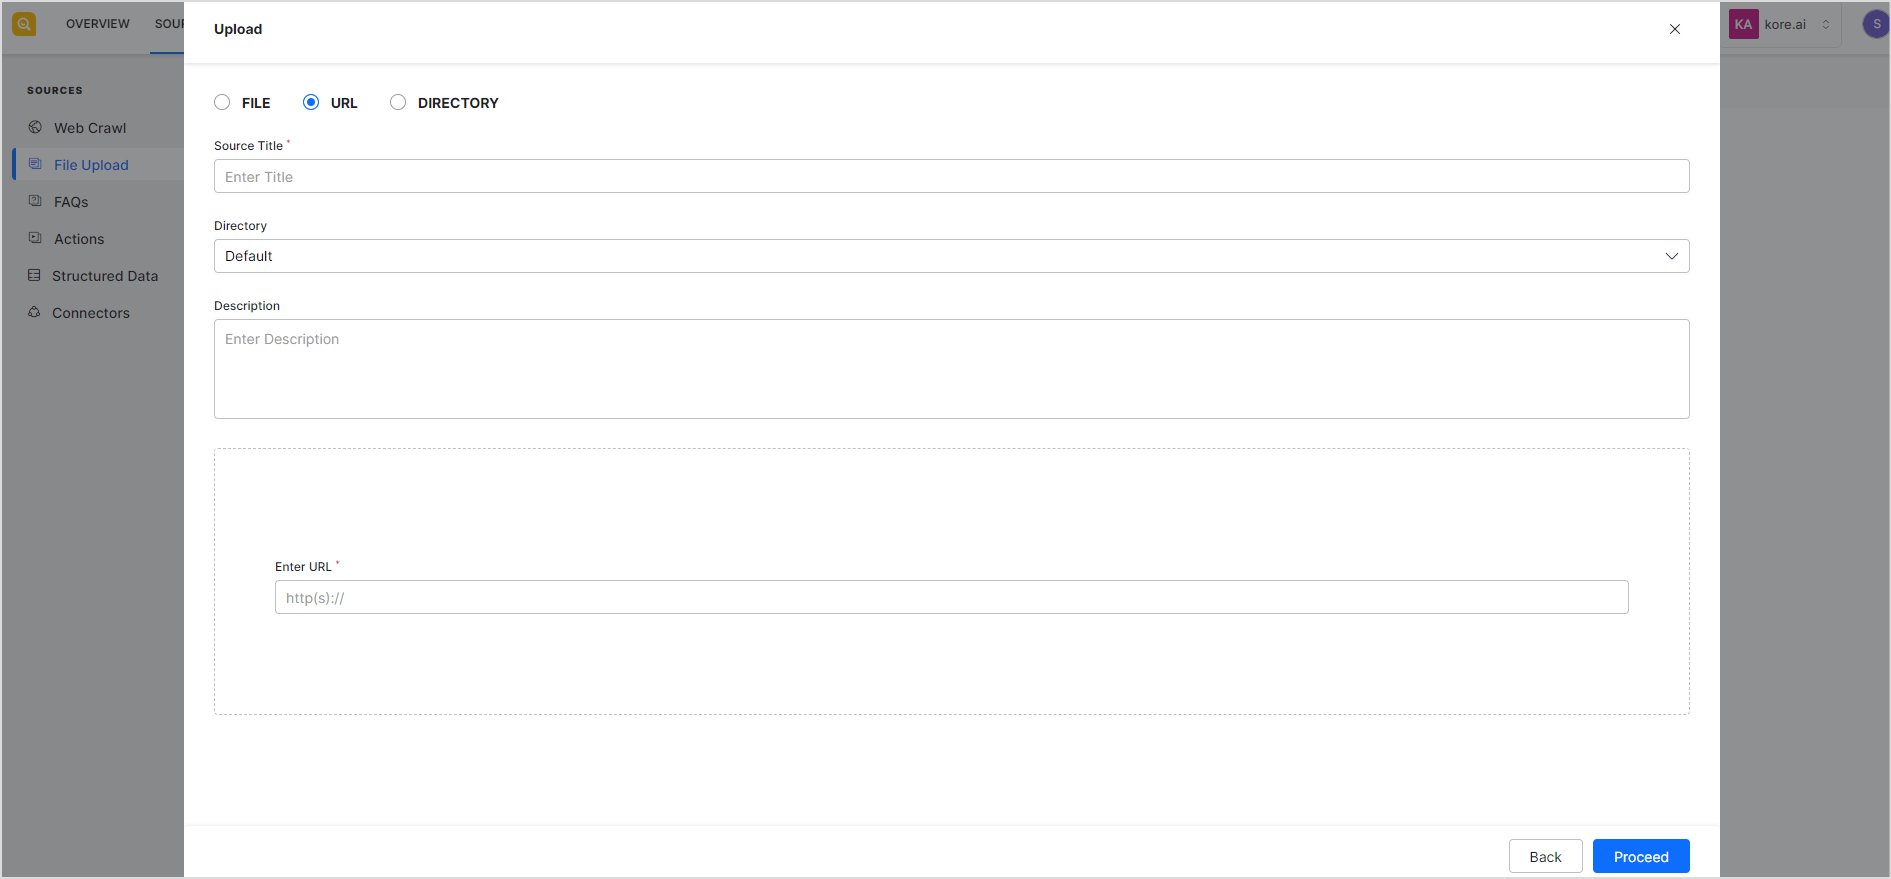
Similarly, to extract data from a file hosted on a given URL, select the URL radio button, provide the title for the file, the name of the directory where the file should be saved in the SearchAssist application, a description of the file, the URL where the file is hosted and click Proceed.
You can also upload multiple files at once using the Directory upload option. Select the DIRECTORY radio button. Provide a title and description for the directory and browse to the directory on the local machine. Click Proceed to upload all the files under the directory. 
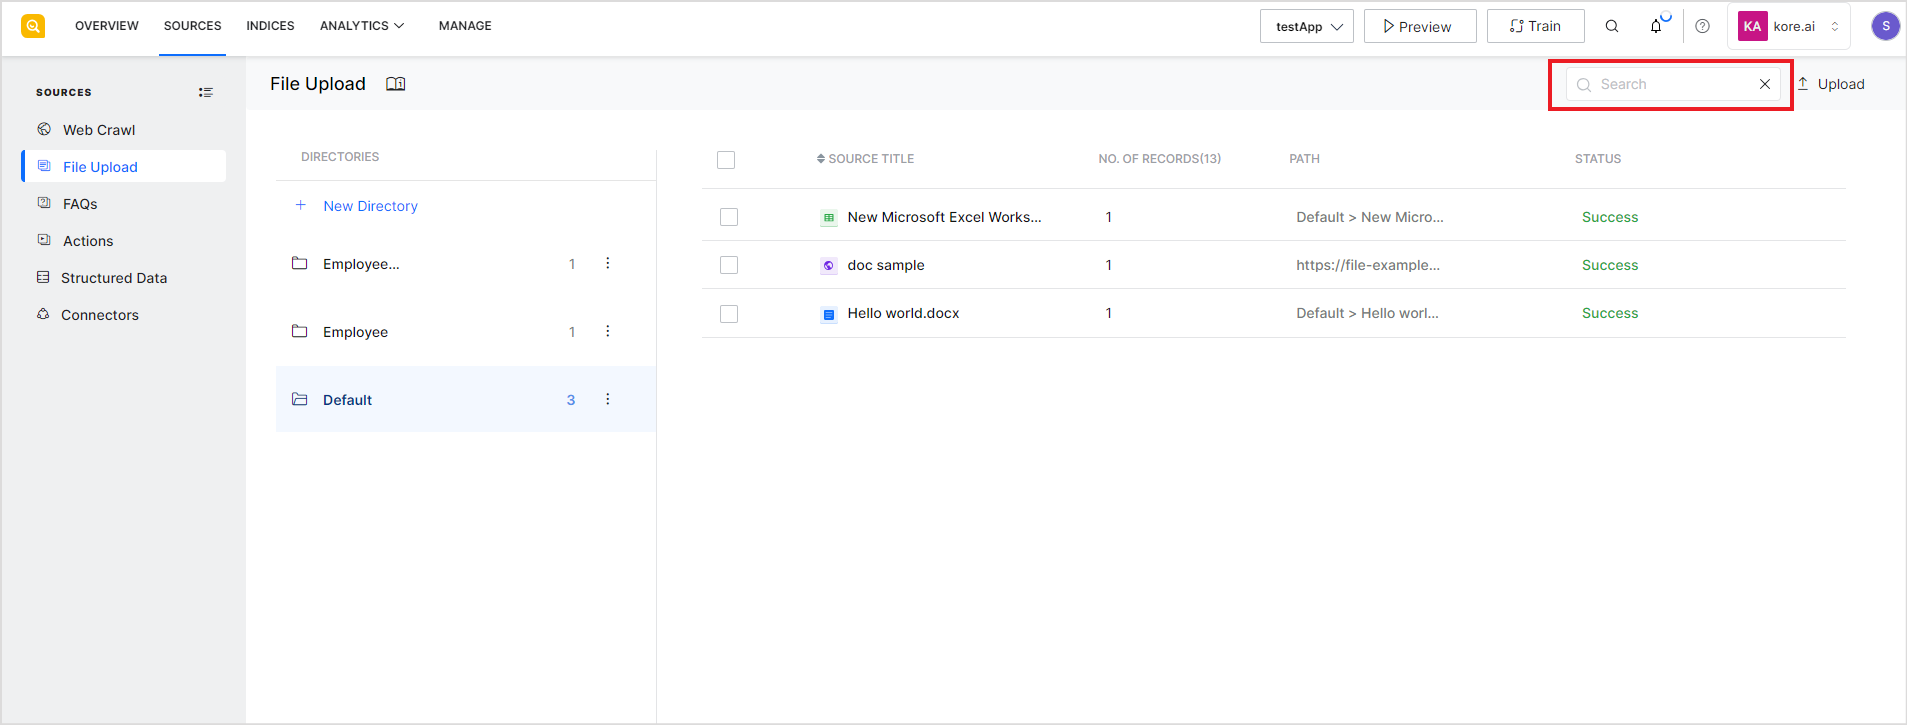
You can see the files that have been successfully uploaded, either individually or as part of the directory upload, under the File Upload page as shown below.

The page shows the directories on the left side and the pages under each directory and their details on the right.
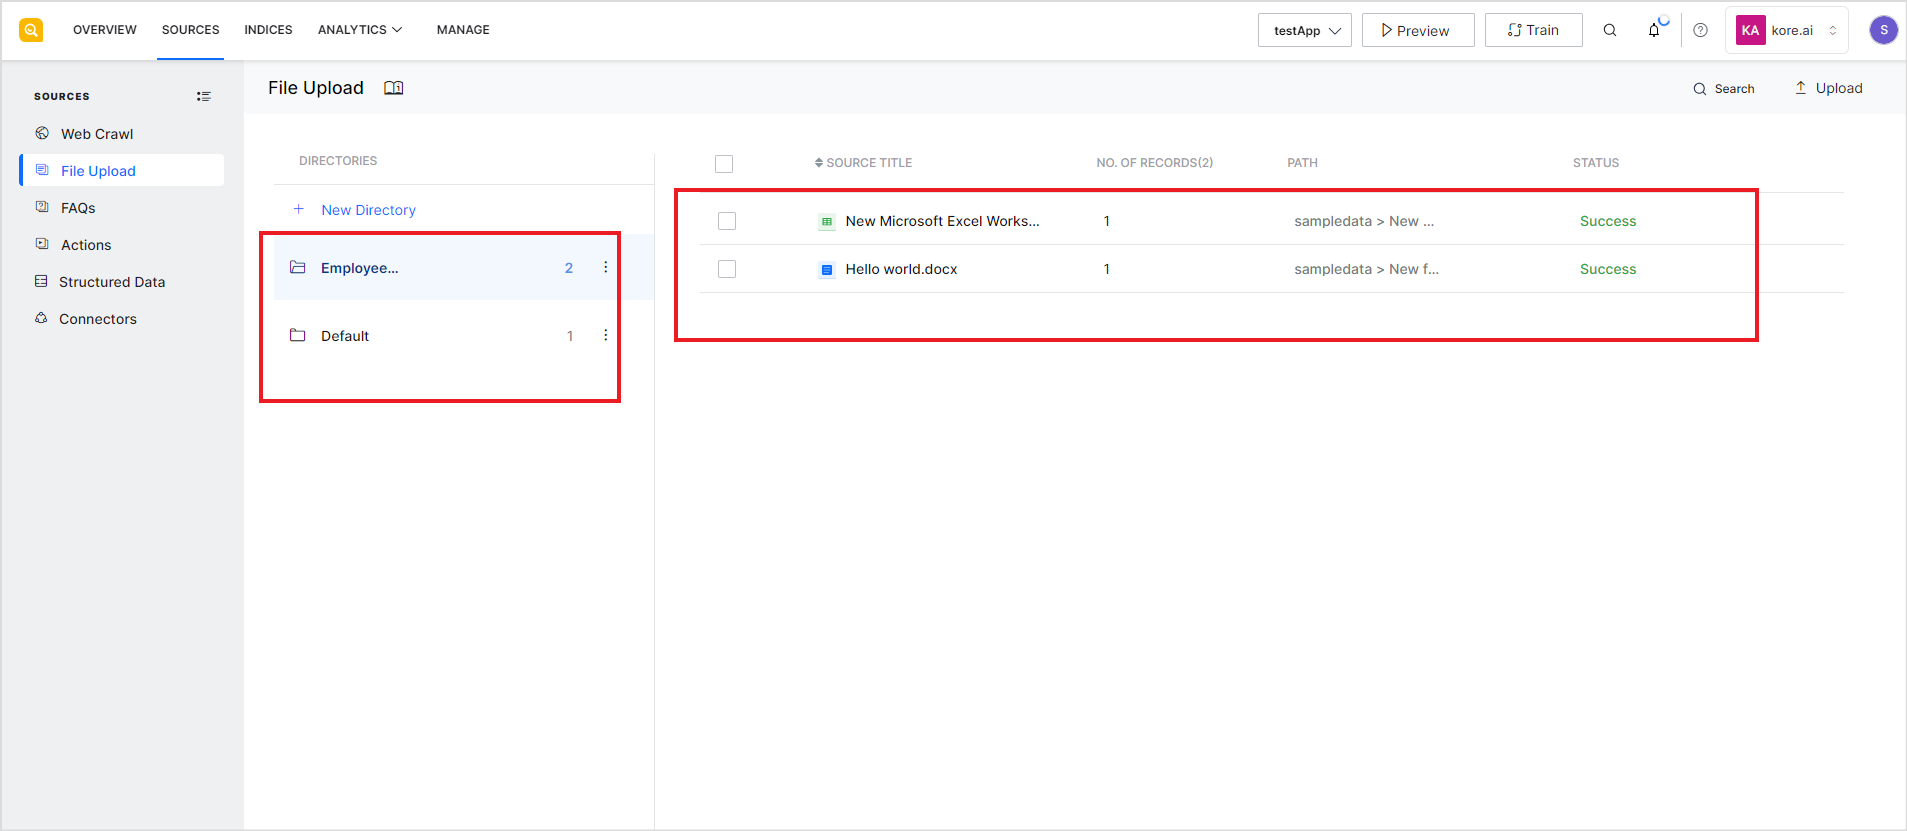
For each file, it displays the following fields:
| Field | Description |
| Source Title | Name of the file |
| No. of records | Total number of records in the file. |
| Path | Location of the file. For files uploaded from the local machine or a given URL, this field points to their directory in the SearchAssist application. For directory-uploaded files, this points to the location of the file on the local machine. |
| Status | The status field shows the progress of the ingestion process for each file. It can take the following values:
|
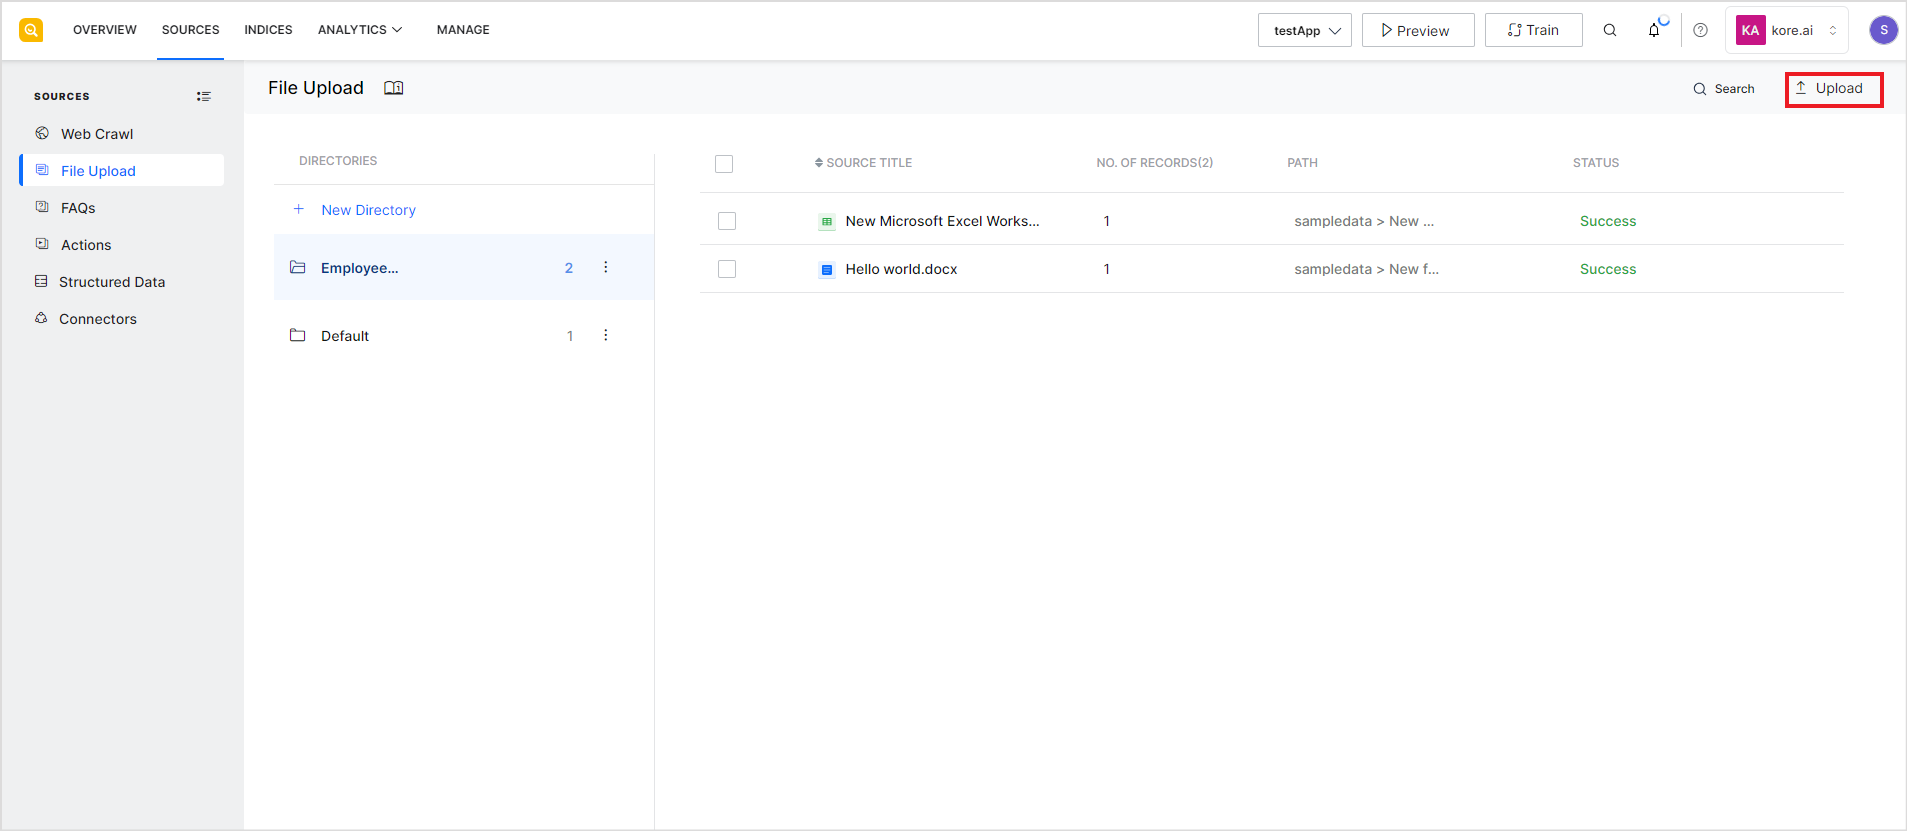
To upload more files, use the Upload button on the top right.
View File Details
To view the details of an uploaded file, click the corresponding source title. It will display the following details of the page:
| Field | Description |
| Directory Name | Name of the directory under which the file is uploaded on SearchAssist |
| File Type | Type of file |
| File Path | In case of a directory upload, this points to the local machine path from where the file was uploaded. In the case of an individual file or a hosted file, it is the path at which the file is stored in SearchAssist. |
| No. of records | Total number of records in the file. Refer to the definition of a record here. |
| Last updated | Last update time for the file. |
| Preview | A few lines from the file are displayed to the user as a preview in the search results. |
View Directory Details
To view the details of a directory, click the ellipses icon and select details. This shows the following details of the directory.
| Field | Description |
| Description | Description of the directory |
| Created By | The user who created the directory |
| Created On | Date of creation of the directory |
| Last Updated | Date of the last update in the directory |
| Number of files | Total number of files in the directory |
| Number of records | Total number of records across all the files in the directory |
Delete a file
To delete one or more files from the SearchAssist application, go to the corresponding folders, select the files, and click the Delete button on the top.
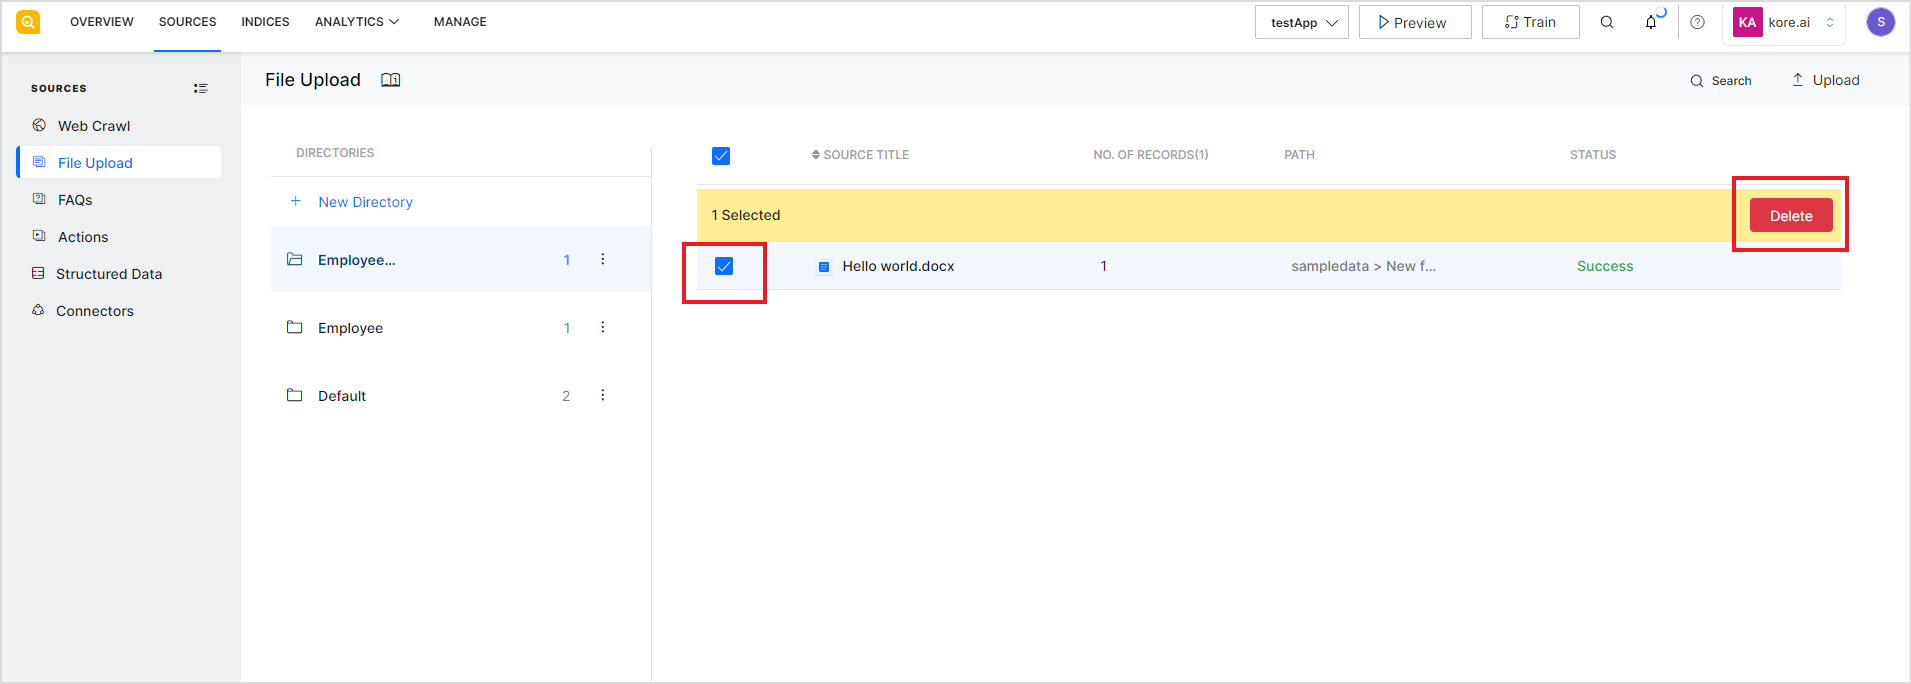
Alternatively, click the delete icon corresponding to the file to be deleted. 
Delete a directory
To delete a directory and all the files in the directory, click the ellipsis icon beside the directory name and click the delete button. 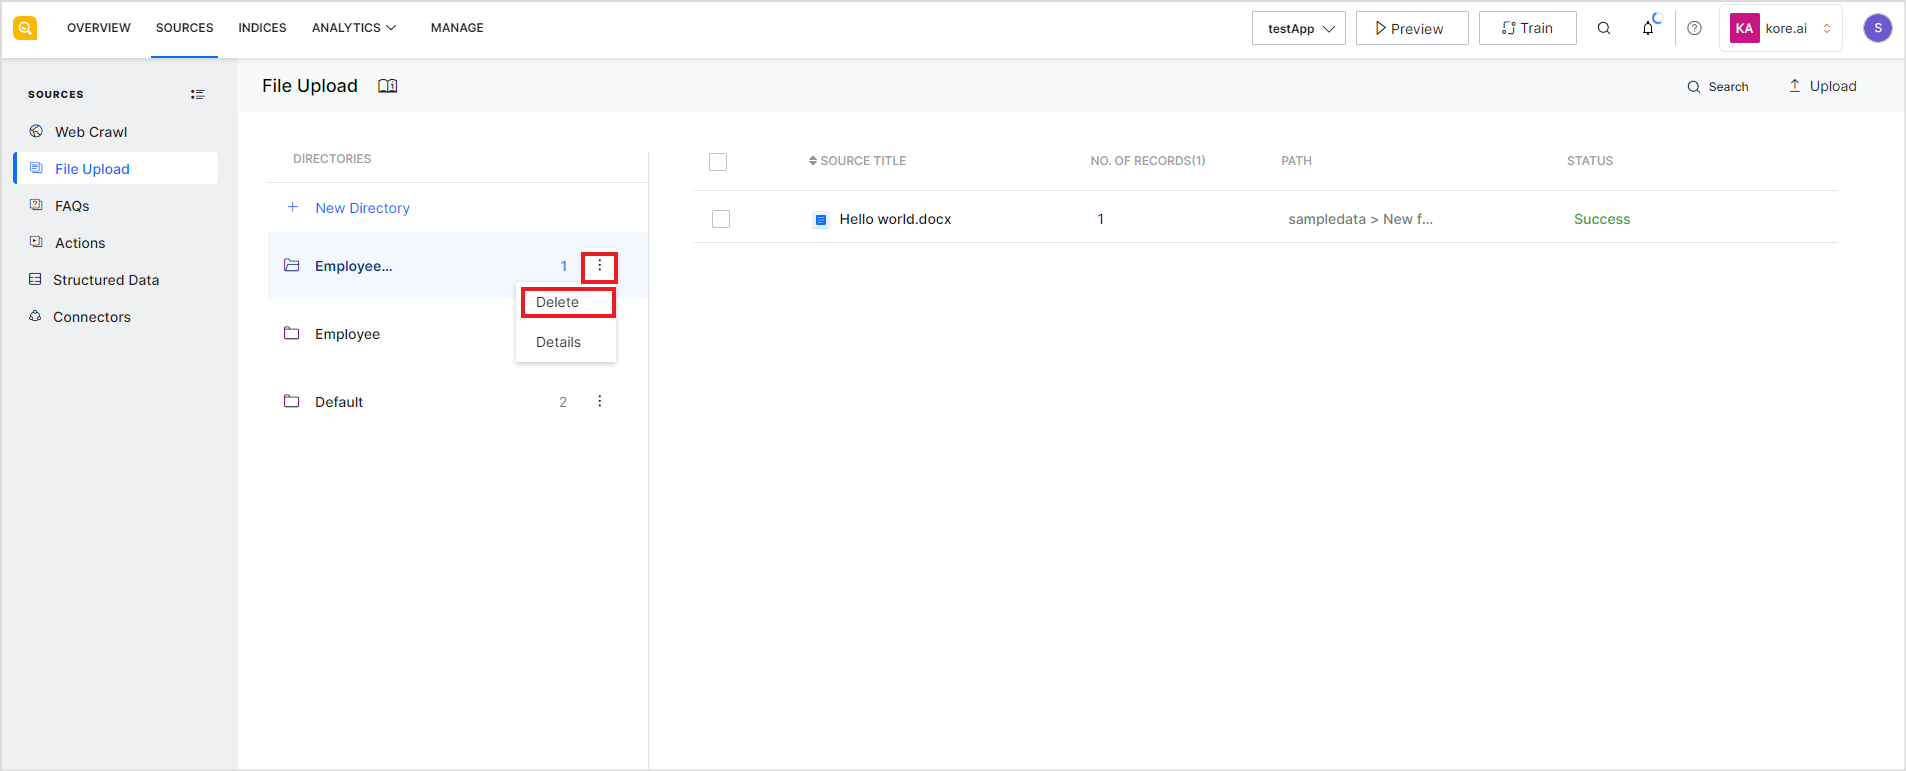
Search Files
When there are many files, you can use the search feature to look for a specific file in a directory.