GETTING STARTED
SearchAssist Overview
SearchAssist Introduction
Onboarding SearchAssist
Build your first App
Glossary
Release Notes
What's new in SearchAssist
Previous Versions

CONCEPTS
Managing Sources
Introduction
Files
Web Pages
FAQs
Structured Data 
Connectors
Introduction to Connectors
Azure Storage Connector
Confluence Cloud Connector
Confluence Server Connector
Custom Connector
DotCMS Connector
Dropbox Connector
Google Drive Connector
Oracle Knowledge Connector
Salesforce Connector
ServiceNow Connector
SharePoint Connector
Zendesk Connector
RACL
Virtual Assistants
Managing Indices
Introduction
Index Fields
Traits
Workbench
Introduction to Workbench
Field Mapping
Entity Extraction
Traits Extraction
Keyword Extraction
Exclude Document
Semantic Meaning
Snippet Extraction
Custom LLM Prompts
Index Settings
Index Languages
Managing Chunks
Chunk Browser
Managing Relevance
Introduction
Weights
Highlighting
Presentable
Synonyms
Stop Words
Search Relevance
Spell Correction
Prefix Search
Custom Configurations
Personalizing Results
Introduction
Answer Snippets
Introduction
Extractive Model
Generative Model
Enabling Both Models
Simulation and Testing
Debugging
Best Practices and Points to Remember
Troubleshooting Answers
Answer Snippets Support Across Content Sources
Result Ranking
Facets
Business Rules
Introduction
Contextual Rules
NLP Rules
Engagement
Small Talk
Bot Actions
Designing Search Experience
Introduction
Search Interface
Result Templates
Testing
Preview and Test
Debug Tool
Running Experiments
Introduction
Experiments
Analyzing Search Performance
Overview
Dashboard
User Engagement
Search Insights
Result Insights
Answer Insights

ADMINISTRATION
General Settings
Credentials
Channels
Team
Collaboration
Integrations
OpenAI Integration
Azure OpenAI Integration
Custom Integration
Billing and Usage
Plan Details
Usage Logs
Order and Invoices
Smart Hibernation

SearchAssist APIs
API Introduction
API List

SearchAssist SDK

HOW TOs
Use Custom Fields to Filter Search Results and Answers
Add Custom Metadata to Ingested Content
Write Painless Scripts
Configure Business Rules for Generative Answers

Azure Storage Connector

To enable an efficient and quick search of your content available in Azure Storage, configure the Azure Storage connector in SearchAssist.

Specifications

Type of Repository  Cloud
Supported API version Latest API version
Search Results Support Files managed by Azure Storage in the formats: .doc, .docx, .ppt, .pptx,.pdf, .txt, .OneNote
Extractive Model for Answers .pdf
Generative Model for Answers .txt, .pdf, .rtf, .msword, .doc, .docx, .ppt, .pptx
Note: Password-protected files in any format are currently not supported.


Here’s a step-by-step guide on how to do the configuration. The configuration involves:

  • Creating a Storage account in Azure and generate SAS Key for Blob Storage Access
  • Configuring the Azure connector in SearchAssist

Step 1: Create a Storage account in Azure and generate SAS Key for Blob Storage Access

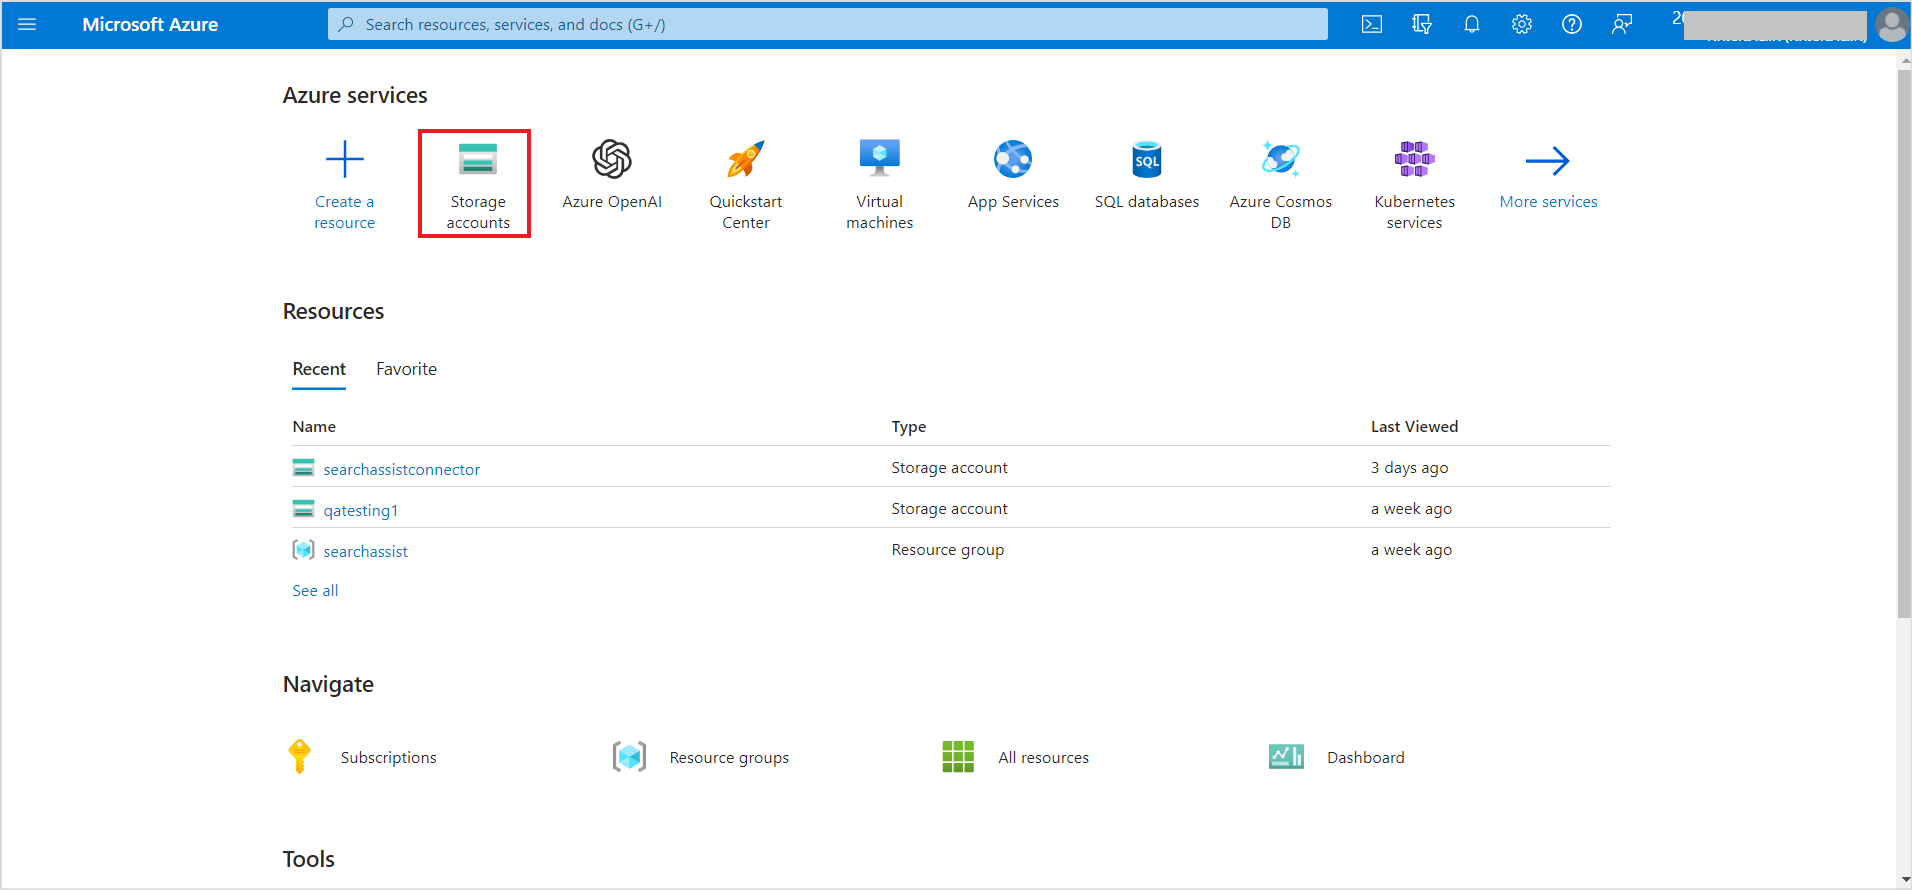
Log in to the Azure portal and go to Storage accounts

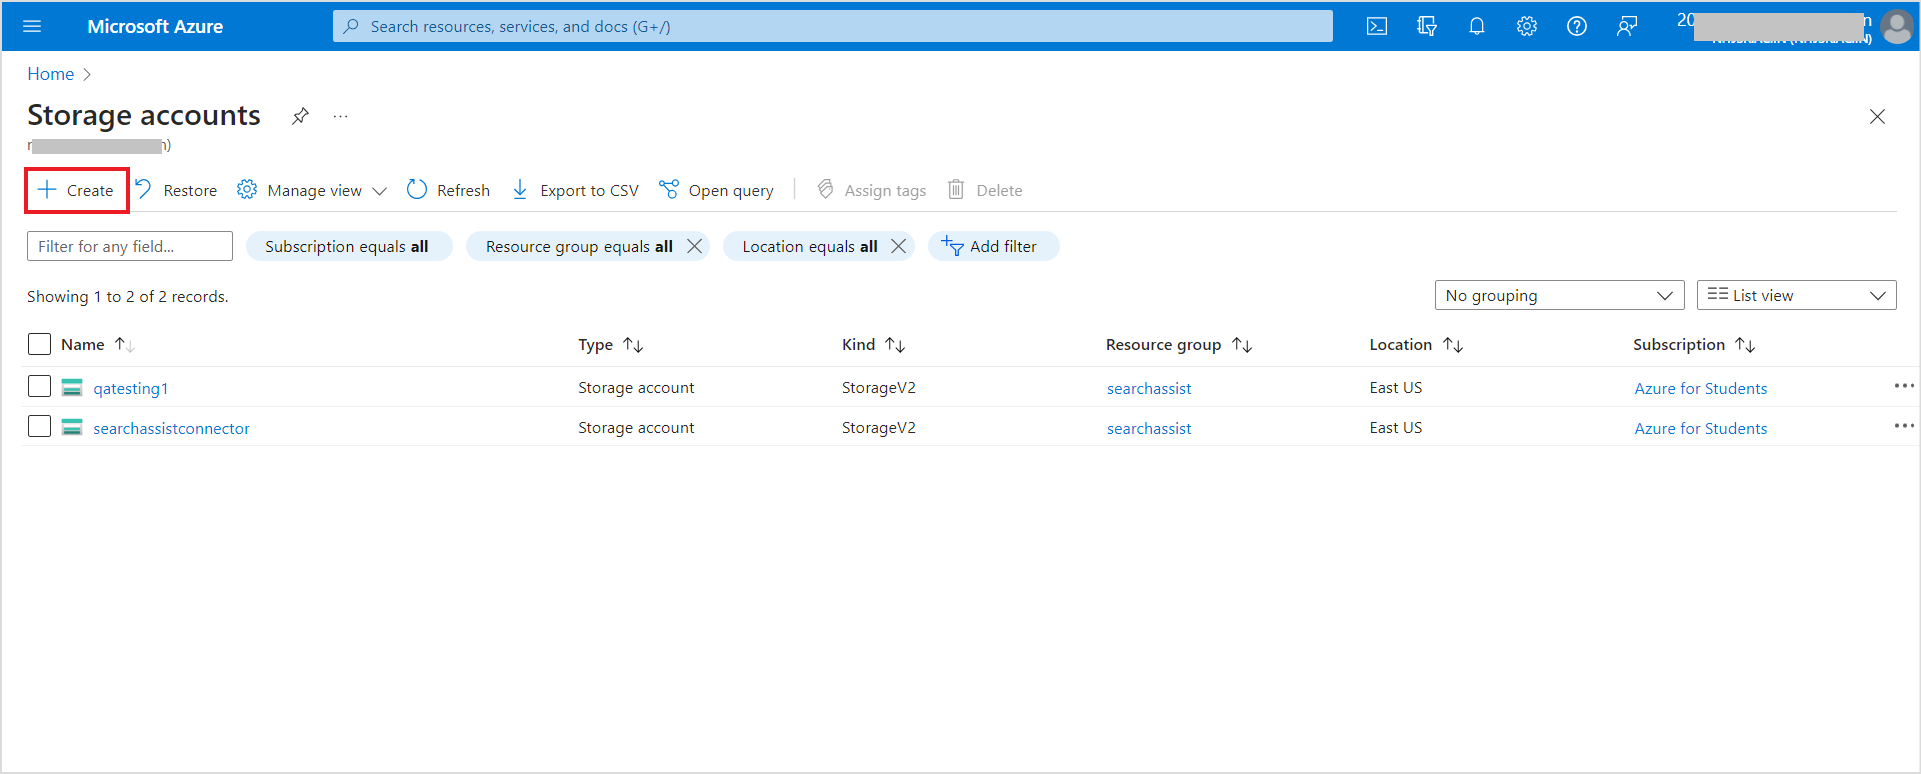
Click on Create to create a new storage account.

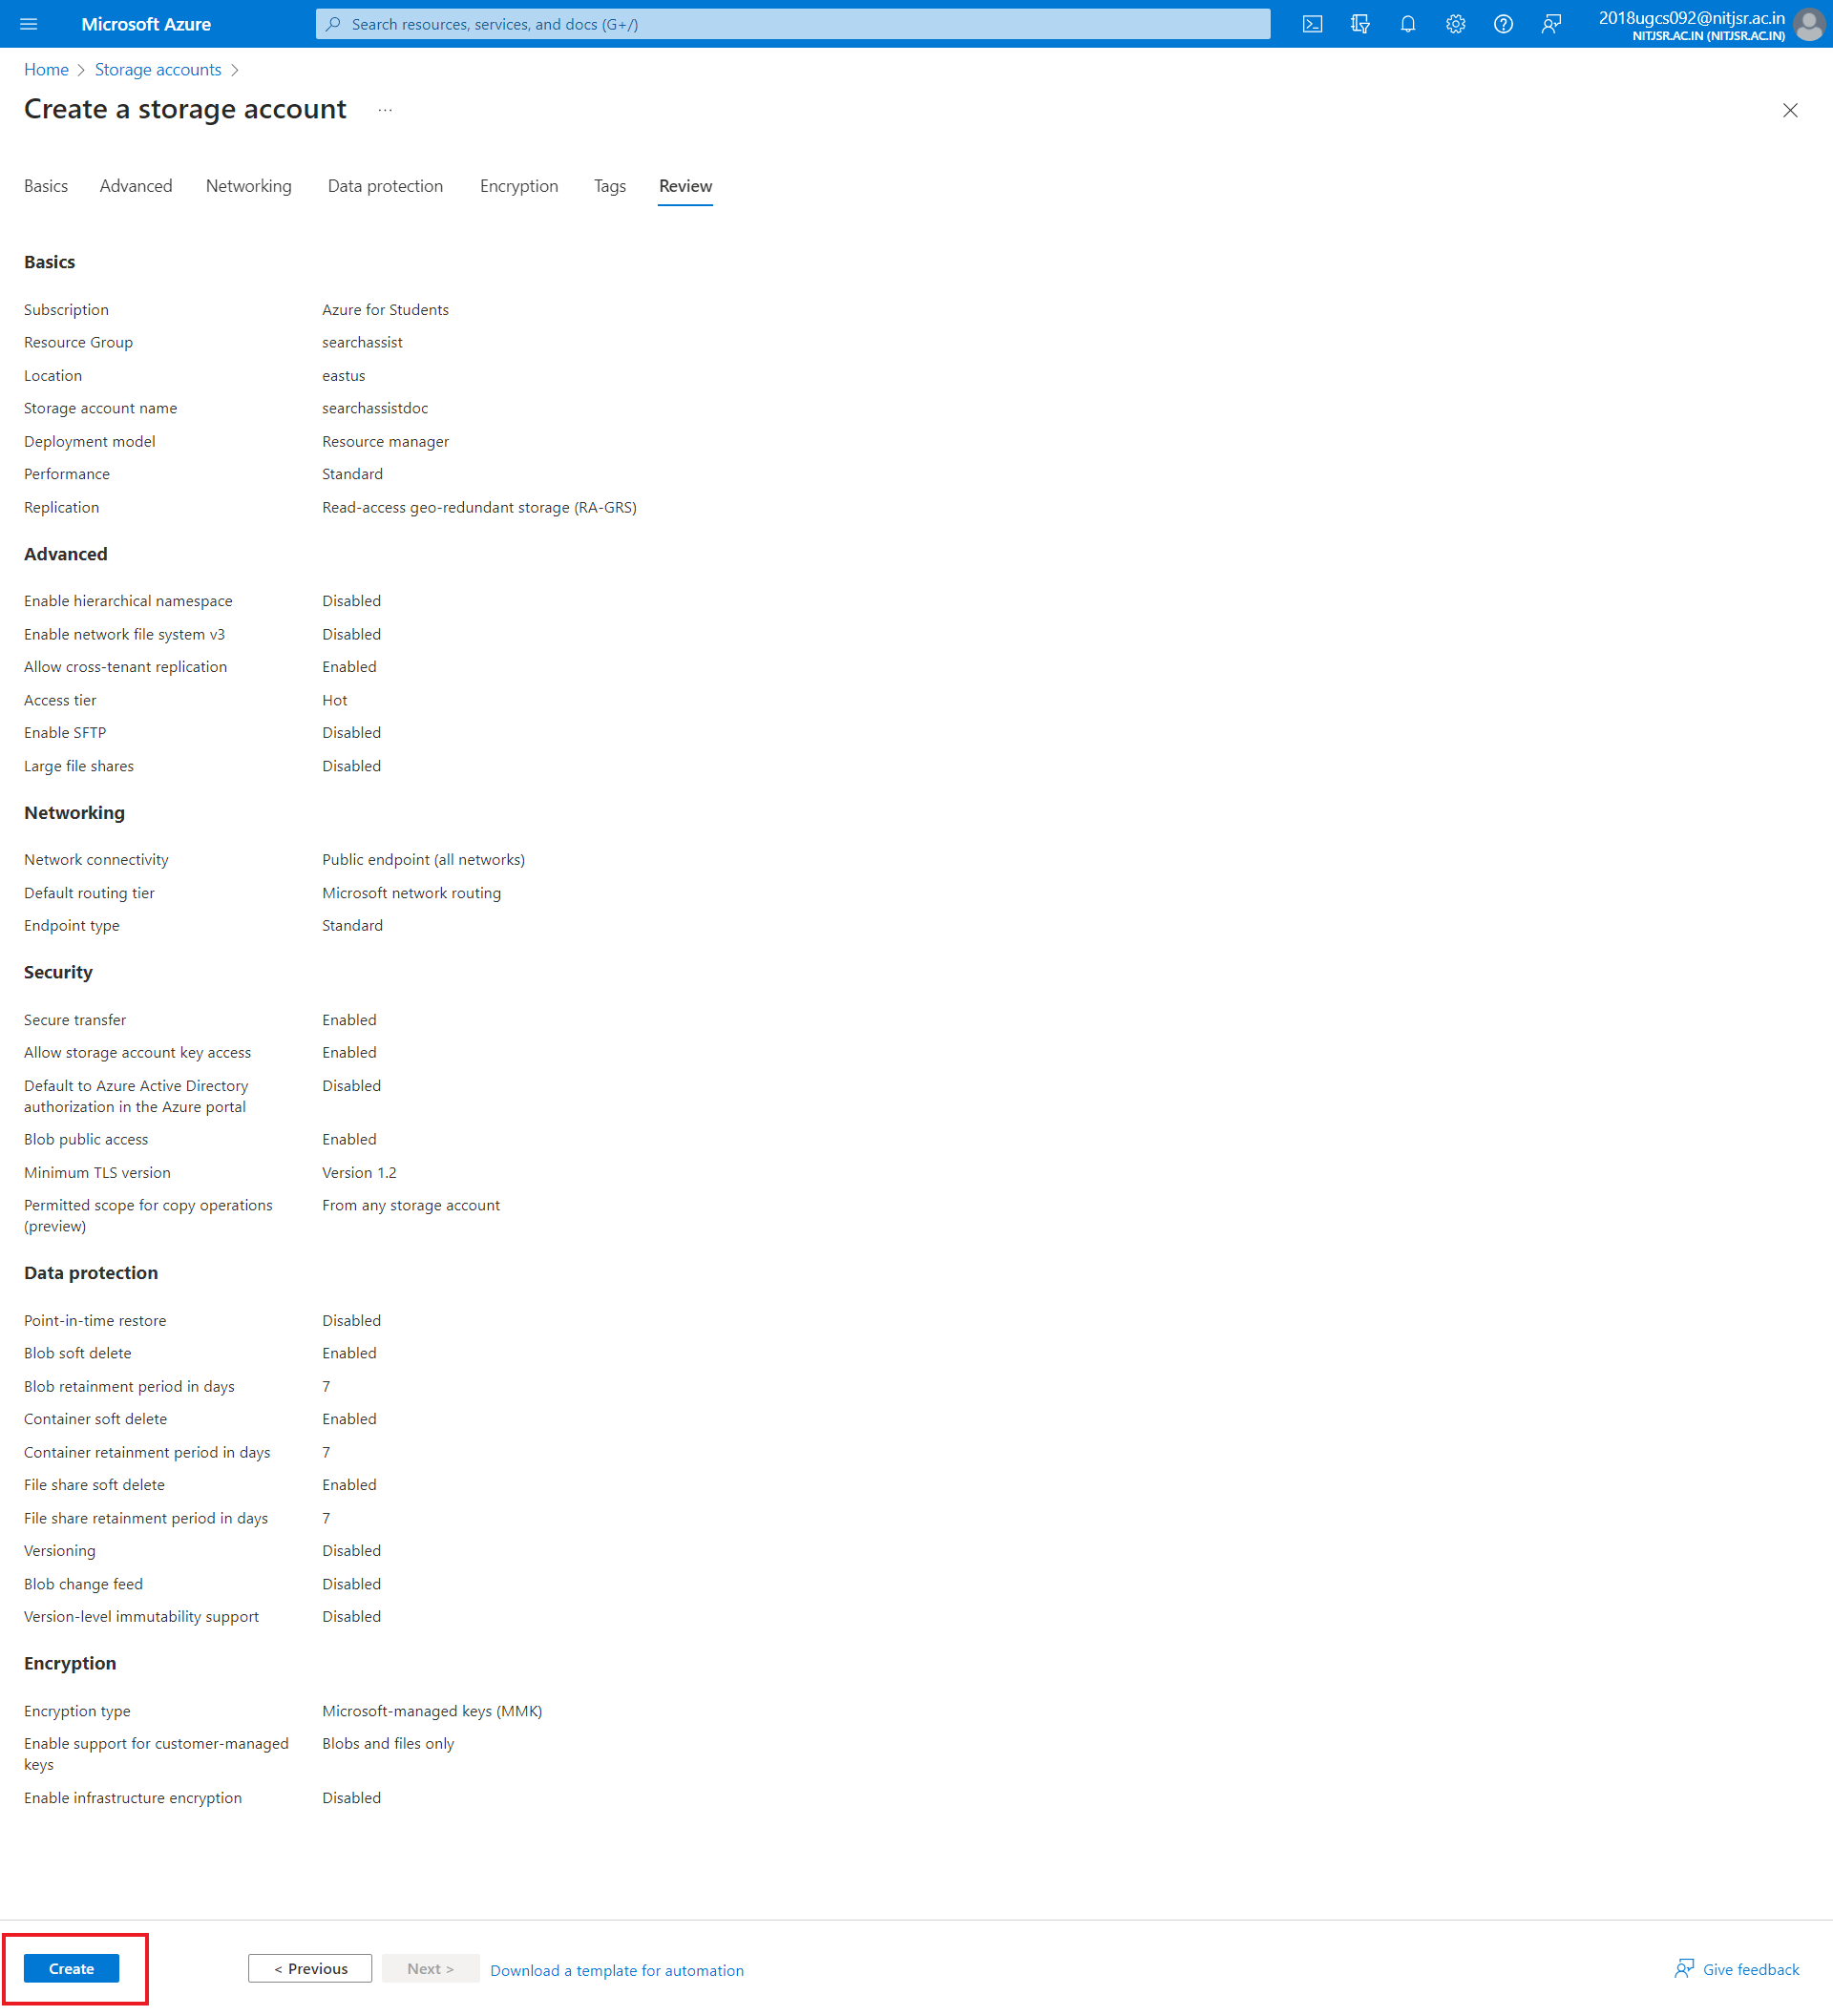
Fill in the required details for the project. You need to enter details related to security, access protocols, networking, encryption, etc. For a detailed description of the fields, refer to this guide. After entering and reviewing the fields, click Create. 

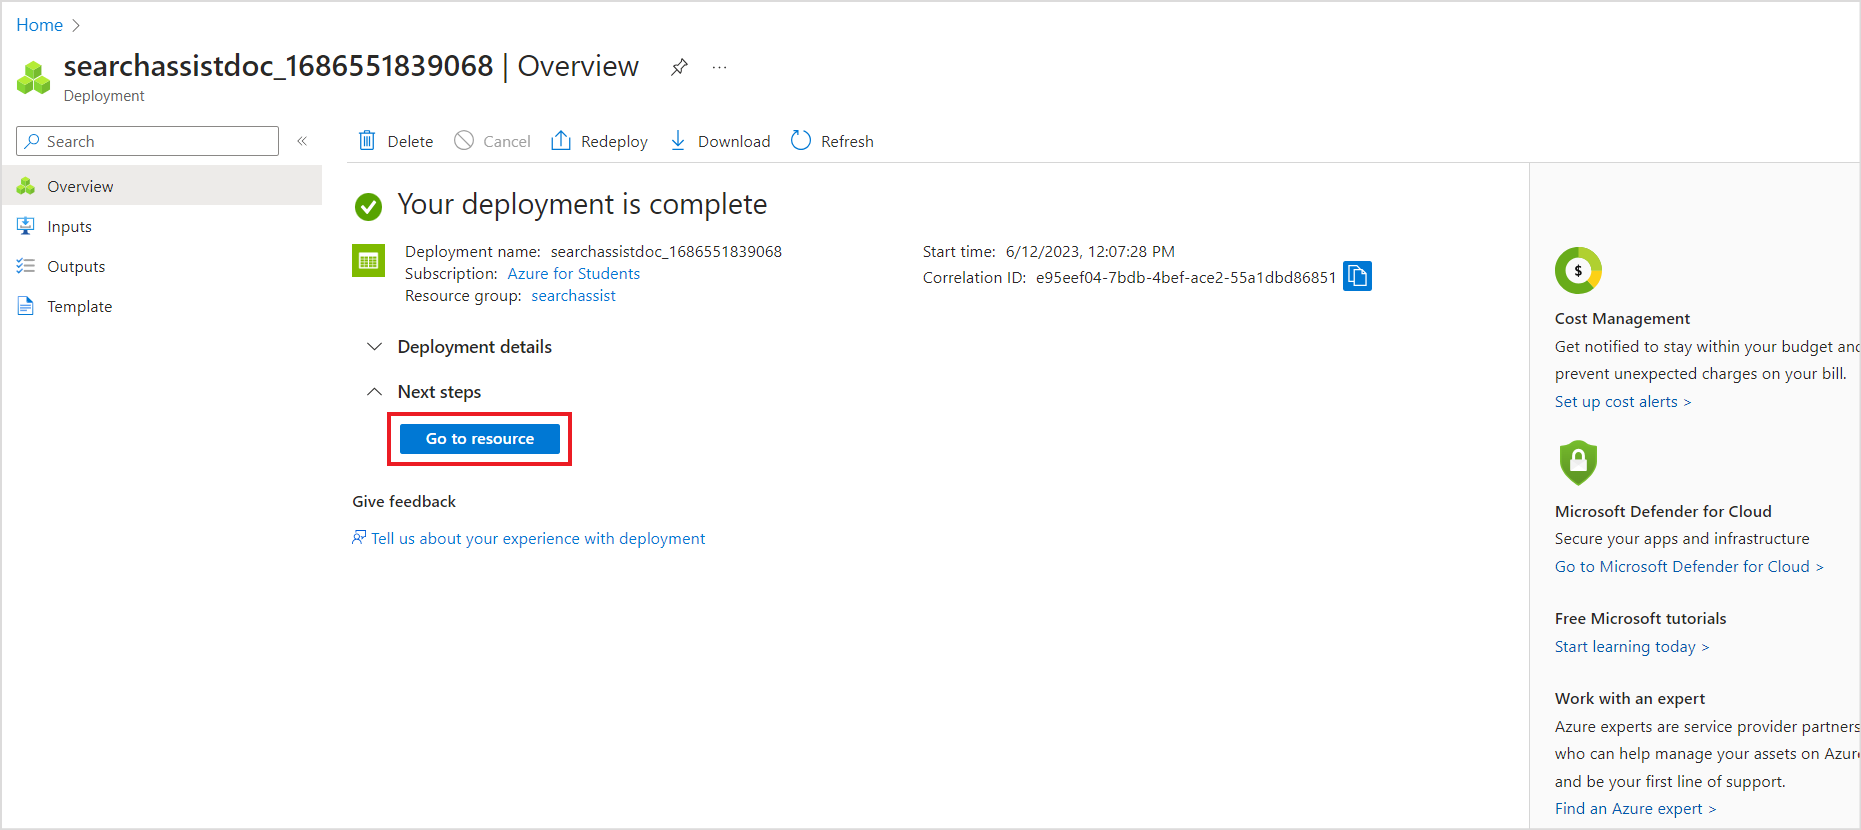
After the creation and deployment of the account are complete, click on Go to resource.

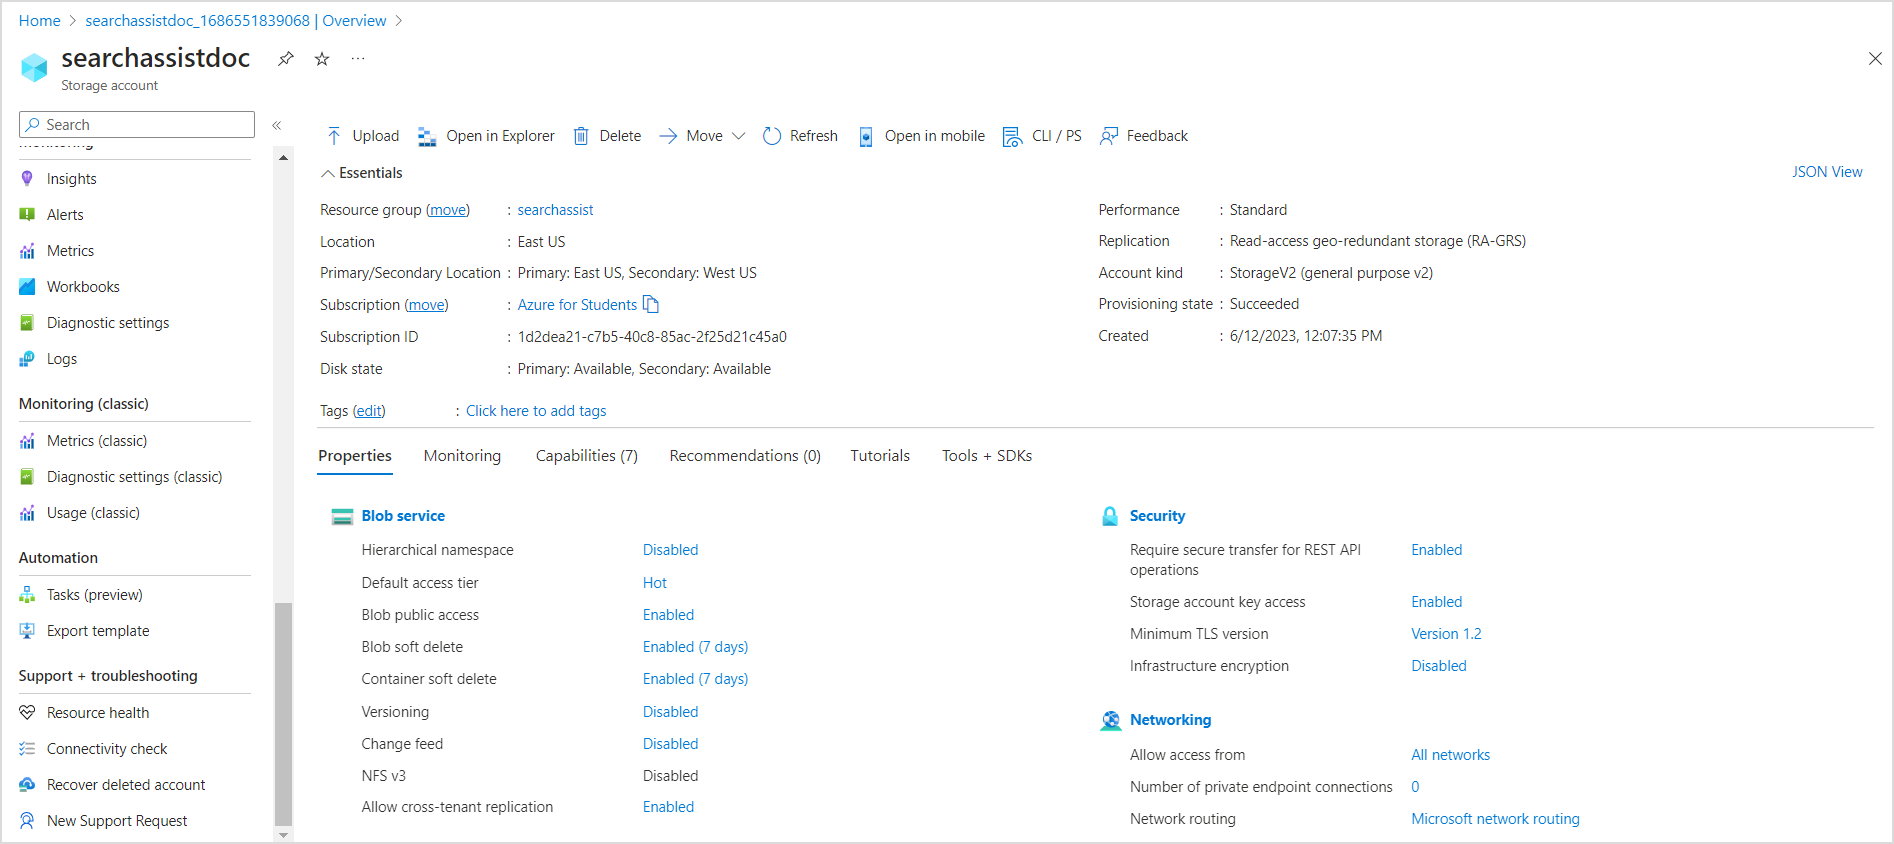
This page gives you an overview of the storage account and allows you to perform basic operations on the account. 

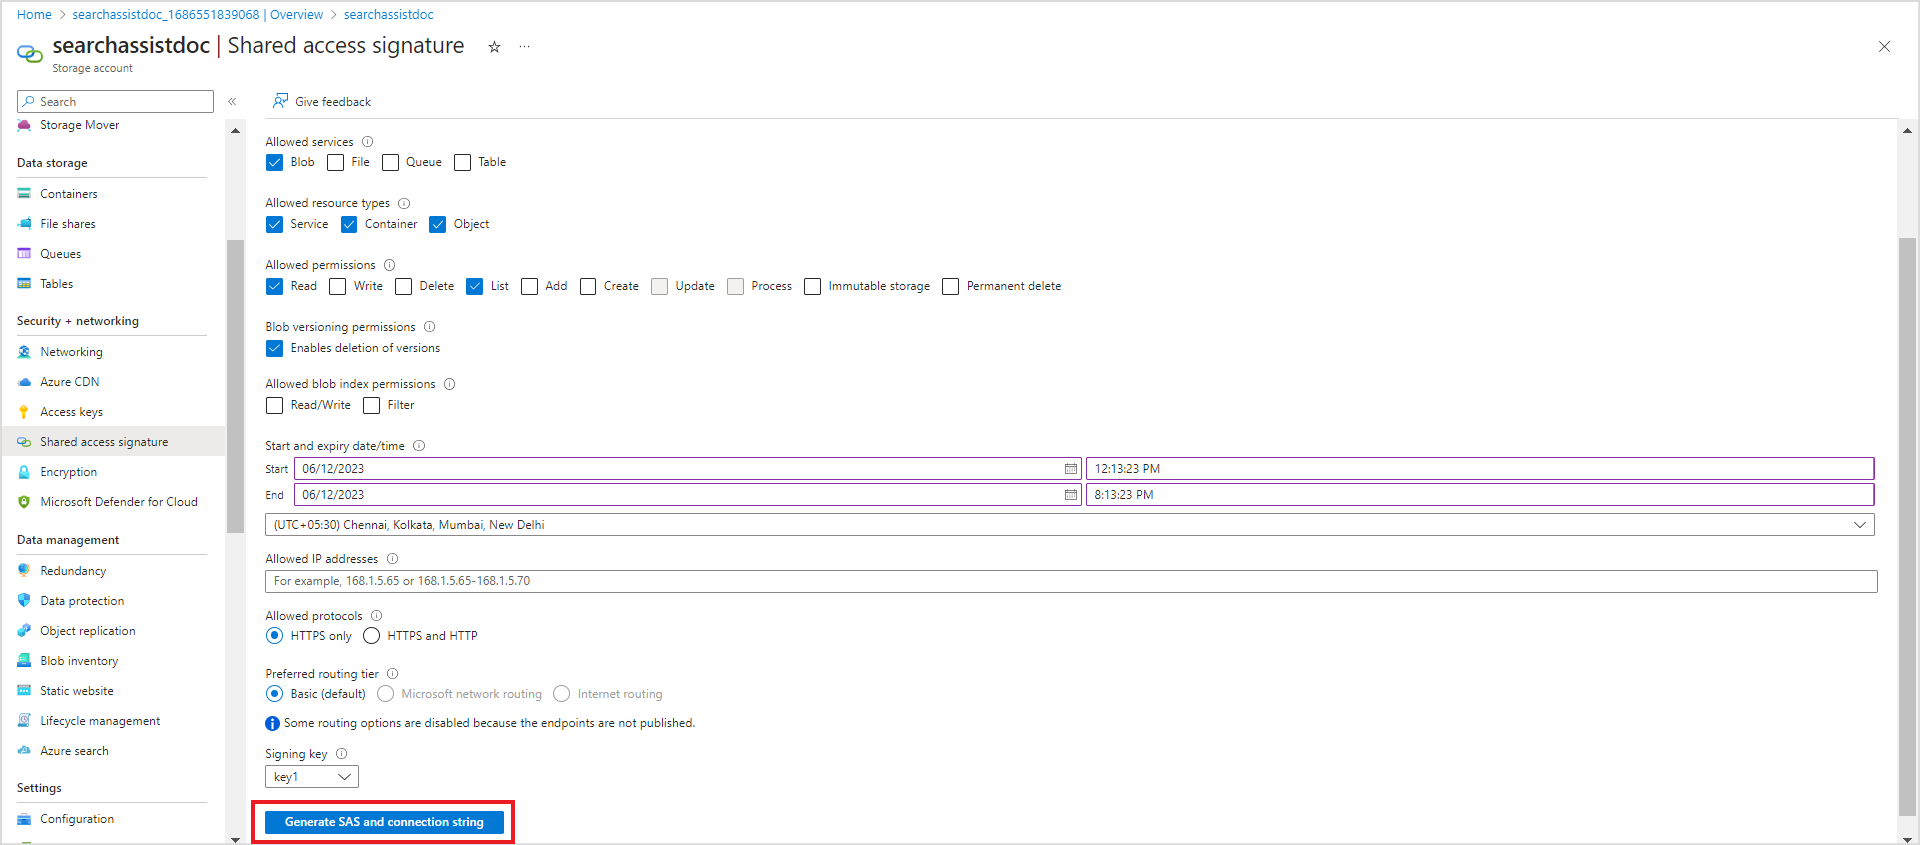
From the left navigation menu, go to shared access signature and generate a SAS key. To do so, enable the following settings and click on Generate SAS and connection string button at the bottom. 

Use the following minimum permissions:

  • Allowed resource types: Enable Service, Container & Object.
  • Allowed permissions: Read, List

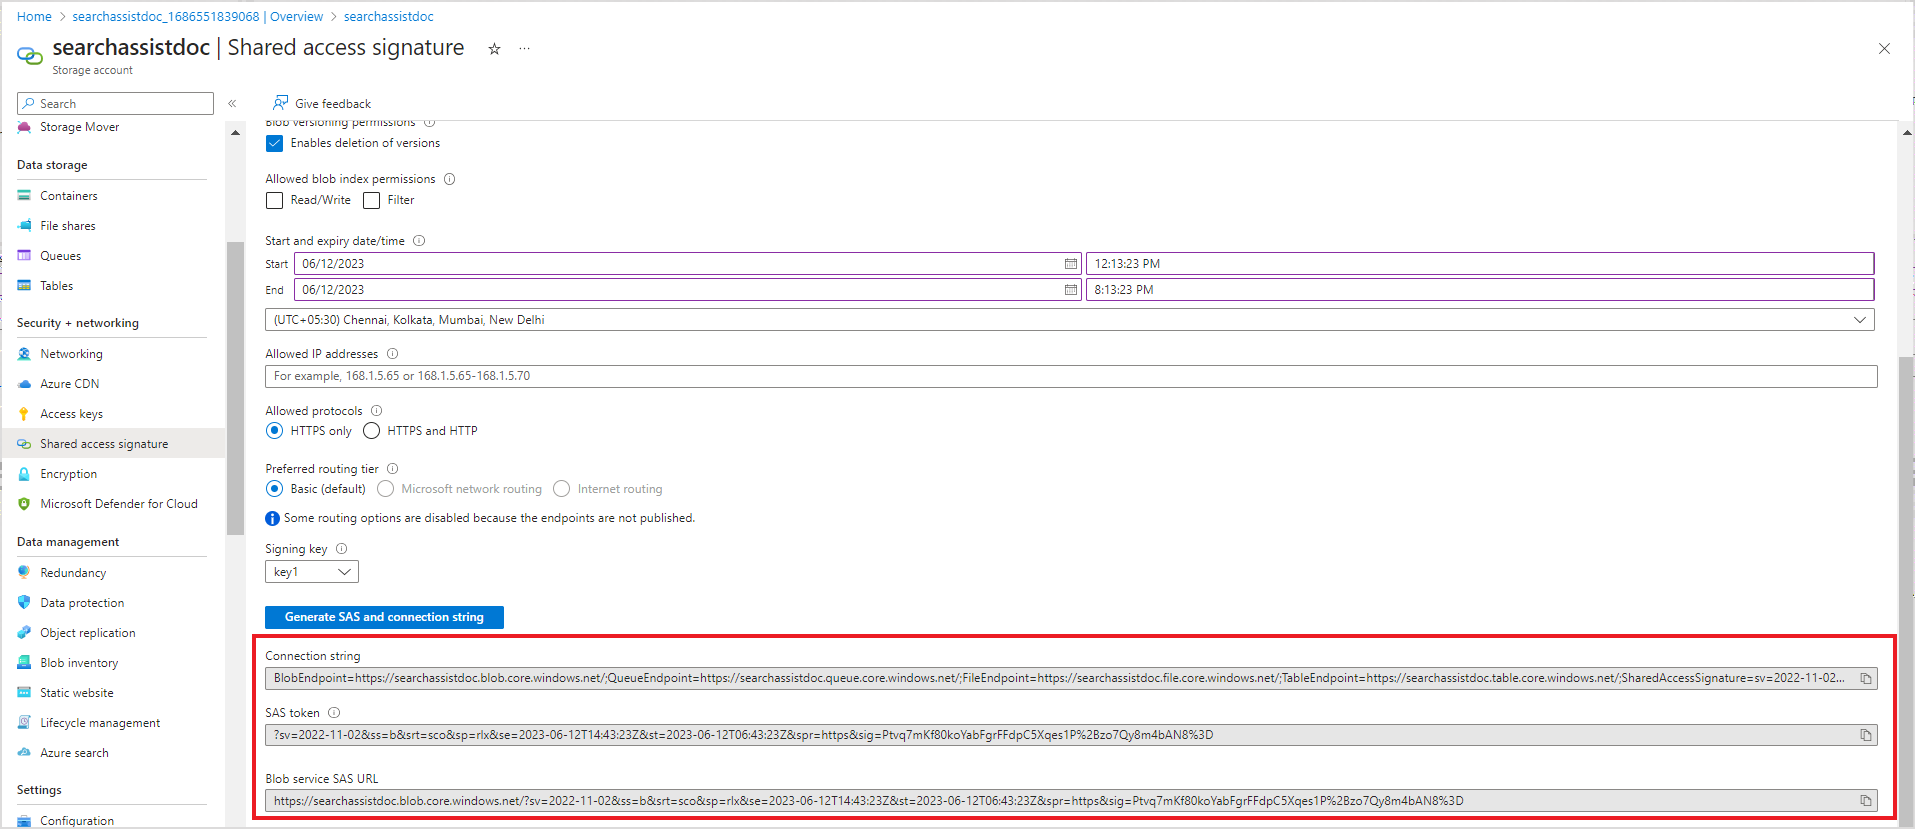
This will generate the connection string, SAS token, and blob service SAS URL. Save these fields to configure the Azure connector in SearchAssist. 

Step 2: Configuring the Azure connector in SearchAssist

This step allows you to configure the Azure Storage account in SearchAssist and select the set of containers from where the content is synced with the SearchAssist application.

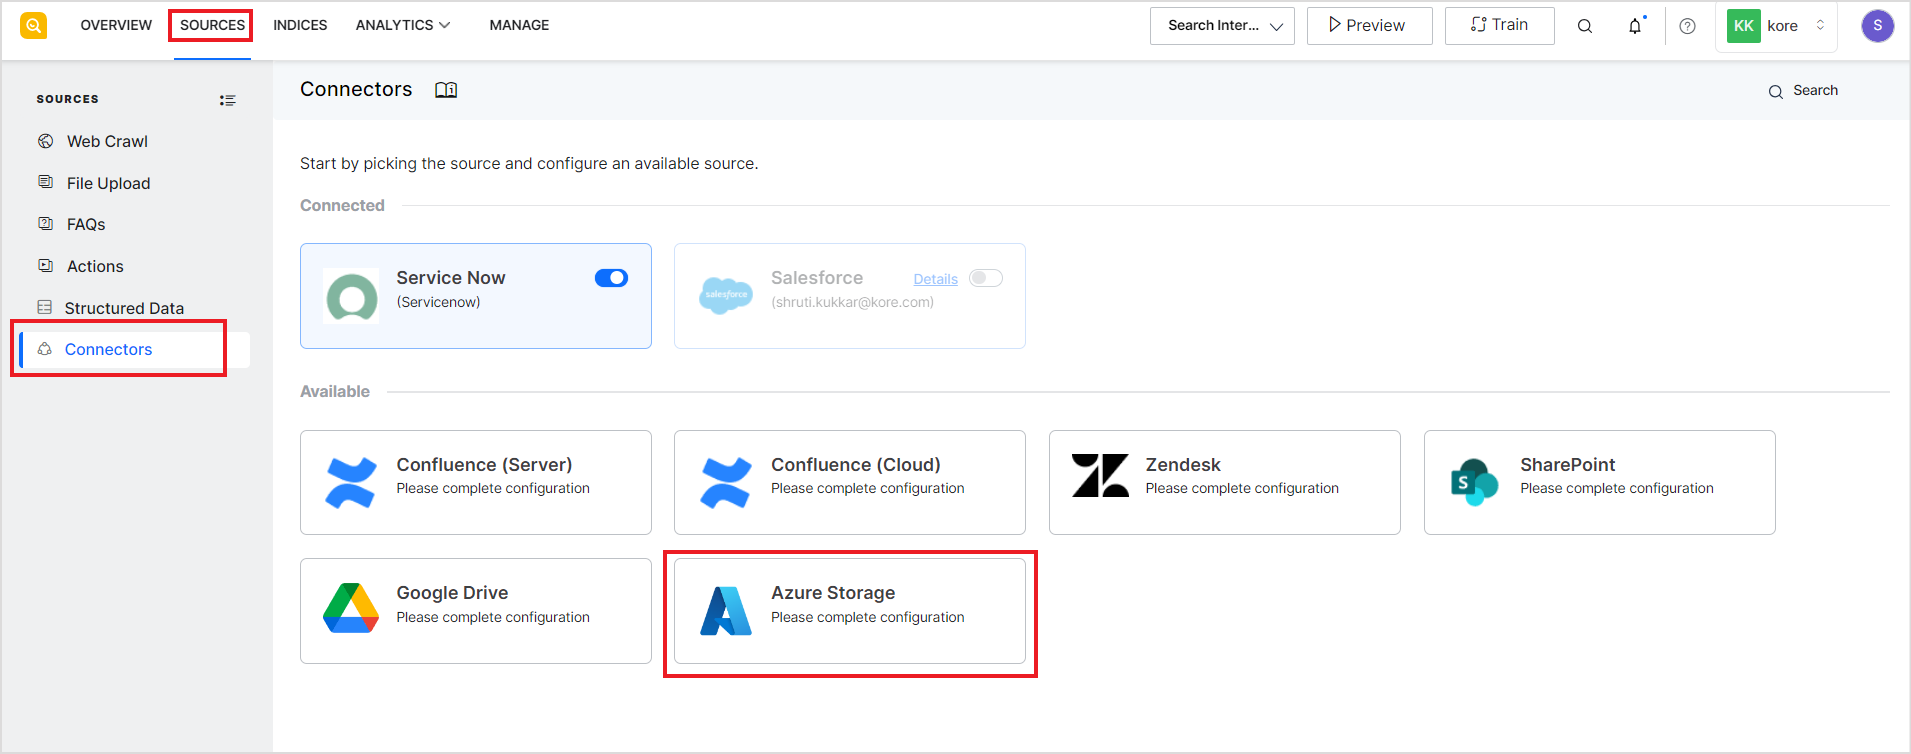
Go to the Connectors page under the Sources tab in your SearchAssist instance and click on Azure Storage.

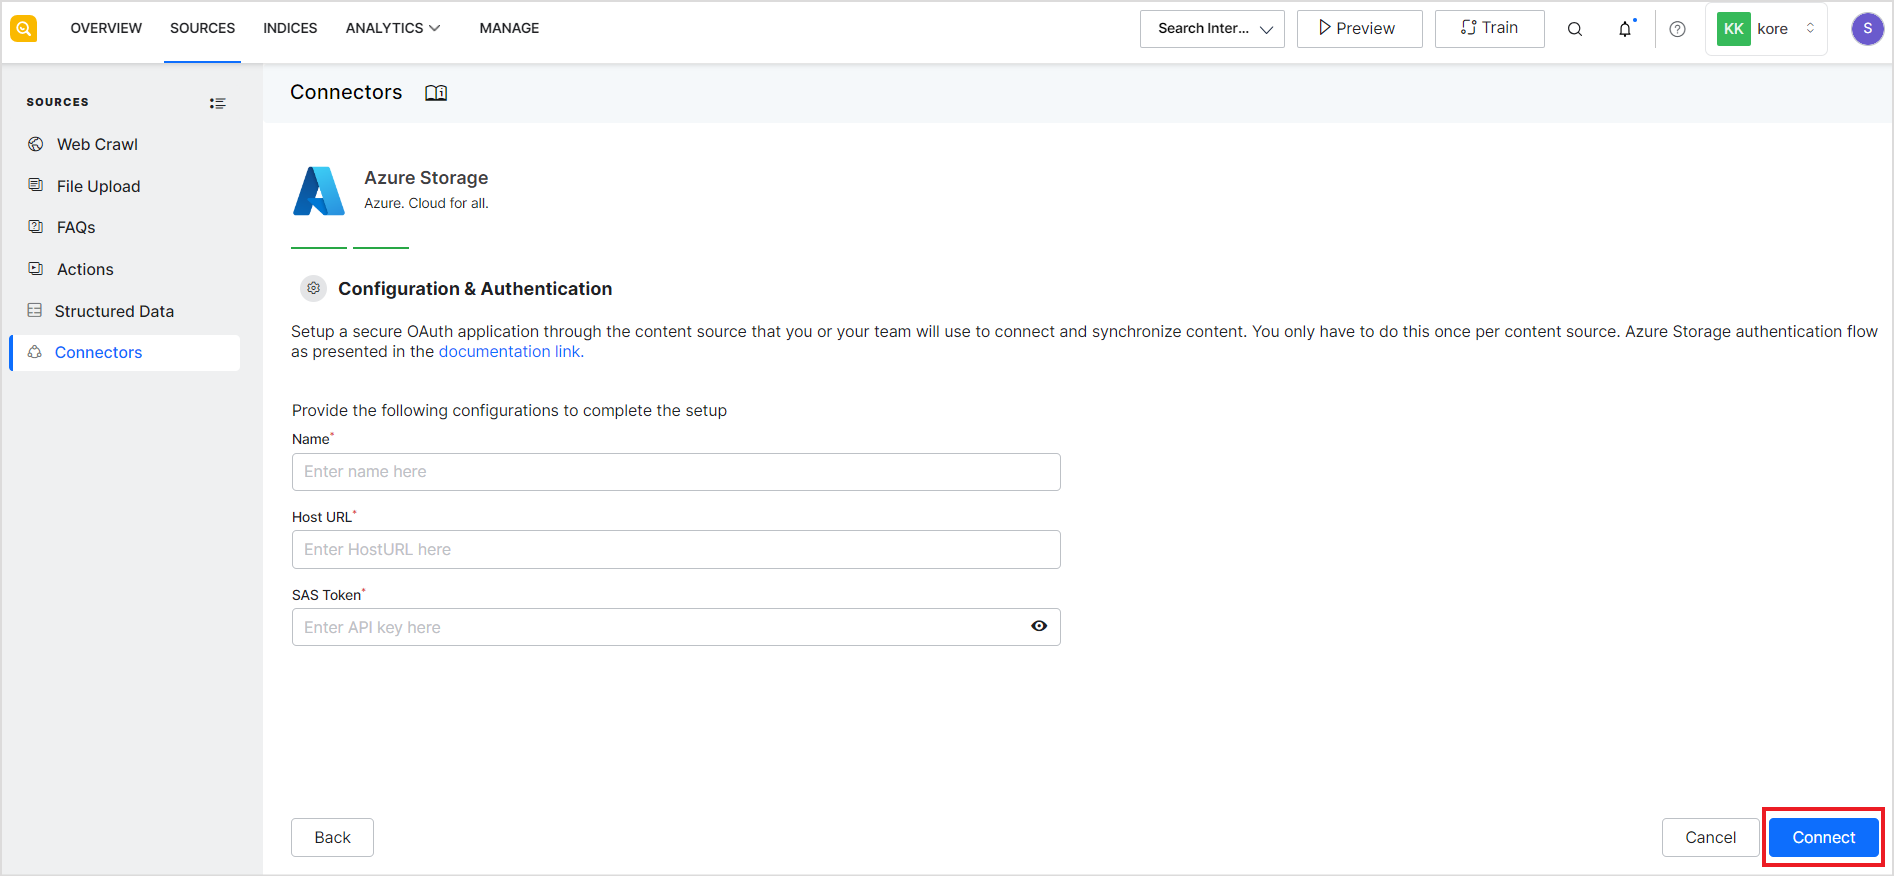
The following page gives you the setup instructions. Click ProceedOn the Configuration & Authentication page, provide the values of the following fields and click Connect. 

This will authenticate with the Azure storage and display the connector as Connected. Note that this does not trigger content syncing automatically.

To synchronize the content, go to the Overview tab and click Synchronize Content now.
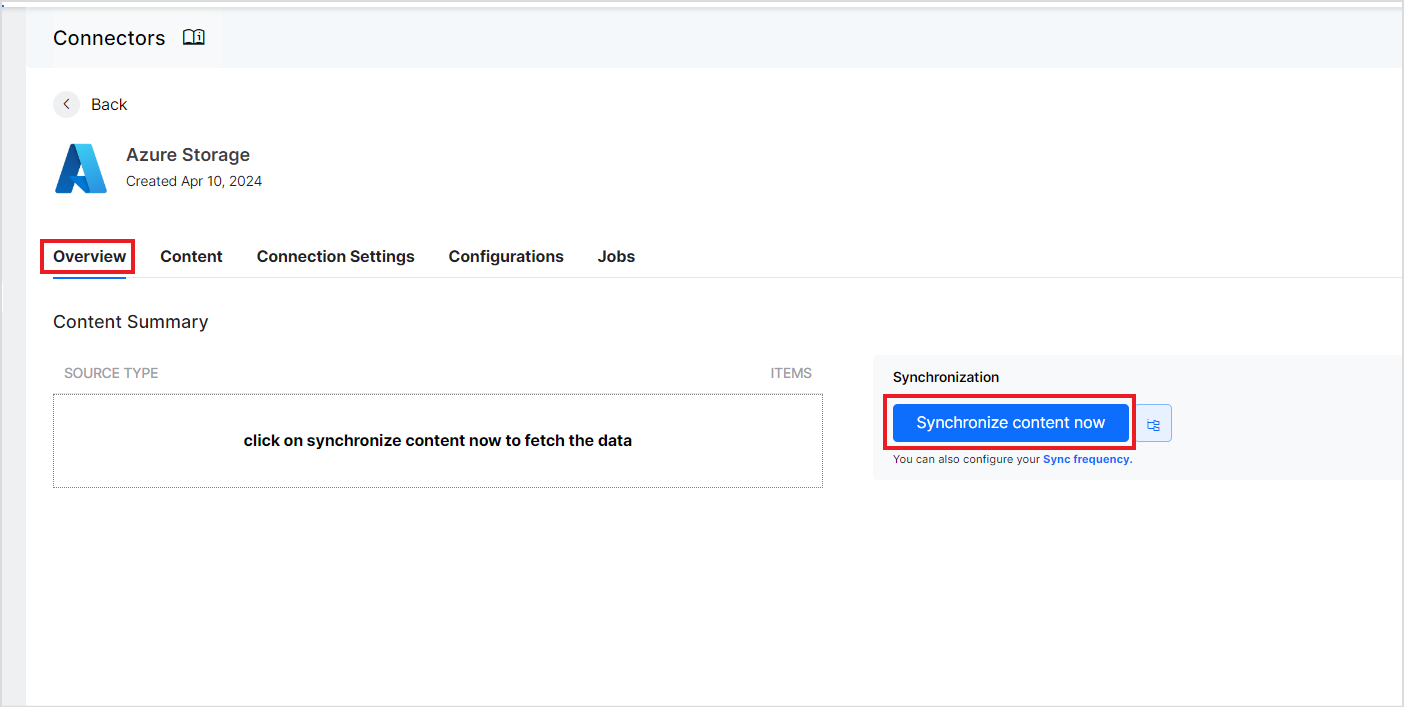
This lists the containers in the configured storage account. Select the containers from which you want to ingest the content in the SearchAssist application and click Save & Sync.

To change the selected containers at any time, use the container list button to change the configuration.

The synchronization allows ingestion of the intended content from the Azure Storage account to the SearchAssist application. The overview tab lists the type and number of files pulled from the source.
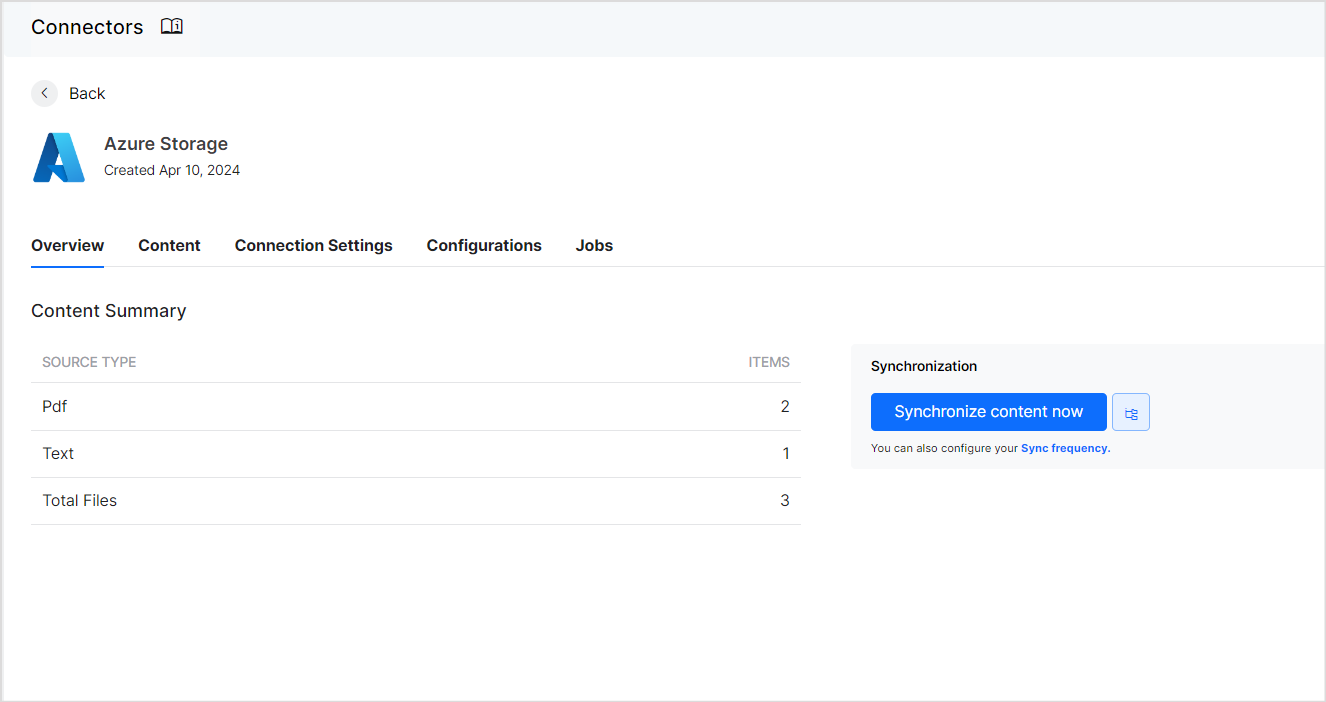
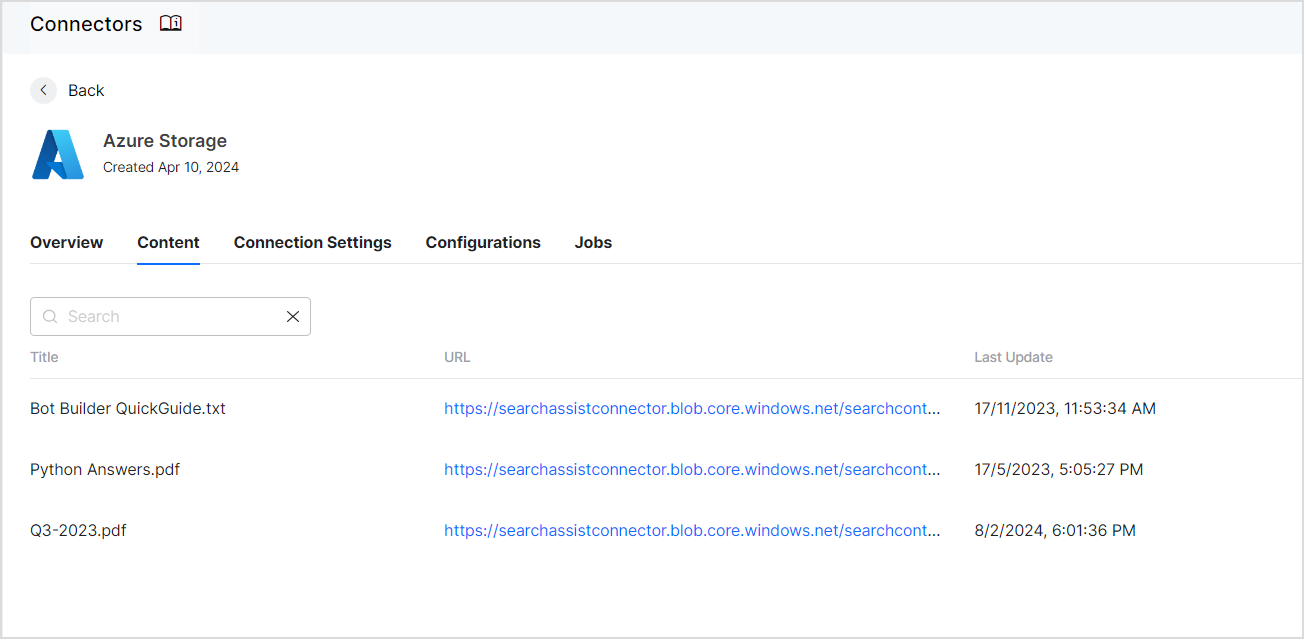
To see the content pulled from the container, go to the Content tab.