
Organizations might already have a web page listing the features or product details that the search users might be looking for. Business users can leverage this information and enable the SearchAssist to respond to search user queries without replicating the data.
SearchAssist allows for the content to be ingested into the application through web crawling. For example, consider a banking website. The banking website contains the bulk of the information that answers the search user queries. In this scenario, the SearchAssist application is configured to crawl the bank’s website and index all the web pages so that the indexed pages are retrieved to answer the search users’ queries.
Web Crawling
Web Crawling allows you to extract and index content from single or multiple websites to make the content ready for search.
To crawl web domains, follow the below steps:
- Log in to the application with valid credentials.
- Click the Indices tab on the top.
- On the left pane, under the Sources section, click Content.
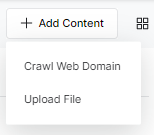
- On the Add Content page, click Crawl Web Domain.
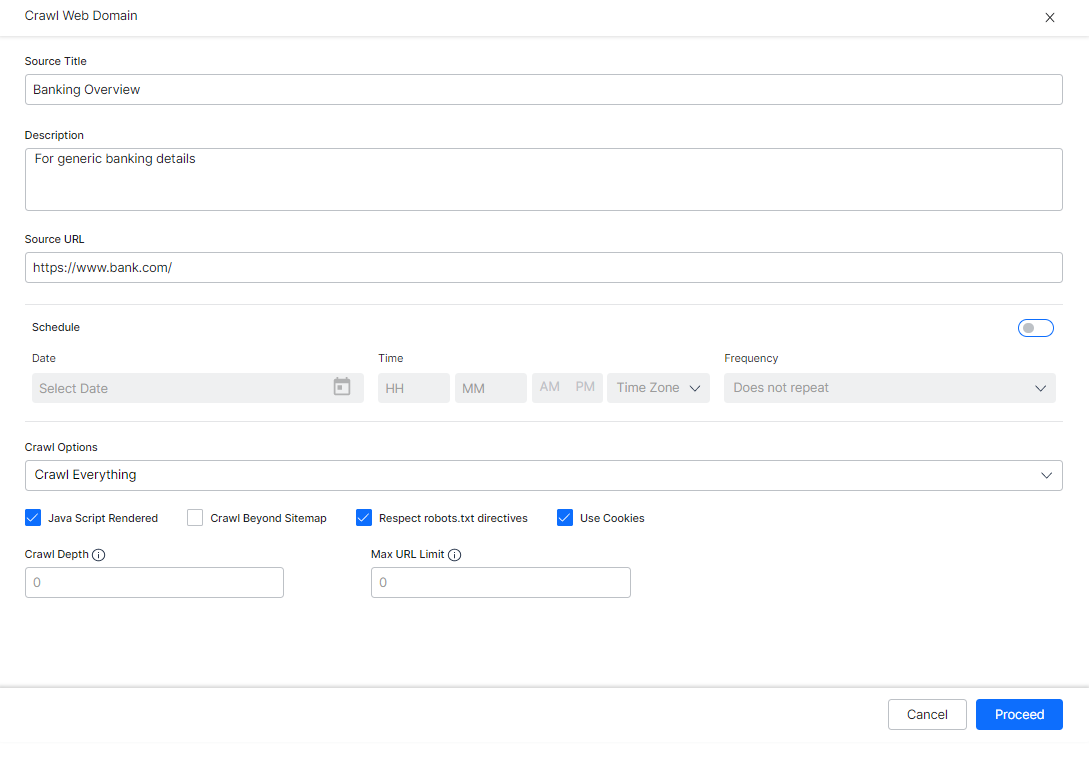
- On the Crawl Web Domain dialog box, enter the domain URL in the Source URL field.
- Enter a name in the Source Title field and a description in the Description field.
- To schedule the web crawl, under the Schedule section, turn on the toggle.
- Set the Start Date and Time, and Frequency at which the crawl needs to be scheduled. This is possible only if the schedule toggle is turned on.

- Under the Crawl Option section, select an option from the drop-down list:
- Crawl Everything – To enable crawling all the URLs that belong to the web domain.
- Crawl Everything Except Specific URLs – To list down the URLs within the web domain that you want to ignore from crawling.
- Crawl Only Specific URLs – To list down only the URLs that you want to crawl from the web domain.
- Select Crawl Settings as per your requirements:
- Java Script-rendered – allow crawling of websites with content rendered through JS code.
- Crawl Beyond Sitemap – allow crawling the web pages above and beyond the URLs that are provided in the sitemap file of the target website.
- Use Cookies – allow crawling the web pages that require cookie acceptance.
- Respect robots.txt – to honor any directives from the robots.txt file for the web domain
- Crawl Depth – The maximum depth allowed to crawl any site, the value of 0 indicates no limit
- Max URL Limit – The maximum number of URLs to be crawled, the value of 0 indicates no limit
- Click Proceed.
- Crawl Web Domain dialog box appears with the URL validation status.
- You can choose to Crawl immediately or later.
Management
Once you add content to the application, it needs to be updated as the content from websites may not be static. You can manage (schedule periodic web crawling and edit crawling) and ensure that the content is in sync with the data on the website.
Manage
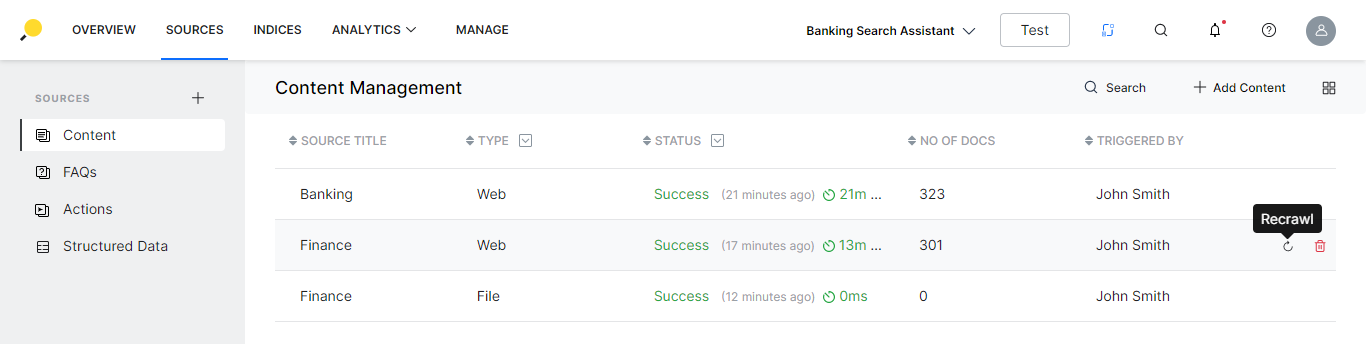
Once the content has been added, you can perform the following actions:
- On the Content list view page, for the respective source from the list
- you can delete the source;
- recrawl in case of web content.
- Click on any content row for the content dialog box with the following details are displayed:
- Name
- Description
- for web content
- Pages crawled, and last updated time
- Configurations as specified above, which are editable
- Crawl execution details along with the log
- for file content
- Number of pages
- Document preview and option to download the same
- Date and time of update