The integration of SearchAssist with your bot requires you to set up a SearchAssist application, prepare it for integration, and make appropriate changes on the platform side to interact with SearchAssist at a given condition or event. SearchAssist exposes REST APIs to allow any application to interact with it. In this guide, we will integrate the bot with the SearchAssist application as a fallback task when the user query does not match any existing intent.
SearchAssist Configuration
- Login to your SearchAssist instance.
- Create a new SearchAssist application and prepare it to return search results or answers as per your business needs. Preparing a SearchAssist application refers to ingesting source data in SearchAssist, setting up index configurations and search configurations, setting up business rules to personalize results, and enabling third-party LLMs, if required. If you are new to SearchAssist, please use this guide for step-by-step instructions on how to build your first app.
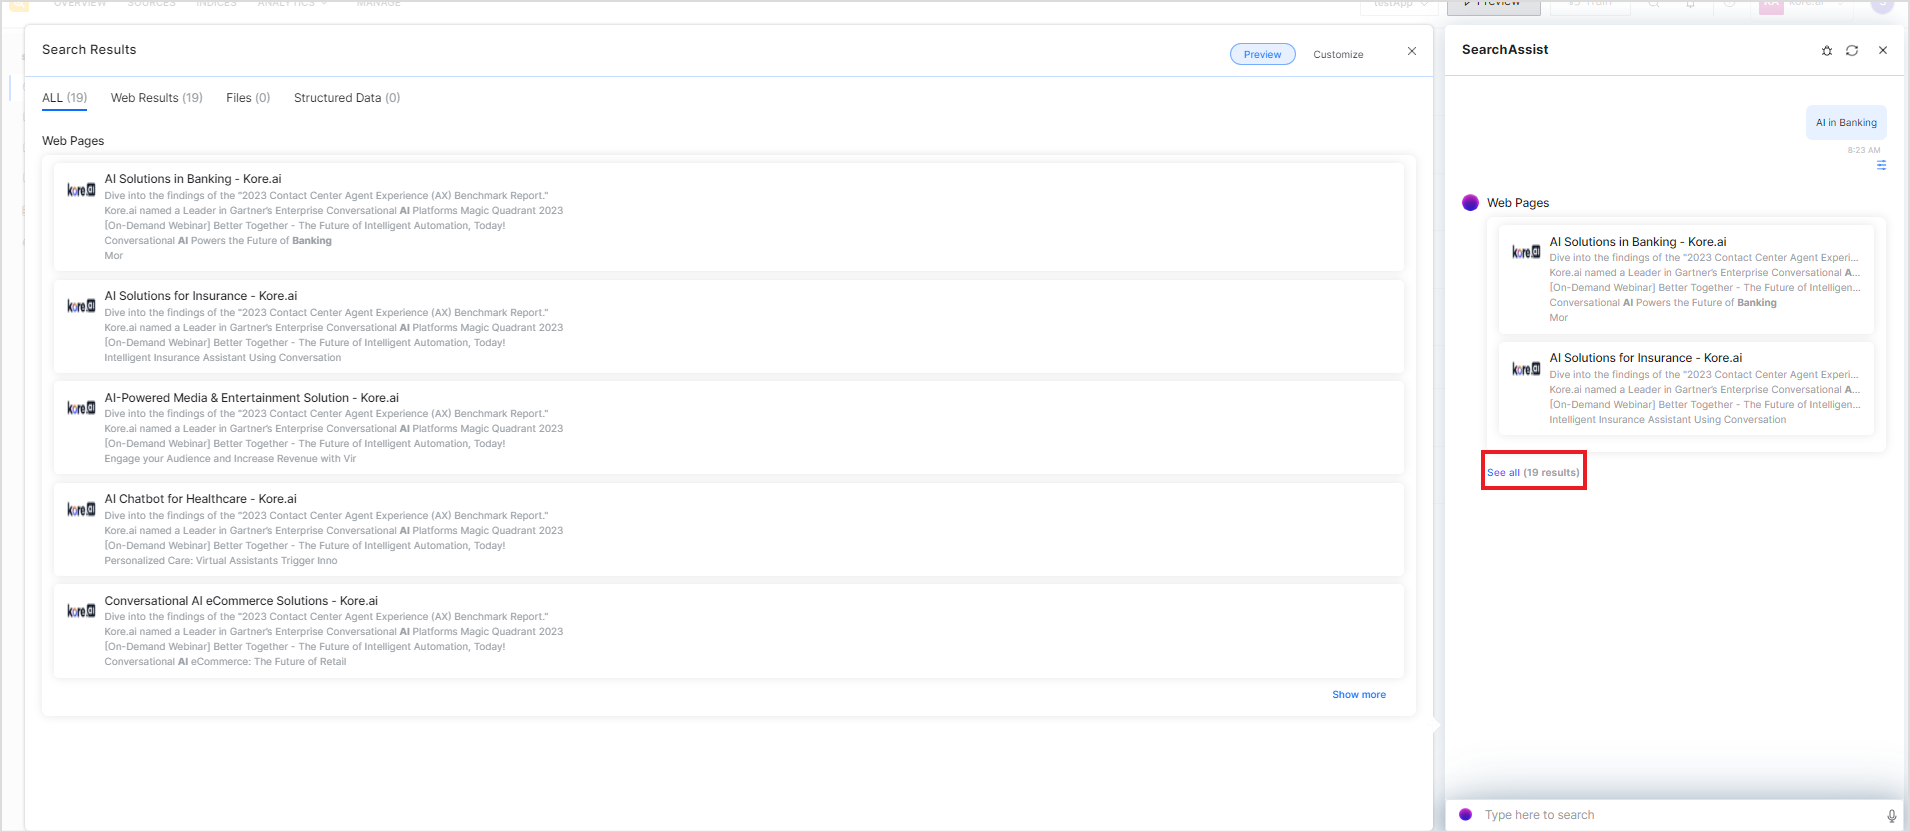
- Once your SearchAssist application is set and ready to use, use the preview mode in the application to test the results or answers for potential user queries.

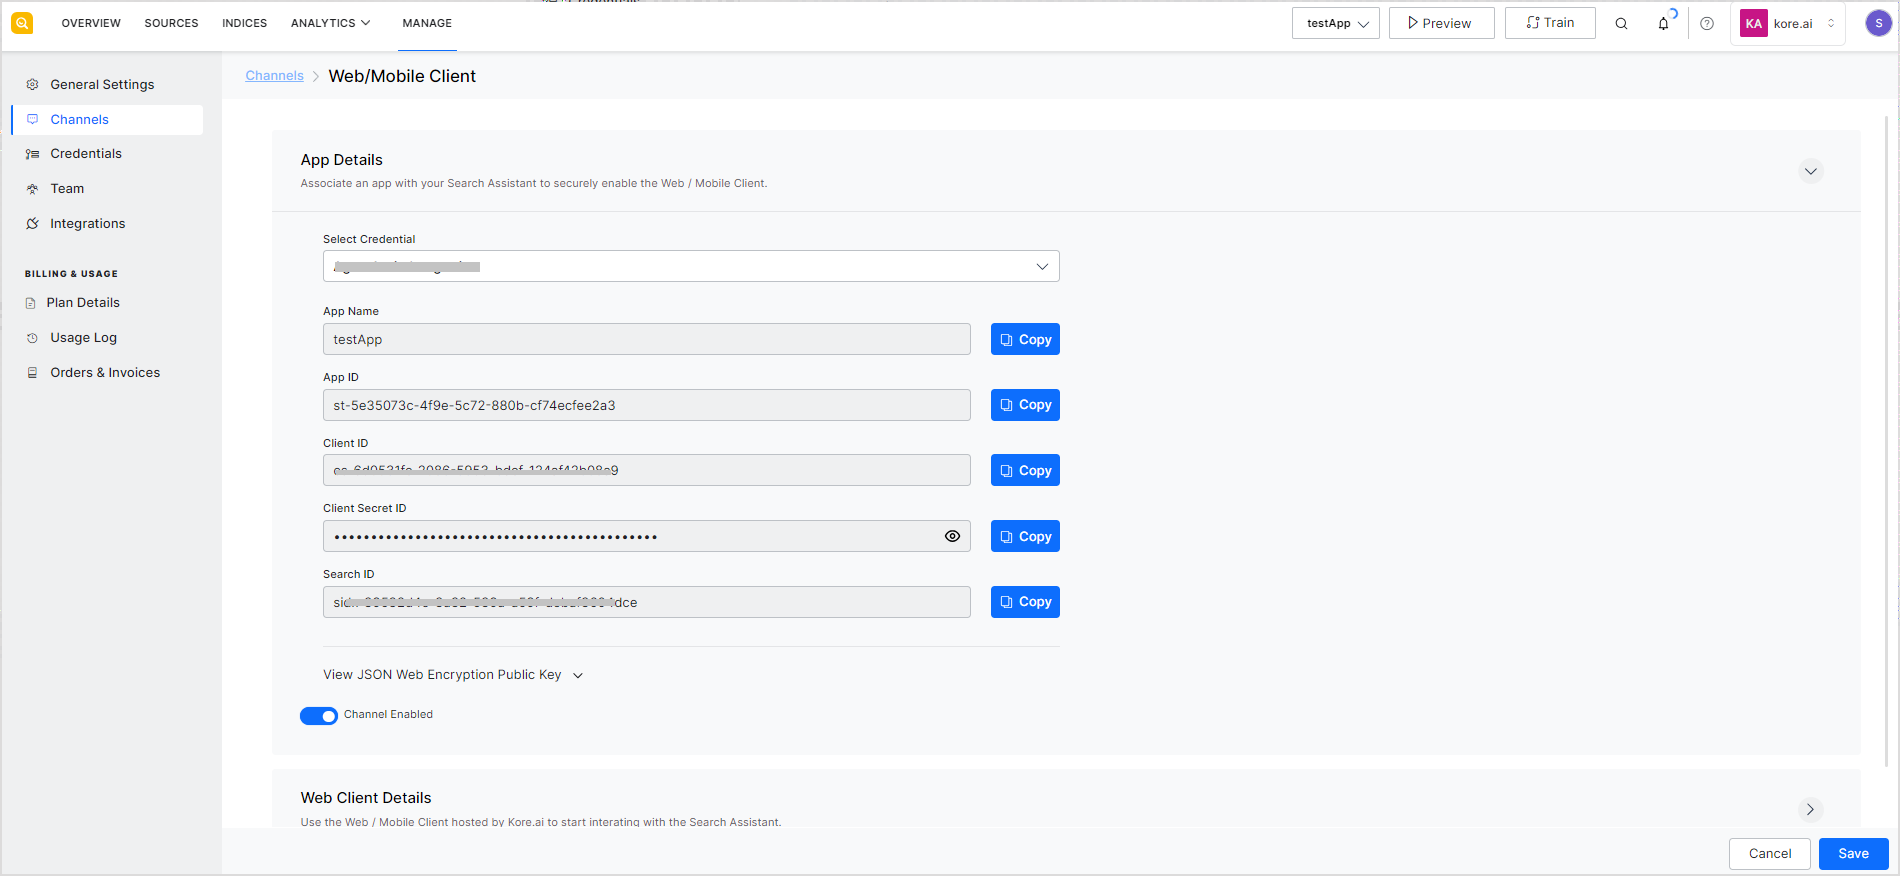
- The next step is to enable communication with the SearchAssist application. You can communicate with the SearchAssist application via REST APIs. To enable this communication, configure a Web/Mobile channel. This involves creating a credential and configuring the channel using the credential. Channel configuration will generate appId, client Id, and client secret. The appId will be used while invoking APIs and client Id and Client secret will be used for authorization.

Ensure that you assign proper API scope to the credential you create for integration as per the operations you will perform using this client. For example, if you need to invoke the SearchAssist application to perform a search for a user query, enable Full Search API scope. - SearchAssist uses JWT tokens for authorization of the API requests. So the next step is to generate a JWT token using the client ID and Client Secret generated above while enabling the communication channel.
- SearchAssist exposes different APIs that you can use for various operations on the SearchAssist application. For each API, use the JWT token generated above as a request header. For more details on endpoints, request parameters, and examples, refer to this.
- The SearchAssist communication channel is ready. You can verify this by running the following command through your POSTMAN app or any other similar tool.
curl --location -g --request POST 'https://{{your search assist env ex: searchassist-pilot}}.kore.ai/searchassistapi/external/stream/{{your search app id here}}/fullsearch' \
--header 'auth: {{JWT TOKEN GENERATED FOR SEARCH APP}}' \
--header 'Content-Type: application/json' \
--data-raw '{
"query":"{{user query here ex:What is mentoring?}}",
"maxNumOfResults":2
}'
Configure Bot to perform Search via SearchAssist
In this integration guide, we will set up search via SearchAssist app as a fallback task when no matching intent is found. To do so, follow the steps listed below.
- Login to the BOT BUILDER tenant in which your bot is present(ex:https://bots.kore.ai/).
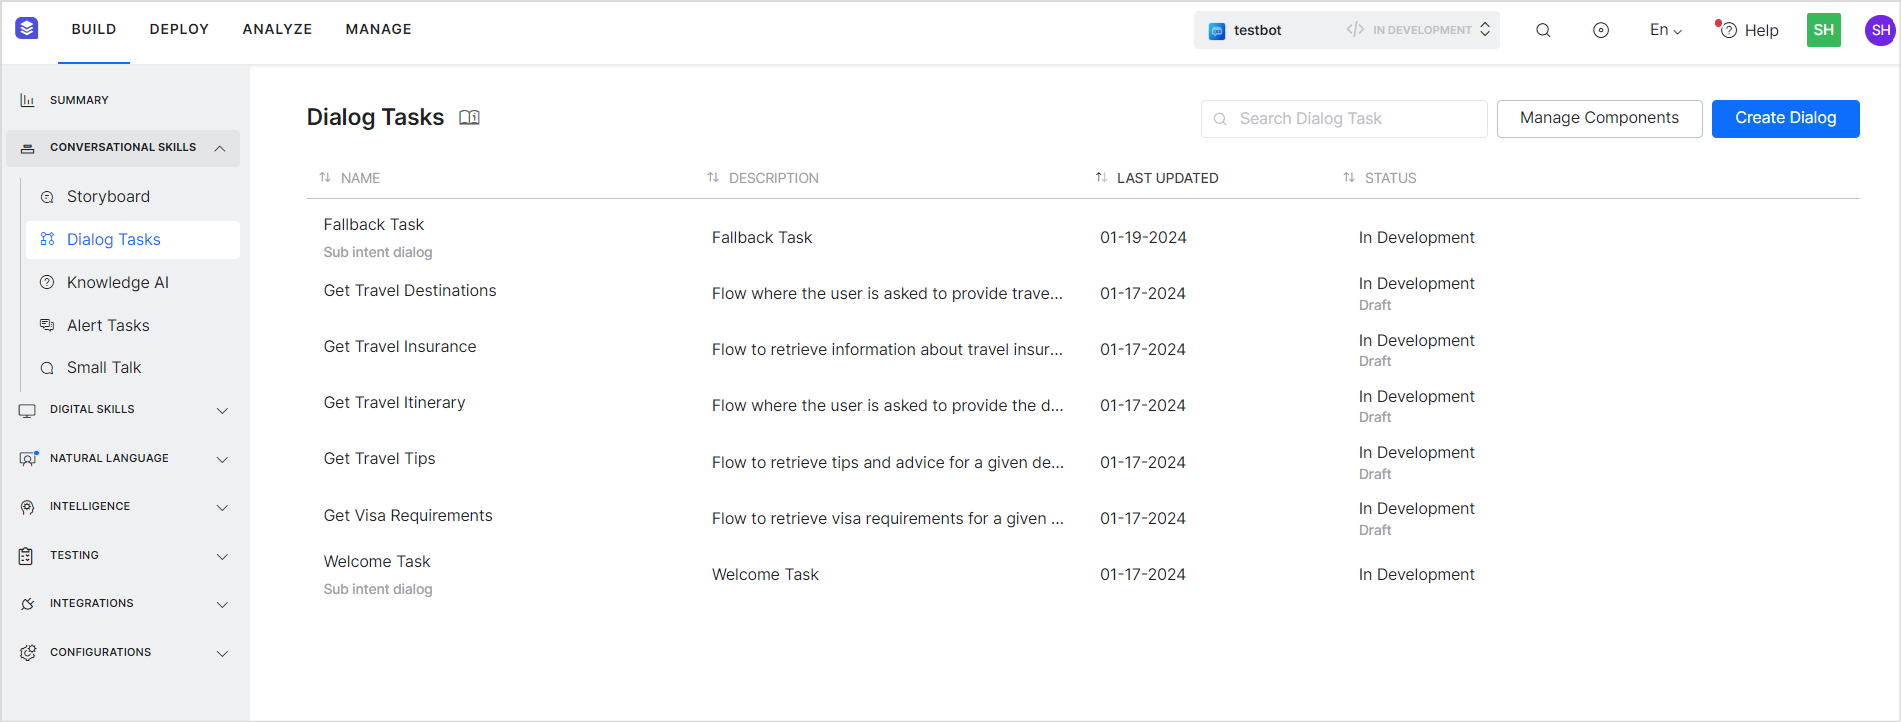
- Go to the Fallback task or create one, if it does not already exist. To create or edit the fallback task, go to BUILD>Converational Skills> Dialog Tasks.
 Make sure this dialog is enabled as intent not found dialog in EVENTS SESSION.
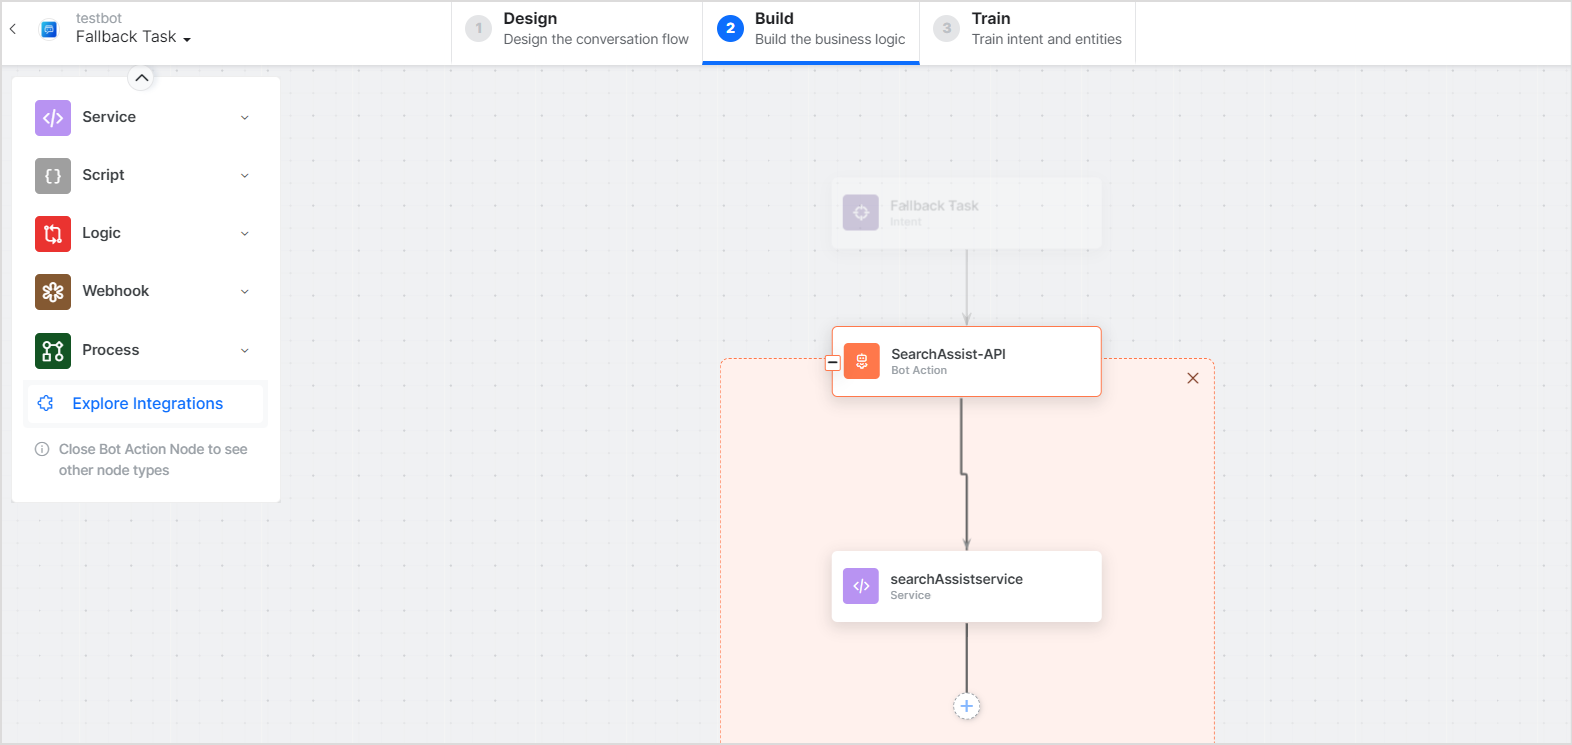
- Define a bot action for the fallback task and add a service node to it as shown below.

- Go to the service settings and set the following properties.
- Name: Unique name for the service
- Dsiplay Name: Name to be displayed on the node
- Service Type: Set the service type to Custom Service
- Type:Set this field to ‘Webservice’.
- Sub Type: Set this to ‘REST.
- Add the following as the Headers.
- Auth – JWT Token generated ( refer step 4 in SearchASsist configuration).
- Content-Type – application/json
- Set the body of the request according to the SearchAssist API that you are invoking. For this sample where we are invoking full search API, use the following as the body.
- Request Definition: Click on Define Request and add request parameters to enable bot to make a service call to SearchAssist application.

Since we are going to invoke a full search API for this sample, use the following values for the fields: Method: POSTURL: https://<SearchAssisthost>/searchassistapi/external/stream/<appId>/fullsearchwhere, searchassist host is your SearchAssist instance and appId is the application id of the search assist application (refer step 3 in SearchAssist configuration).
- Add the following as the Headers.
- Auth – JWT Token generated ( refer step 4 in SearchASsist configuration).
- Content-Type – application/json
- Set the body of the request according to the SearchAssist API that you are invoking. For this sample where we are invoking full search API, use the following as the body.
{ "query": "Your query", "maxNumOfResults": 3}For the query field in the request body, assign your search query to a variable (like, var query) and pass it.
Search query script for referencevar query if(context.session.BotUserSession.lastMessage.messagePayload && context.session.BotUserSession.lastMessage.messagePayload.text){ query=context.session.BotUserSession.lastMessage.messagePayload.text }else{ query=context.session.BotUserSession.lastMessage.messagePayload.message.body } context.query=query
- Click Save. This completes the configuration for the service node. When the fallback task is executed, it will now make a REST webservice call to invoke the fullsearch API of the SearchAssist application.
- The search results as part of the response from SearchAssist application will be found in service call result object:
context.<name-of-the-servicenode>.response.body.template.results
Note that this response object will have sub-objects depending upon the sources of the search results and the type of response ( search results or answer). Refer to SearchAssist API list to understand the response format of the APIs. You can then format the response as required.
For example, when the results are returned from web pages crawled in the SearchAssist application, the response object format will be as shown below.
{
  "templateType": "fullSearch",
  "requestId": "fsr-3f764822-9f34-5631-bafe-2e91b428337d",
  "template": {
    "originalQuery": "covid",
    "cleanQuery": "query",
    "results": {
      "web": {
        "data": [
          {
            "contentId": "fc-1f921511-8ced-4cf4-a117-6b26df6dedc2",
            "sys_content_type": "web",
            "score": 6.4579425,
            "keywords": [],
            "config": {
              "pinIndex": -1,
              "boost": 1,
              "visible": true
            }
          }
        ],
        "page_url": "https://www.cvshealth.com/covid-19/testing-information",
        "sys_source_name": "CSV",
        "streamId": "st-478c622f-96f7-5999-a632-b8ec4f1dc781",
        "page_title": "COVID-19 testing information | CVS Health",
        "searchIndexId": "sidx-2faeca6f-29cb-5b18-93f6-04207d91cabe",
        "page_image_url": "https://www.cvshealth.com/sites/default/files/cvs-health-pictogram-covid-19-drive-thru-testing-rgb-graylight-16x9.png",
        "sys_racl": [
          "*"
        ],
        "createdOn": "2022-09-15T09:54:54.760000",
        "jobId": "fj-890dee5c-096f-5773-8390-905bbd5664d5",
        "extractionSourceId": "fs-9fbbf3d2-480f-5065-9611-b1de079016bc",
        "page_body": "Skip to main content Let us help you find what you're looking for Standard search COVID-19 testing information",
        "default_pipeline": "Yes",
        "page_sections": [
          "Let us help you find what you're looking for"
        ],
        "page_preview": "Skip to main content\nLet us help you find what you're looking for\nStandard search\n<span class = \"highlightText\">COVID</span>-19 testing information\n",
        "addedResult": false,
        "customization": {
          "items": {}
        },
        "score_debug": {
          "items": {}
        }
      },
      "doc_count": 8
    },
    "facets": [
      []
    ],
    "tabFacet": {
      "fieldName": "sys_content_type",
      "buckets": [
        {
          "key": "web",
          "doc_count": "8",
          "name": "Web Results"
        }
      ]
    },
    "resultType": "grouped",
    "graph_answer": {}
  },
  "relay": "default",
  "queryPipelineId": "fqp-c7ecbfc3-a37c-53e6-b60e-e8553e421075",
  "indexPipelineId": "fip-79fc27cc-0c24-5491-b659-2cdb1fe5530a"
}