User queries sometimes lead to performing an action. For example, let us consider a banking customer searching for How to pay bills from his bank account. Instead of just answering the query, the user experience can be enhanced if the search assistant provided an option to pay the bill. You can accomplish this by linking the search application with a virtual assistant or a chatbot from the Kore.ai bots platform.
Prerequisites
You can link virtual assistants build on the Kore.ai platform with the SearchAssist application. The following are the setup steps you need to complete from the Kore.ai platform:
- Build a virtual assistant catering to your needs, refer here for how.
- Enable the Webhook channel for the virtual assistant using the access token and post URL as shown in the below section. Refer here for enabling Webhook channel
- Make a note of the Client Id and Secret Id from the Kore.ai virtual assistant, after enabling the Webhook channel.
Link Bots
To perform the bot actions on the SearchAssist, you need your bots from the Kore.ai bots platform linked to the SearchAssist application.
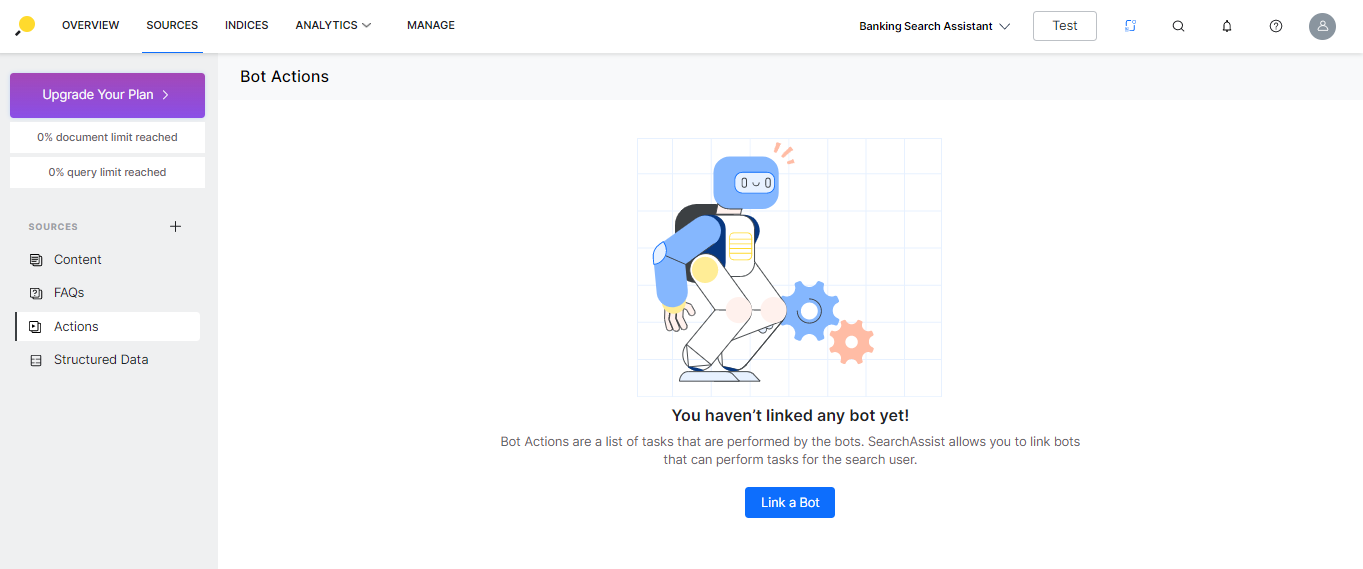
To link bots from the Actions tab, follow the below steps:
- On the left pane, under the Sources section, click the Actions tab.
- On the Bot Actions page, click Link a Bot.
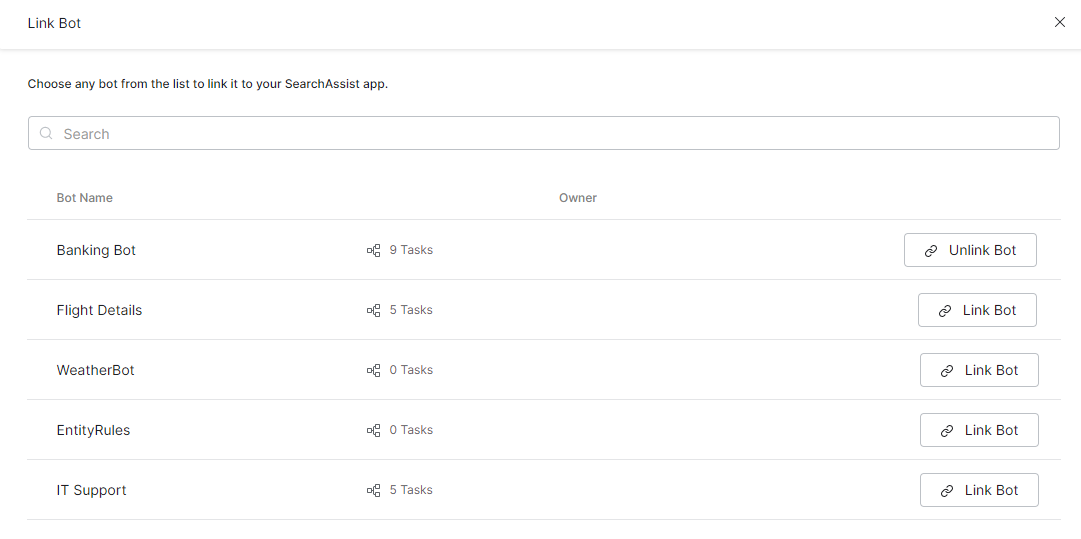
- On the Link Bot dialog box, click the Link Bot button against the bot you wish to link.
- Enter the Client Id and the Secret Id from the virtual assistant as described in the previous section.
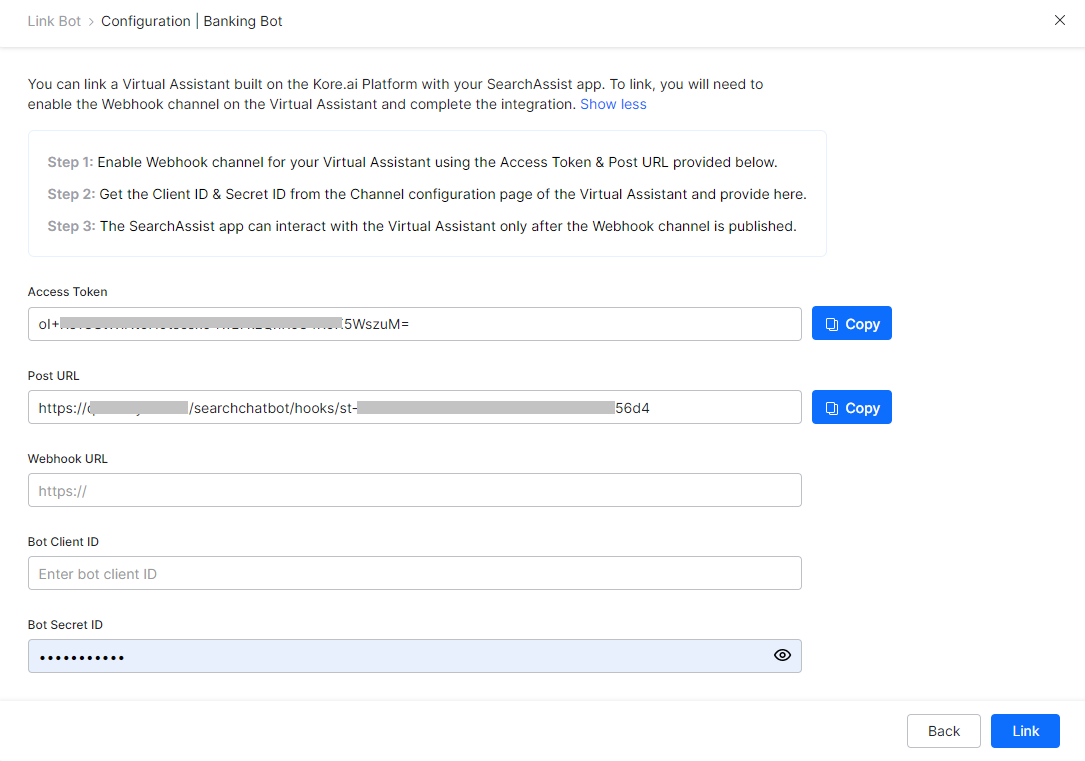
- Click Link.
Note: You can link only one bot with an application.
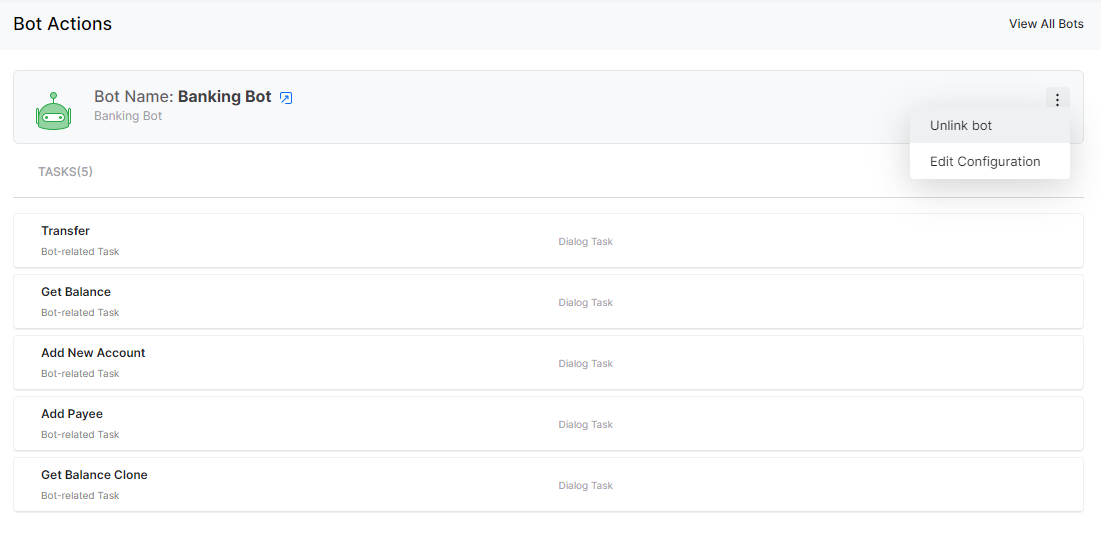
Actions
Once you have linked a bot, you can
- View the bot and the associated tasks.
- You can open the virtual assistant in the Kore.ai platform.
- Edit Configuration in case of any changes from the Kore.ai platform.
- Unlink bot.