The Conversation Events section lets you configure events that trigger automatically at the beginning and end of a conversation. Here, you can configure the Welcome and Exit Events.
- Welcome Events: You can configure dialog tasks and greeting messages that automatically trigger when a conversation is assigned to an agent.
- Exit Events: You can configure dialog tasks or conversation summary that automatically runs when the end-of-conversation event triggers.
Welcome Events
Welcome Events are pre-configured messages or prompts that are automatically triggered when a conversation is assigned to an agent in the Agent AI widget. Welcome Events guide agents to handle inquiries effectively by streamlining workflows, lowering their Average Handle Times (AHT), reducing repetition, and contributing to enhanced customer satisfaction.
Managers can configure Welcome Events to provide consistent and relevant information to agents at the start of a conversation. These events can be used for chat, voice, and email interactions.
On this page, you can configure the welcome experience when the Agent AI widget is launched by defining the Welcome Events activities for agents. It has three sections:
- Configure On-Connect Dialog Task
- Configure Greeting Messages
- Priority Settings
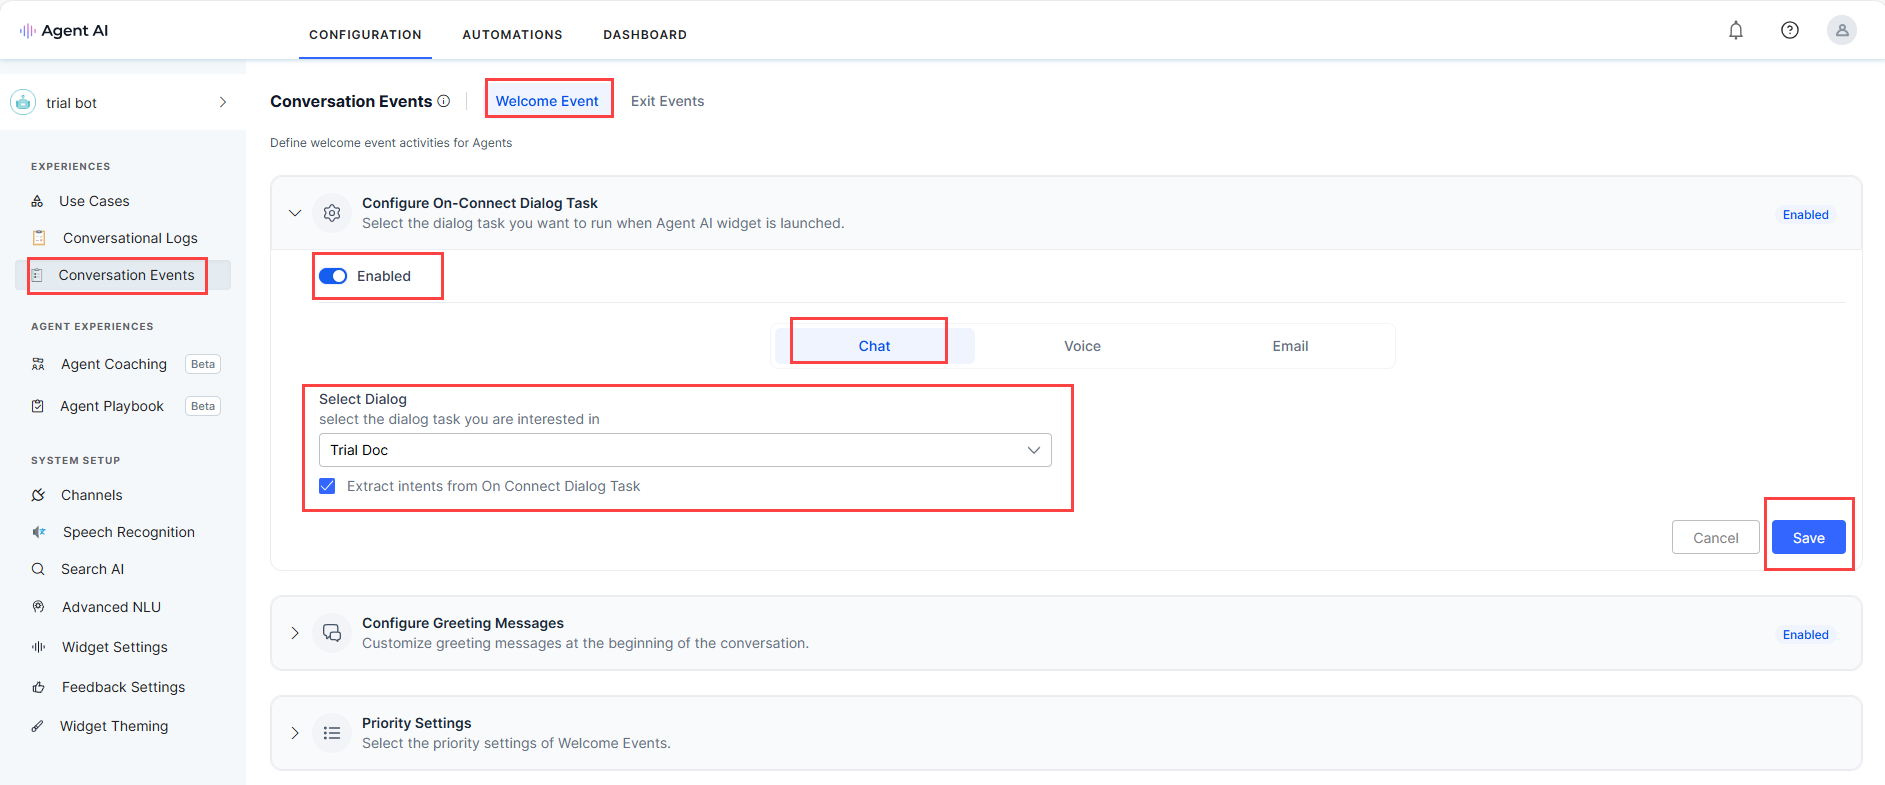
Configure On-Connect Dialog Task
In this section, you can select a pre-configured dialog task and channel and choose to extract intents from the selected dialog task when the Agent AI widget is launched.
Steps to Configure the On-Connect Dialog Task
- Sign in to Agent AI.
- Click CONFIGURATION > Conversation Events > Welcome Event.
- Click to expand the Configure On-Connect Dialog Task section.
- Click the toggle button to enable it (if it’s in Disabled status).
- Select a channel – Chat, Voice, or Email.
- Select a configured dialog task from the Select Dialog list.
- Select the Extract intents from On Connect Dialog Task radio button.
Note: When you select this radio button, the system terminates the current dialog and uses the message node’s content to identify the Next Best Actions (Suggestions) upon encountering it. Ensure the dialog flow contains only one message node, preferably at the end. - Click Save.
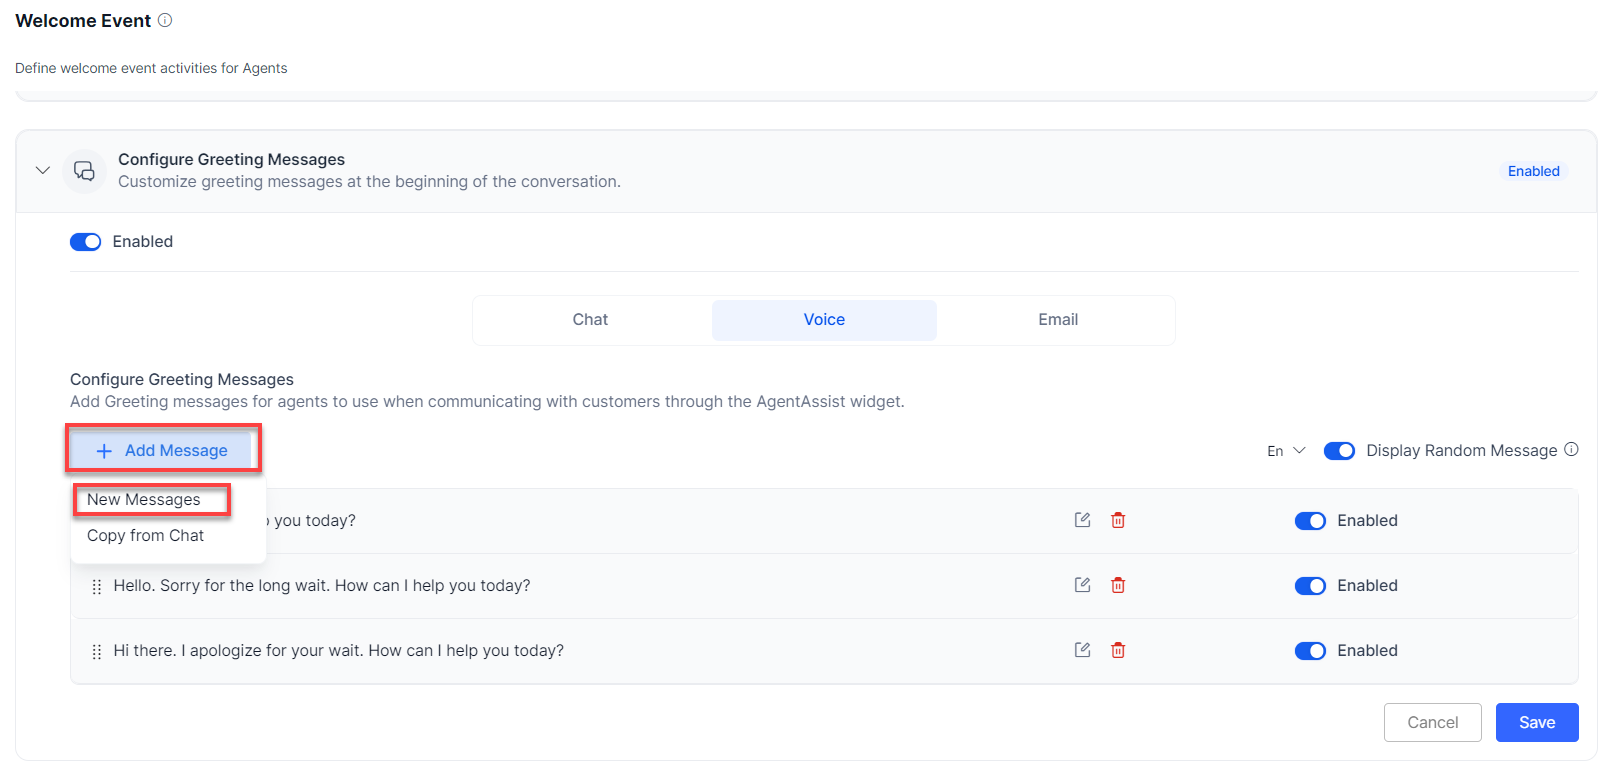
Configure Greeting Messages
In this section, you can customize greeting messages at the beginning of the conversation. Also, you can add new greeting messages and copy from existing greeting messages for agents to use when communicating with customers through the Agent AI widget. You can edit, delete, enable, or disable existing messages.
Steps to Configure Greeting Messages
- Click CONFIGURATION > Conversation Events > Welcome Event.
- Click to expand the Configure Greeting Messages section.
- Click the toggle button to enable it (if it’s in Disabled status).
- Select a channel – Chat, Voice, or Email.
- Click + Add Message > New Messages to add a new greeting message.
- Enter the new greeting message in the Message box, and click Add.
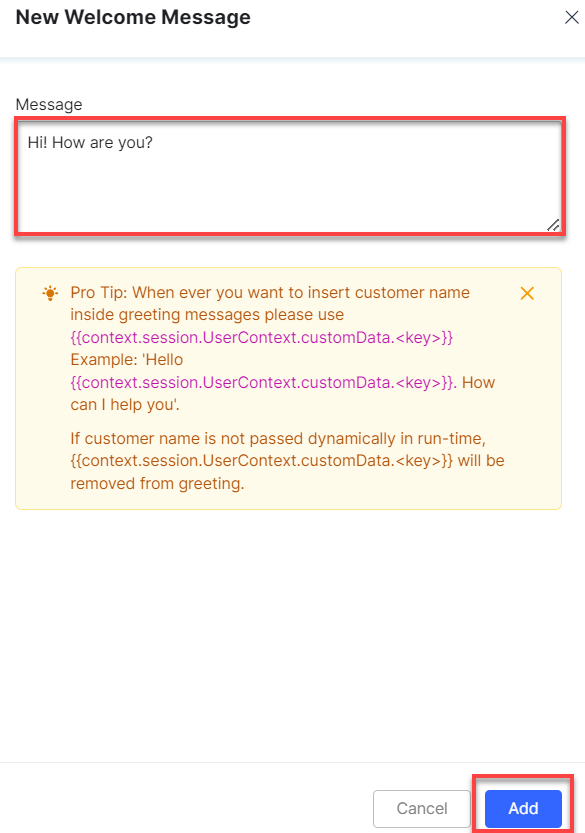
The new greeting message gets added to the list of existing messages. - Click + Add Message > Copy from Chat to copy existing messages in Chat.
Note: Copy from Voice appears for the Chat channel and Copy from Chat appears for the Voice channel.
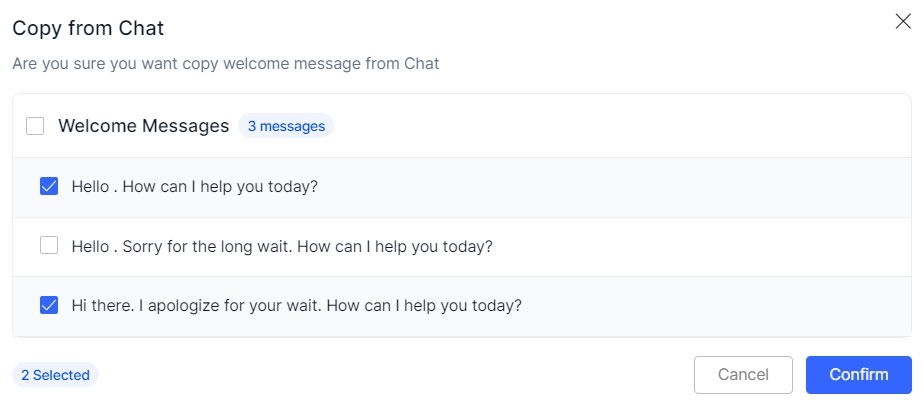
- Select the Welcome Messages button to select all the existing messages or select individual messages one by one.
Click Confirm. - All selected messages appear in the list of existing messages.
- Select the Welcome Messages button to select all the existing messages or select individual messages one by one.
- Click Display Random Message to enable all configured messages and randomly display any three on the agent’s screen.

- Click the down-arrow to change message language.
- Click the edit button against an existing message to modify it. Make the changes, and click Update.
- Click the delete button against an existing message to delete it. On the Delete Message popup window, click Yes.
- Click the enable or disable toggle against a message to enable or disable it.
- Click Save.
Priority Settings
In this section, you can select what to run first between the dialog tasks and greeting messages.
Steps to Set Priority
- Click CONFIGURATION > Welcome Event.
- Click to expand the Priority Settings section.
- Select the radio button On-Connect Dialog Task or Greeting Messages.

- Click Save.
Note: If Agentic Copilot is enabled in Widget Settings > Agent AI Channel Specific Settings, the note ” Whenever Agentic Copilot is enabled, it will run after the configured Welcome Events” appears in the Priority Settings section.
Exit Events
Exit Events mark the end of a customer interaction. This section lets you configure a dialog task, conversation summary, or an Agentic app to run automatically when the end-of-conversation event triggers. While multiple options are available, you must select one of the following combinations:
- Configure End of Conversation Dialog Task + Conversation Summary (OOTB Kore Summarization)
- Conversation Summary + Configure End of Conversation Agentic App
Configure End of Conversation Dialog Task
This section lets you select a dialog task to run automatically when an exit event triggers at the end of a conversation. To enable this, you must disable both the Conversation Summary > Custom Dialog Task and Configure End of Conversation Agentic App options.
Steps to Configure End-of-Conversation Dialog Task
- Sign in to Agent AI.
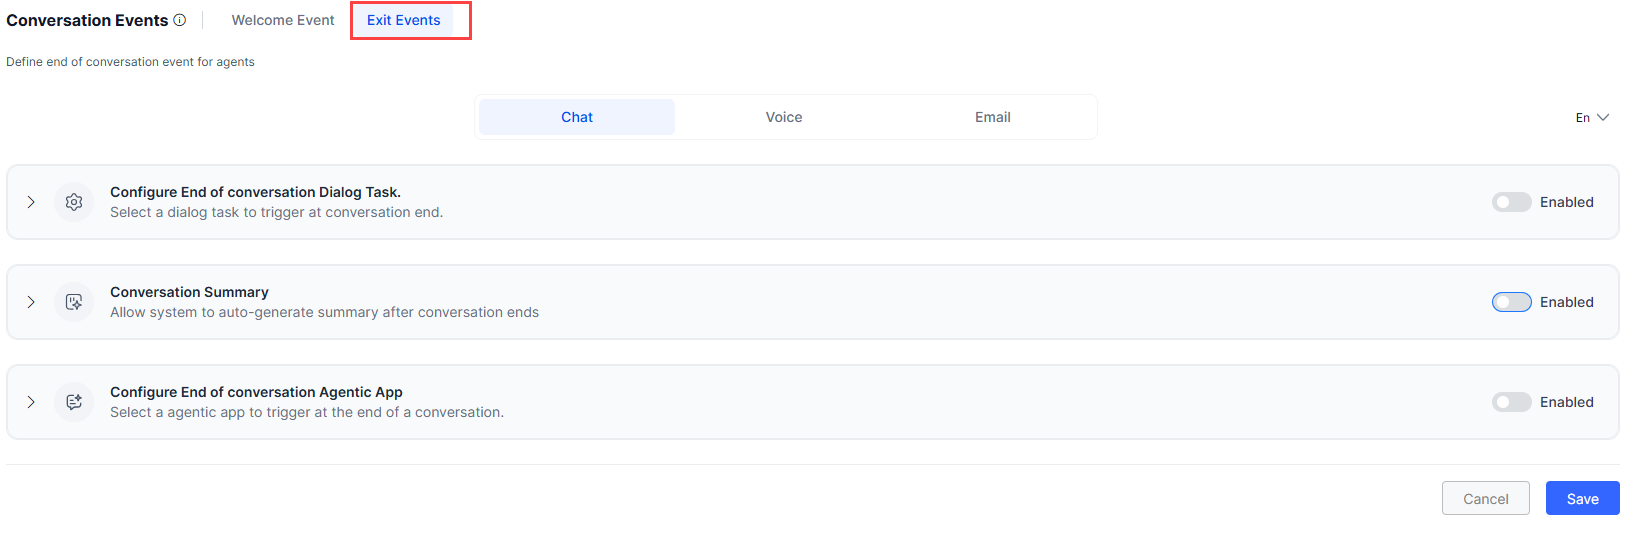
- Go to Configurations > Conversation Events.
- Click Exit Events.

- Select a channel – Chat, Voice, or Email.
- Click the toggle to enable Configure End of conversation Dialog Task.
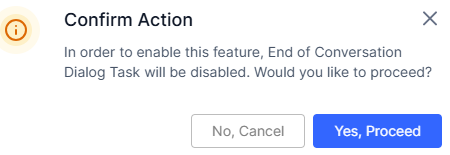
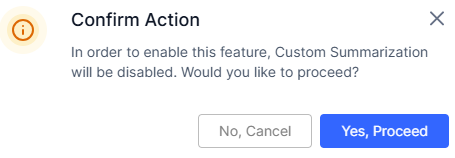
- The following confirmation message appears, if the Conversation Summary > Custom Dialog Task was enabled:

Note: For new accounts, the Conversation Summary > OOTB Kore Summarization is enabled by default. - The following confirmation message appears, if the Configure End of Conversation Agentic App was enabled:
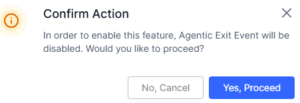
- The following confirmation message appears, if the Conversation Summary > Custom Dialog Task was enabled:
- Click Yes, Proceed.
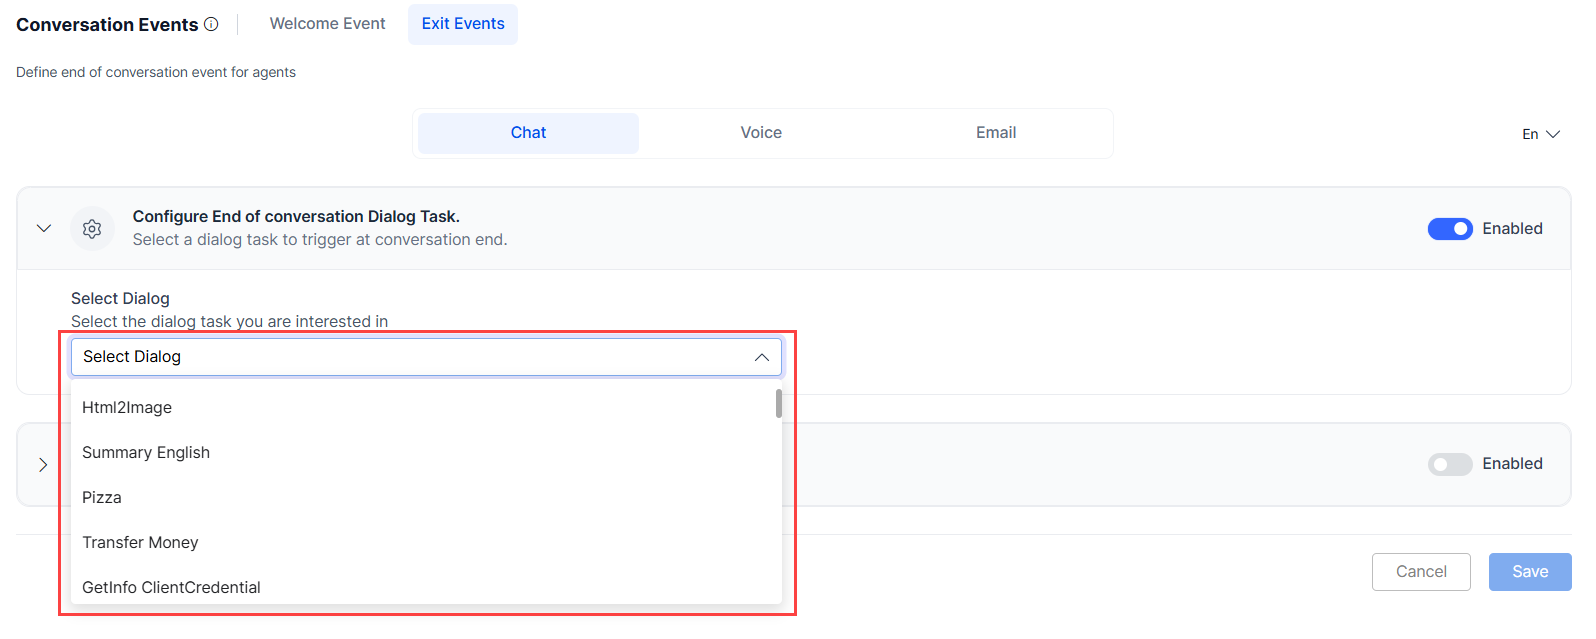
- Click to expand the Configure End of conversation Dialog Task section.
- Select a dialog task from the Select Dialog dropdown list.
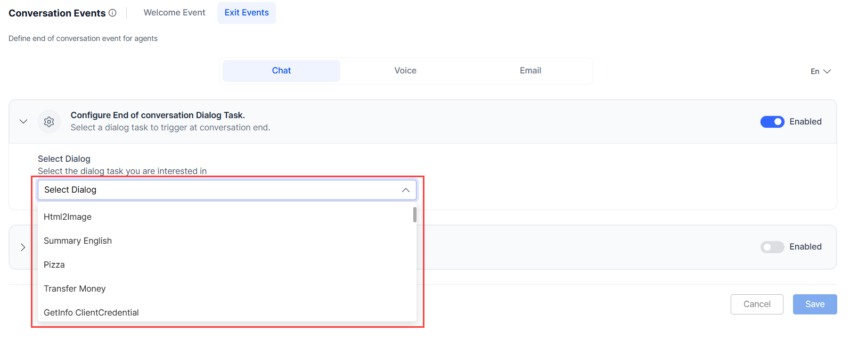
- Click Save.

Conversation Summary
This section lets you configure how to autogenerate a conversation summary at the end of a conversation. Agents can copy the summary and save it into the Notes or Remark field while closing the conversation. To use the Custom Dialog Task option, you must disable the Configure End of Conversation Dialog Task setting. You can select one of the following options:
- OOTB Kore Summarization: Kore’s default automatic summarization.
- Custom Dialog Task: Lets you select a custom dialog task to customize the Conversation Summary. Click here to learn more about customizing the summarization process. This field displays a list of dialog tasks based on bot selection at the app level. At the app level, if you have selected:
- Universal Bot: The backend logic detects it and populates its associated child bots. You can expand each Child Bot to view and select its dialog task.
- Child Bot/Normal/Singular Bot: The Dialog Tasks list displays dialogs linked to the selected bot, and you can select any from the displayed list.
Steps to set Conversation Summary
- Sign in to Agent AI.
- Go to Configurations > Conversation Events.
- Click Exit Events.
- Select a channel – Chat, Voice, or Email.
- Click the toggle to enable Conversation Summary.
- Select either OOTB Kore Summarization or Custom Dialog Task.
- If you select Custom Dialog Task, the following confirmation message appears (if the Configure End of Conversation Dialog Task was enabled):

- Click Yes, Proceed.
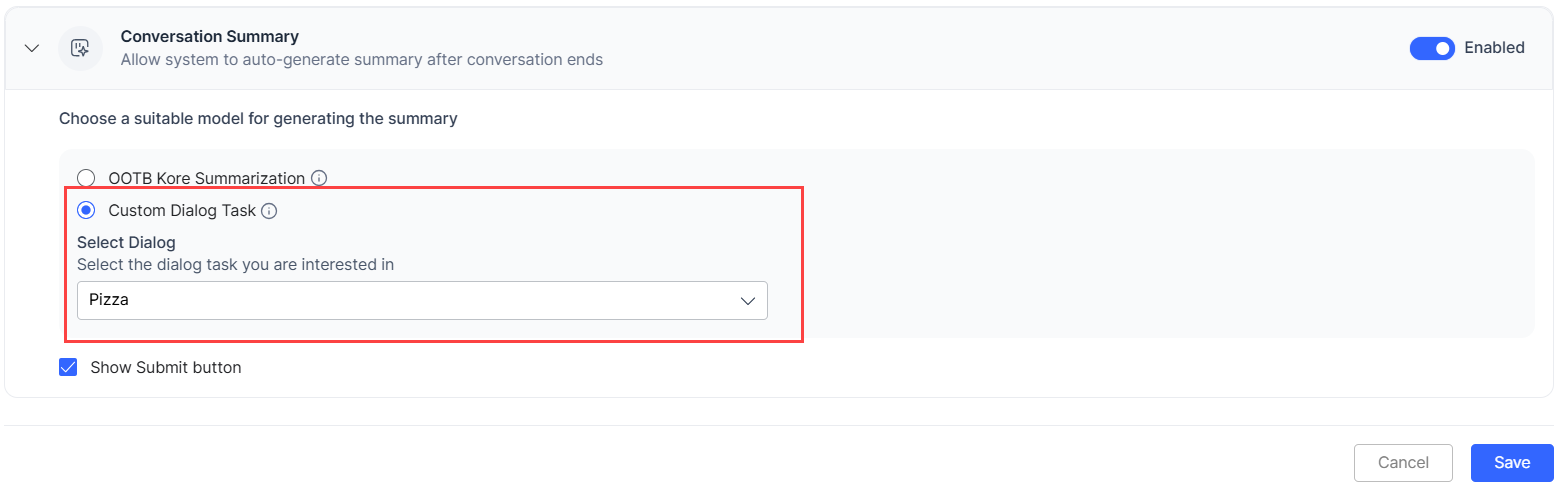
- Select a dialog task from the Select Dialog dropdown list:
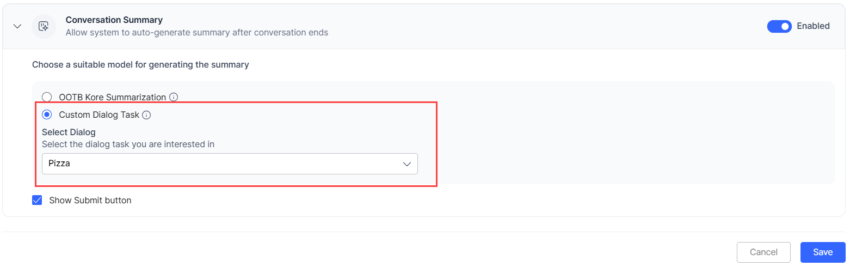
- If you select Custom Dialog Task, the following confirmation message appears (if the Configure End of Conversation Dialog Task was enabled):
- Select or clear the Show Submit button option.
- Click Save.

Configure End of Conversation Agentic App
This section lets you select an Agentic App to trigger when a conversation ends. You can select either the same app used in Agentic Copilot or a different Agentic App. This toggle is disabled unless Agentic Copilot is enabled in Widget Settings > Agent AI Channel Specific Settings. Enabling it disables the Configure End of Conversation Dialog Task setting. The following options are available:
- Use same app as Agentic Copilot: Uses the same app configured for Agentic Copilot.
- Select a different Agentic App: Displays a dropdown list of available Agentic Apps (excluding the app used by Agentic Copilot).
Steps to Configure End of Conversation Agentic App
- Sign in to Agent AI.
- Go to Configurations > Conversation Events.
- Click Exit Events.
- Select a channel—Chat, Voice, or Email.
- Click the toggle to enable Configure End of Conversation Agentic App.
- The following confirmation message appears, if Configure End of Conversation Dialog Task was enabled.

- Click Yes, Proceed.
- Select Use same app as Agentic Copilot or Select a different Agentic App option.
- If you select the Select a different Agentic App option, the following screenshot appears:
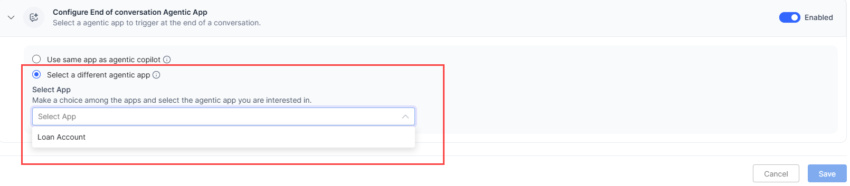
- Select an Agentic App from the dropdown list.
- If you select the Select a different Agentic App option, the following screenshot appears:
- Click Save.