If you ever change the bot associated with AgentAssist, you must update the details of the new bot in Genesys. After you change the bot settings, you must also update the bot ID for audio streaming.
Before you proceed, get the required details of the new bot from AgentAssist > Configuration > System Setup > Channels > Chat. See Finding Chatbot Details.
Steps to change the bot settings:
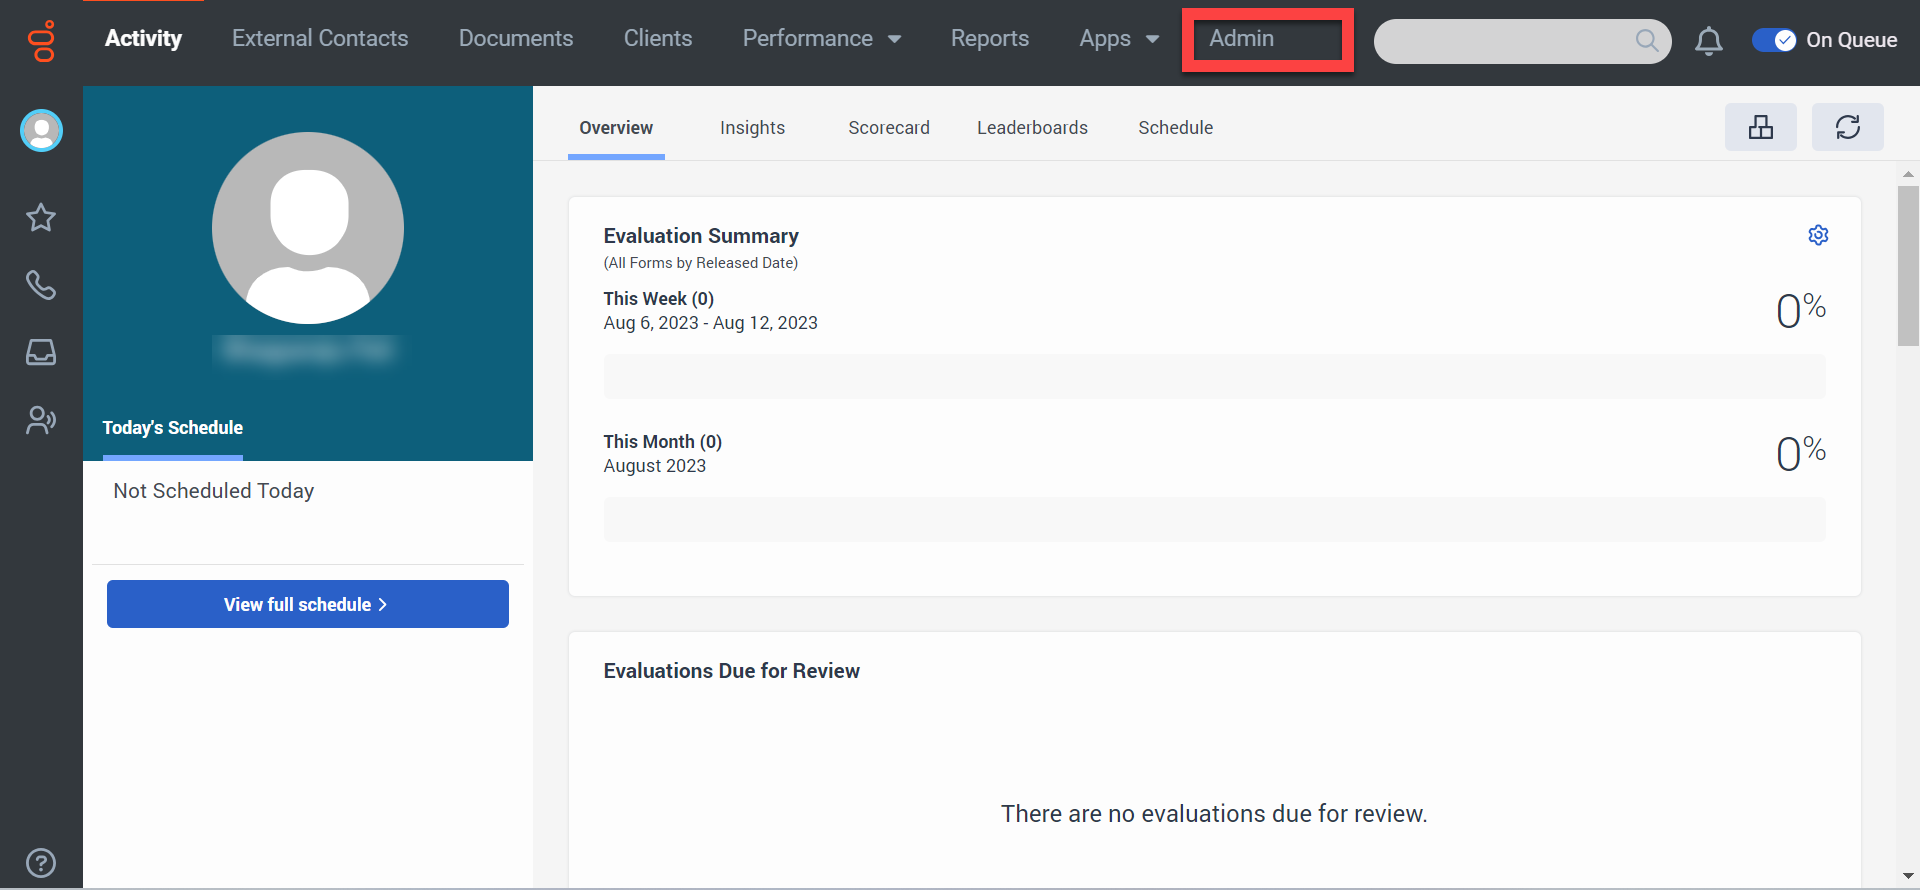
- Log in to your Genesys instance (for example, https://apps.mypurecloud.com/) using your valid login credentials.
- Click Admin from the top-right menu.

- In the search bar, type “data tables” and click the Search icon or press the Enter key.

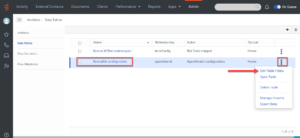
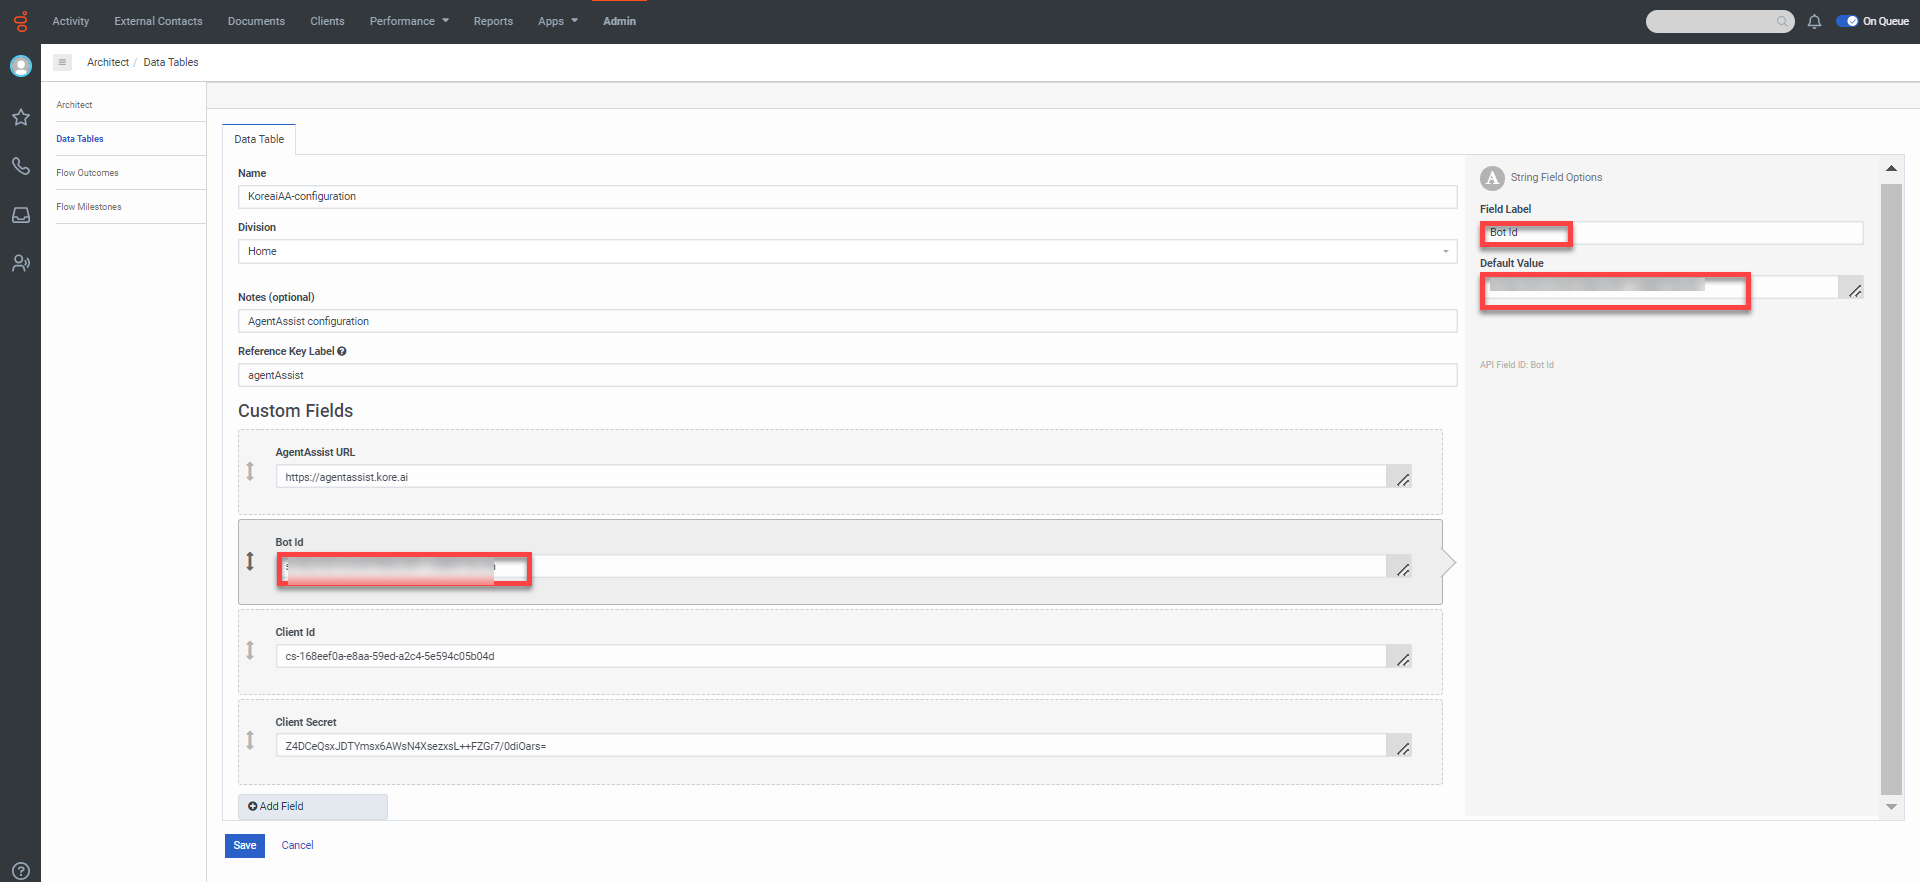
- Locate KoreaiAA-Configuration in the search results, click the More Options icon at the end of the row, and then select Edit Table Fields.
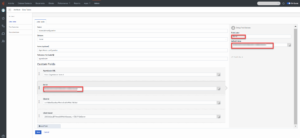
- Update the bot-specific Custom Fields: Click in the AgentAssist URL, Bot Id, Client Id, and Client Secret fields to update their values. As you click each of these fields under the Custom Fields section, they appear on the right-top corner of the page. The following screenshot is an example of the Bot Id field.
Note: In the AgentAssist URL field, enter https://agentassist.kore.ai to access AgentAssist Widget V2. For AgentAssist Widget V3, enter the Widget URL copied from Configuration > System Setup > Channels > Chat page of AgentAssist.
- Click Save. The new bot-specific information is updated and saved.
As the bot is changed now, you must update the bot ID for audio streaming.
Note: To enable live voice call transcriptions, the bot must be SAVG enabled.


Changing Bot ID for Audio Streaming
With the change of bot, you must update the bot ID for audio streaming in the Audiohook settings.
Before you proceed, get the required details of the new bot from AgentAssist > Configuration > System Setup > Channels > Chat. See Finding Chatbot Details.
Steps to change Audiohook settings
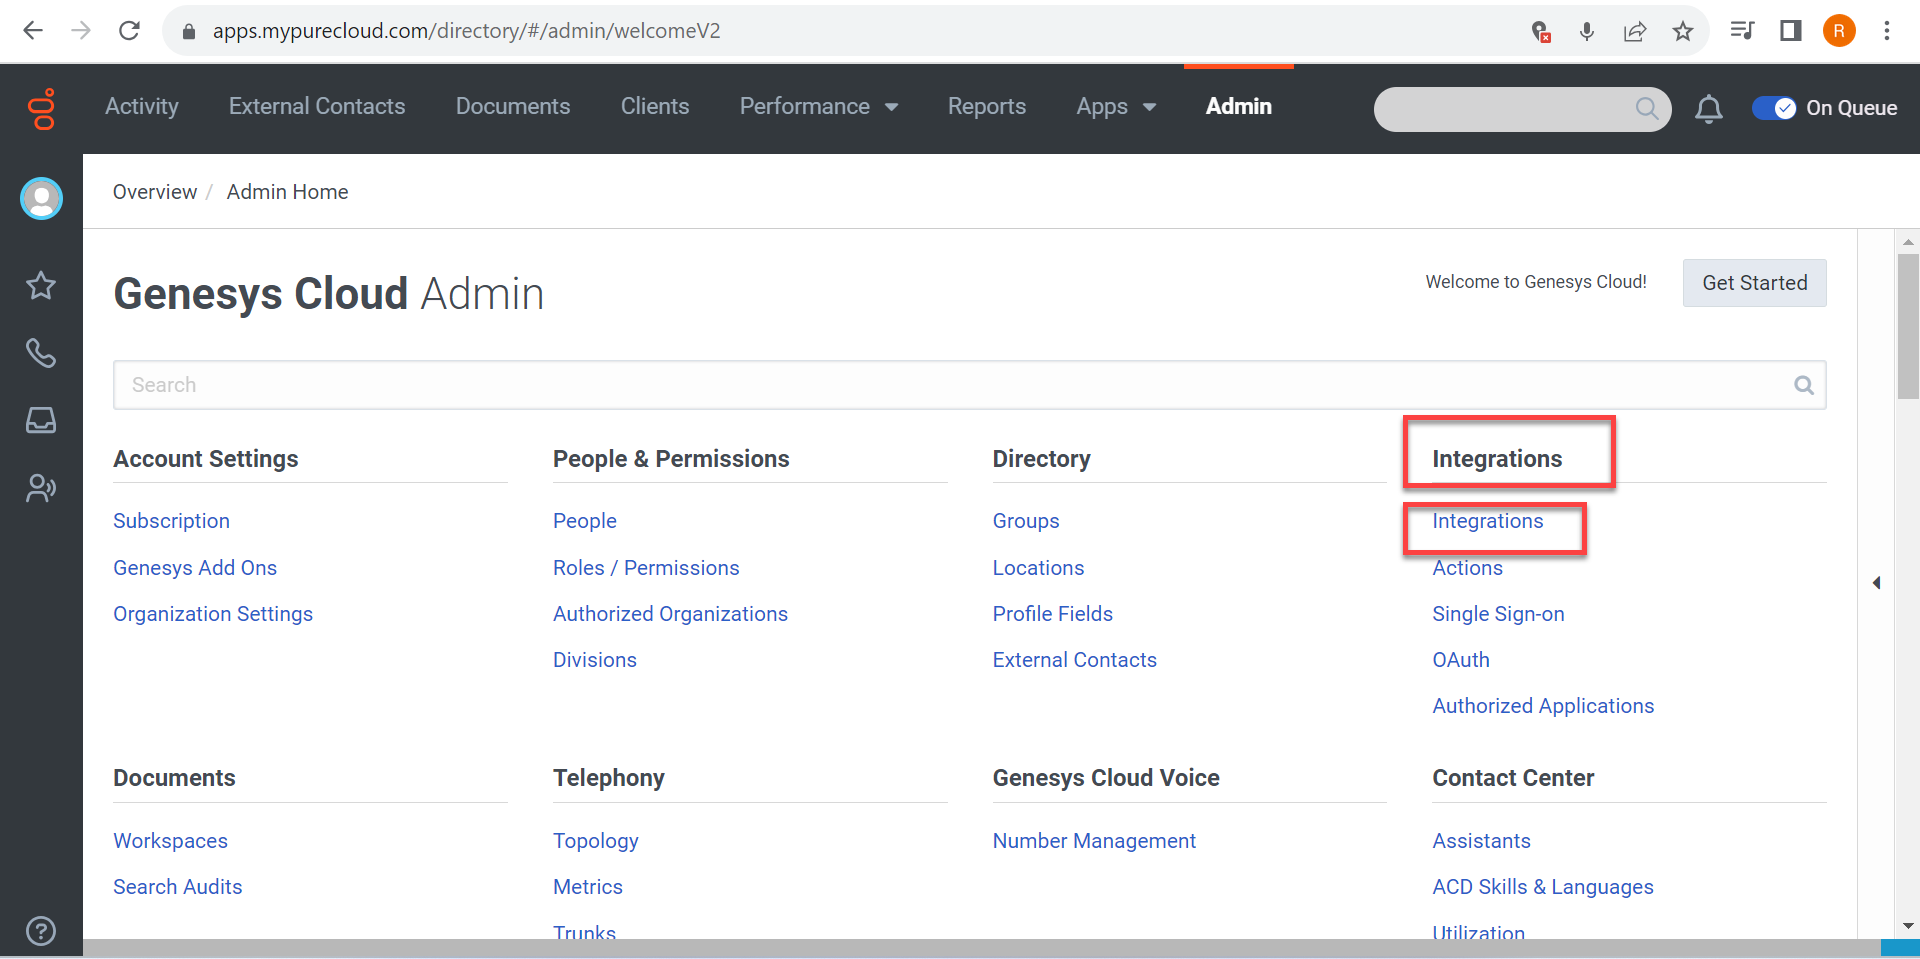
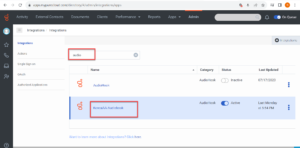
- Click the Integrations option under the Integrations section.

- Search for “audio” and then locate and click KoreaiAA-Audiohook.
 Note: For CTI and manual installation of audiohook, name can be arbitrary. (You can customize the audiohook name.)
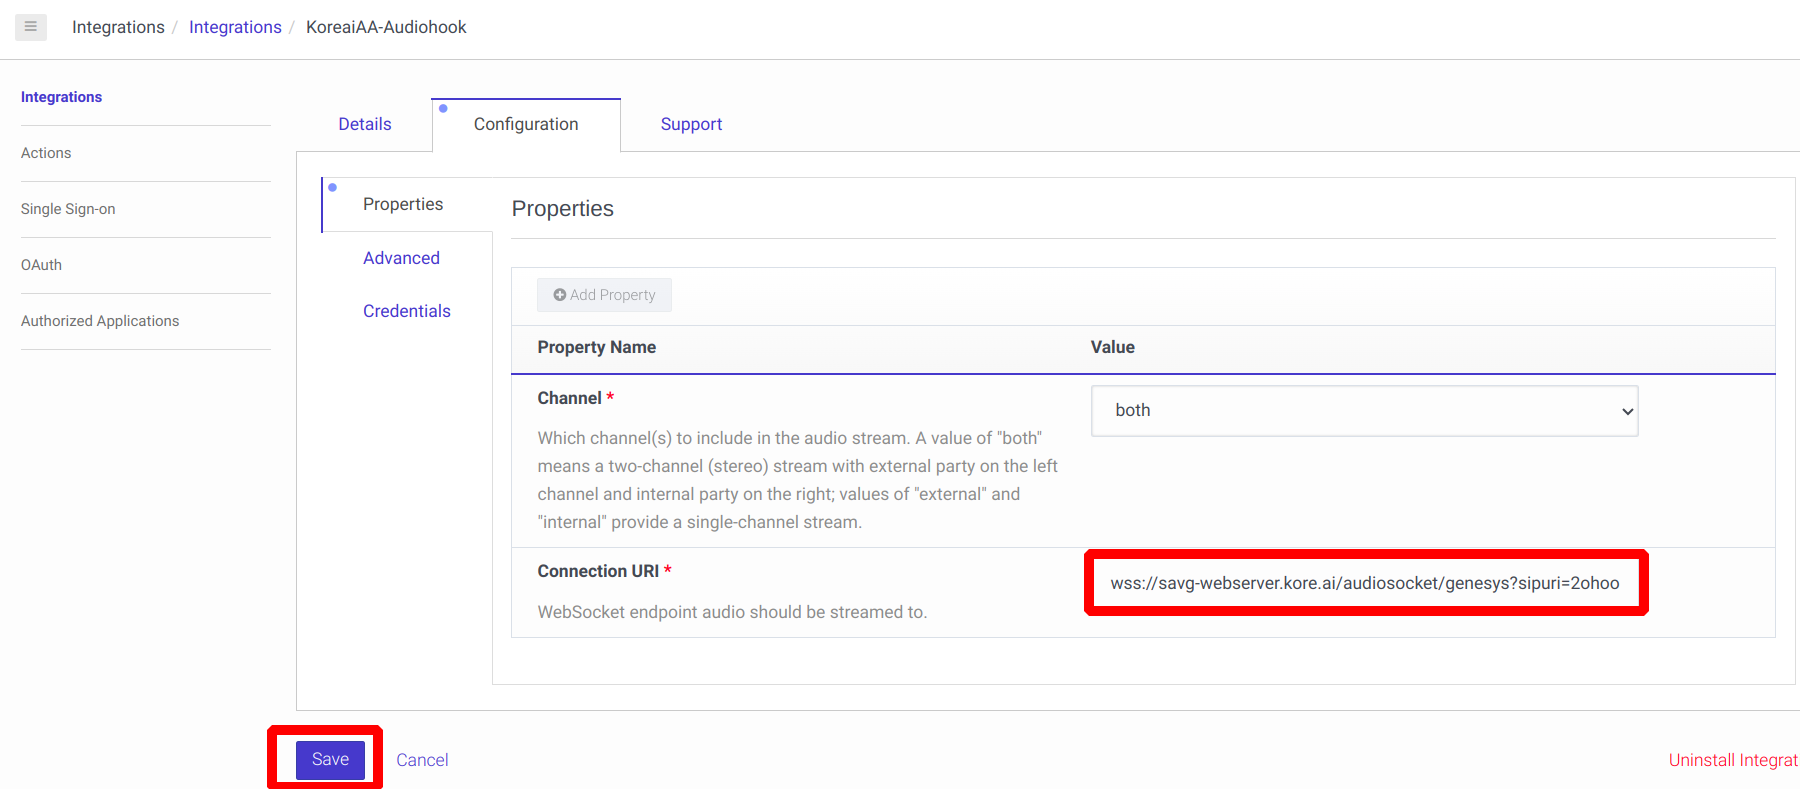
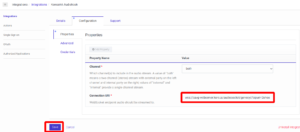
 - Under Configuration > Properties, click the Connection URI field and replace the existing bot ID with the new bot ID, as highlighted here:
- Modify the Genesys Audiohook URL that looks like: wss://savg-webserver.kore.ai/audiosocket/genesys?sipuri=<sip-identifier>&token=<token>&botId=<bot-id>&accountId=<account-id>&agentassist=true
- Get sipuri=sip:<sip-string> from the AgentAssist voice channel.

- Follow the steps of Using XO Platform APIs – Kore.ai Documentation to generate the token (token= <token>.)
- Get the Bot id, botId= <bot-id>, from AgentAssit.kore.ai.
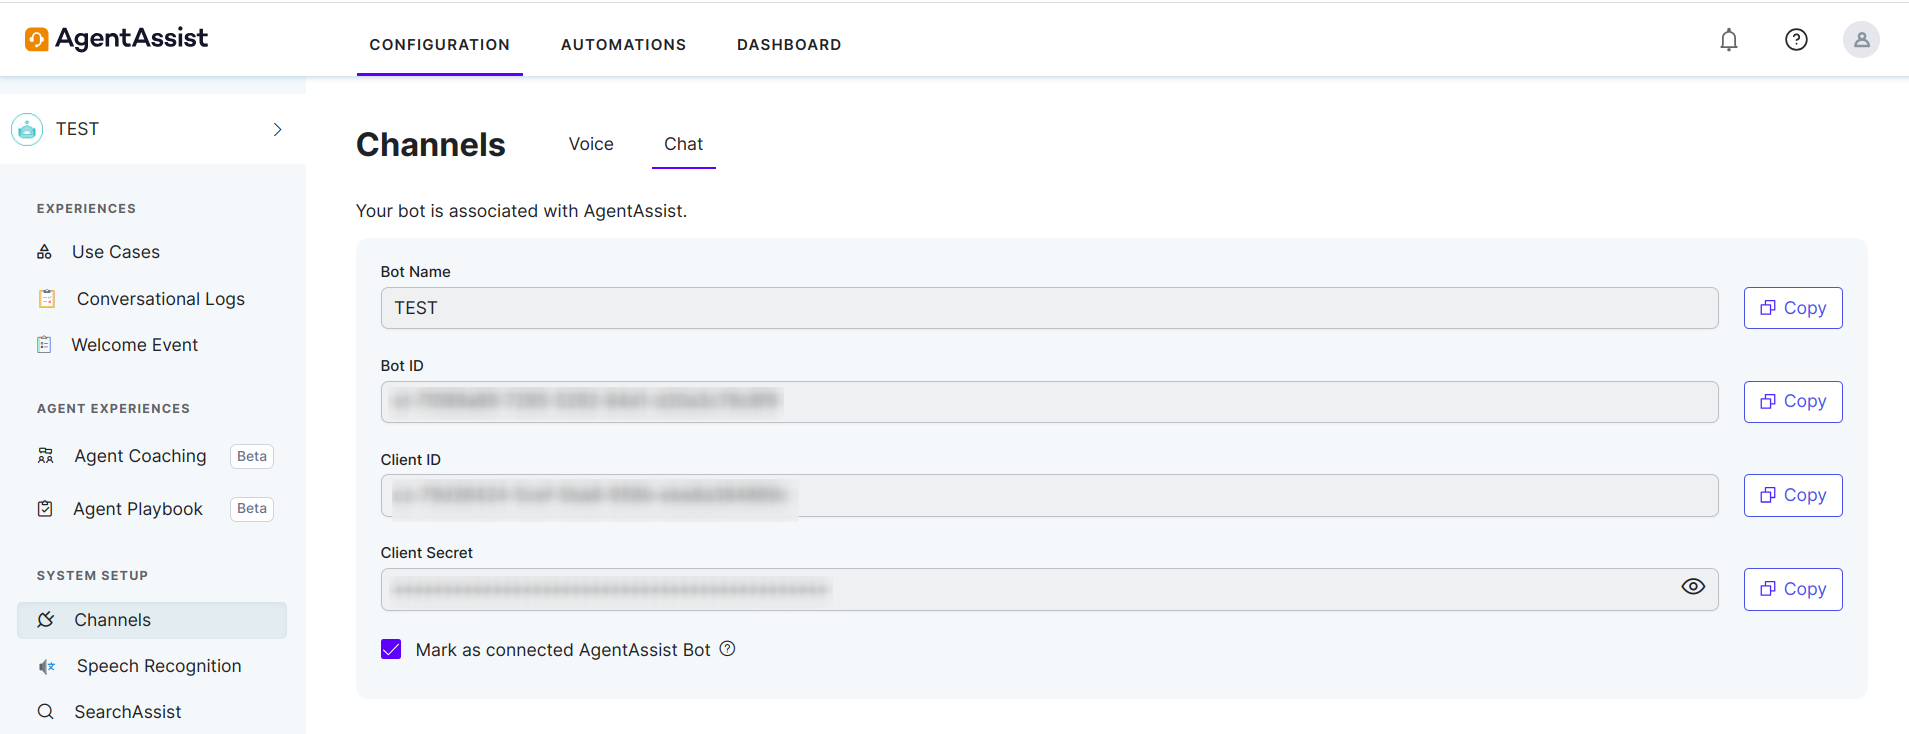
- For accountId= <account-id> – take the AccountId from AgentAssist. Follow this screenshot for your reference:

- Click Save.