This document explains the integration process of AgentAssist with Twilio.
Prerequisites
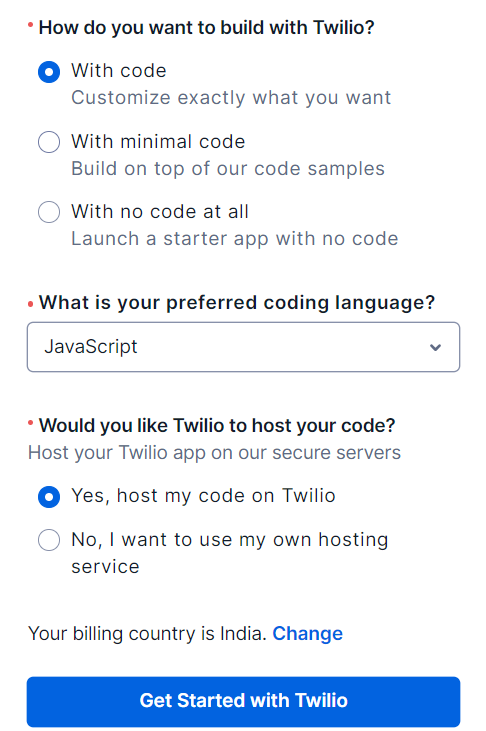
Flex-enabled Twilio account with the following configurations:
- How do you want to build with Twilio? Select With code
- What is your preferred coding language? Select JavaScript
- Would you like Twilio to host your code? Select Yes, host my code on Twilio
Interaction between Twilio and Kore.ai AgentAssist

Setting up Twilio
- Click Get Started with Twilio on the Configuration page.

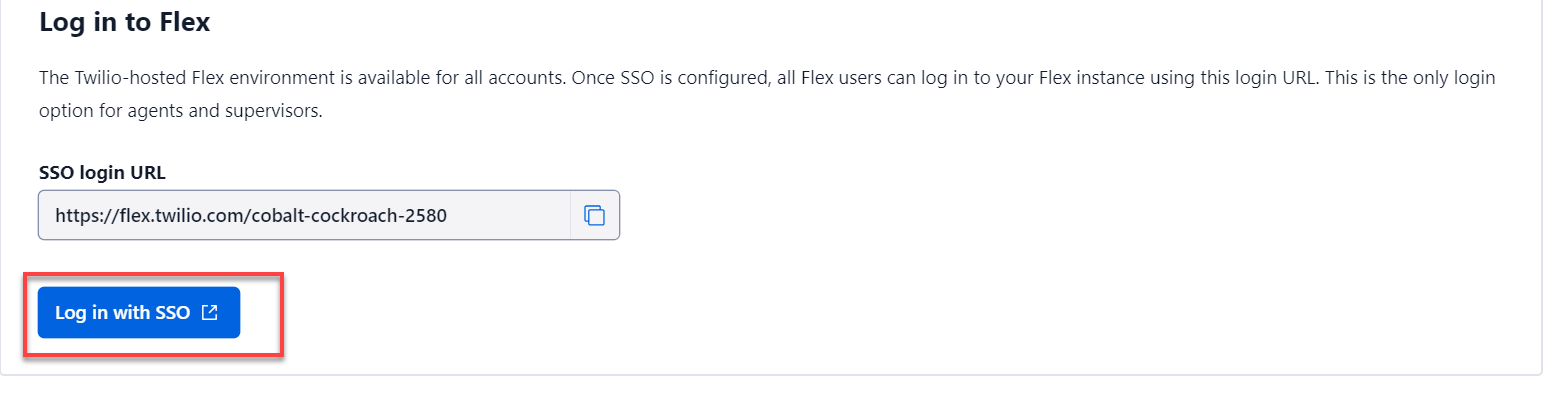
- Click Set up SSO.

- Click Log in with SSO.
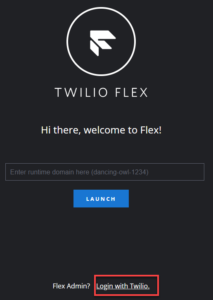
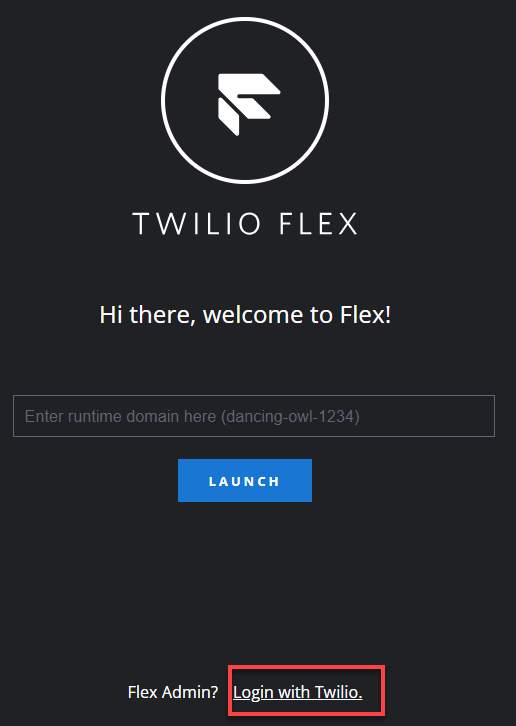
- Click Login with Twilio.

Acquiring a Phone Number
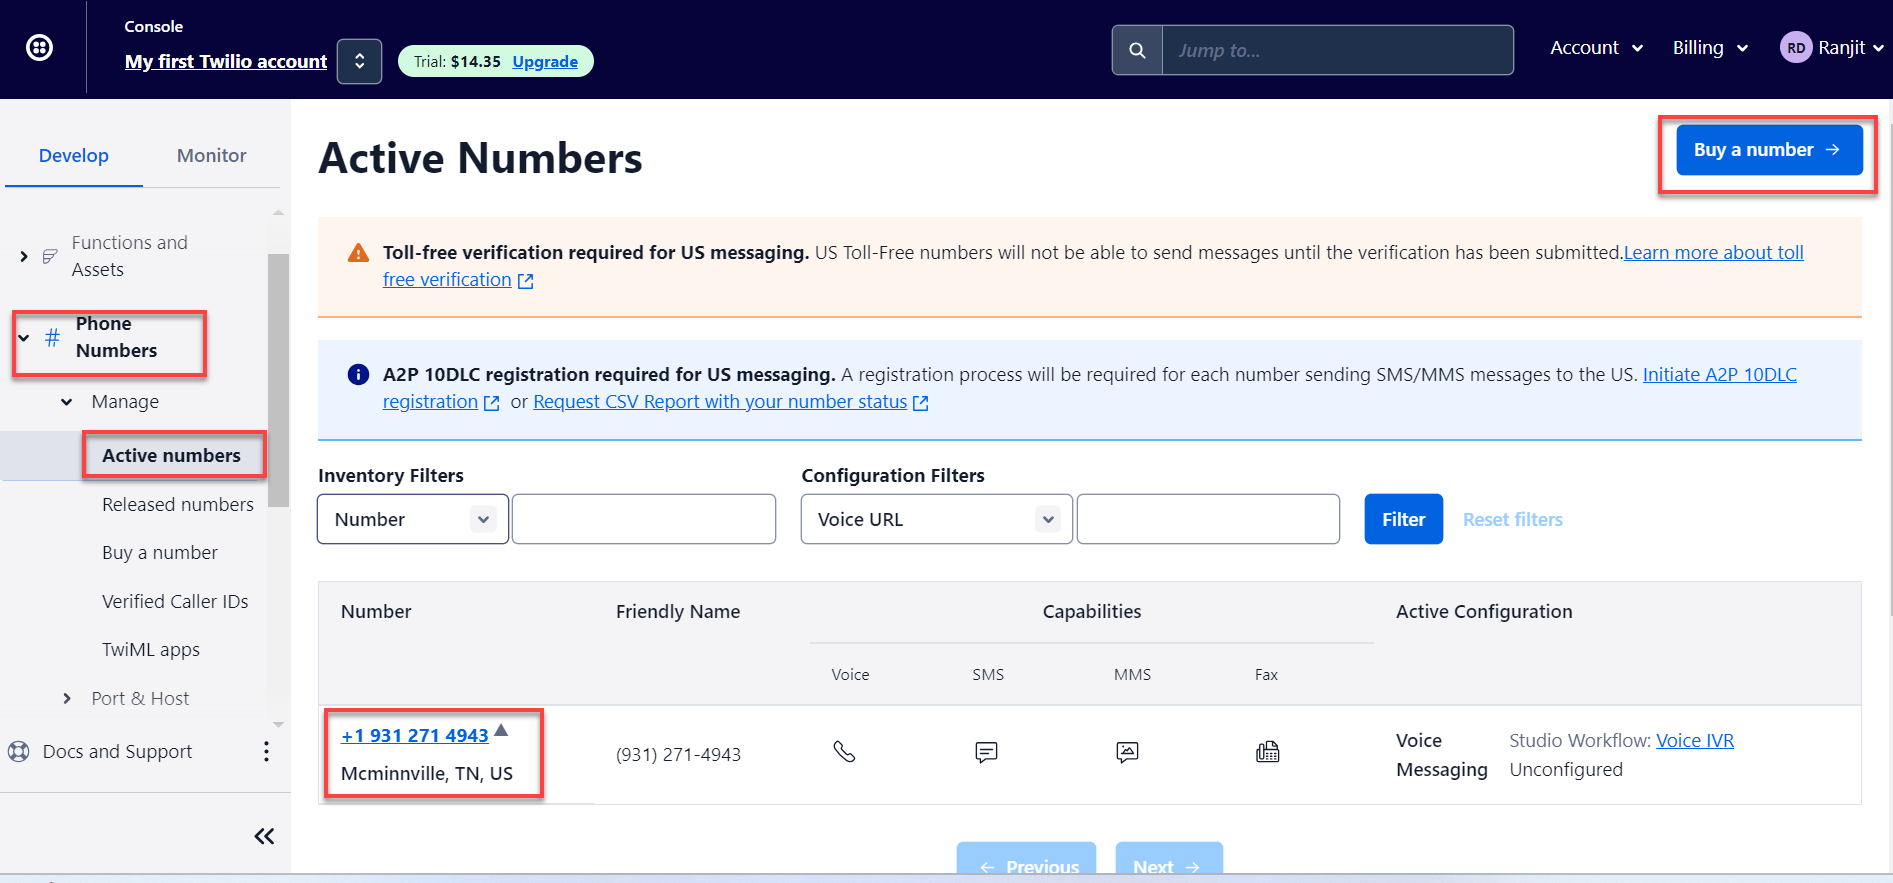
You get a free phone number when you create an account with Twilio. You can use this phone number or buy a new one from the Twilio console. To buy a new phone number, go to Phone Numbers > Active numbers and click Buy a number.
Select a phone number you want to buy and follow the steps. For reference, use the Handle a Voice Contact document.

Downloading and Running the React Code on your Device
Prerequisites
- Node Programming Language (NPL) installed on your device.
- Twilio-run package installed globally using npm (https://www.npmjs.com/package/twilio-run)
> npm install -g twilio-run
Steps
- Download the React code from the AgentAssistWidget URL.
- Replace the values in dev.config:
- ACCOUNT_SID=XXXXXXXXXXXXXXX: Take it from your Twilio console.
- AUTH_TOKEN=XXXXXXXXXXXXXXXX: Take it from your Twilio console.
- botId=st-XXXXXXXXXXXXXXXXXXXXX: Take it from your AgentAssist account.
- clientId=cs-XXXXXXXX-XXXX-XXXX-XX: Take it from your AgentAssist account.
- clientSecret=XXXXXXXXXXXXXXXXXX: Take it from your AgentAssist account.
- aud=https://idproxy.kore.com/authorize: Default value that shouldn’t be changed.
- isAnonymous=false: Default value that shouldn’t be changed.
- agentassistURL=https://agentassist.kore.ai
Availing Voice Input from Twilio for Transcripts
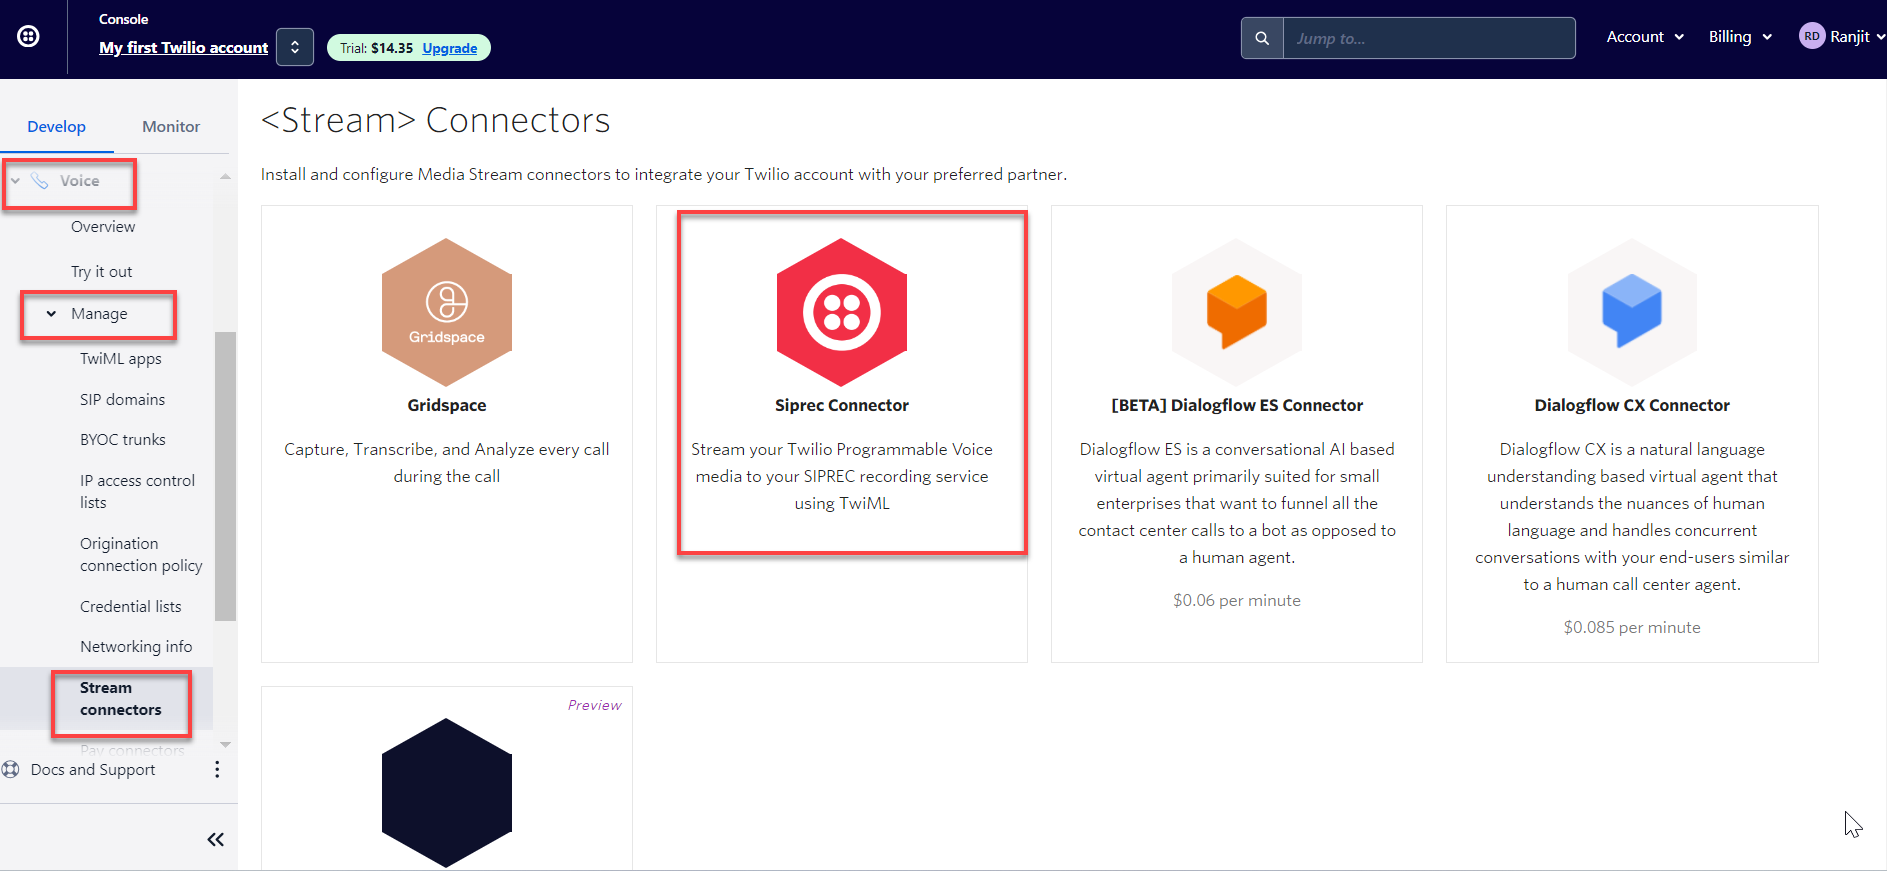
- Go to the Twilio console.
- Click Voice > Manage > Stream connectors.
- Click Siprec Connector.

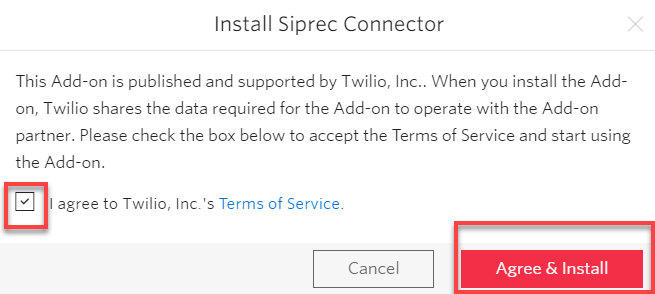
- Click Install.
- Select the I agree to Twilio, Inc.’s Terms of Service checkbox and click Agree & Install.

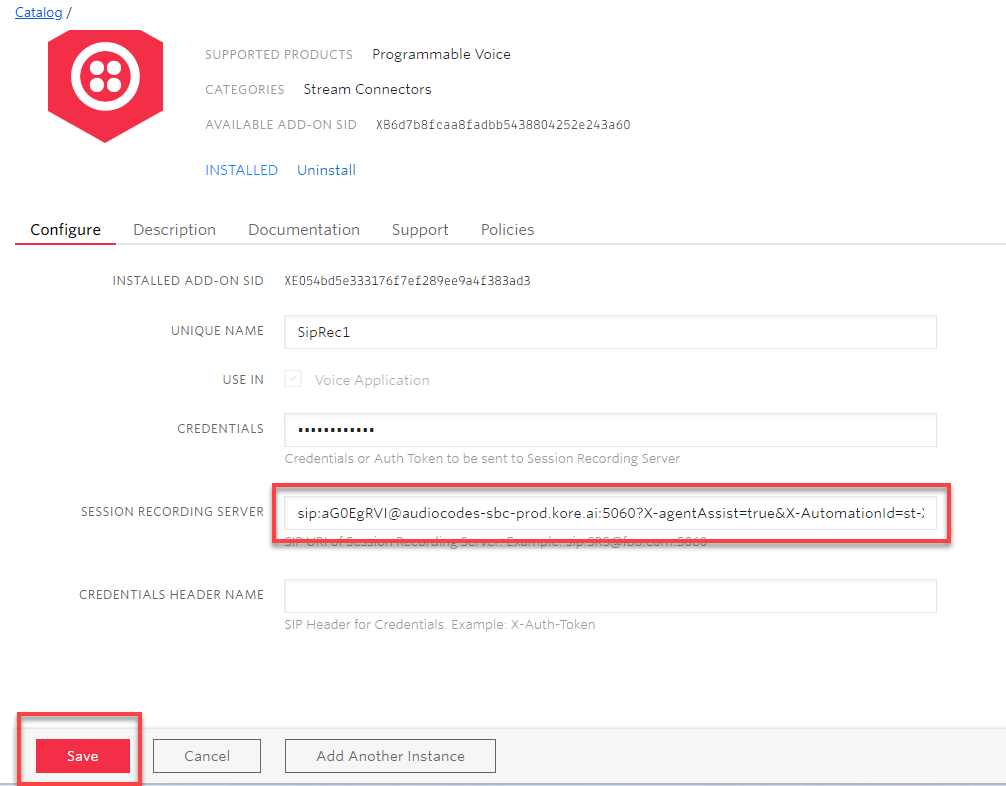
- Get the Session Recording Server value from AgentAssist and paste it into the SESSION RECORDING SERVER field.
Note: The &X-AutomationBotId=st-XXXXXXXXXX value should match with the botId value of dev.config.

- Click Save.
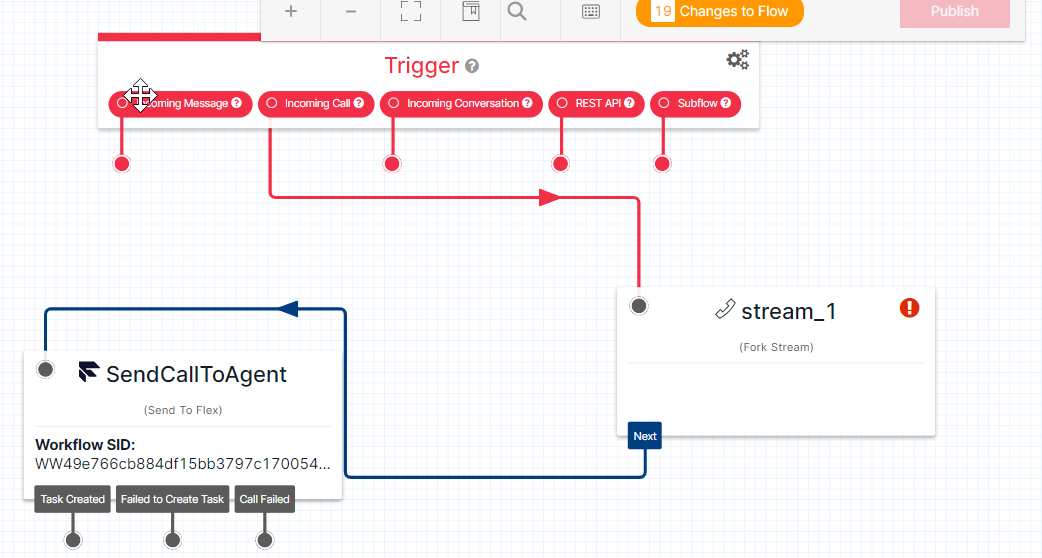
Modifying Existing Voice IVR Flow for Transcripts
This section lets you decide the location where voice inputs from Twilio go in AgentAssist for transcription.
- In the Twilio console, click Studio > Flows.
- Click Voice IVR.
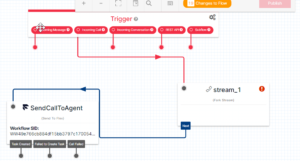
- Drag and drop the Fork Stream widget to the Trigger flow section.

- Join the Incoming Call widget connector to the Fork Stream (stream_1) widget.
- Join the Fork Stream (stream_1) widget connector to the SendCallToAgent widget.
- Click the Fork Stream (stream_1) widget and configure it as the following:
- STREAM TYPE: Select Siprec
- CONNECTOR NAME: Enter SipRec1. (SIP connector unique name & Fork stream connector name should be the same.)
- TRACKS: Select Both Tracks
- Stream Parameters: Click Add.
- Enter to in the Key field and then enter {{trigger.call.To}}
- Enter from in the Value field and then enter {{trigger.call.CallSid}}
- Click Save > Publish.
Steps to Initiate Chat
You can find the code for this in the twilio-webchat folder. To run this, you need to install the Yarn package.
From the Twilio Web Chat application, update the following values:
ACCOUNT_SID=<Refer from Twilio account>
AUTH_TOKEN=<Refer from Twilio account>
API_KEY= Refer to https://www.twilio.com/docs/glossary/what-is-an-api-key#how-can-i-create-api-keys
API_SECRET= https://www.twilio.com/docs/glossary/what-is-an-api-key#how-can-i-create-api-keys
ADDRESS_SID= https://console.twilio.com/us1/develop/flex/manage/messaging?frameUrl=%2Fconsole%2Fflex%2Fmessaging%3Fx-target-region%3Dus1¤tFrameUrl=%2Fconsole%2Fflex%2Fmessaging%2Fconversations%3F__override_layout__%3Dembed%26bifrost%3Dtrue%26x-target-region%3Dus1 (Under conversation addresses and select chat as an option)
CONVERSATIONS_SERVICE_SID= https://console.twilio.com/us1/develop/conversations/manage/services?frameUrl=%2Fconsole%2Fconversations%2Fservices%3Fx-target-region%3Dus1 (usually it is named Flex Chat Service and it starts with IS)
List of Commands to Execute
> cd twilio-Webchat (go to twilo-Webchat folder ()
> yarn install
> yarn server (running chat backend service)
> yarn start
Note: If yarn is not installed in your device, refer to the following:
> npm install -g yarn
Output:

Navigate to src and run init.sh file
> sh init.sh dev.config

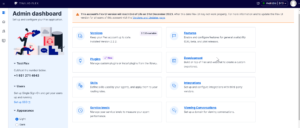
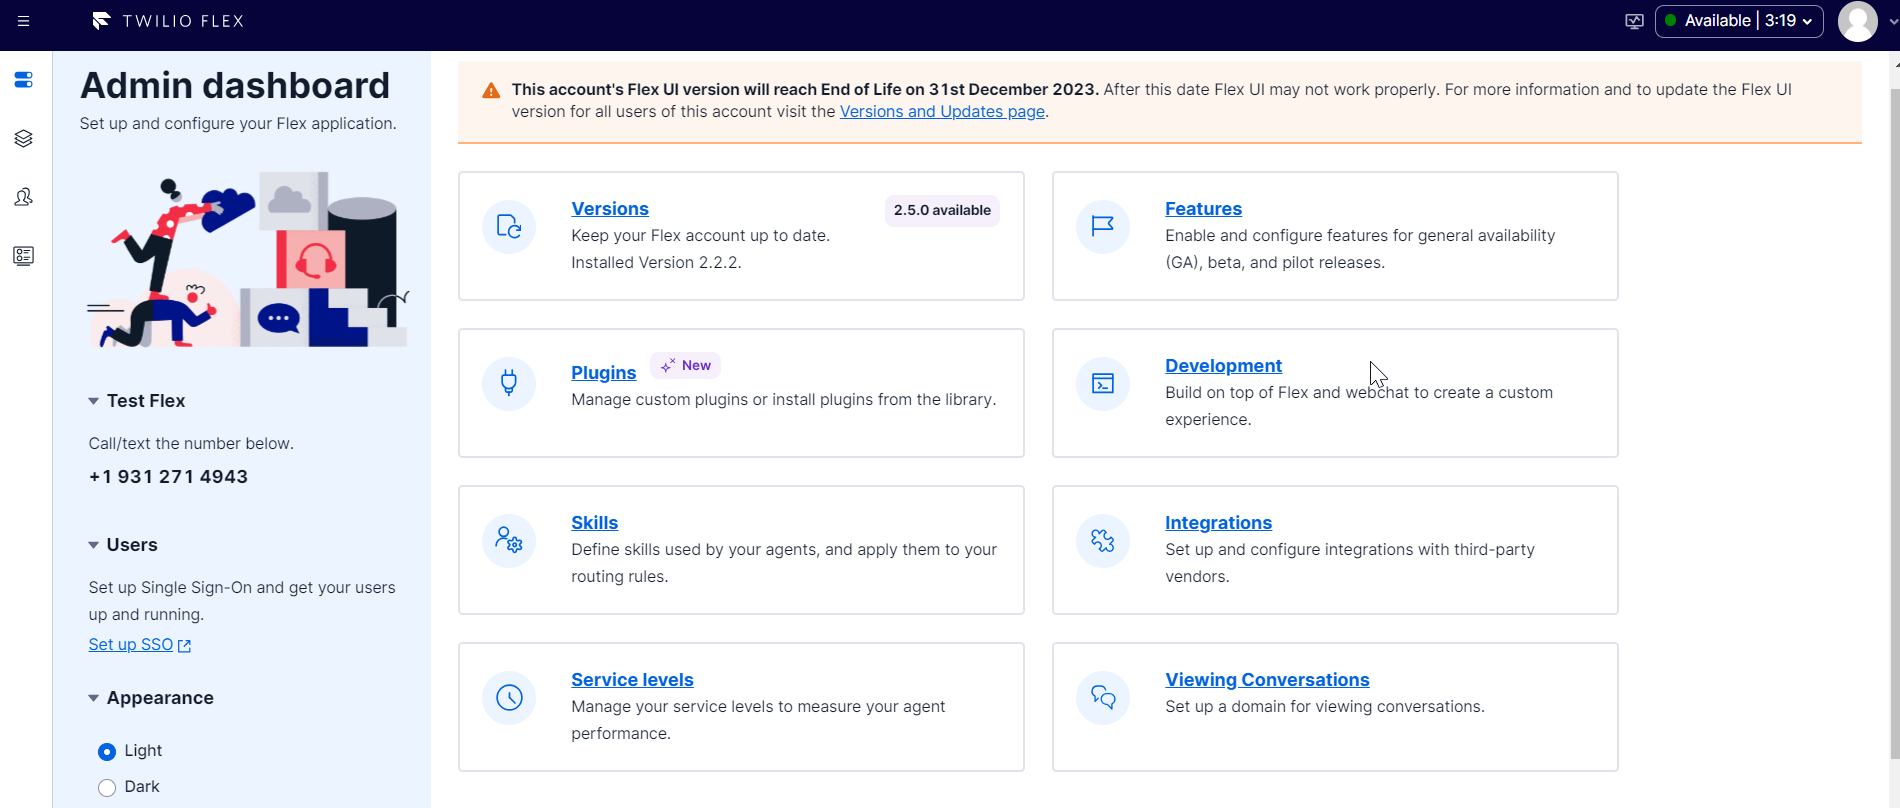
Note: If you are facing any errors with React while executing the above command, verify the React version under Twilio Flex, navigate to the Admin dashboard > Development
E.g. react:17.X.X
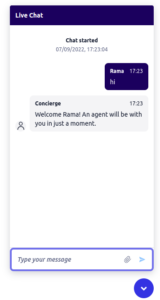
Once successfully deployed, you can start the conversation:
Agent Chat Window:
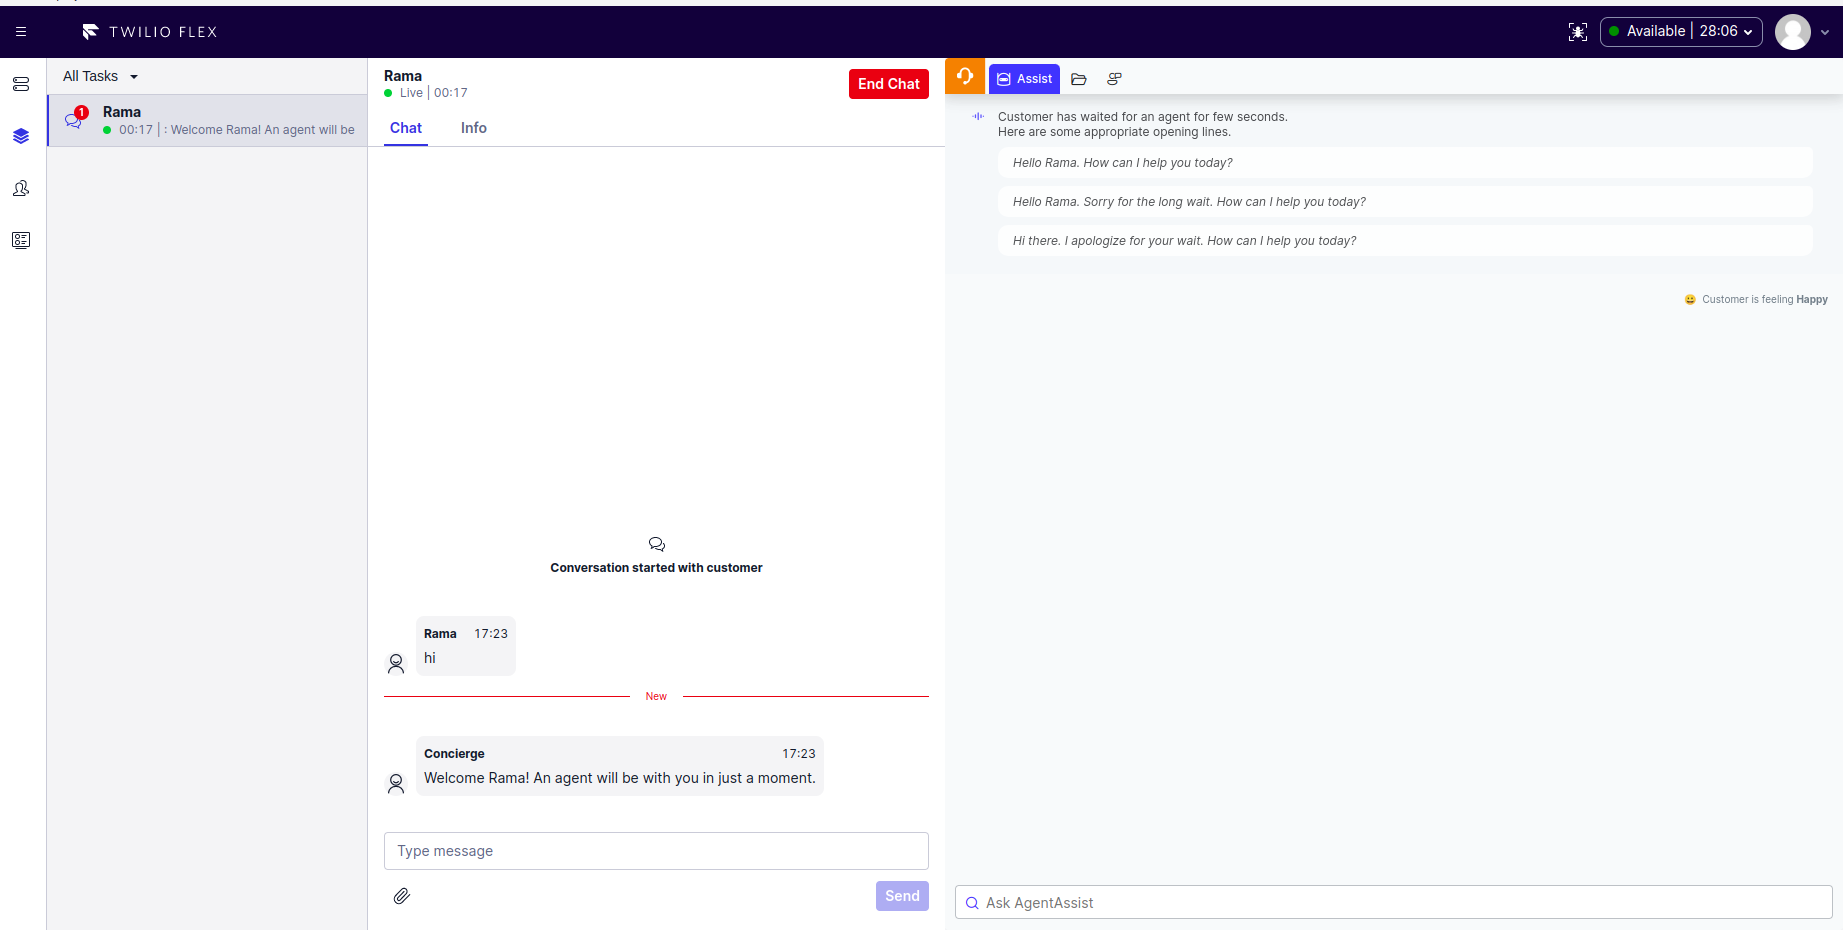
Client Chat Window: