The Kore.ai AgentAssist package is available on the Zendesk marketplace. After logging into the Zendesk account, you can install the package from the marketplace.
Prerequisites
Before you begin the installation, make sure you have the following information:
- Login credentials for your Zendesk account.
- Login credentials for AgentAssist.
- Bot details (Client ID, Client Secret, and BotID).
Pre-Installation Steps
Log in to the AgentAssist account and find the bot details as per instructions in Step 1 and Step 2.
Step 1: Login to AgentAssist
- Visit https://agentassist.kore.ai/koreagentassist/.
- Enter your email address and click Continue.
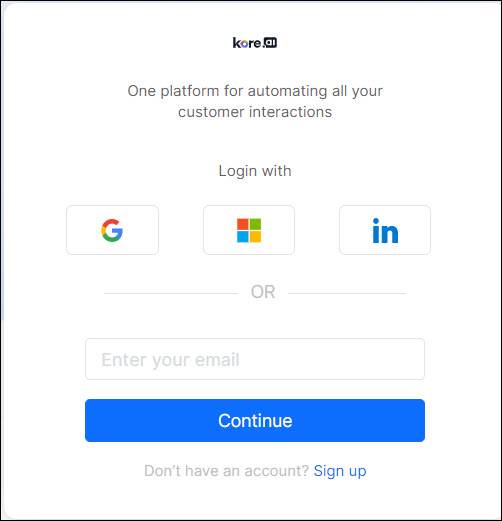
- Enter the password and click Sign In.
Step 2: Find the Bot Details
To find Bot details (Client ID, Client Secret, and BotID):
- In AgentAssist, go to Configuration > Channels > Chat.
Auto-filled bot details are displayed.
- Copy all the required bot information – Client ID, Client Secret, and BotID.

Install AgentAssist in Zendesk
- Log in to your Zendesk account.
- Find the Kore.ai AgentAssist for Zendesk package from the marketplace and click Install.

The Installation dialog box is displayed.
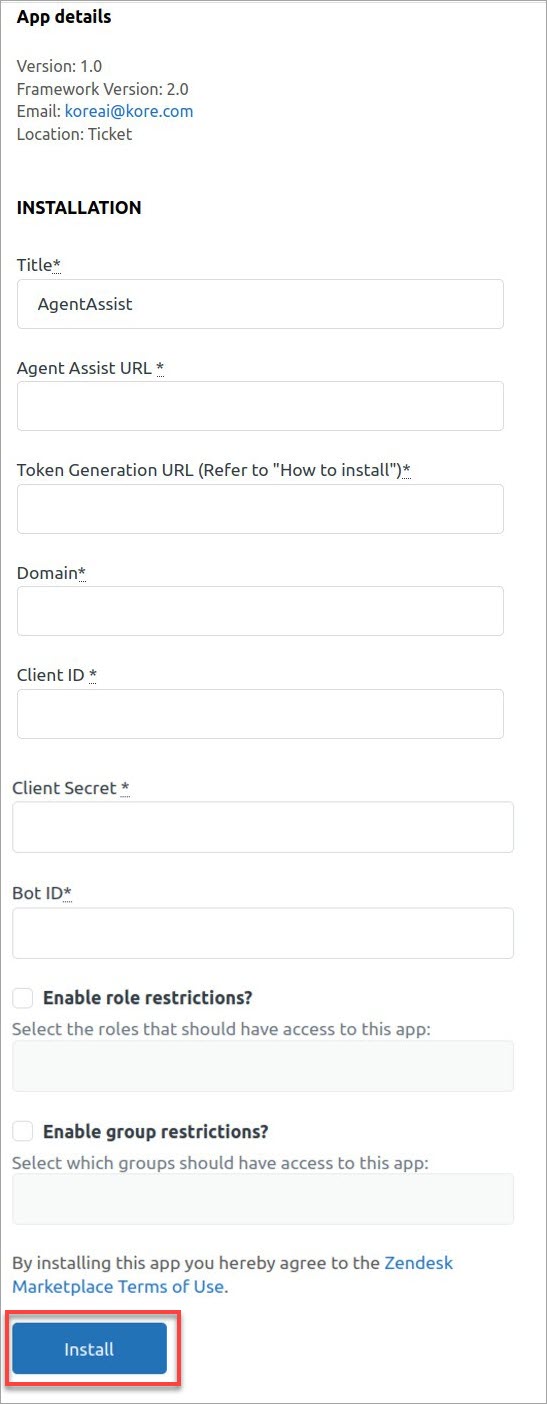
- Enter or select the required information in the dialog:
-
- Title: By default, the title is AgentAssist.
- AgentAssist URL: You can find it from your Zendesk environment on the AgentAssist Configuration page.
- Token Generation URL: You can find it from your Zendesk environment. There should be a REST service available with an implemented method of POST. The method should accept the body, as shown in the image below. Create a JWT token using the ClientID and the Client Secret. You can have any service hosted on any cloud platform or the Zendesk environment.
The token generation URL is marked below:

-
- Domain: In the earlier step, the domain name must be copied and pasted from the URL.
- Client ID, Client Secret, and BotID: Fill in the previously copied AgentAssist’s bot information in these fields. The same information that you copied in the pre-installation step.
- Enable Role restrictions? (optional) Select the Roles that should have access to the AgentAssist package.
- Enable Group restrictions? (optional) Select the Groups that should have access to the AgentAssist package.
- Click Install.
The AgentAssist widget is now available within Zendesk. Agents can start using the widget in Zendesk.