This document provides instructions on connecting your messaging channel to a website with a new embedded deployment on the Salesforce Omni-Channel Service Cloud with Agent AI.
Prerequisites
- Developer or a Production Salesforce org
- Basic knowledge of Salesforce terminology
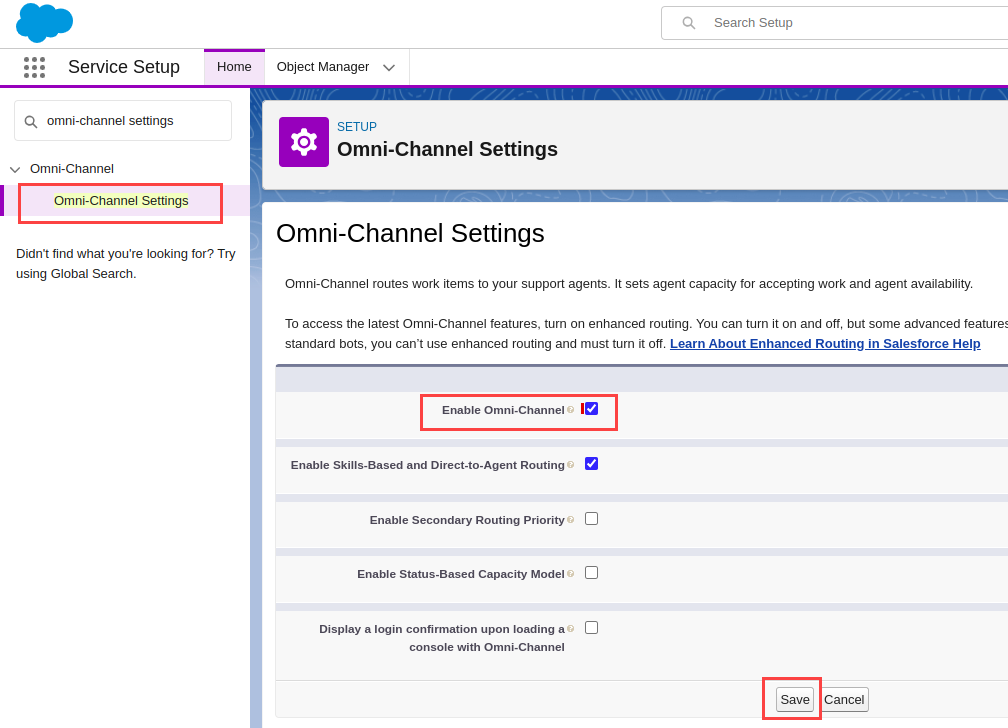
Enable Omni-Channel
- Sign in to your organization.
- Go to Salesforce Service Setup.
- In the quick find box, search Omni-Channel Settings.
- Select Enable Omni-Channel, and click Save.
Configure a Messaging Channel for Web Deployment
- Sign in to your organization–if you are in Salesforce Classic, switch to Lightning Experience.
- Follow this Salesforce documentation to configure your Embedded Service Deployment, https://help.salesforce.com/configure_web_deployment.
Add the Omni-Channel Utility to your Lightning Application
- Go to Lightning Experience > Setup.
- Enter “App” in the quick find box.
- Select App Manager.
- Click the dropdown list next to the console app that you want to add Omni-Channel to (for example, Service Console), and click Edit.
- Click Utility Bar > Add.
- Click Omni-Channel.
- Click Save.
- Click Done.
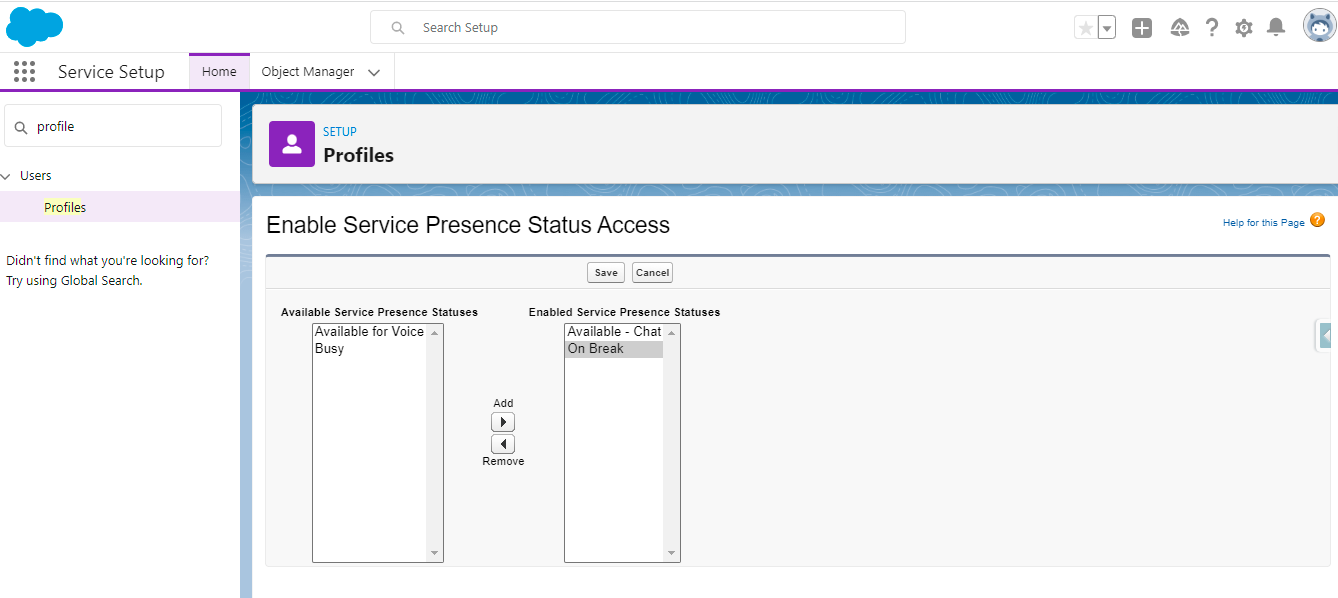
Enable Service Presence Status Access
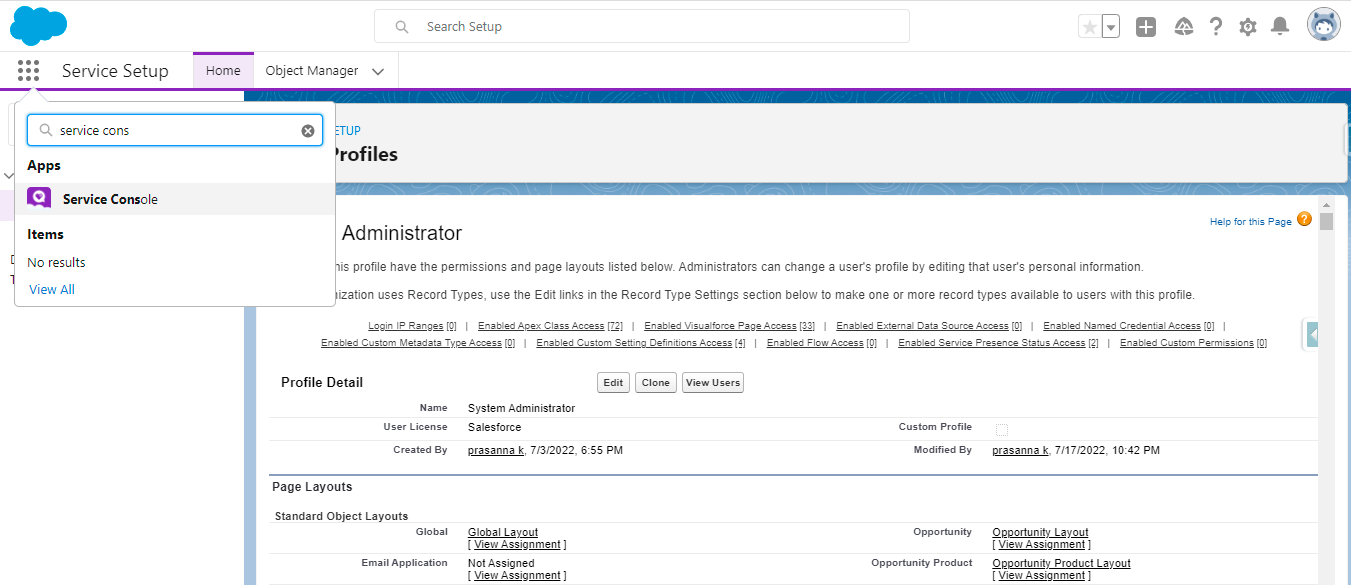
- Enter Profile in the quick find box, and then select Profiles.
- Select System Administrator.
- Edit Enable Service Presence Status Access, and assign Presence Status Available – Chat, On Break, and Busy.
Assign Permission Set License Agreement
Users must have the following Permissions Set License Agreement to be configured to attend the incoming chat request as an agent:
- Go to Setup > Users, and click Users.
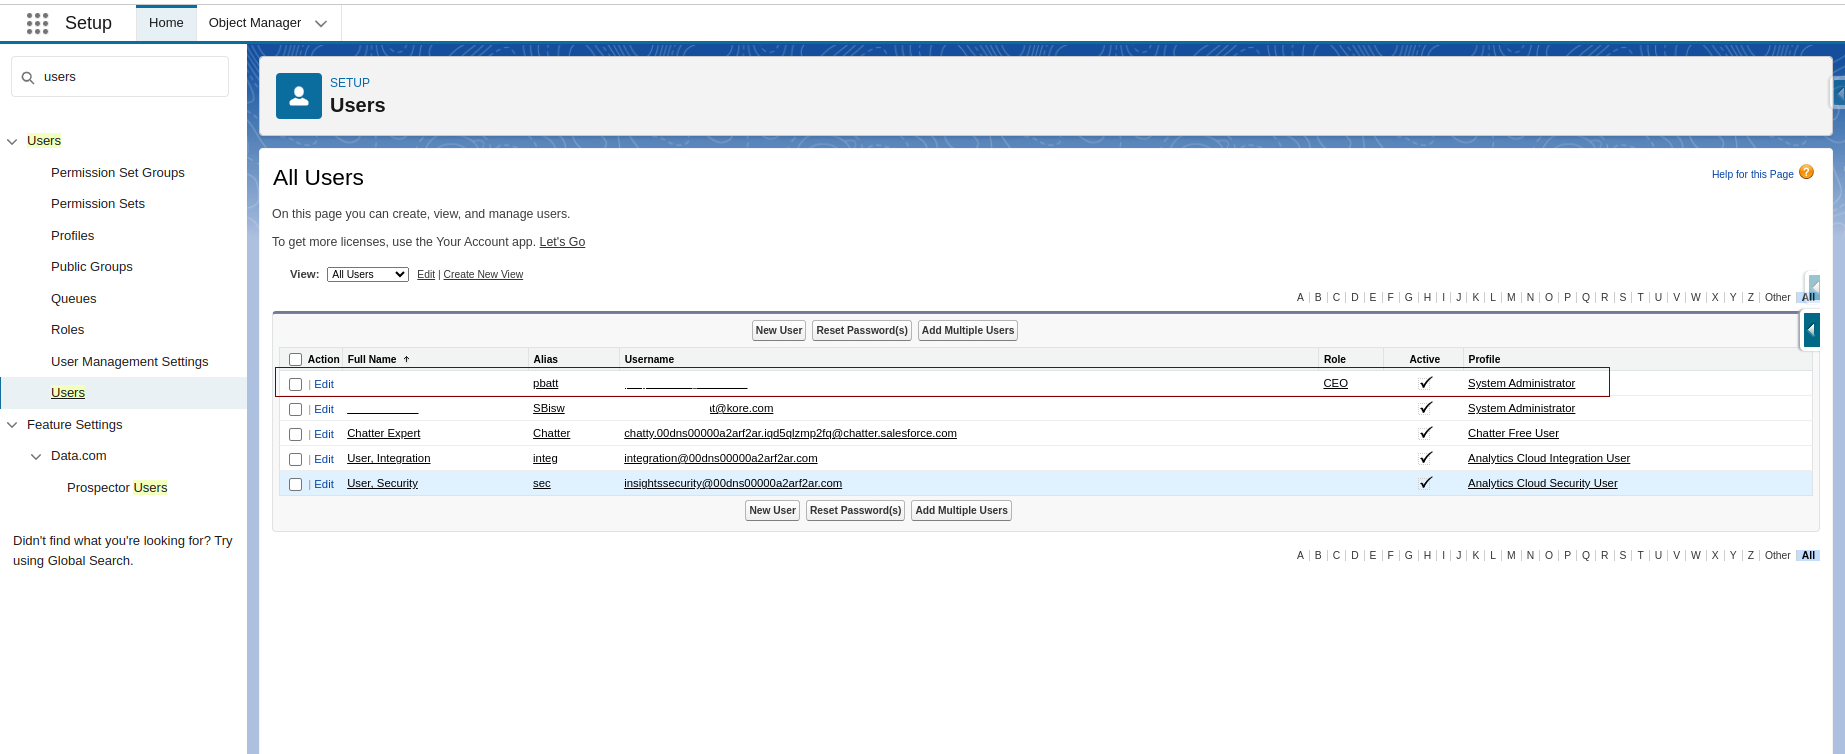
- Click a user name, and it opens up the User Details page.
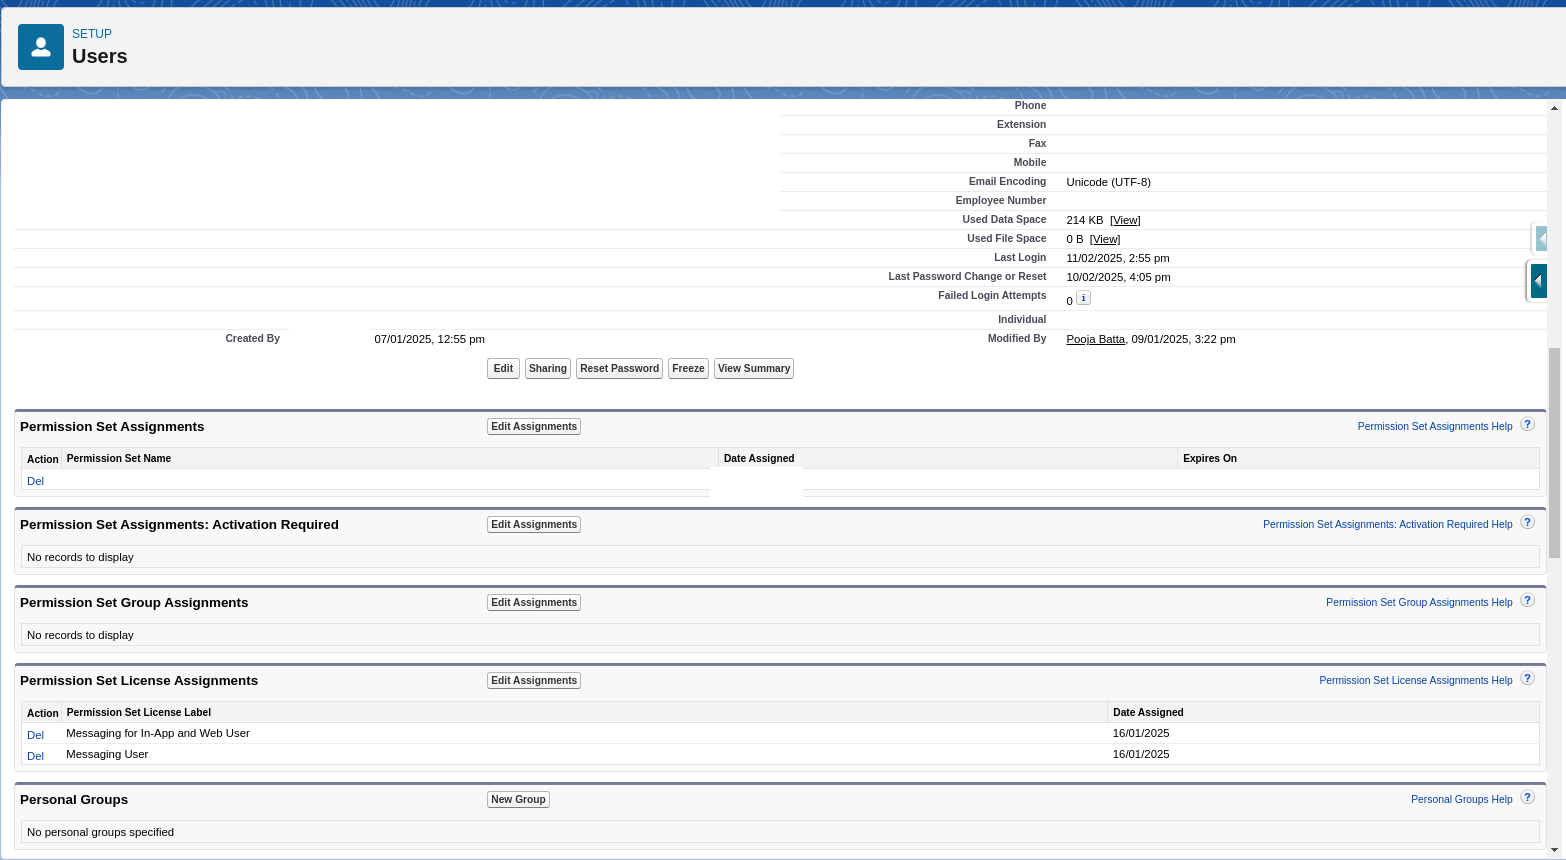
- Scroll down to the Permission Set License Assignments section, click Edit Assignments, and search for Messaging User and Messaging for In-App and Web User.
- Enable these two, and click Save.

Configuring the App
- Select App Launcher.
- Click the tile for the app that you want (Service Console, in this case).
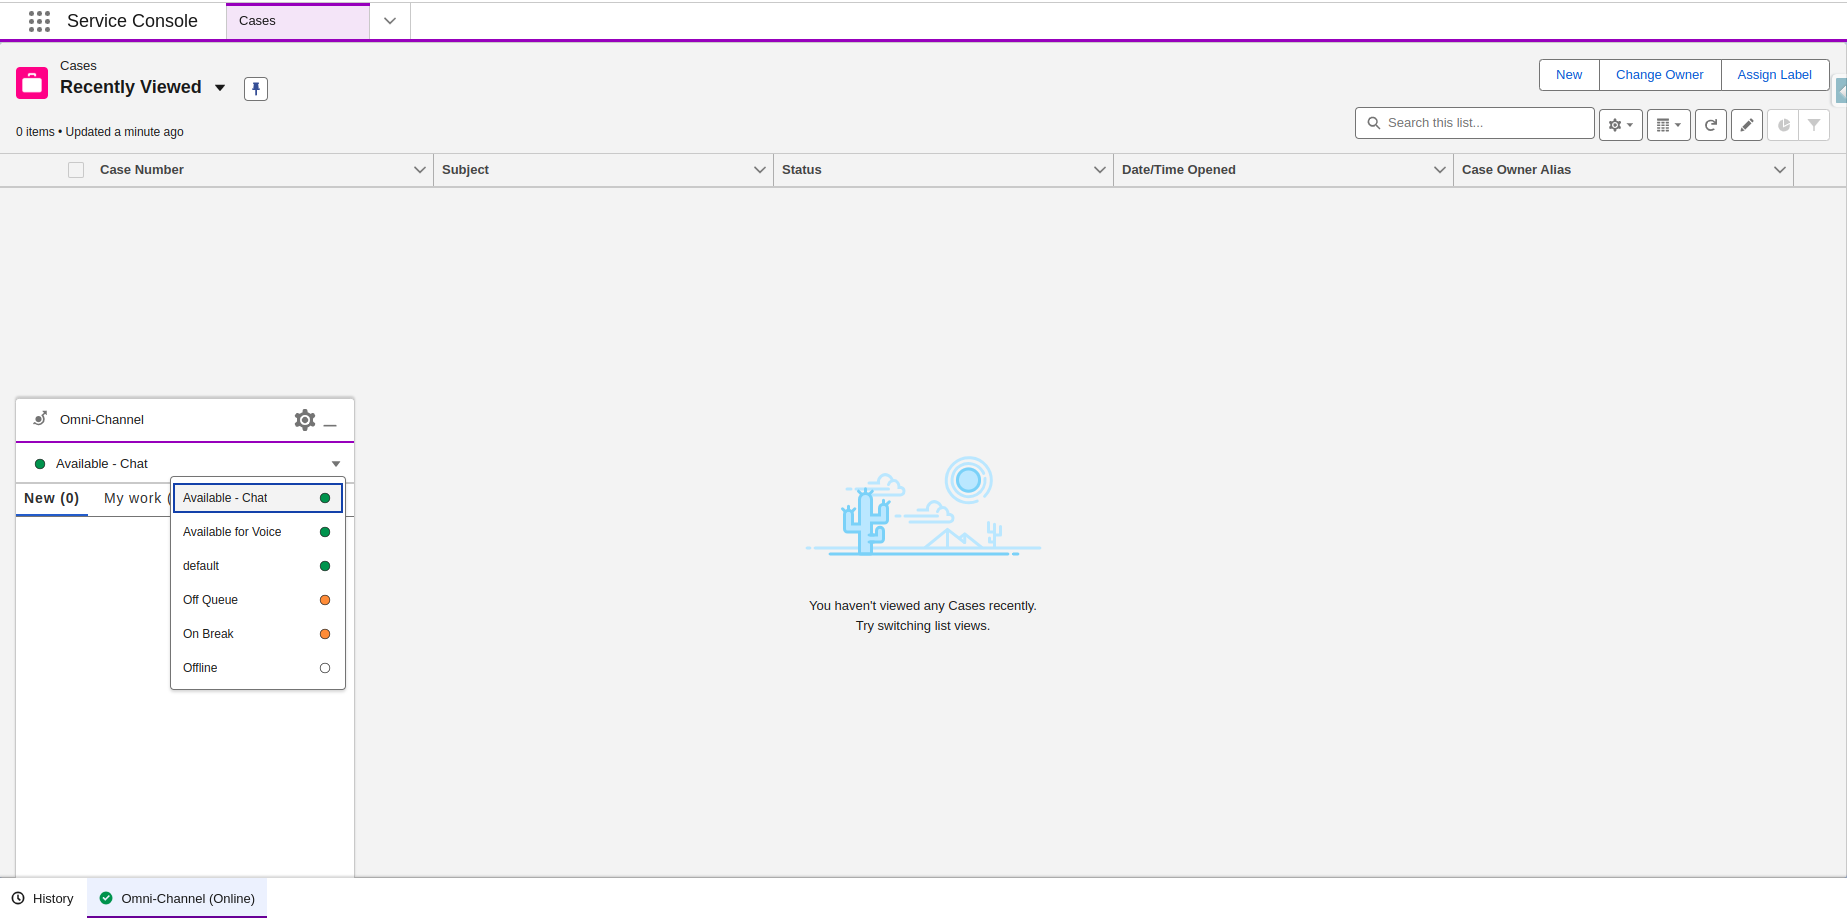
- Click the Omni-Channel widget to set the agent online.
Testing the Chat
- Go to Service Console, open the Omni-Channel widget, and set Presence Status to Available – Chat.
- Open the chat from the Chat Client:
- Go to Setup, and type Embedded in the quick find box.
- Select Embedded Service Deployments.
- Click the dropdown list, and select View.
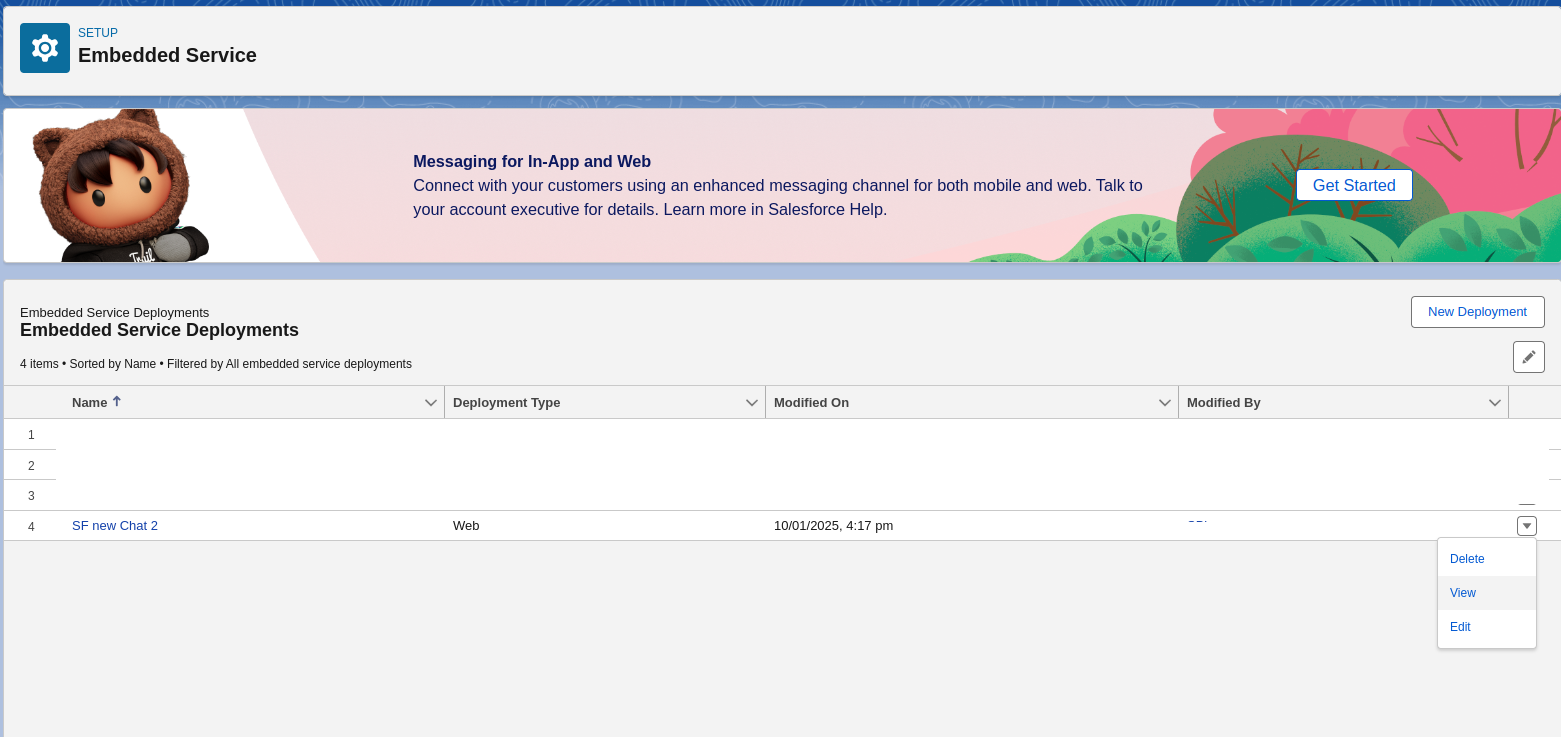
- Click Test Messaging from the Embedded Service Deployment Settings.
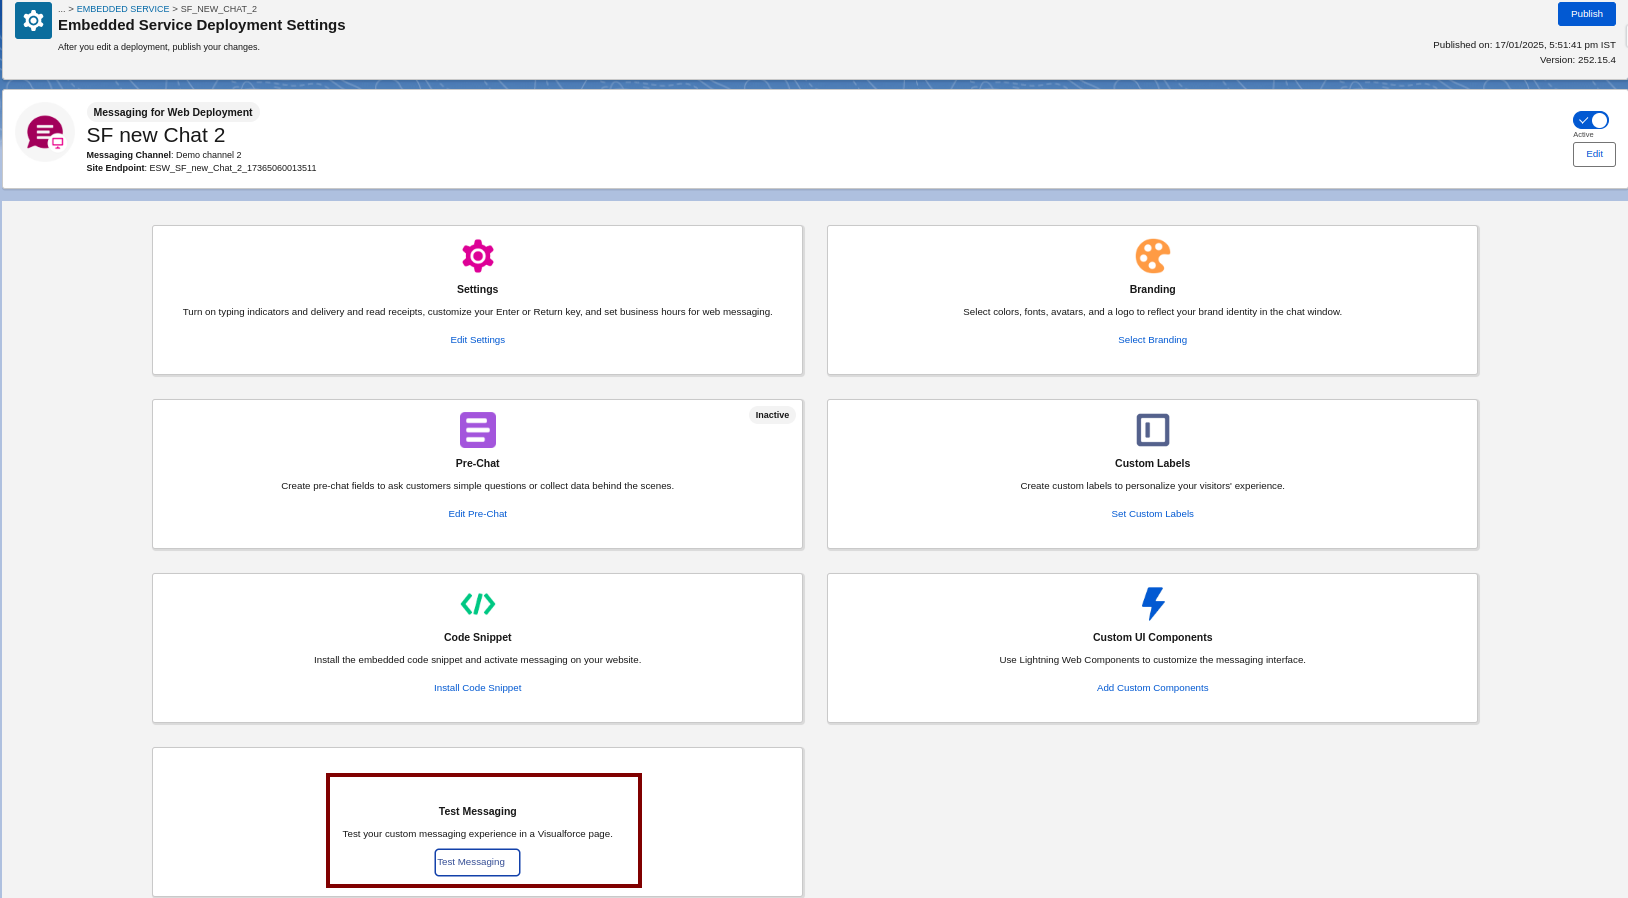
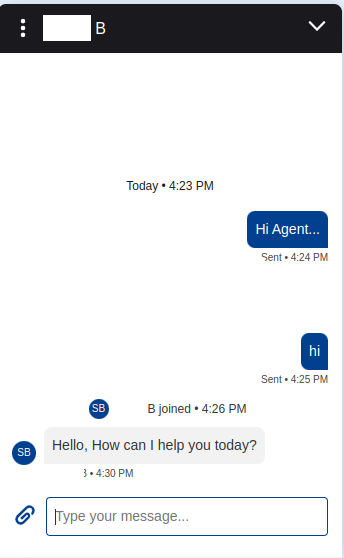
- It opens up a Visualforce page, and the bottom-right side of the page shows a chat popup button:
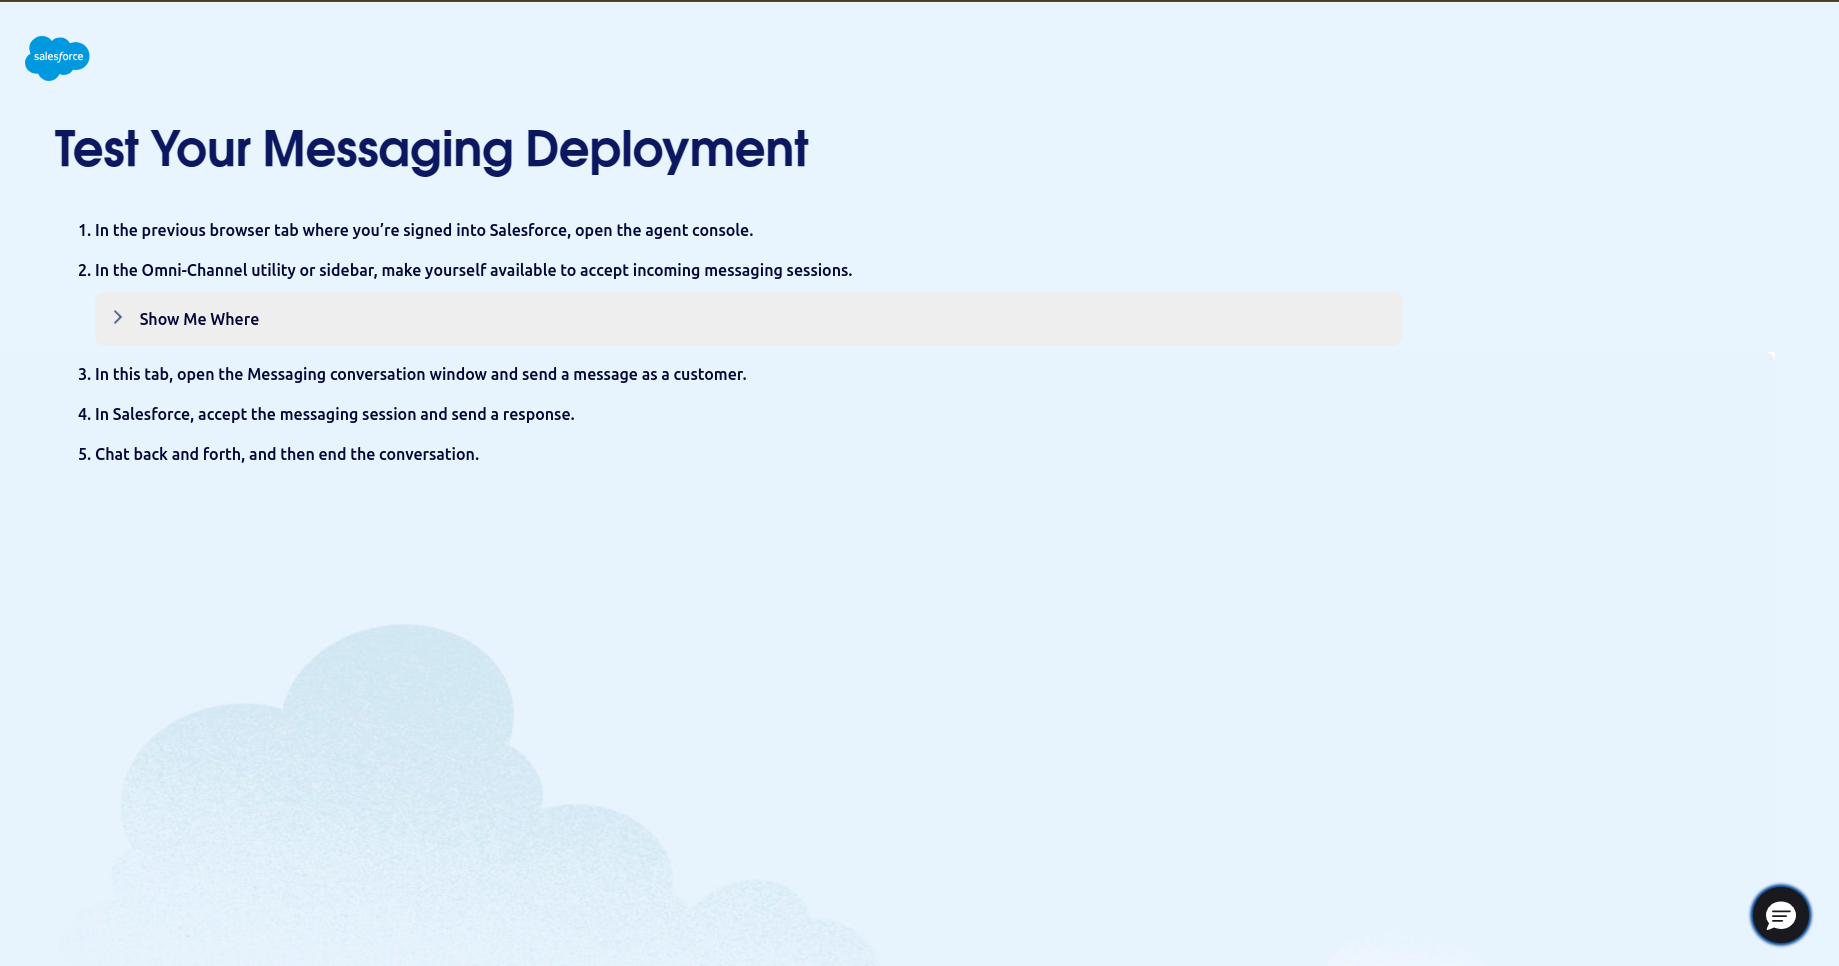
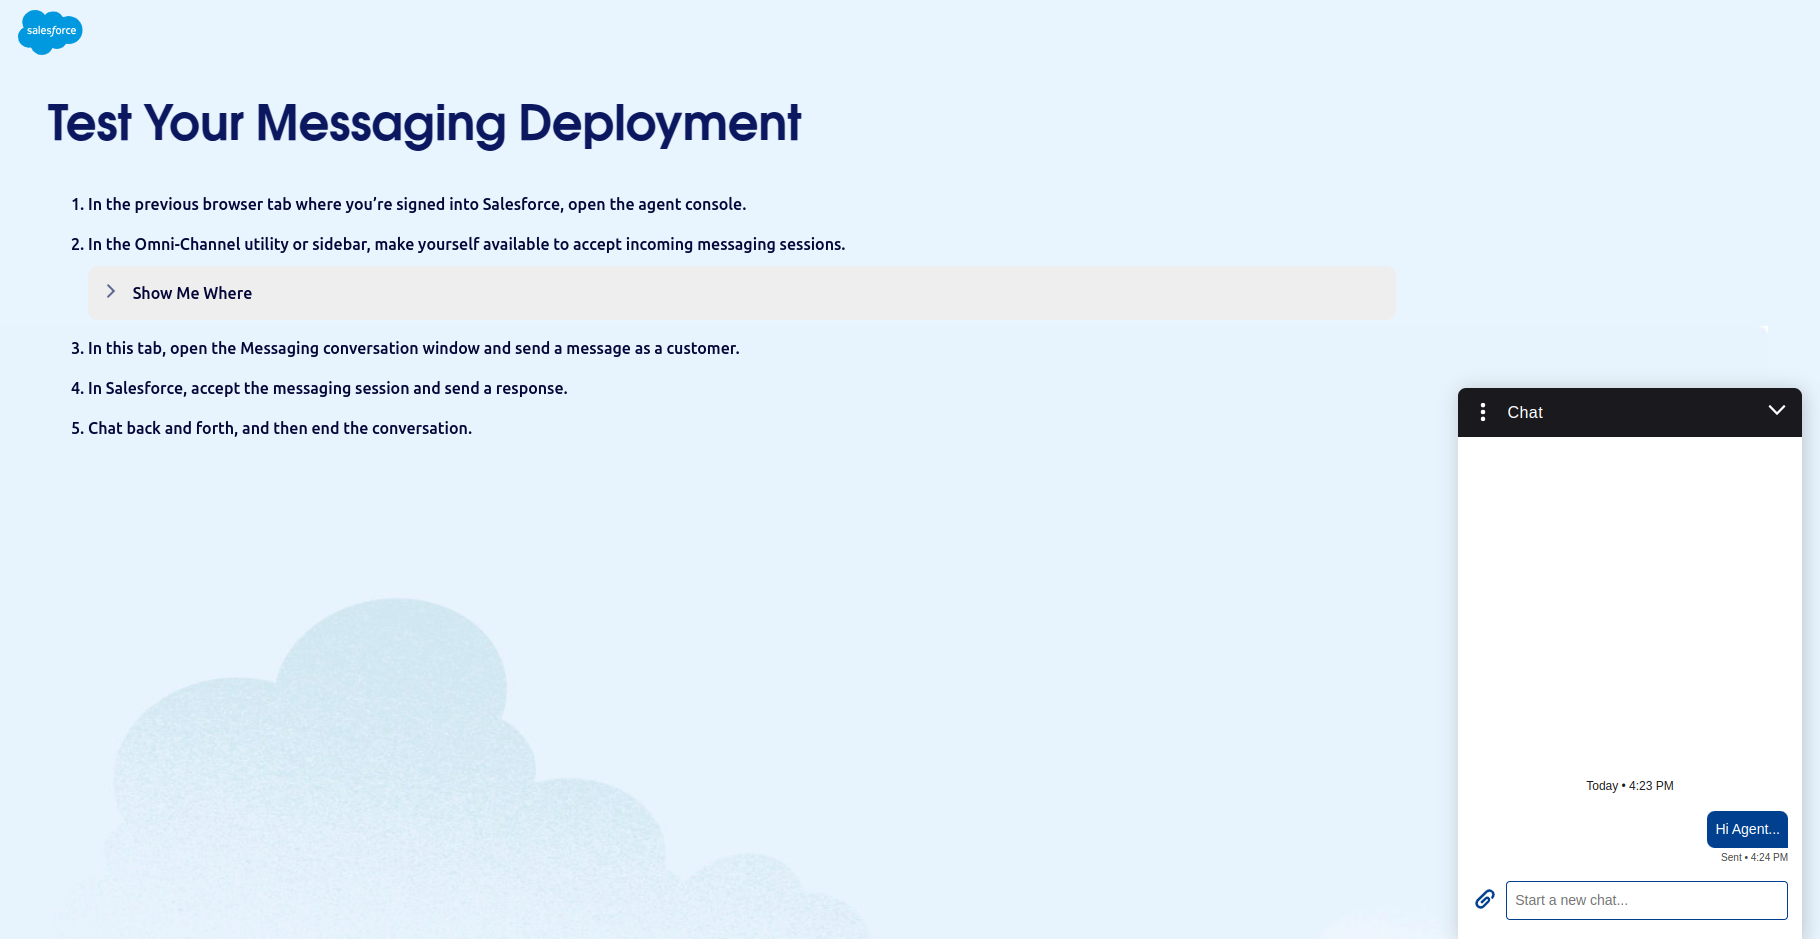
- Click this chat popup button, and it expands and opens up a chat window, where you as a user can initiate a conversation. (If you get any error message on the browser console, see the Troubleshooting steps).
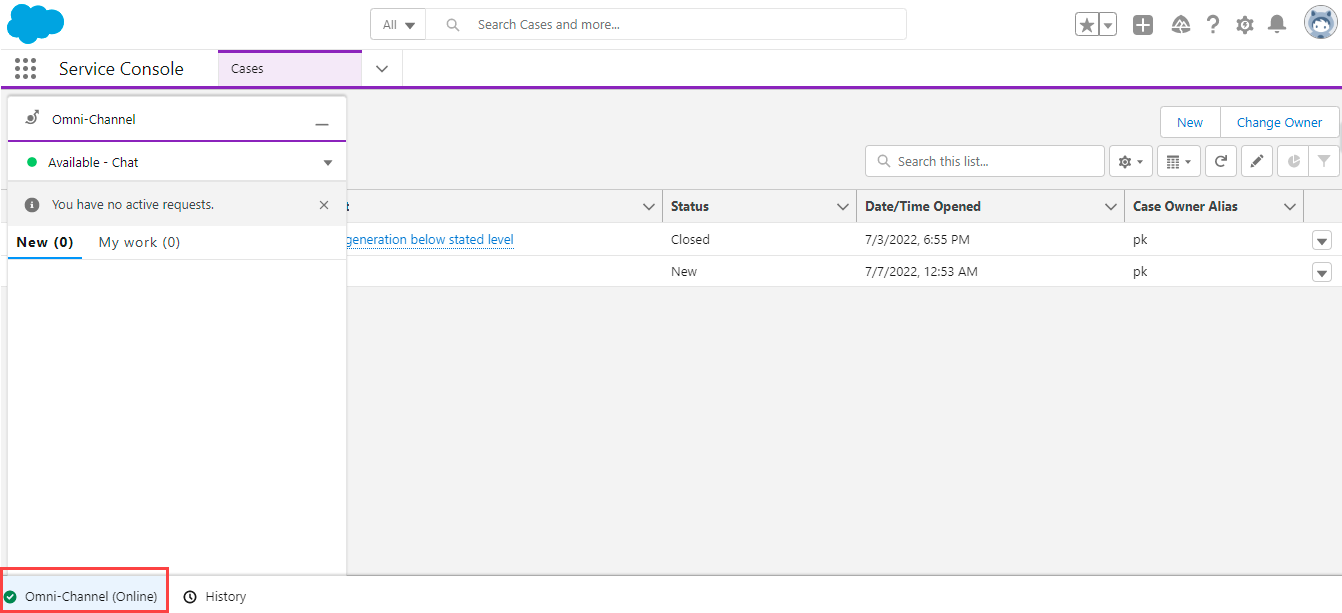
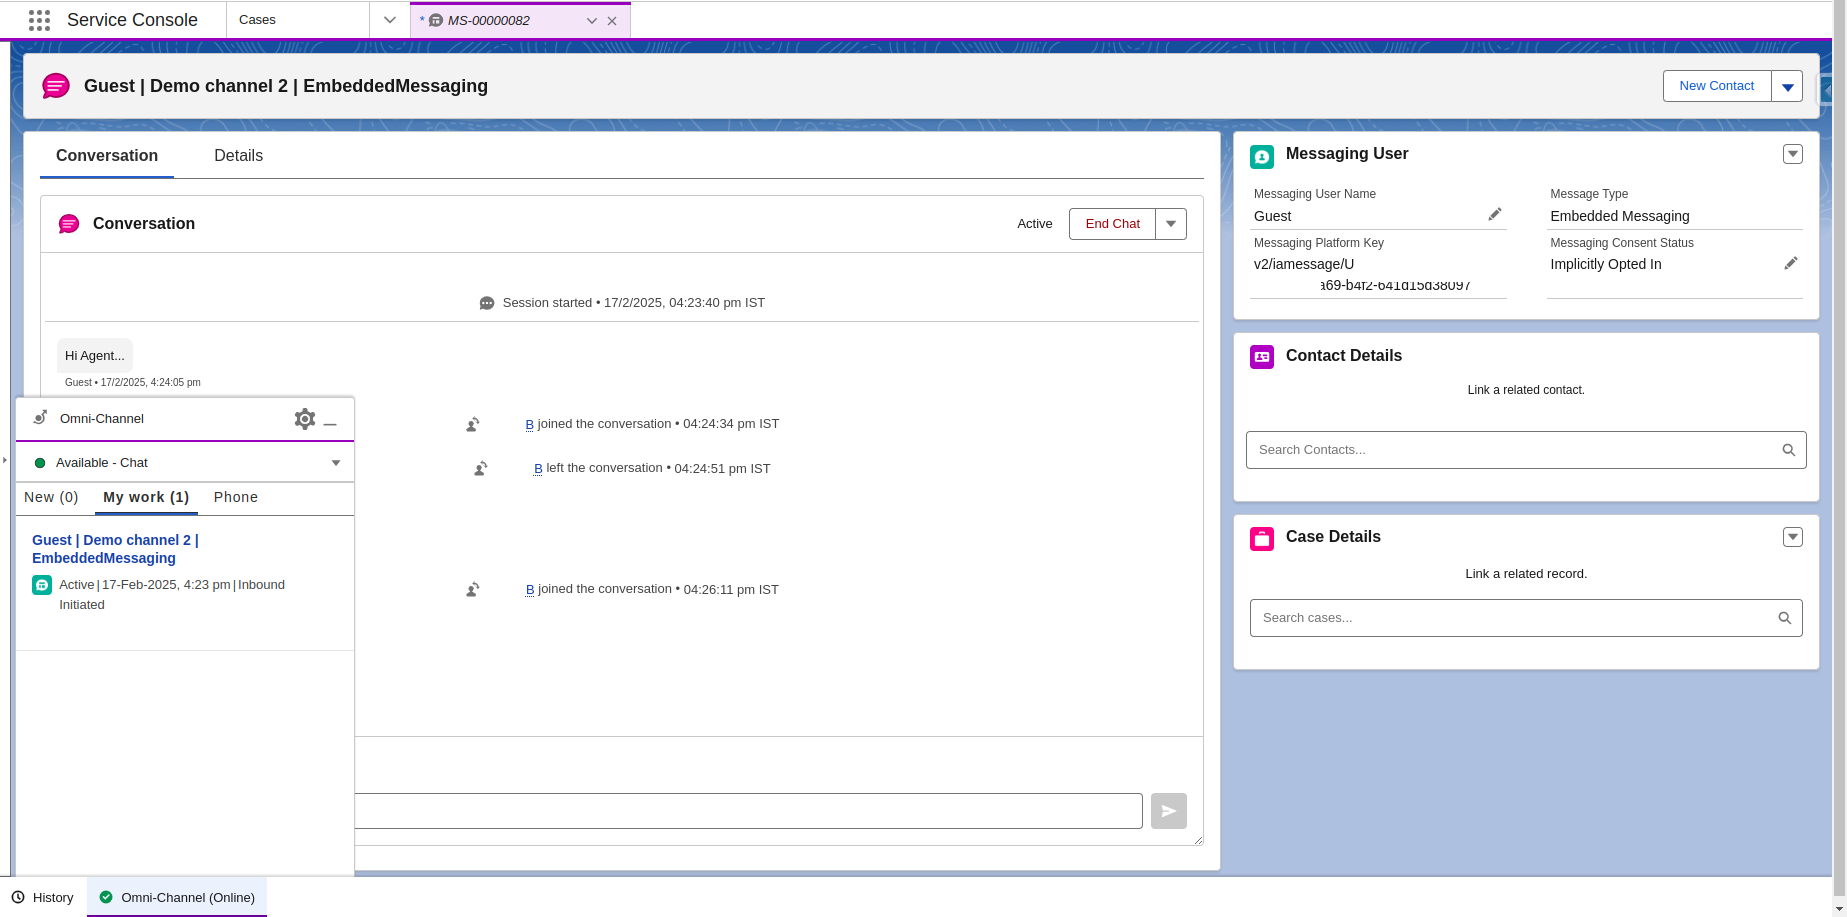
- Accept the chat in the Salesforce Omni-Channel inside the service console. Initially, it comes under the New tab.
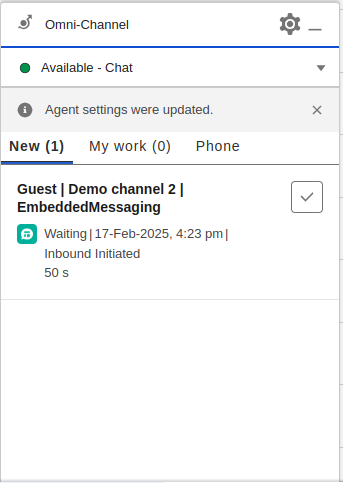
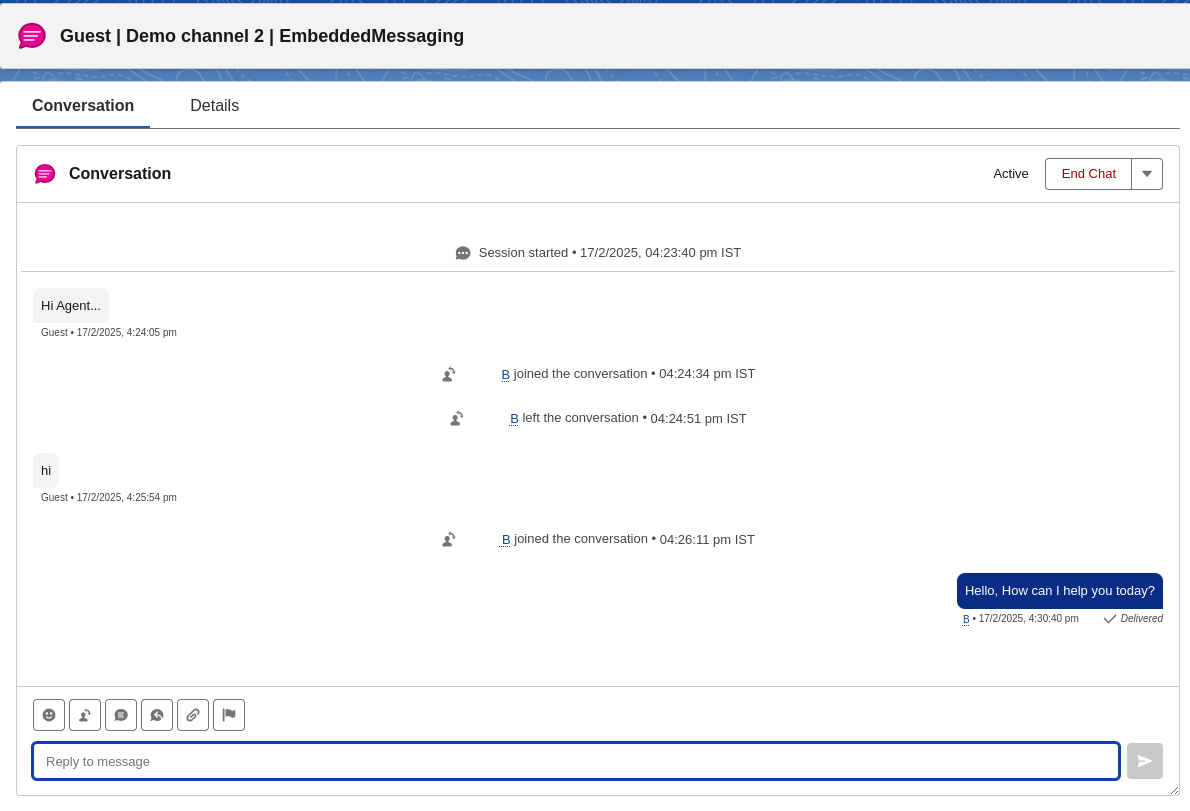
- Once you accept the work item, it comes under the My work tab. Now, you can start a conversation with a customer. It pops up a new Messaging Sessions page for every new conversation.
- It opens up a Visualforce page, and the bottom-right side of the page shows a chat popup button:
- Start the conversation.
Troubleshooting with Setup
To troubleshoot common issues encountered during this configuration for the first time, follow this link
https://help.salesforce.com/s/articleView?id=service.miaw_troubleshoot.htm&type=5