This document explains the integration process of OmniChannel Chat (Messaging) with AgentAssist in Salesforce. This integration delivers AI-powered suggestions, automated responses, and conversation summaries directly in the Salesforce console. It helps agents respond faster, improve accuracy, and maintain consistent communication.
Prerequisites
- Enabled OmniChannel Chat
- Ability to complete chat conversations in Salesforce
Steps to Configure OmniChannel Chat
- Install the Kore Agent AI package in the org.
- Configure the Agent AI package and features:
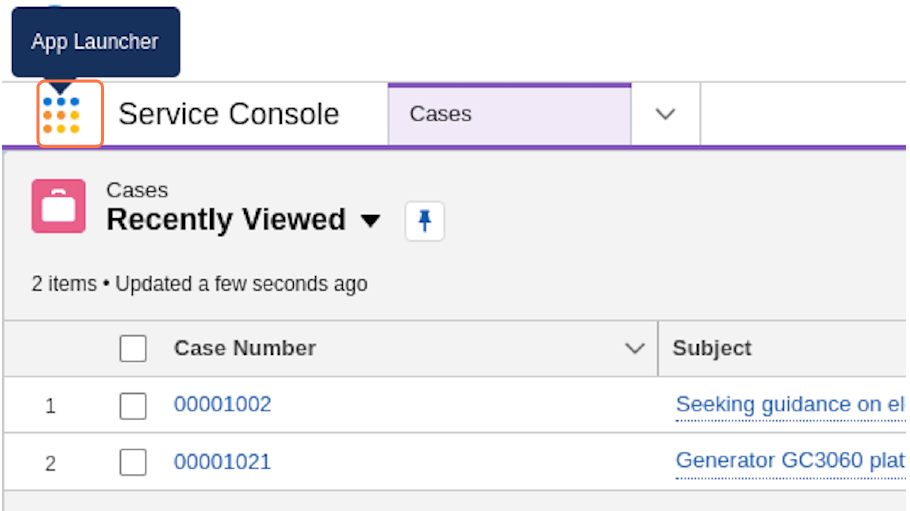
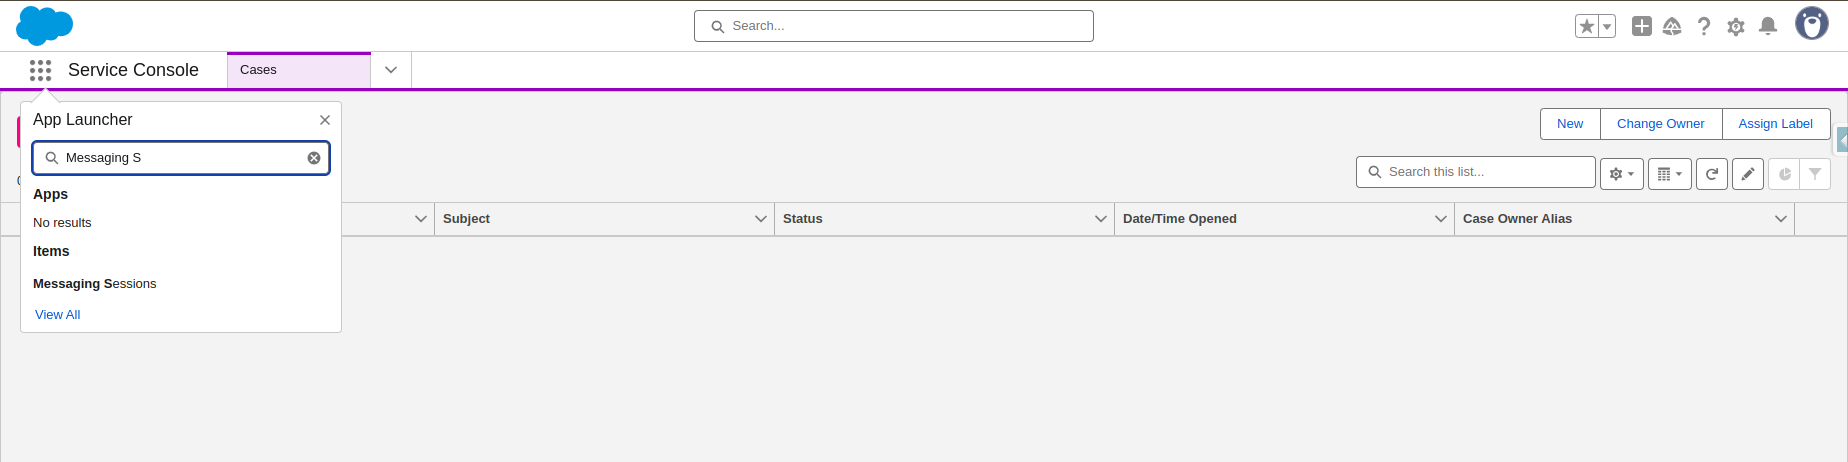
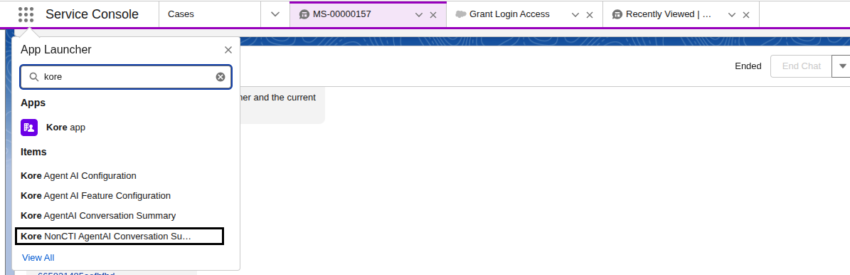
- Click App Launcher.

- Type kore in the search bar, and select Kore Agent AI Feature Configuration from the displayed list.

- Click New from the right-top corner of the page.
- Enter Omnichannel Configuration in the Configuration Name field. (You can enter any relevant name.)
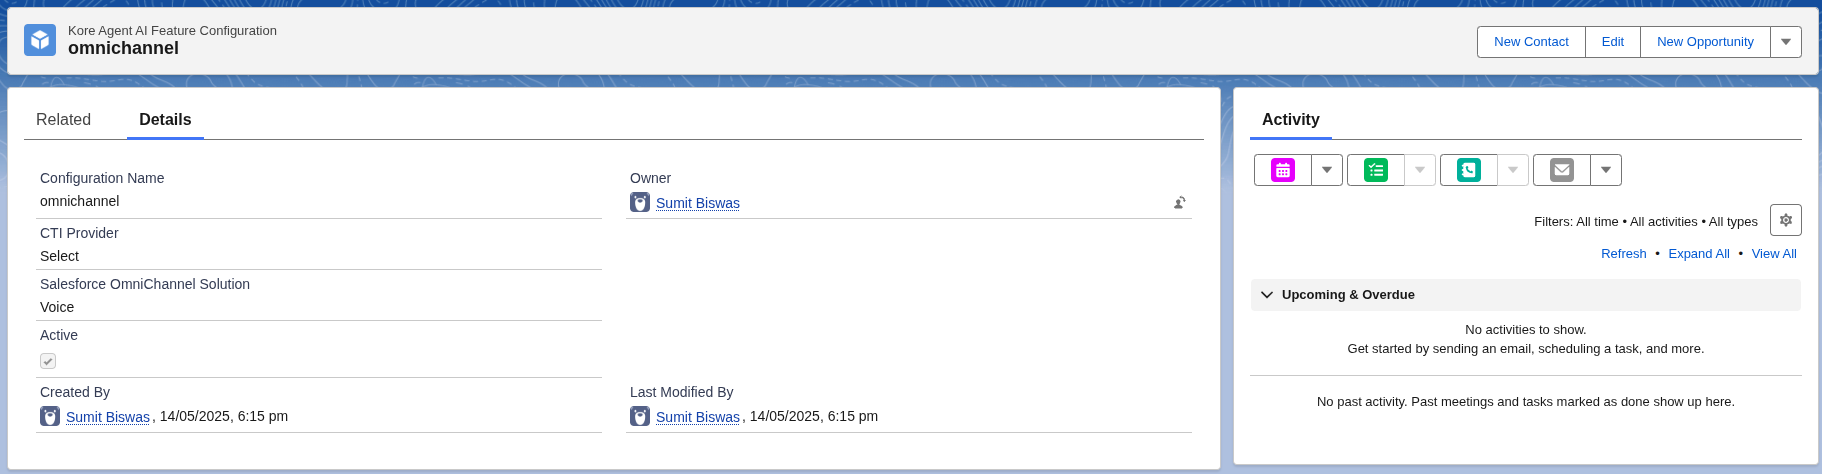
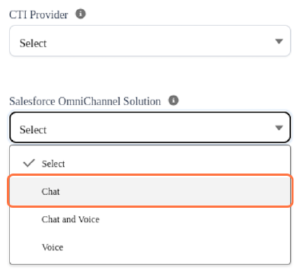
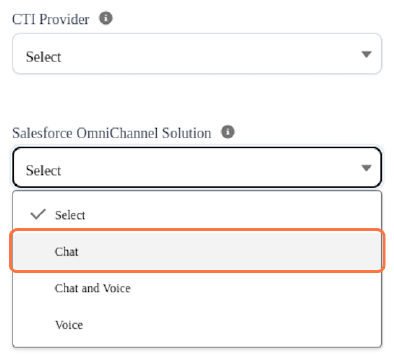
- Keep the CTI Provider field as is. For an Omnichannel solution, selecting a CTI Provider is not required.
- Select Chat or Chat and Voice from the Salesforce OmniChannel Solution list.
- Select Active.
- Click Save.
- Click App Launcher.
- Configuring Salesforce with Kore Agent AI credentials:
-
- Click App Launcher.
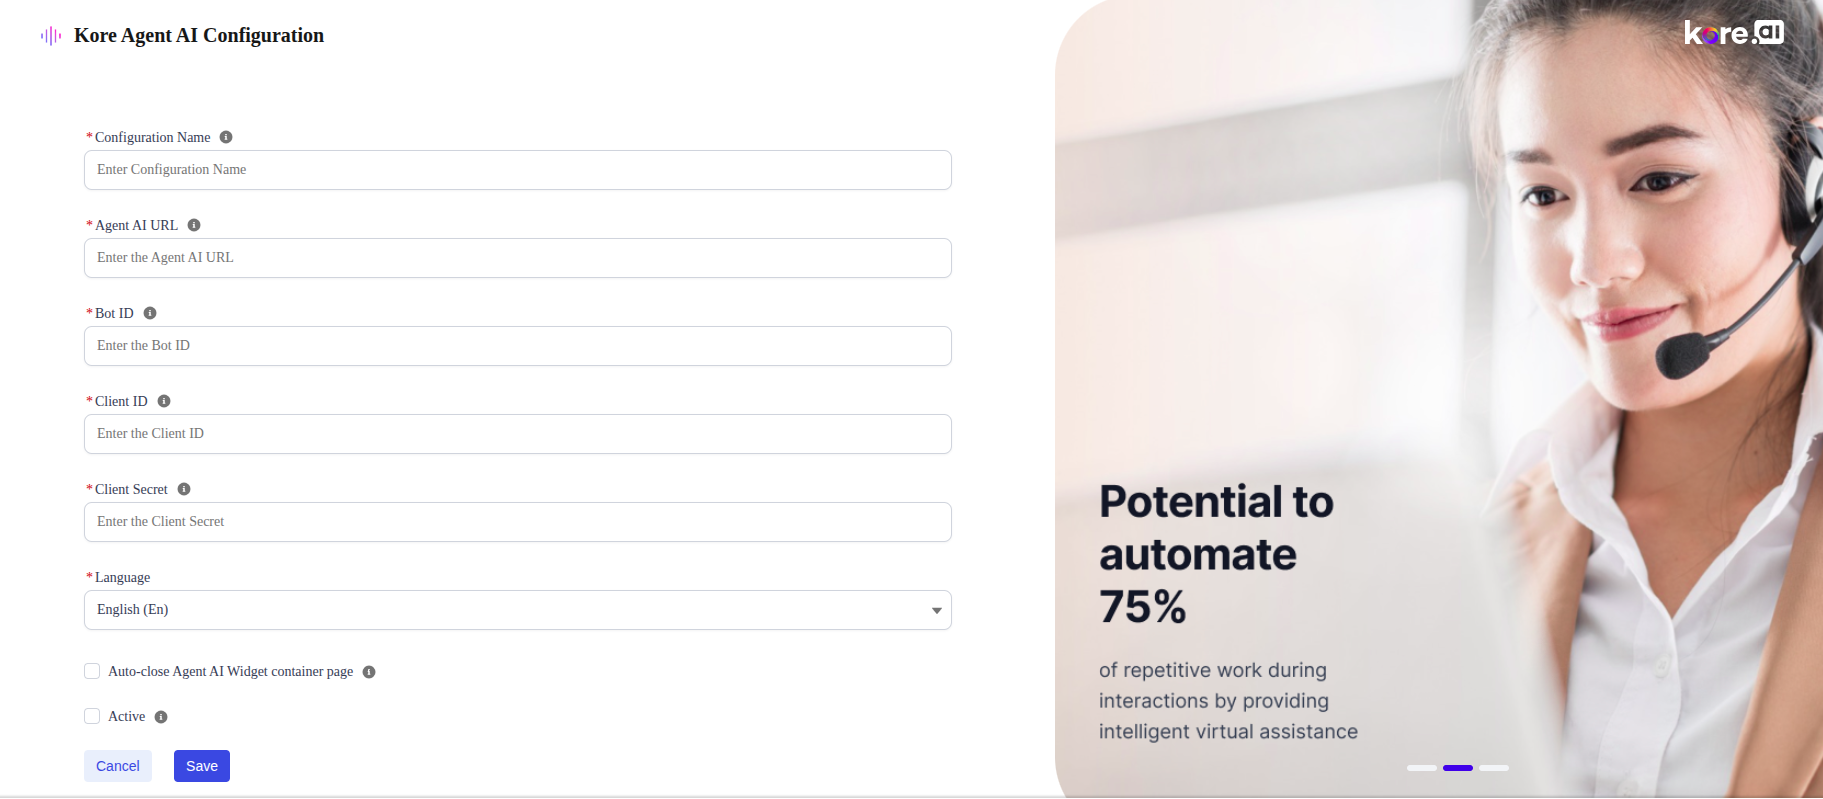
- Type config in the search bar, and select Kore Agent AI Configuration from the displayed list.
- Click New from the right-top corner of the page.
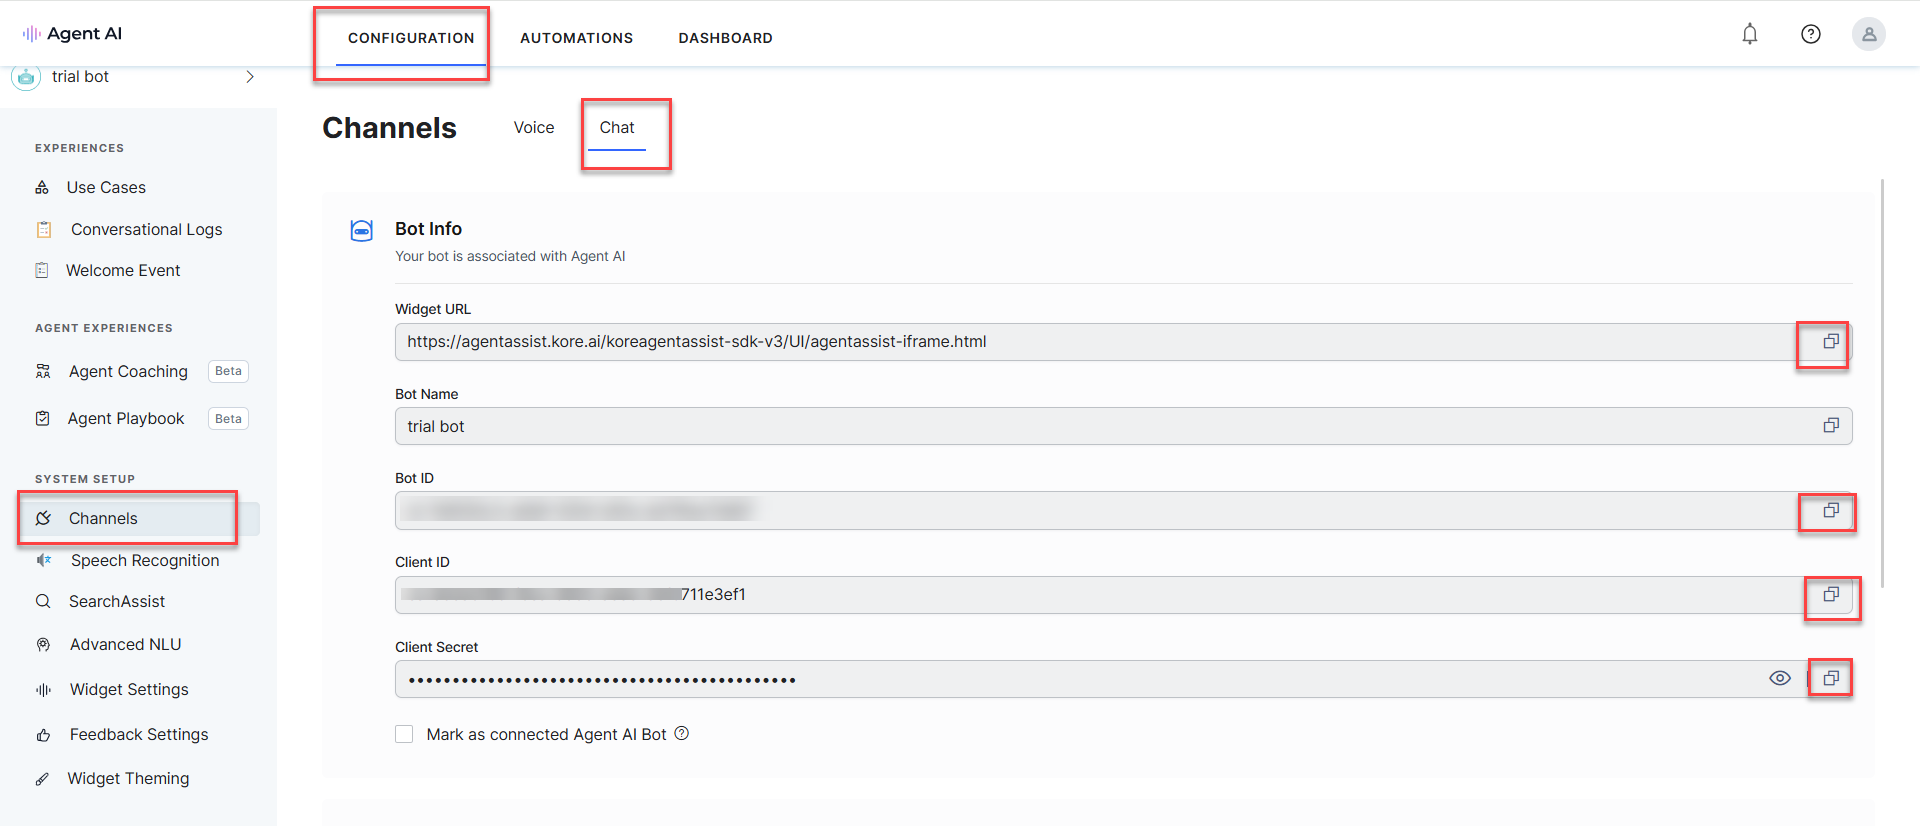
- Enter the required values in the Agent AI URL, Bot ID, Client ID, and Client Secret fields. To get these values:
- Sign in to Agent AI.
- Go to Configuration > Channels > Chat.
- Click the copy buttons against the required fields.
- Select Active.
- Click Save.
Add Component to the page
- Go to App Launcher and select Chat Transcripts. (This is required for old, legacy chat.)
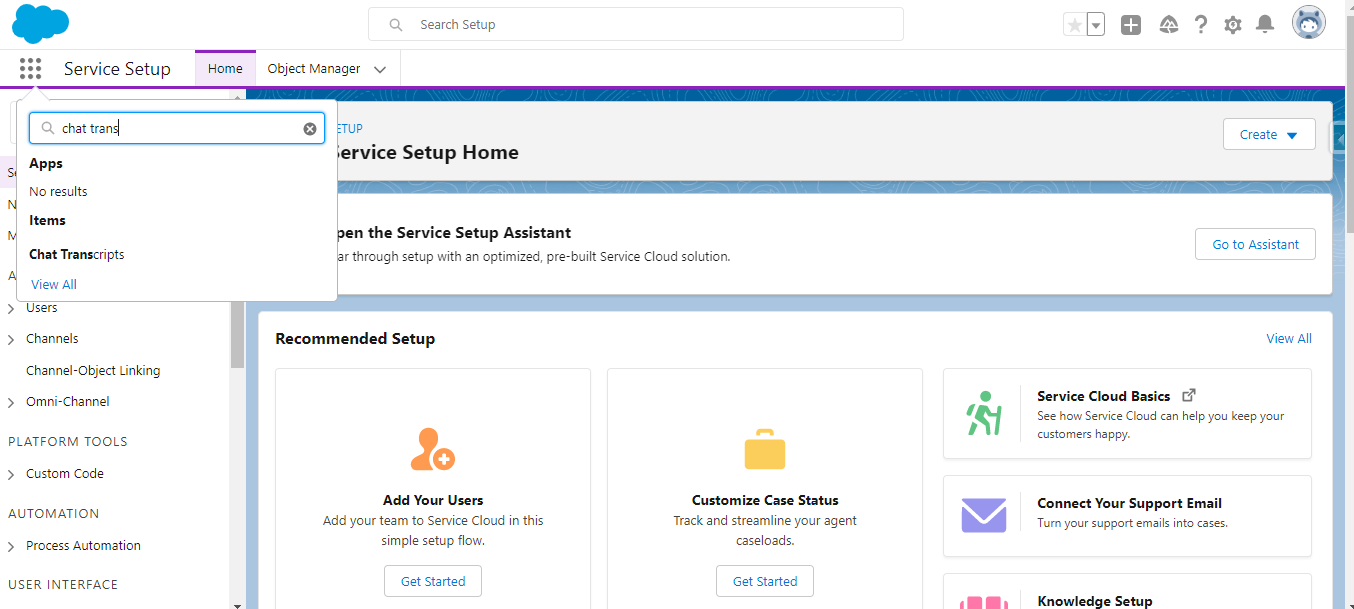
- Open any record of chat transcripts.
Note: For new Salesforce chat (Salesforce in-app and web messaging), conversations are stored inside the Messaging Sessions page. Open Messaging Sessions records.
- Edit the page by clicking the gear icon on the top-right corner.
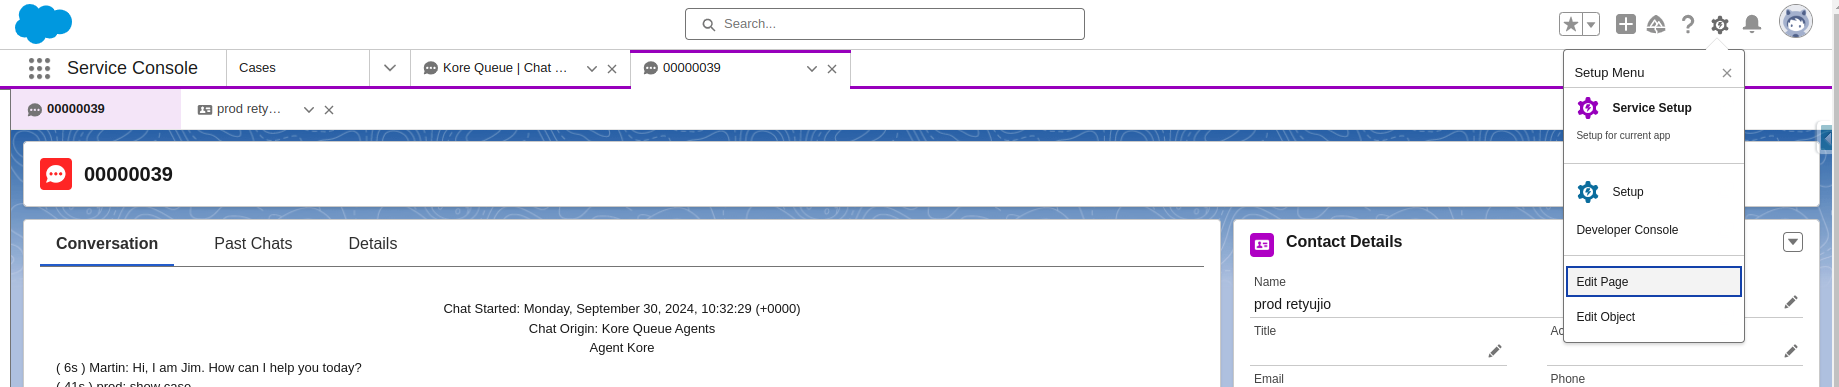
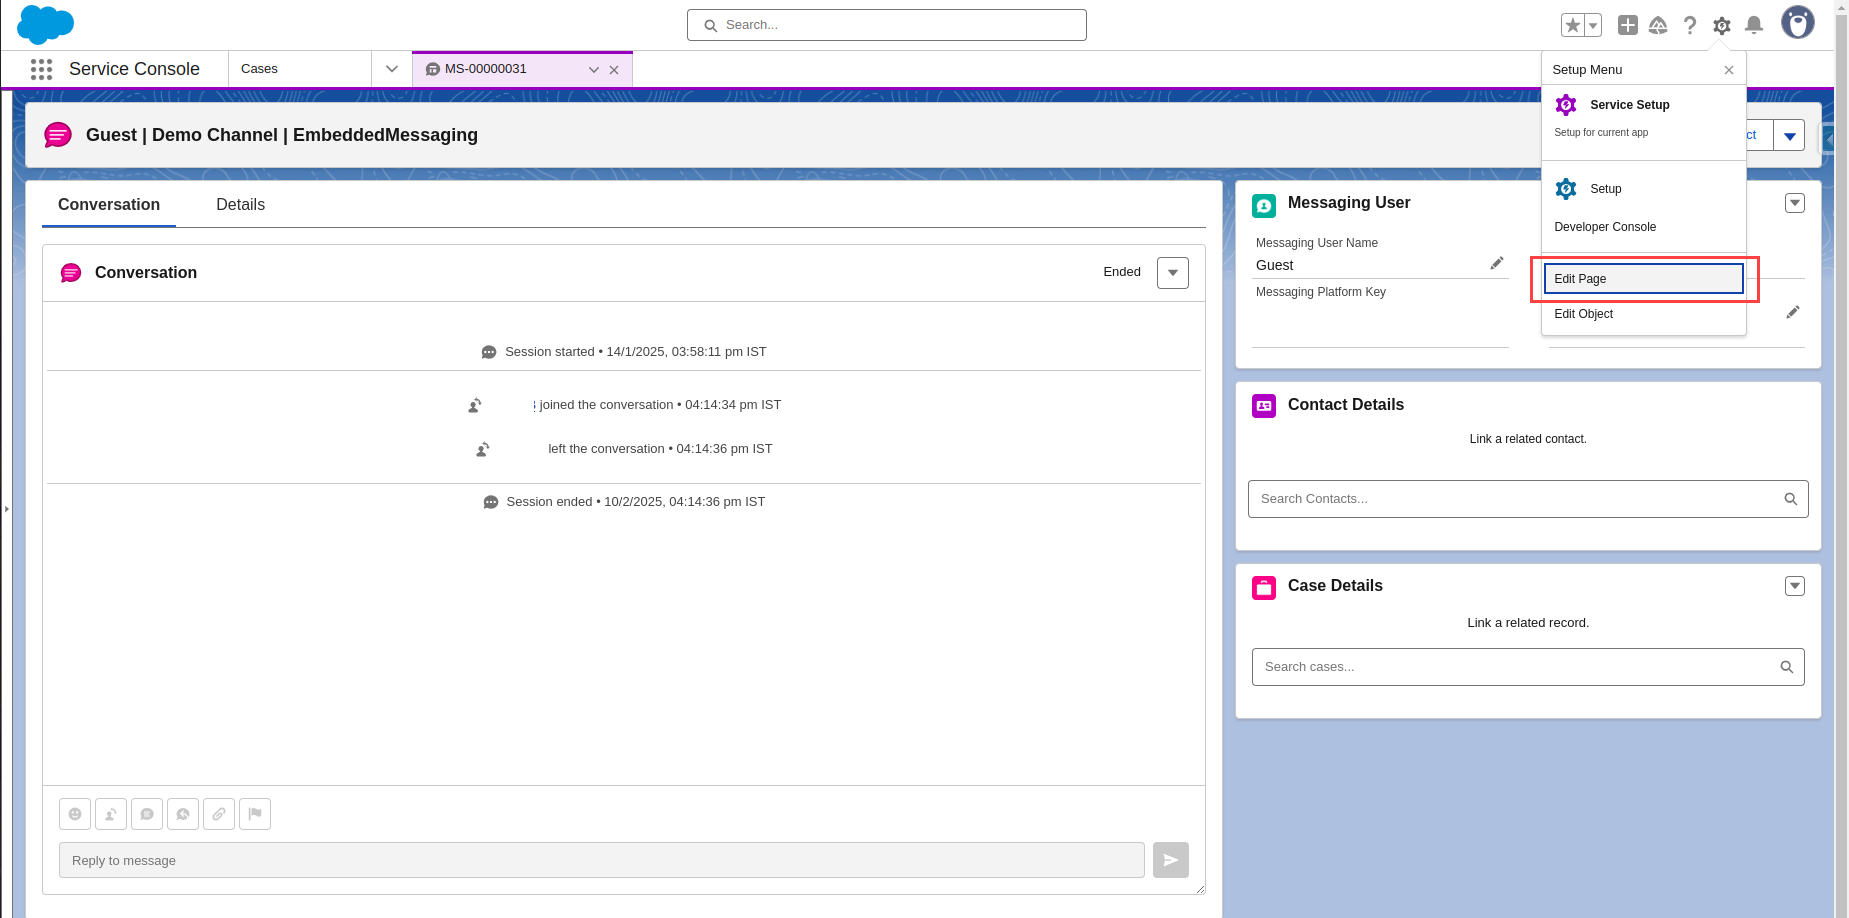
Note: For new chat, open any Messaging Sessions Record Page, and then click Edit Page.
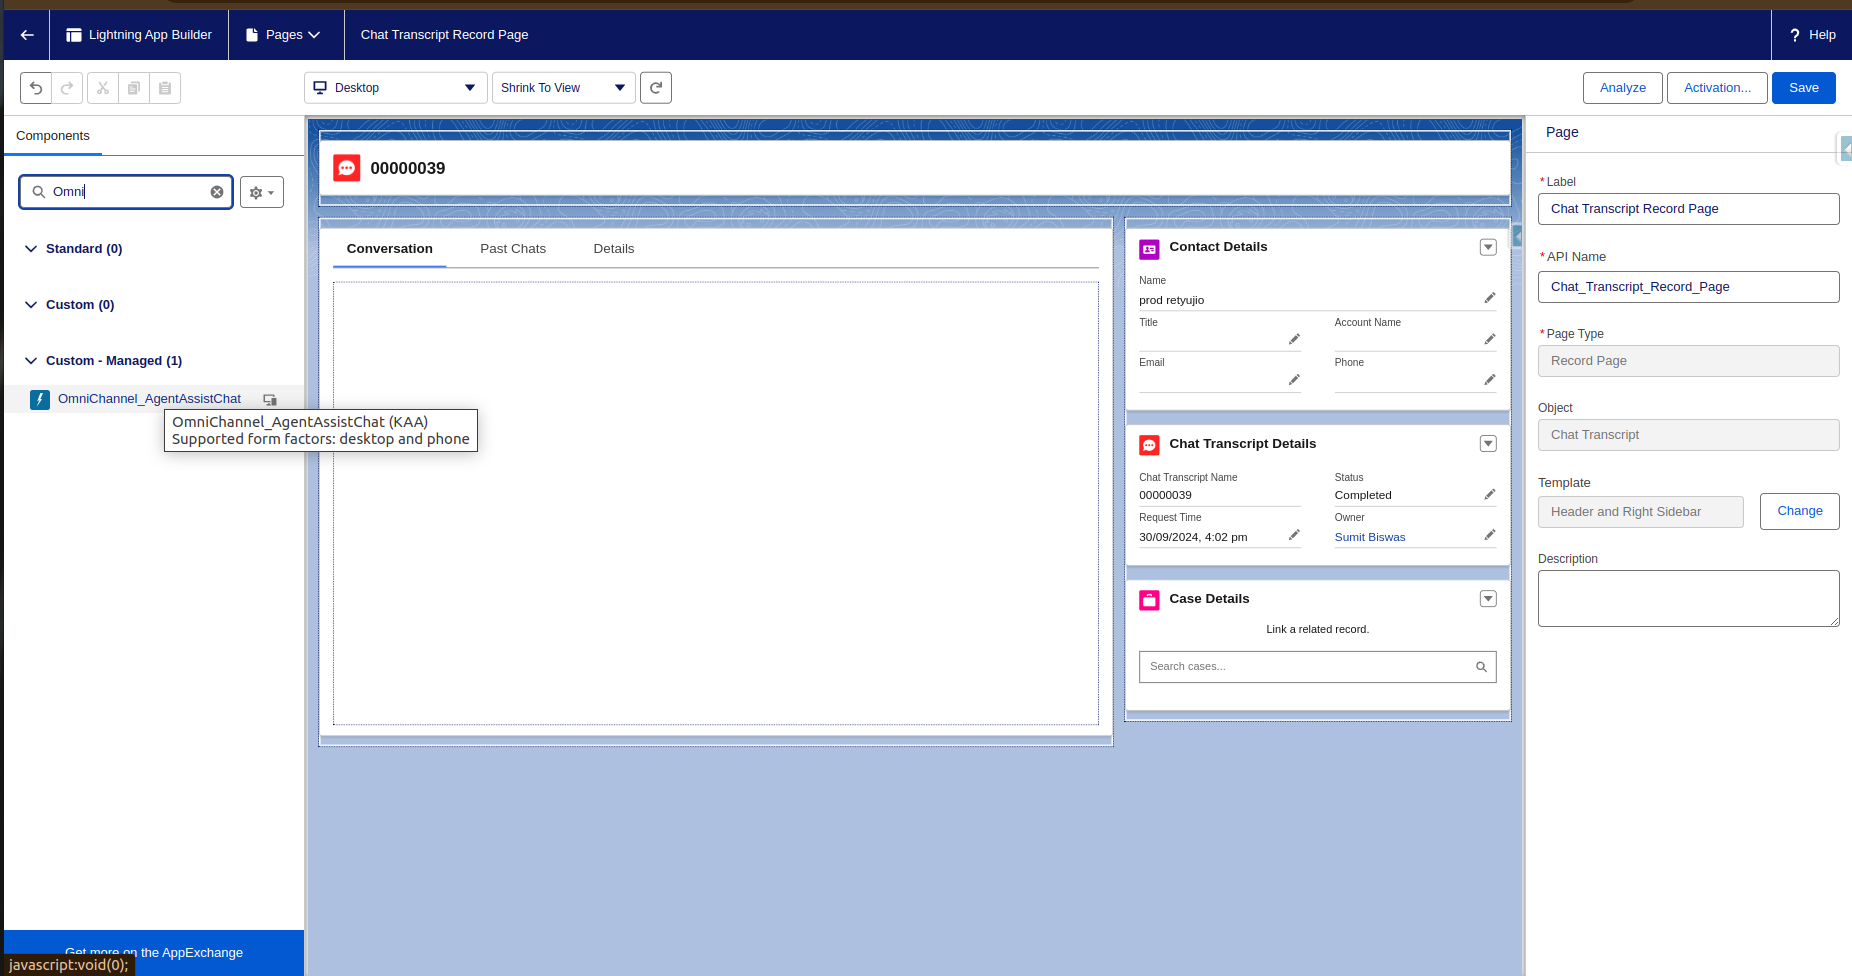
- Under Custom – Managed components, find the OmniChannel_AgentAssistChat component.
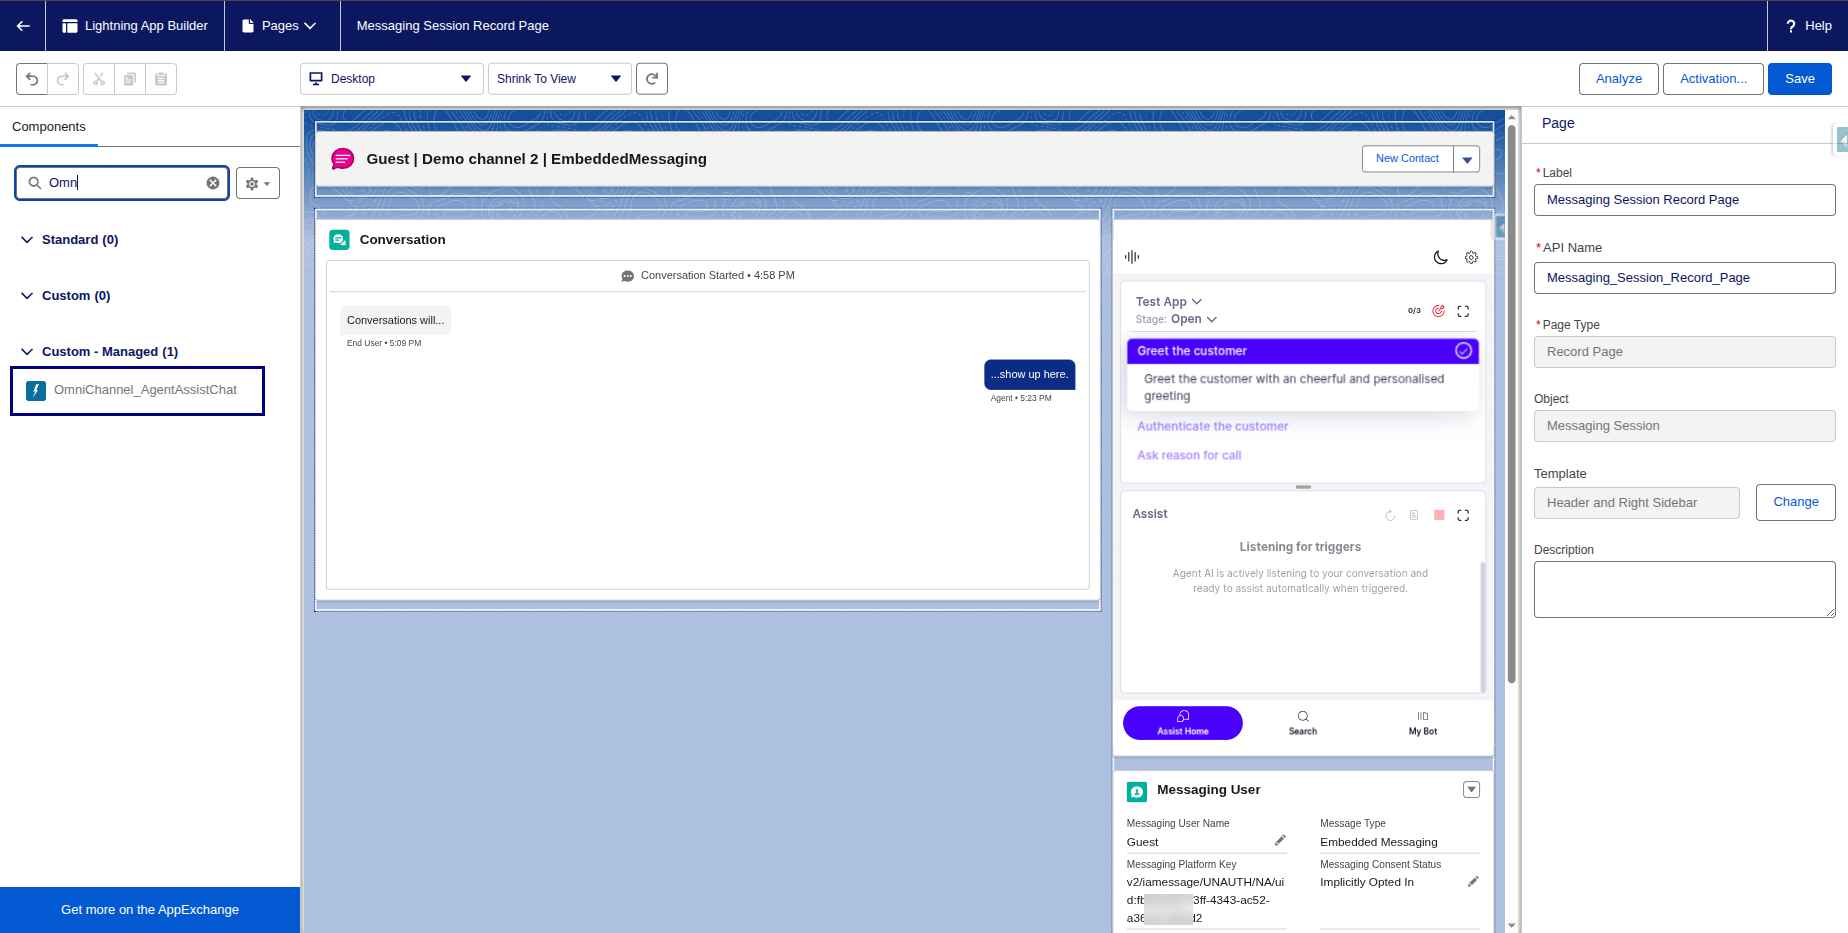
Note: For new chat (web messaging), the Edit Page appears like the following screenshot:
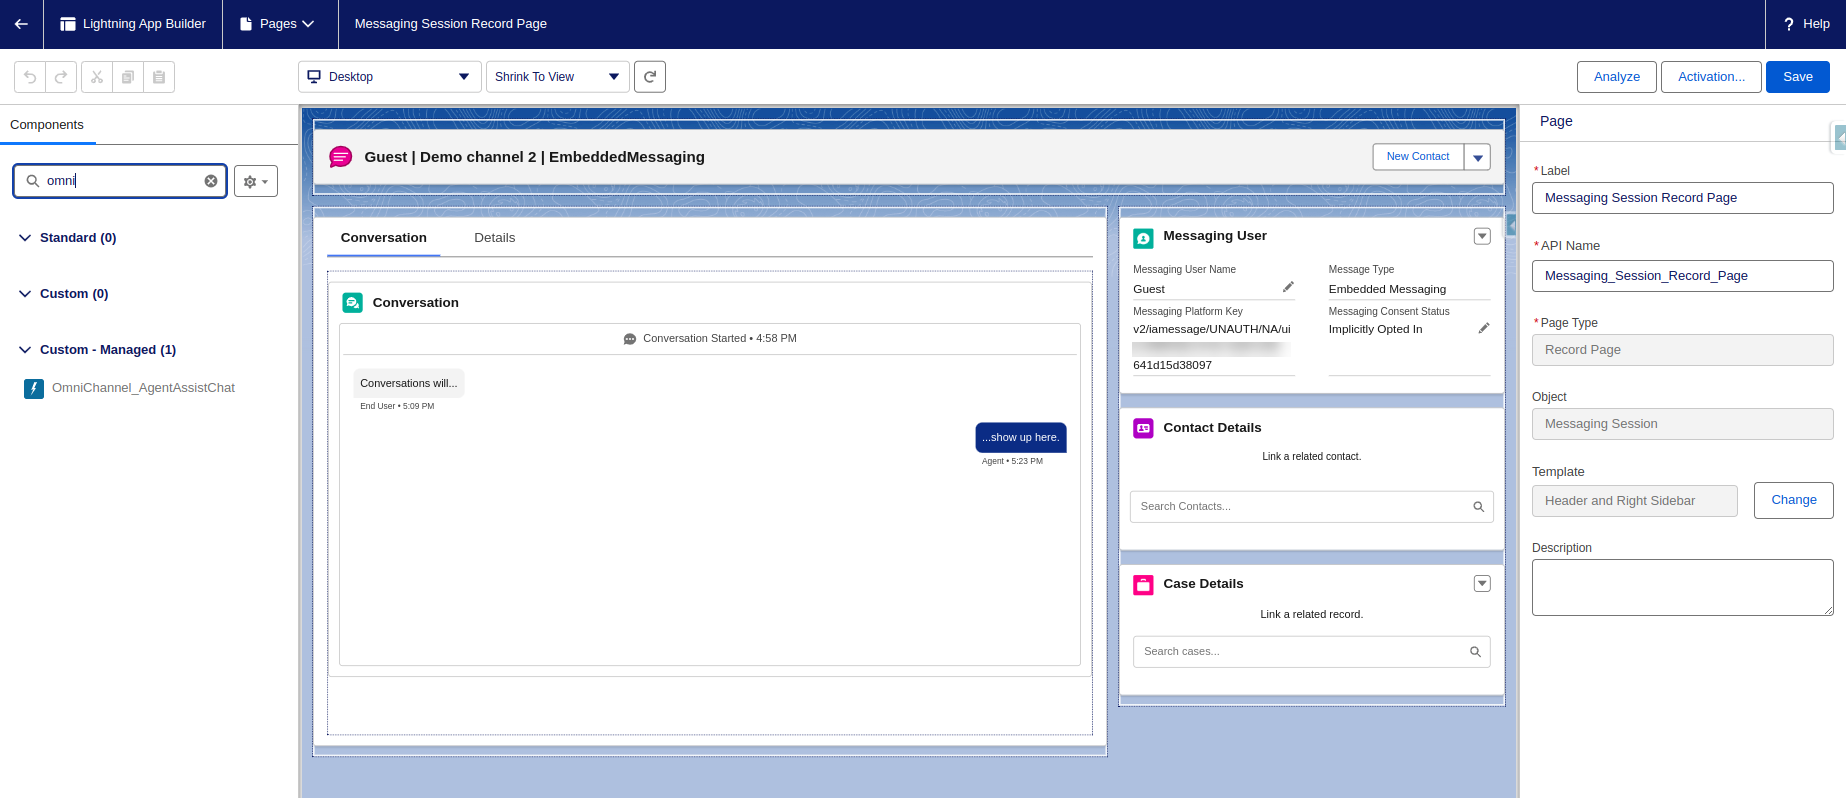
- Drag and drop the component (search with OmniChannel_AgentAssistChat) on the Record page.

- Click Save.
- Click Activation and activate the page as per your requirement.
- Go back to the Service Console and initiate another chat from the customer-facing or the demo web page.
Test your Solution
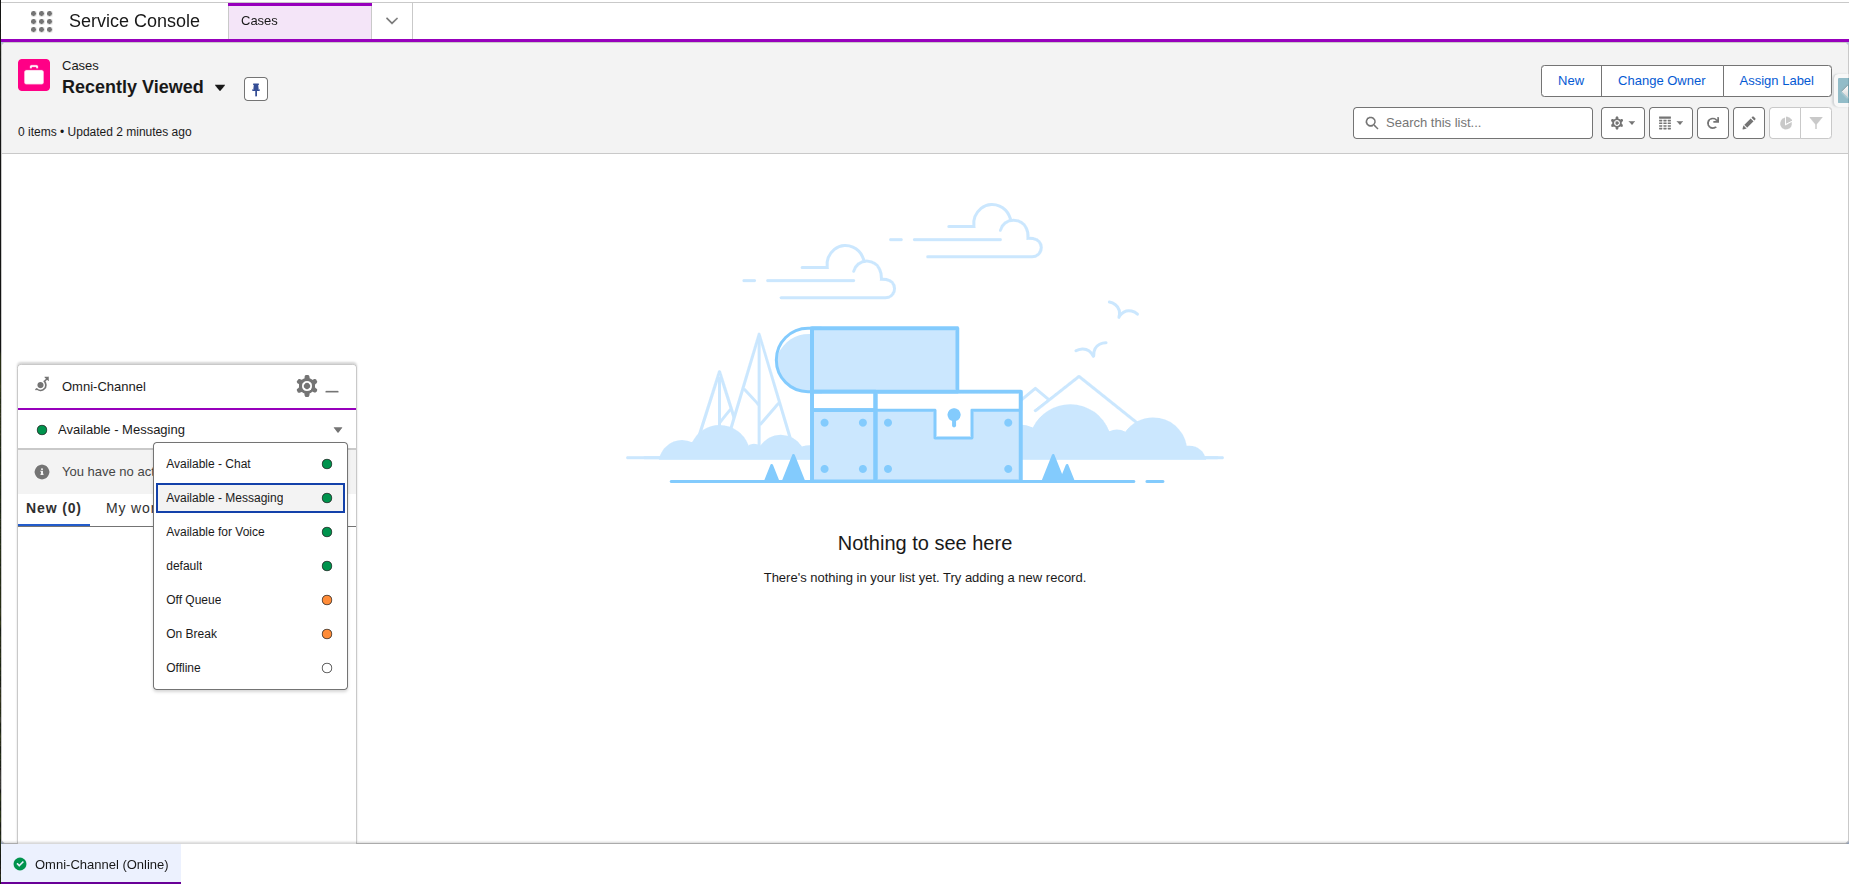
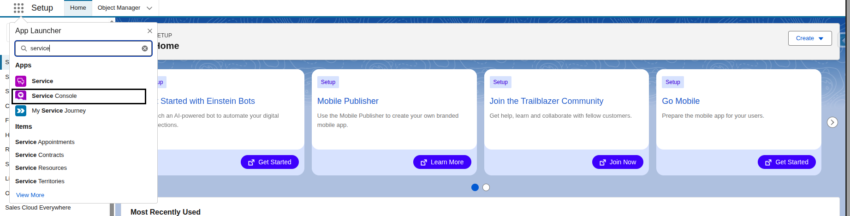
- Go to the Service Console by searching for it in the App Launcher.
- In the utility bar, open Omni-Channel and set the presence status to Available-Messaging or Available-Chat, based on the incoming request type.

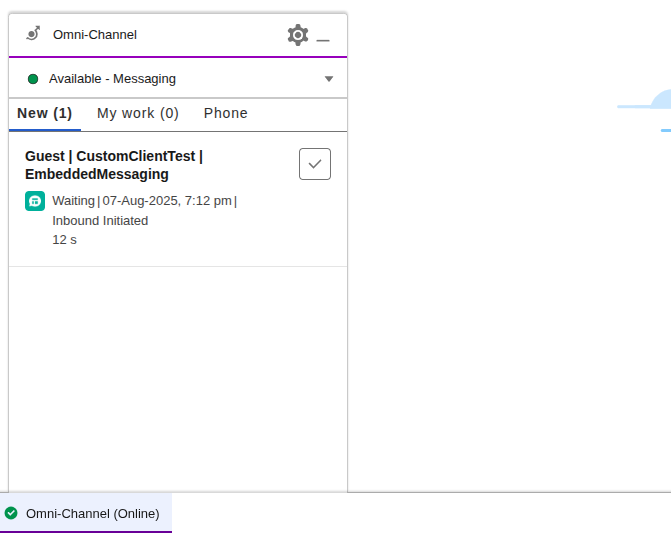
- When Salesforce receives an incoming chat or messaging request, a notification appears. Click the tick mark icon to accept it.

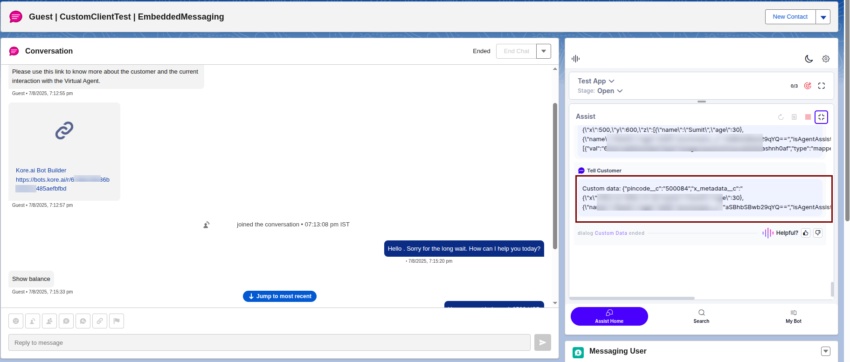
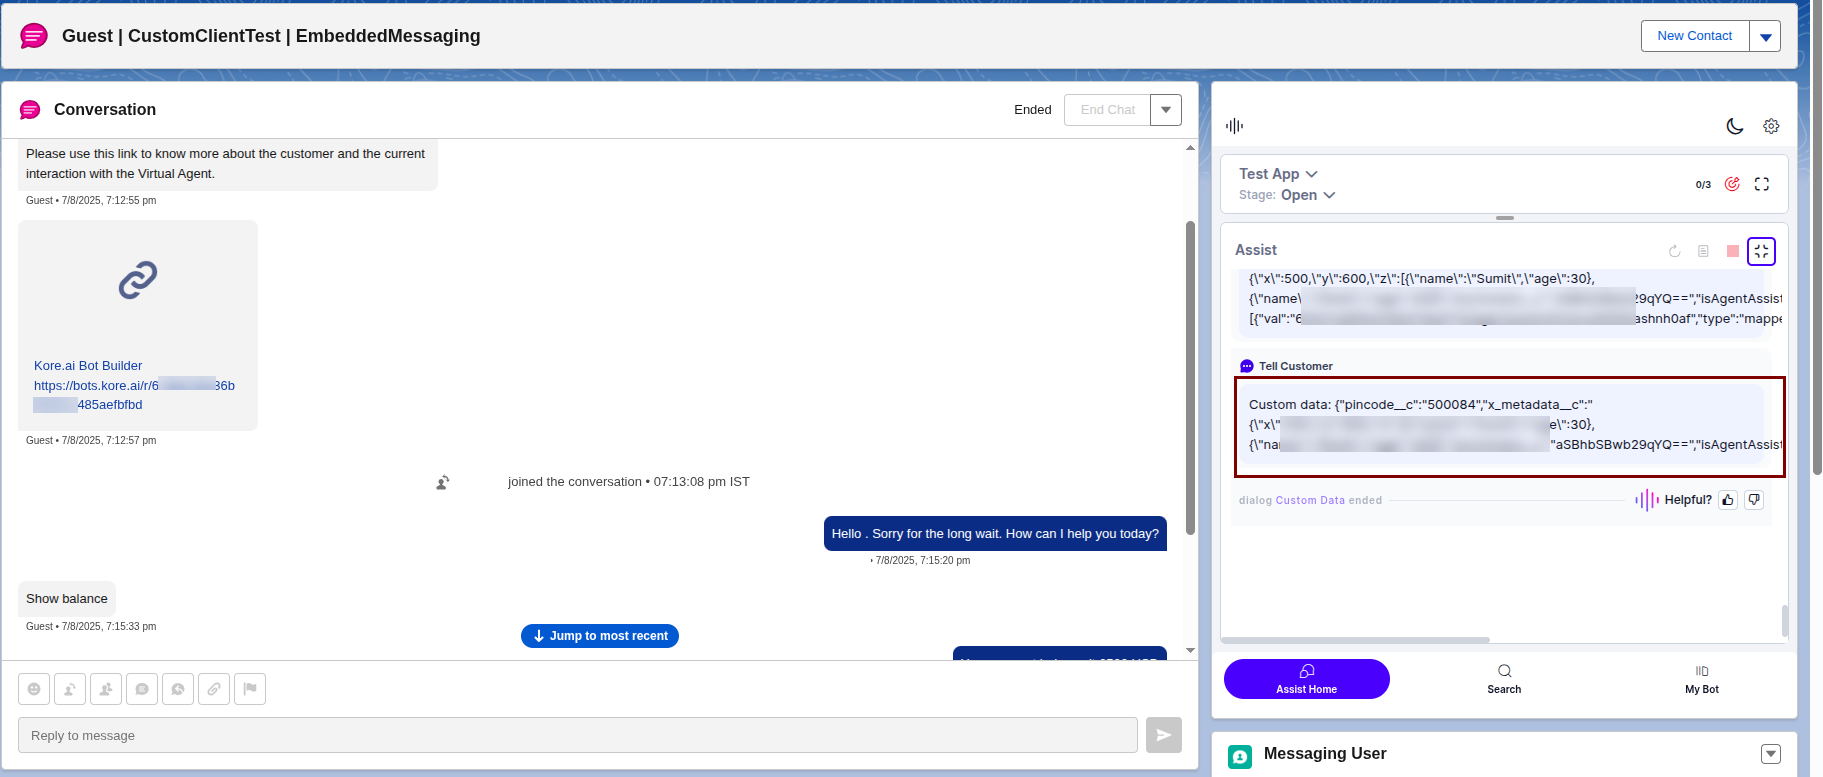
- After you accept the incoming messaging request, the Agent AI widget appears on the Messaging Session Record Page or wherever you placed it in the previous step.
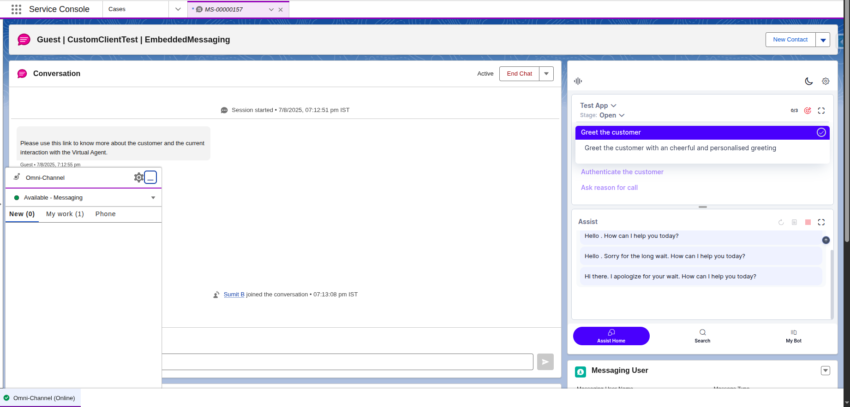
- The Agent AI widget continues to monitor customer and agent messages and provides suggestions based on customer utterances.
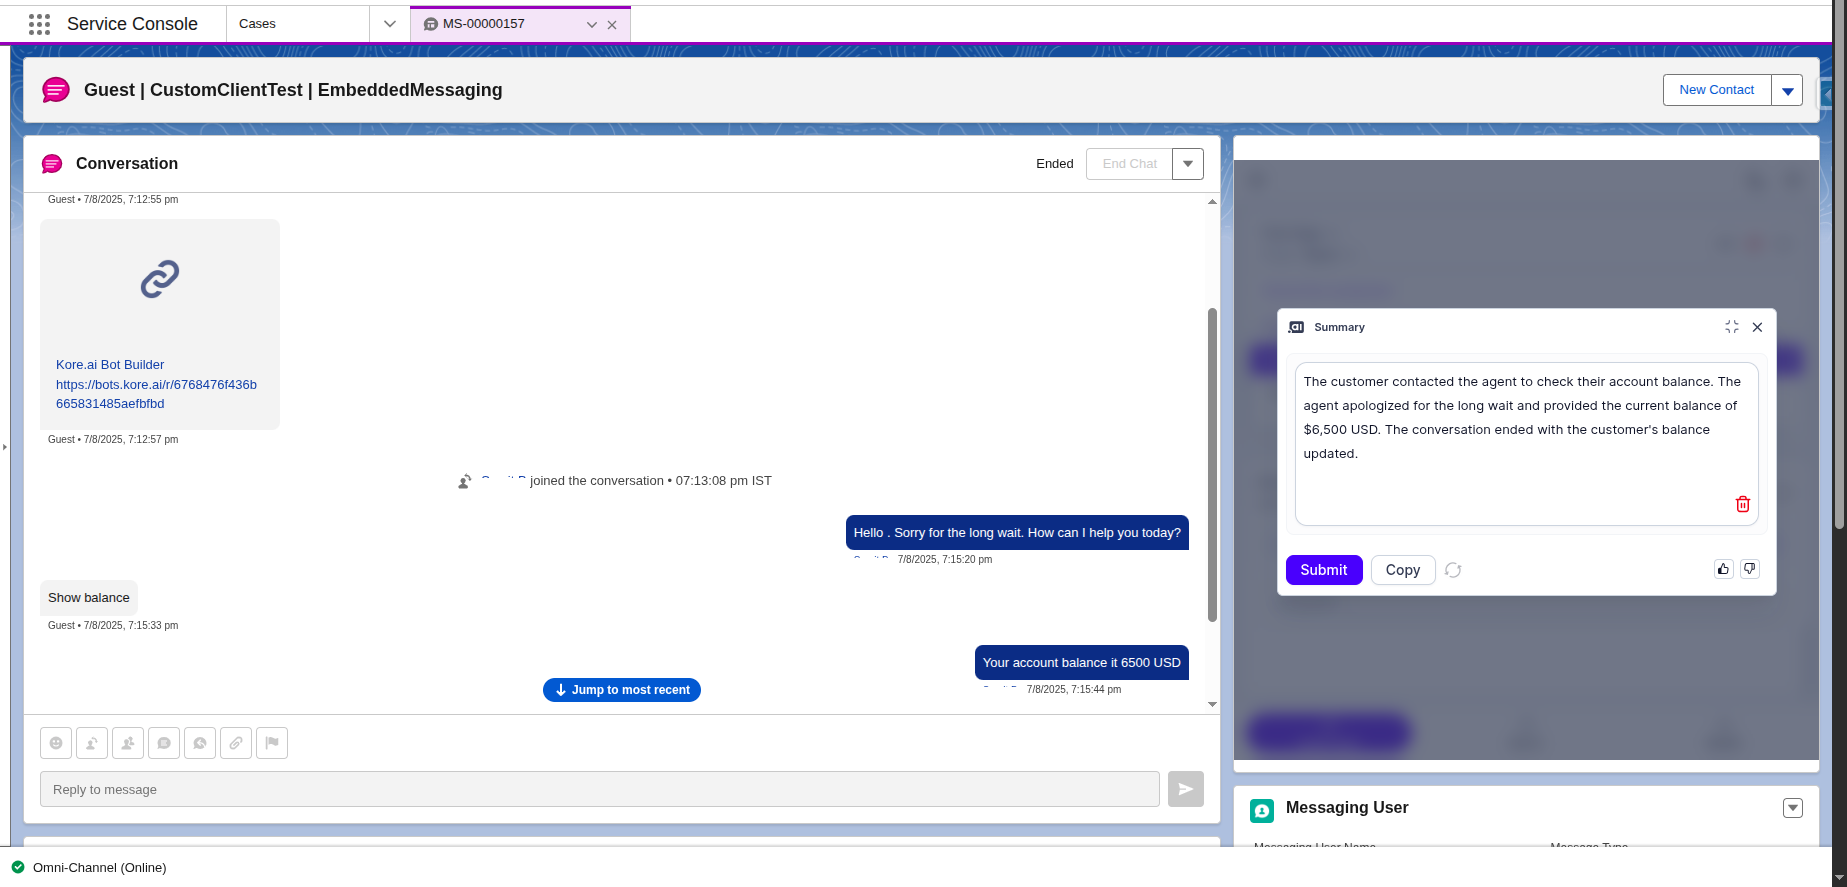
- When the agent clicks the End Chat button or the customer disconnects the session, a summary pop-up appears on the Agent AI widget.
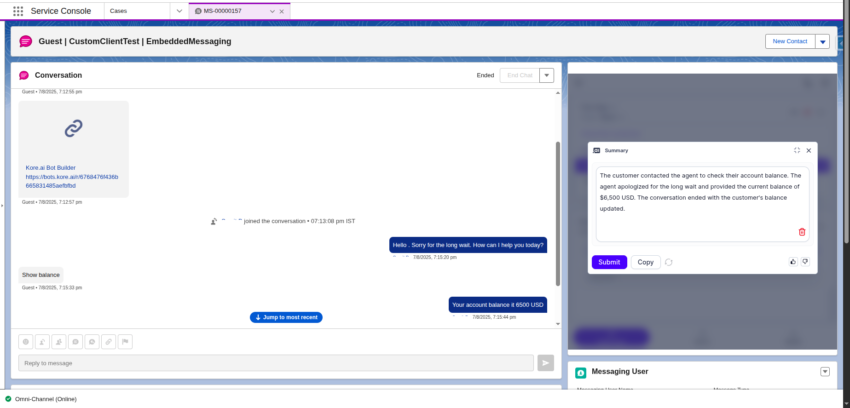
- Click the Submit button to save the summary in one of the custom objects in Salesforce. To access these summaries, search for Kore NonCTI AgentAI Conversation Summary in the App Launcher.
Note: The Agent AI widget now supports custom data. All custom field values available in the Messaging Session object in Salesforce are included as custom data in the Agent AI widget. Go through this doc to access custom data in Agent AI bot.