
On SmartAssist, Agents refer to the customer support representatives interacting and responding to customer calls and chats. To serve customers, you must add agents to your application and provide them with the necessary access.
Depending on the skills and training provided to the agents, you can assign them to agent groups.
Agent Management is the key process that includes configuring various agent settings to automate conversational flows on SmartAssist after you’ve created a Bot for your business use case.
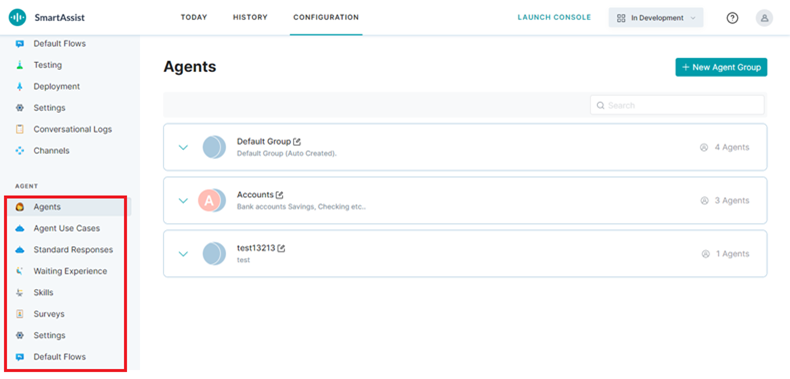
The Configuration section on the SmartAssist interface is the starting point from where you can access the AGENT menu and set up the following features:
- Agent Groups
- Agent Use Cases
- Standard Responses
- Waiting Experience
- Skills
- Surveys
- Settings
- Default Flows
Add an Agent
This section lets you add an agent to a default or custom group. Adding agents to a group assigns tasks and performs common actions on them. To add an agent to a group, follow these steps:
1. Click Agents Menu option under the User Management in the left panel.
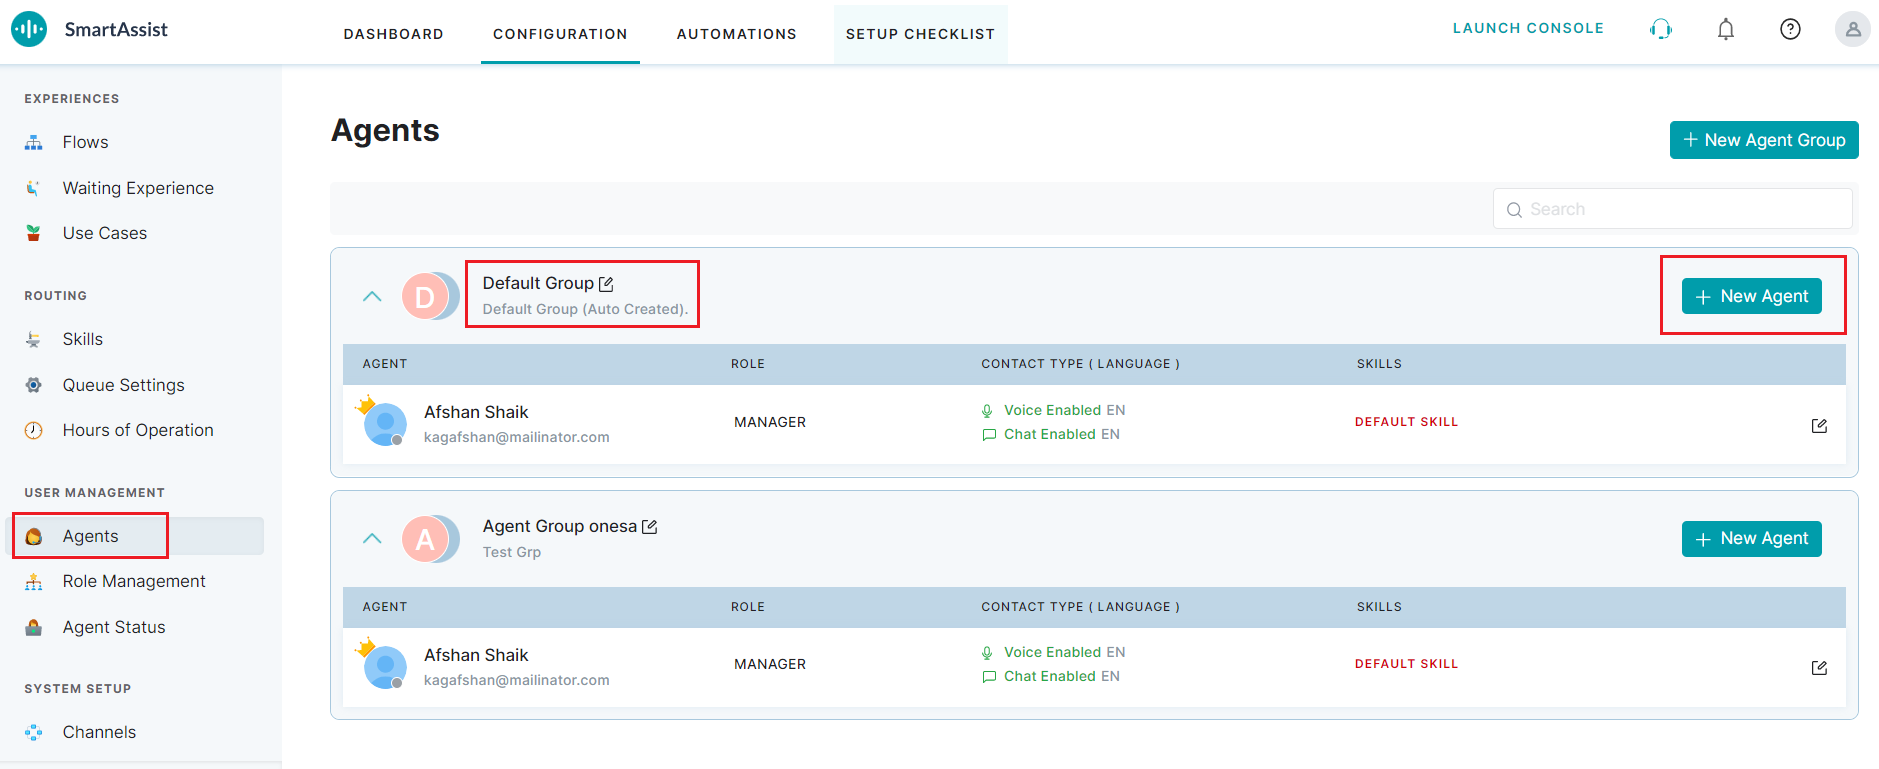
2. Click the group name to view the drill-down information of the Default Group or any other custom group.
3. Click + New Agent.
4. In the Add New Agent window, the Agent Profile input window is displayed by default.

5. Here, provide inputs for the following agent fields:
- First Name and Last Name– These are mandatory input fields for the agent’s first name and last name respectively. Only alphabets and numbers are allowed.
- Nick Name – This is a mandatory input field for the agent’s nickname on the platform.
- Phone Number – This is a mandatory input field for the agent’s 10-digit phone number.

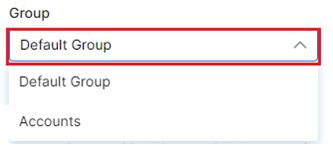
- Group – This is a mandatory selection field for a new agent’s organizational group. When no option is selected, the Default Group is assigned.
- Hours of Operation – This is a mandatory selection field indicating the availability of the new agent (when they’re online).
- Agent Affinity – Enabling this option will assign any previous customers to the agent where the past interactions were positive (CSAT score is high).

- (Optional) Profile Picture – Upload the agent’s profile picture here.
Chat Support
This section helps set the chat support features for an agent like the maximum chats allowed for an agent, language and proficiency level selections, and more.
To configure chat support, follow these steps:
1. Chat Support – Enable or Disable chat support using the toggle switch. Enabling will activate technical support to your customers through chat.

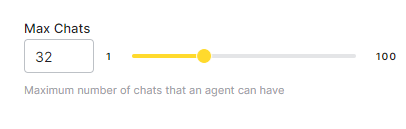
2. Maximum Chats – Lets you set the maximum number of chat sessions an agent can have with a customer using text input or the slider.
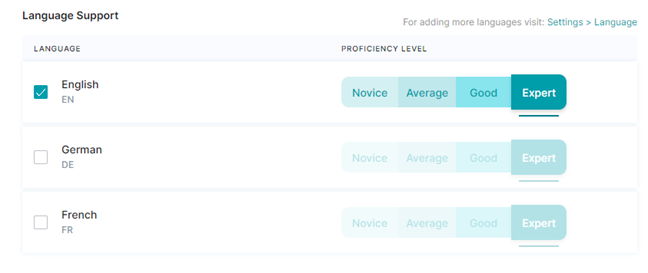
3. Language Support – Helps enable or disable the languages supported and sets the proficiency level of the agent. To add more languages, navigate to Settings > Languages.
Voice Support
This feature helps configure the voice (call) support settings for an agent
In the Voice Support window, the following settings are available:
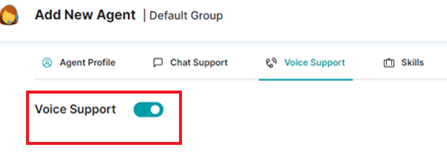
- Voice Support – Enable this feature to provide technical customer support over telephonic voice calls.
- Language Support – Select the language for voice support from the given options and set the language proficiency level.

Skills
You can configure the Skills, Group, and Proficiency levels of the agent here with the following steps:
1. Click Skills.
2. Type in a skill name or select an option from the list. This field specifies the skills that an agent is trained for.

3. The Group is auto-assigned by the system based on the selected skill, and skill proficiency can be assigned in the PROFICIENCY LEVEL Tab (Novice, Average, Good, or Expert).
4. To delete an entry, click the Delete icon.

5. Click Save.
6. The new agent record is added to the existing list as shown below.

Edit Agent Information
To edit an agent, follow these steps:
- On the Agents page, click the respective group to expand it. You can find the list of agents associated with that group.
- Click the edit icon of the agent you want to edit.

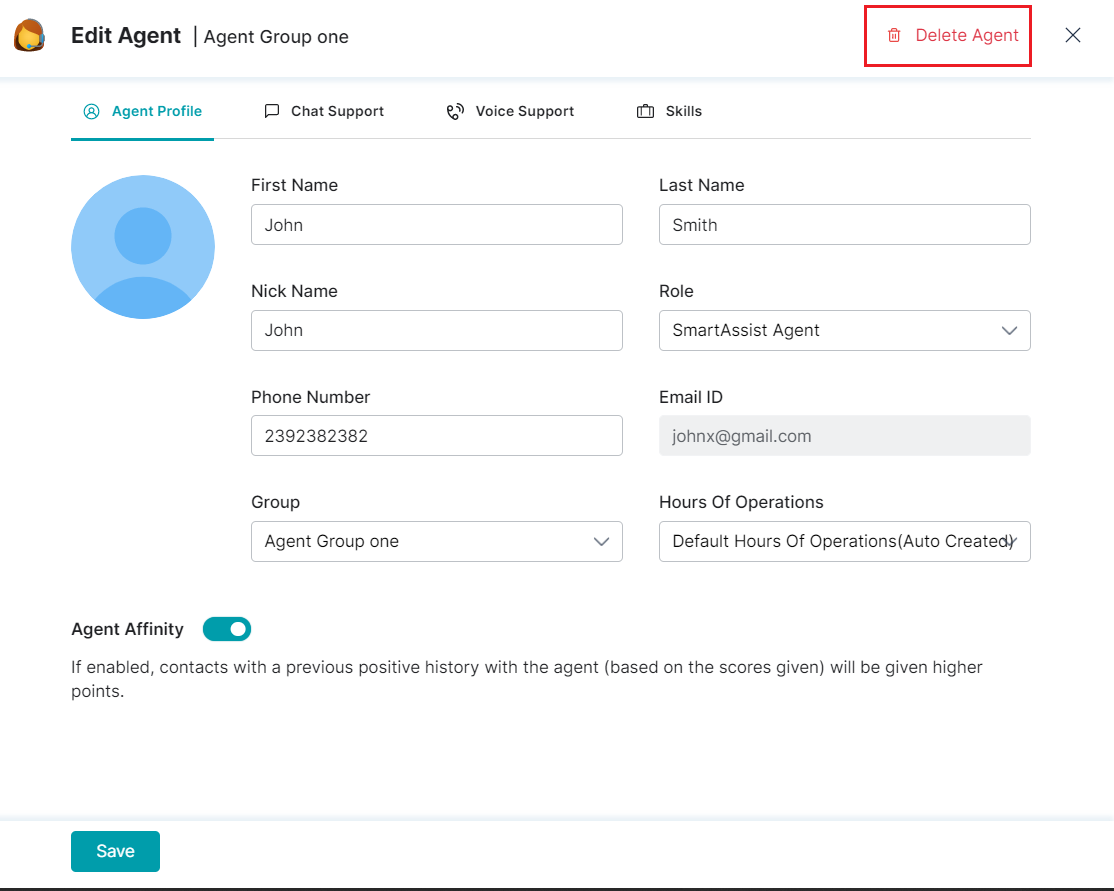
- On the Edit Agent window, make the necessary edits.

- Click Save.
Delete an Agent
To delete an agent, follow these steps:
- On the Agents page, click the respective group to expand it. You can find the list of agents associated with that group.
- Click the edit icon of the agent you want to delete.
- On the Edit Agent window, click Delete Agent on the top-right.
- On the corresponding confirmation dialog box, click Delete.
Agent Roles
The system provides two default roles under Role Management:
SmartAssist Agent Admin : SmartAssist Agent Admin role has full control on Agent Desktop Features.
SmartAssist Agent: SmartAssist Agent role has access to Agent Desktop Console.