
Standard responses define how a digital agent responds to customers during standard interactions. Agents need to be mapped to a Response Group to automate the standard responses.
Response Groups
A Response Group is a collection of agent responses for standard or custom email and chat that are configured to automate welcome messages, salutations, notifications, and more based on previous positive customer experiences.
Create a Response Group
To create a Response Group, follow these steps:
- Go to System Setup > Standard Responses.
- In the Standard Responses panel, click + Response Group.

- In the Add New Response Group panel, provide the following details:
-
-
- Group Name – The name of your response group. For example, Greetings, Sales Responses, etc.
- Shortcut Command – The shortcut command you can use for the response group name. The command format is /commandword. For example, for the technical support group, use the command text as /techsup.
- Description – A brief description on the response group to include its purpose, usage, etc.
- Skill Match – By default, skill match is disabled. If you Enable this option, all the responses in this group will be mapped to agent skills matching the designated or selected skills.
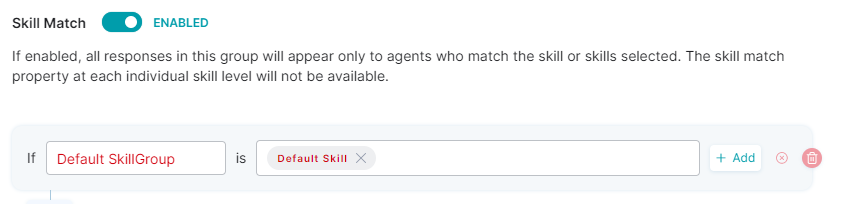
- Configure the OR/AND conditional logic by toggling between the tabs as shown below.

- Based on this selection, the skill match is done for the Skill Group and Skill details you provide.
- To add a new row to the existing Skill Match (OR) condition, click the +Add button.
- To delete a row for the OR condition, click the delete icon.
- To configure the AND condition, click the + Add button at the bottom of the OR section.

- An example of this configuration is given below.
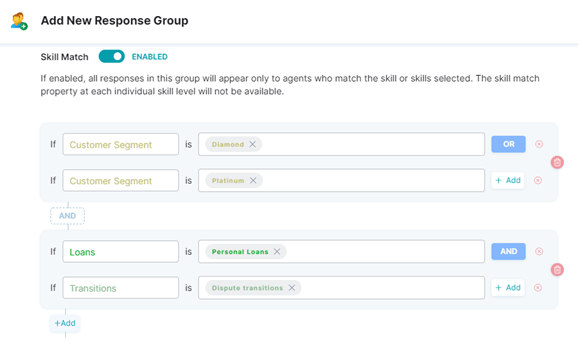
- Based on the above configuration, all responses in this group will appear only to agents with the selected skills that match the customer segment Diamond OR Platinum AND if Loans type is Personal Loans, AND Transitions type is Dispute Transitions.
- Agent Group Match – This option is disabled by default. When enabled, all the responses in this group appear only to the member agents. The agent group match property at each skill level will not be available.
-
Edit a Response Group
To update an existing response group, follow these steps:
1. Under Standard Responses, click the desired standard/custom response group name.
This displays a detailed view of the response group.
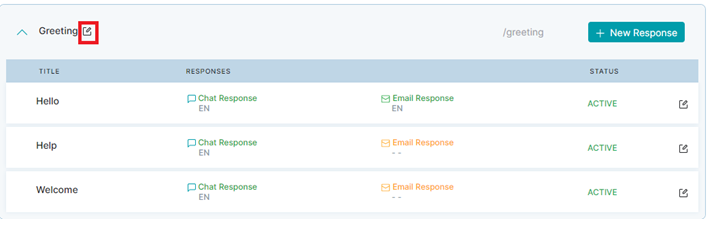
2. Click the edit icon next to the group name.
3. In the Edit Response Group panel, make the necessary changes and click Save.
Delete a Response Group
To delete a response group, follow these steps:
1. Under Standard Responses, click the desired standard/custom response group name.
2. In the detailed view panel, click the edit icon next to the group name.
3. In the Edit Response Group panel, click the Delete Response Group icon.
4. Click Delete on the delete confirmation dialog.
Note: The agent cannot access and configure the deleted response group.
Response Management
Create a Response
To create a new response within a response group, follow these steps:
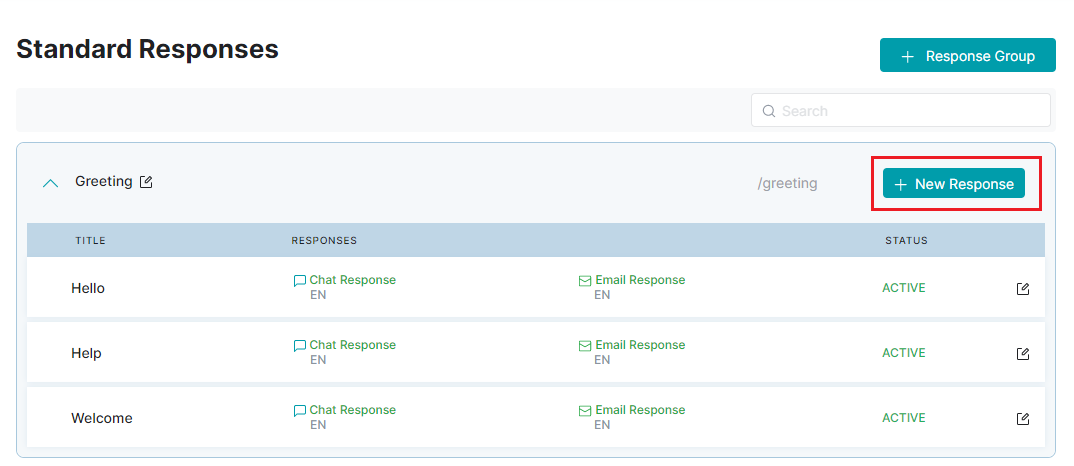
1. Under Standard Responses, click the desired standard/custom response group entry in the list to view the mapped responses.
2. Click + New Response.
3. In the Add New Response panel, set the title (name) and the auto-expire values.
- Title: The name to identify the response.
- Auto Expire: Select Never if you don’t want the response to expire. Otherwise, select Custom Date to set the end date and time from the calendar when the response automatically stops appearing.
4. Set the following options under Chat Response and Email Response:
-
- Response shown to agents :To set the response message for agents, enter the placeholder text, select the value for Variables from the list to auto-insert into the message (optional), and click Done.

- Skill Match: The agent skill match configured for the response group applies here.
- Agent Group Match: The agent group match configured for the response group applies here.
- Response shown to agents :To set the response message for agents, enter the placeholder text, select the value for Variables from the list to auto-insert into the message (optional), and click Done.
5. Click Create.
Edit a Response
To edit the details of an existing response, follow these steps:
1. Under Standard Responses, click the desired standard/custom response group name.
2. See the steps for Edit a Response Group and repeat for a response.
Delete a Response
To delete a response, follow these steps:
1. Under Standard Responses, click the desired standard/custom response group name.
This displays an expanded view of the responses mapped to the group.
2. See the steps for Delete a Response Group and repeat for a response.