
SmartAssist lets you configure the email address, user name, and password for your contact center. You can configure the following on your email channel:
- Automated outgoing emails to customers.
- Skills assignment where email IDs are assigned to specific agent skills.
- The incoming and outgoing protocol, port, and email server.
- Auto-response text to address multiple open conversations.
- Design, header, and footer of the email template.
- Automation dialog mapping for the selected Bot.
For configuring the Email channel, follow these steps:
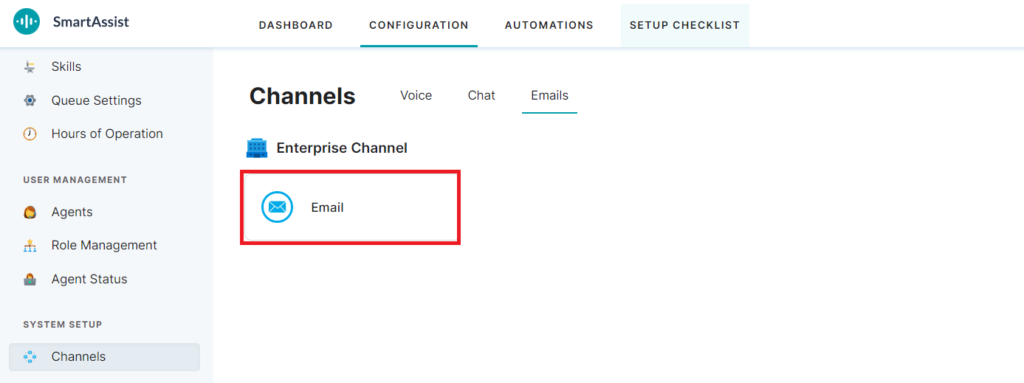
- On the left pane, click Channels under SYSTEM SETUP.
- Go to the Emails tab. Click the Email widget.
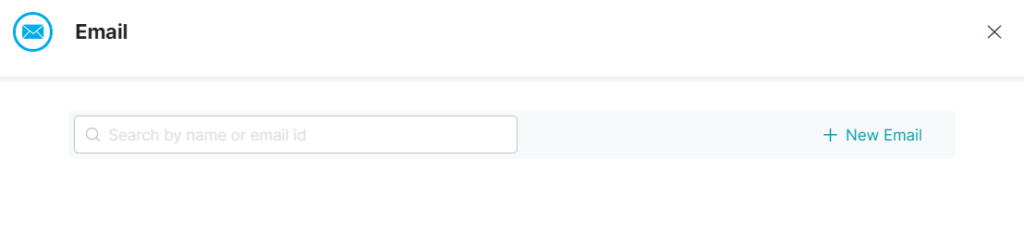
3. Click + New Email link on the window.
4. Enter the Email Address, Username, and Password details.
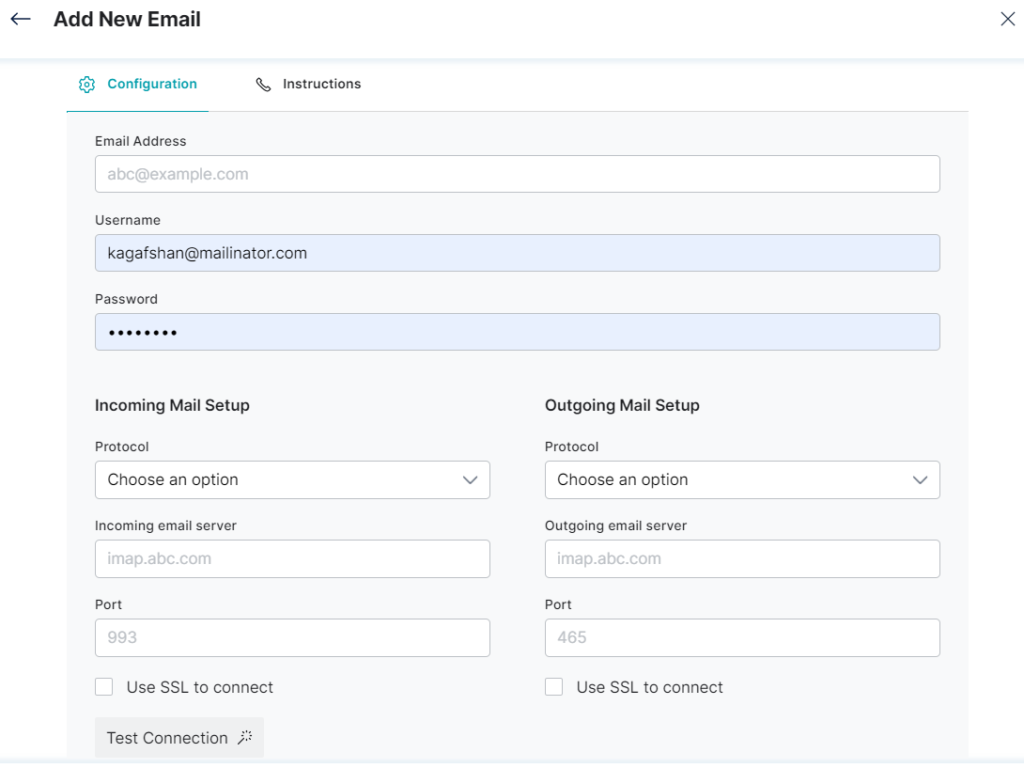
5. You can use the following (mandatory) configurations for common email providers:
- Incoming Mail Setup : Enter the Protocol [As of now IMAP is supported], Incoming email server, Port, to use SSL check the box Use select SSL to connect.
- Outgoing Mail Setup : Enter the Protocol [As of now SMTP is supported], Outgoing email server, Port, to use SSL check the box Use select SSL to connect.
- Once the connection details are provided, you can validate the configuration by clicking the Test Connection.
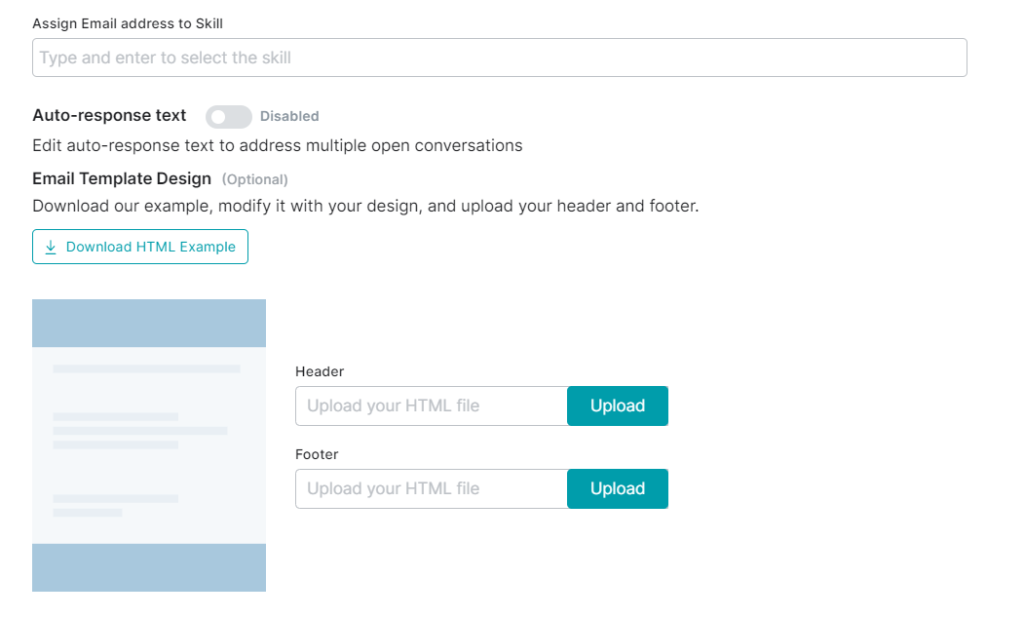
The following configurations are optional:
- Assign Email address to Skill : Choose Skills to map the Email, which would help in routing the requests.
- Auto-response text:
- Enable : Allows to edit auto-response text
- Disable : Does not allow editing of auto-response text
- Email Template Design: If you want to use a HTML template, for the email conversation between the Agent and the User, download a sample Email template [HTML] for reference and upload the custom HTML files for both Header and Footer.
- Dialog Mapping : This is an optional setting where you can select a Bot from the list for the initial interaction with a customer and connect to the agent at the end of the automation dialog you select from the list.

- Instructions: This section provides the step-by-step instructions for setting up the email Channel.
