
While Q&As help you answer simple customer queries with pre-existing answers, Conversations are used for advanced activities like placing an order or checking an order status which requires a multi-step exchange of information between the user and the bot.
Like Q&As, Conversations start by understanding the customer’s intent. After you define the customer intent, you can choose one of three options:
- Trigger an automated dialog.
- Transfer to an agent.
- Deflect to chat.
An Automated Dialog drives the customer through an experience based on their intent. For example, a welcome dialog provides a greeting experience to a customer during the first interaction. You can use the dialog tasks within the Kore.ai Automation Platform to build custom dialogs.
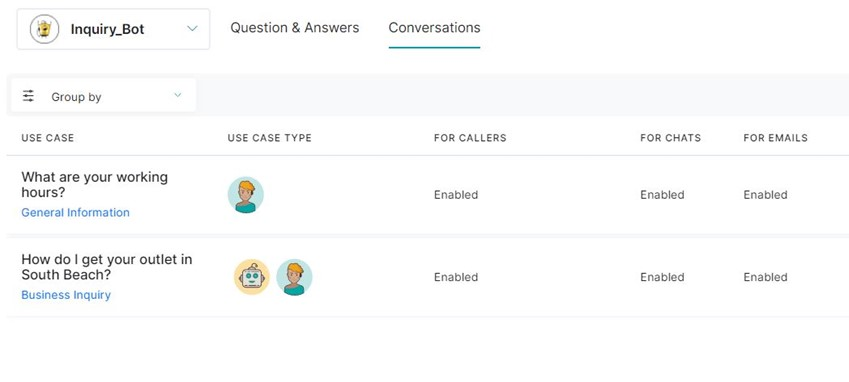
For example, “Hello! How are you today? Would you like to get your statement via email?” is displayed if a banking customer selects the “receive statement” option. The fields displayed in the table view are as follows:
Conversations Features
Conversations – Live Board
Field
Description
Use Case
Name of the use case.
Use Case Type
Category of the use case – Customer Use Case or Agent Assistant Use Case. (See the following section for more information)
For Callers
Displays whether the specific use case is enabled or disabled for callers. If enabled it would be available during a call conversation.
For Chats
Displays whether the specific use case is enabled or disabled for chats. If enabled it would be available during a chat conversation.
For Emails
Displays whether the specific use case is enabled or disabled for emails. If enabled it would be available during an email conversation.
Status
Displays the status ‘Published’ if the conversation has been published otherwise displays ‘In Development.’
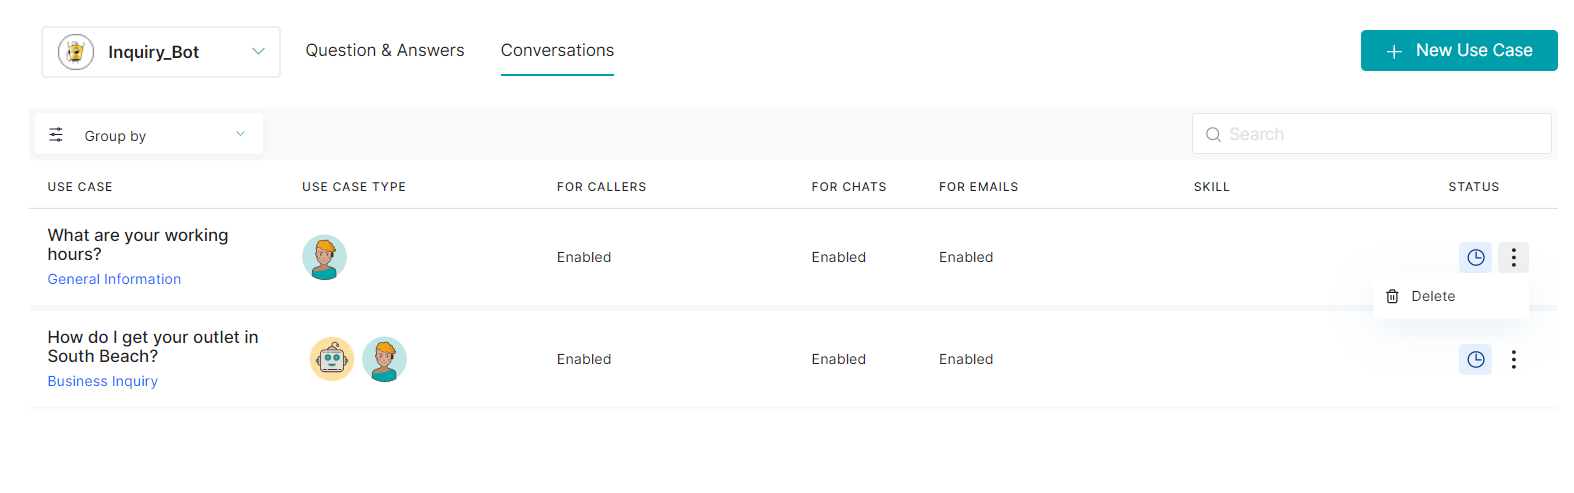
Action icon and menu
Click the ellipsis in each row to view the action menu items. Select the Delete option to delete the entry for Conversations.
Add a Conversation
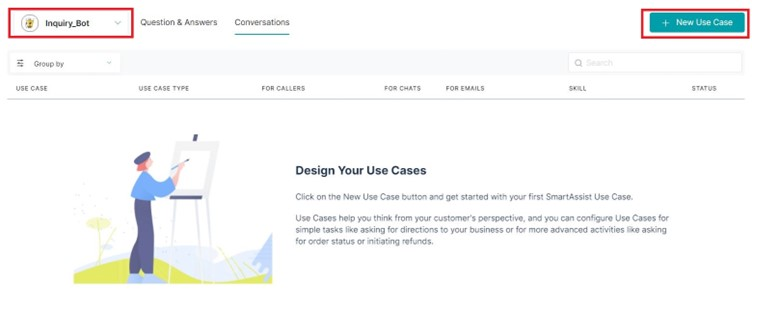
To add a new Conversations use case, perform the following steps:
1. Navigate to Configuration > UseCases> Conversations tab. Click + New Use Case.
2. In the New Use Case panel the General Setup tab is by default selected.
3. Enter Use Case Name, select Category, and enter user Utterances. Click Save to save the use case.
4. You can select the Use Case Type on this panel.
- Customer Use Case: On selecting this, the Use case will be available for end customers. Call Experience and Chat Experience tabs are displayed.
- Agent assistant Use Case: On selecting this, the Use case will be available for agents and Triggers & Permissions tab is displayed.

5. In the Category field, enter a category or select a category from the list. This helps you organize the Conversations for easy management.
6. Click + Add Another to add new utterances or search and add existing Utterances.
7. Click Save to save the use case. The new Use Case would be displayed under Conversations.
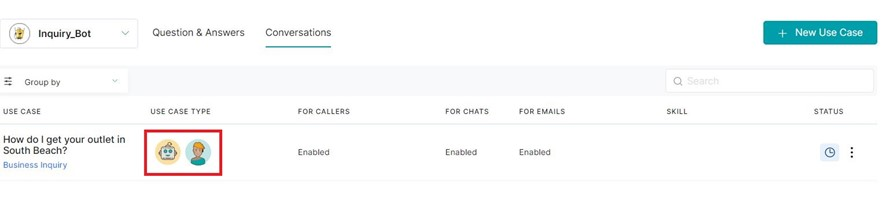
In the preceding image, only Agent Assistant Use Case Type is displayed for the first one, as per the section.
Configure a Conversation
After you add use cases, you can complete the configuration under Call Experience and Chat Experience, Triggers & Permissions tabs or you can save the use case and configure later. The following sections explain the steps to be followed to complete the configurations.
Configure Call Experience
Call Experience has three types of configurations. Click the Use Case under Conversations. In the Call Experience tab, select any or all of the following options:
- Automated Dialog
- Transfer to Agent
- Deflect to Chat
Automated Dialog
Select this to set an automated dialog for the current conversation. This option lets you set an automated dialog for the current conversation on the Kore.ai virtual assistant platform. You must add the required nodes and logic to build the desired conversation flow.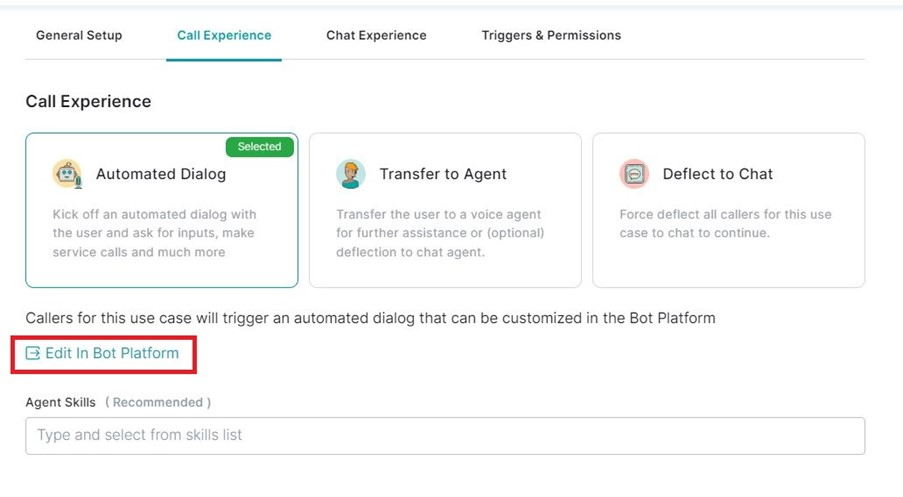
- Callers for this use case would trigger an automated dialog that can be edited on the Bot Platform.
- Click Edit in Bot Platform to access the platform.
The configuration options for this Call Experience feature include:
Agent Skills
This option redirects the user to an agent with the selected skill. To select the skill, do one of the following:
- Select a skill group from the Agent Skills list. You can select only a specific group of skills to map to the agent.
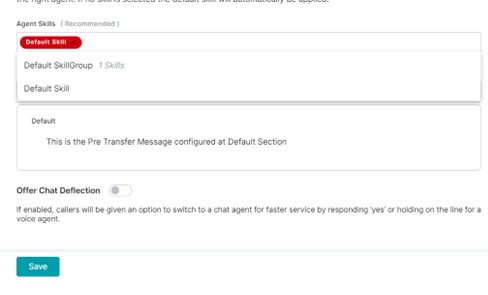
- Click Save to save the selected preferences.
Transfer to Agent
Users are transferred to a voice agent for further assistance. Configure the message to be played before the call transfer. You need to set up the outgoing call details to complete this configuration.
![]()
Pre-Transfer Message
This option lets you set the pre-transfer message that the user will hear before the agent transfer dialog begins.
The options available to set the pre-transfer message include:
Default Message
You can select either Default Message from the drop-down or create your own Custom Message. Click Save.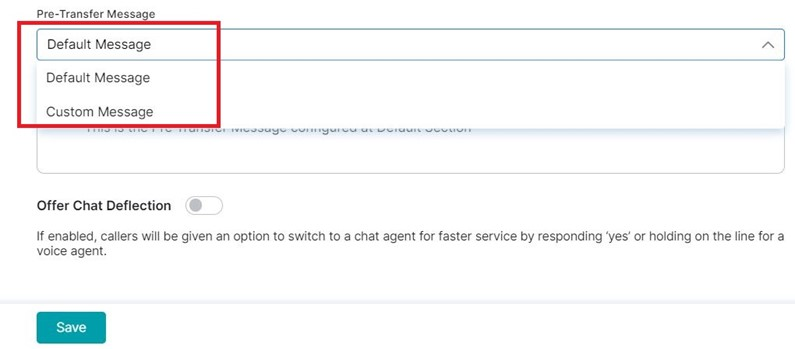
Custom Message
If you select Custom Message from the list, enter your message in the text box and click Save.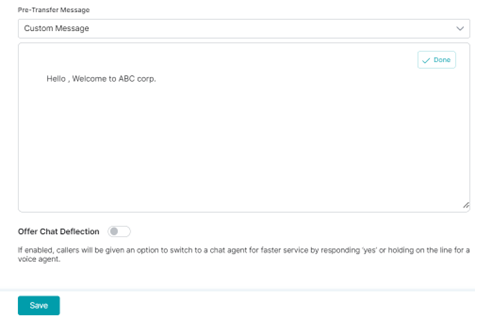
Offer Chat Deflection
If this option is enabled, the caller will be redirected to a chat agent for faster service when their response is ‘yes’. If disabled, the caller is put on hold for a voice agent allocation.
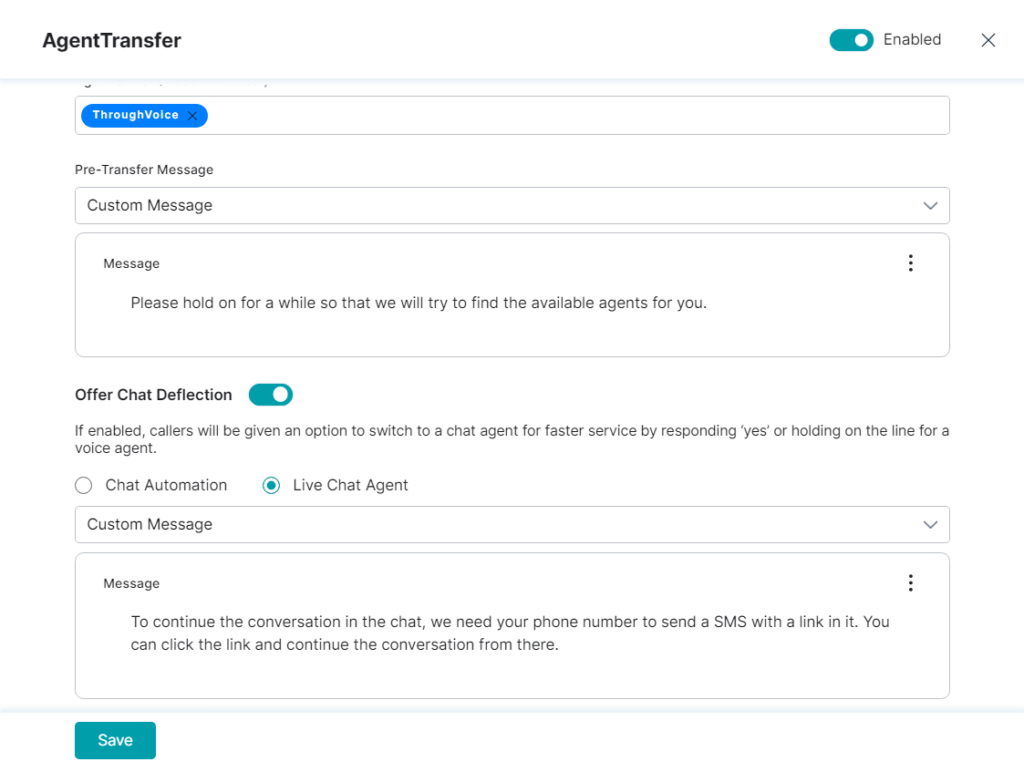
When enabled the caller is directed to Chat Automation or Live Chat Agent.
- Chat Automation – An automated chat experience as configured.
- Live Chat Agent – A chat with a live agent is initiated.
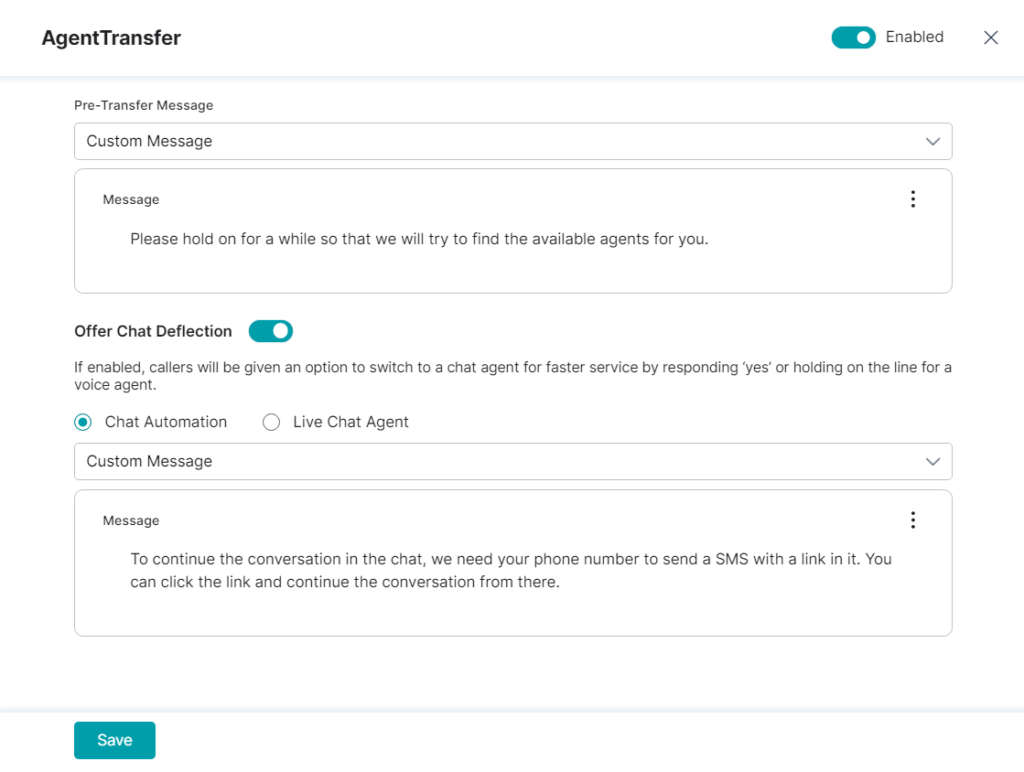
In both Chat Automation and Live Chat Agent, configuration options are available to set either a Default confirmation prompt or a Custom message as the confirmation.
Deflect to Chat
This option defines the deflection flow users will experience for the selected use case. Users are presented with a link to initiate a conversation with the chat agent.
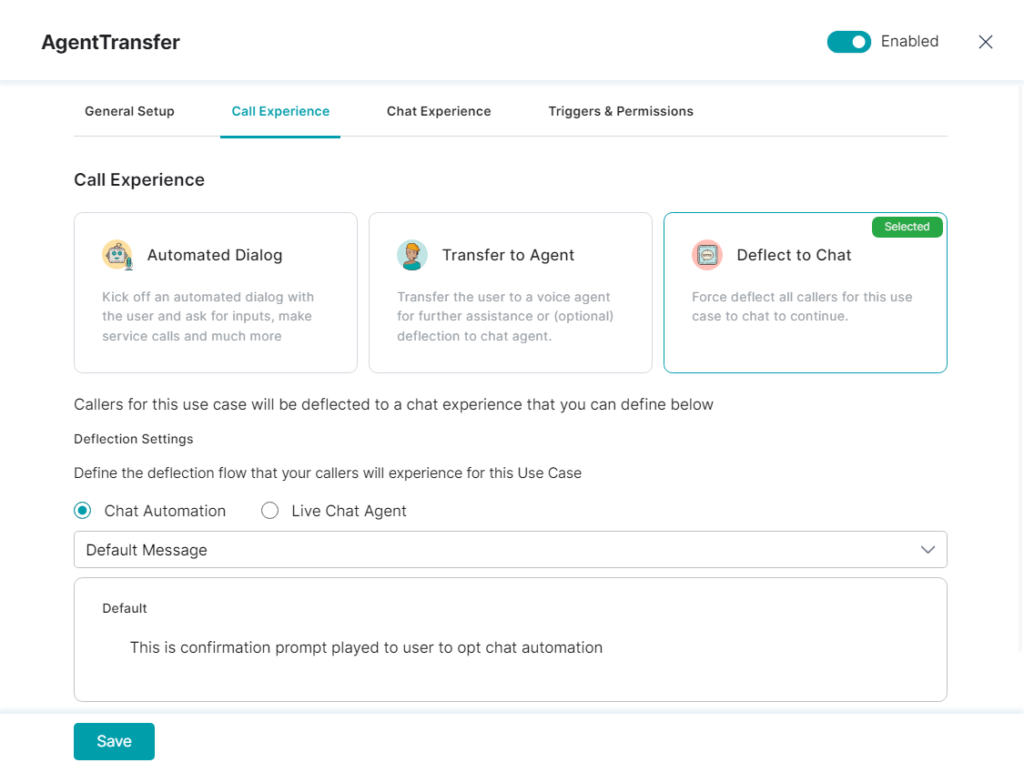
Refer to Offer Chat Deflection to understand the Chat Automation and Live Chat Agent options and the configuration steps.
Configure Chat Experience
Chat Experience has two types of configurations.
- Click the Use Case under Conversations.
- In the Chat Experience tab, select either or both Automated Dialog or Transfer to Agent options.

- Automated Dialog: Chat conversations for this use case will trigger an automated dialog that can be customized in the Bot Platform. See Automated Dialog of Call Experience to understand the detailed configuration steps.
- Transfer to Agent: Users are transferred to a chat agent for further assistance. You need to set up the agent skills and configure the message to be displayed before the user is transferred to a chat agent. See Transfer to Agent of Call Experience to understand the details. You will not have the Offer Chat Deflection option available here. Configuration steps for Agent Skills and Pre-Transfer Message are the same as in Call Experience .
Configure Triggers & Permission
Under the tab Triggers & Permission, set the permissions for the options in the new conversation.

The following options can be enabled or disabled in this section:
- During Chats: If enabled, this use case can be manually or automatically triggered by the agent when they are engaged with a customer in a chat channel.
- During Calls: If enabled, this use case can be manually or automatically triggered by the agent when they are engaged with a customer in a phone call.
- During E-Mails: If enabled, this use case can be manually or automatically triggered by the agent when they are engaged with a customer in an email conversation.
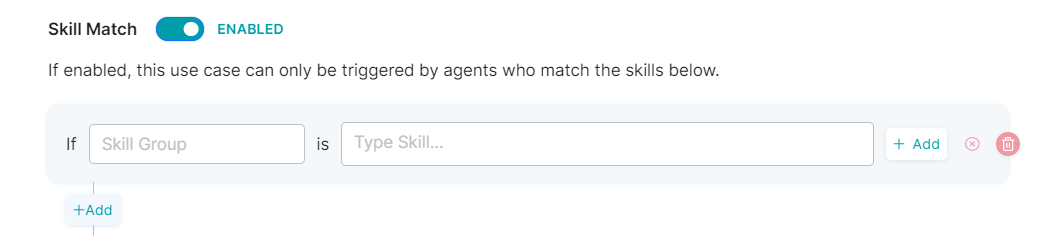
- Skill Match: If enabled, this use case can only be triggered by agents who match the listed skill conditions in this option.
- Agent Group Match: If enabled, this use case will trigger only for agents who are in the specified groups. The option to list the Agent Groups is provided when enabled.
- Launch by Menu: If enabled, the use case will be listed in the menu of use cases in the agent assist window allowing the agent to browse and find this use case to trigger it.
Click Save to save the changes.
Additional Features
In the Conversations list view page, you can perform more actions as follows:
- Use the Group by drop-down to arrange conversations into groups based on Category or Status (In Development/Published).
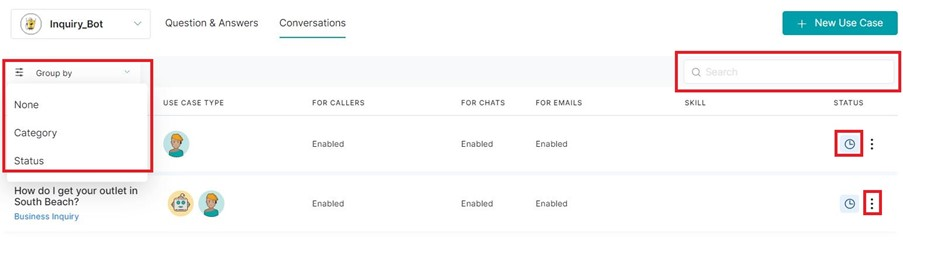
- Use the Search option to use matching words and search for a specific question.
- Click on any Use Case to modify the settings.
- If you want to delete the Conversation, click the more (vertical ellipsis) icon for the Delete option.