This document explains the Omni-Channel Chat configuration process in Salesforce.
Prerequisites
- Developer or a Production Salesforce org
- Basic knowledge of Salesforce terminology
Enable Omni-Channel
- Sign in to your organization.
- Go to Salesforce Service Setup.
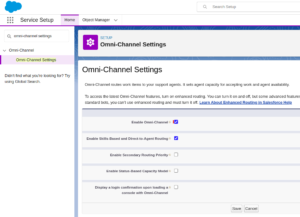
- In the quick find box, search Omni-Channel Settings.
- Select Enable Omni-Channel and click Save.

Set Up Web Chat in Salesforce
- Sign in to your organization. If you’re in Salesforce Classic, switch to Lightning Experience.
- Go to Service Setup.
- Click View All under Recommended Setup.

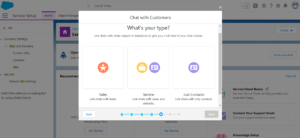
- Type chat in the search box and select Chat with Customers.

- Create a queue and assign the Salesforce users to the queue.

- Click Next and enter the priority value.
- Click Next and enter Work Item Size and Agent Capacity.
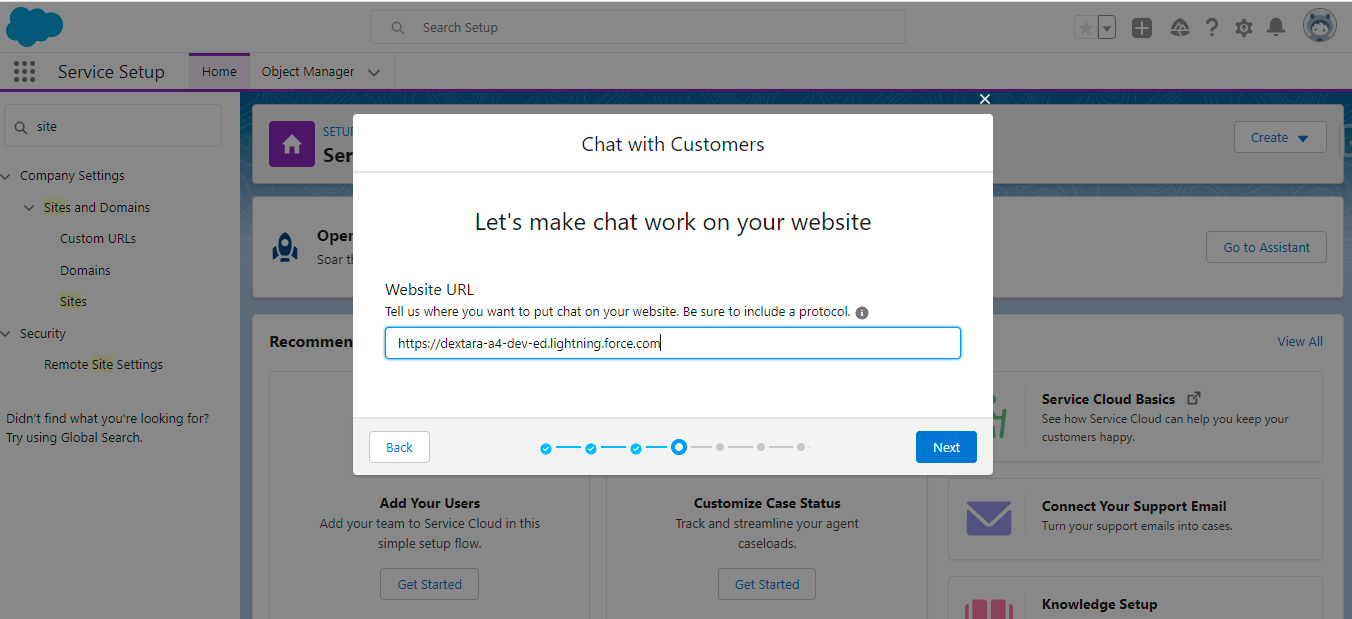
- Enter the public URL of the website where you want to add your chat widget. (For this demo, we’ll use VF Pages.)

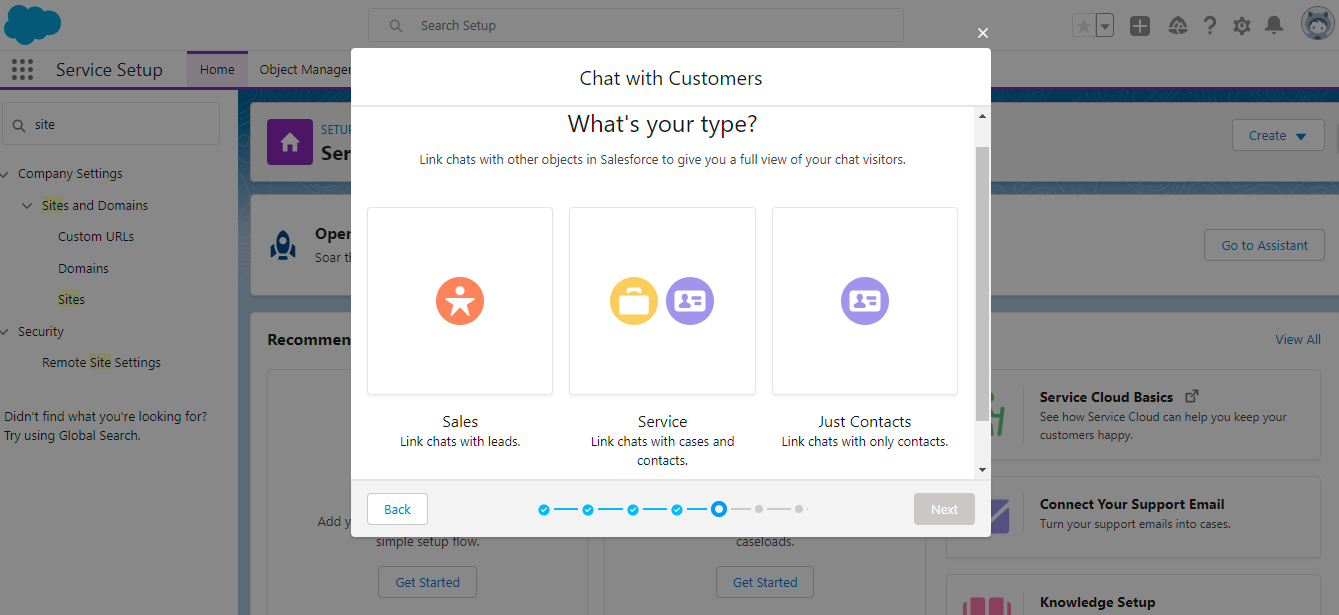
- Select the org type.
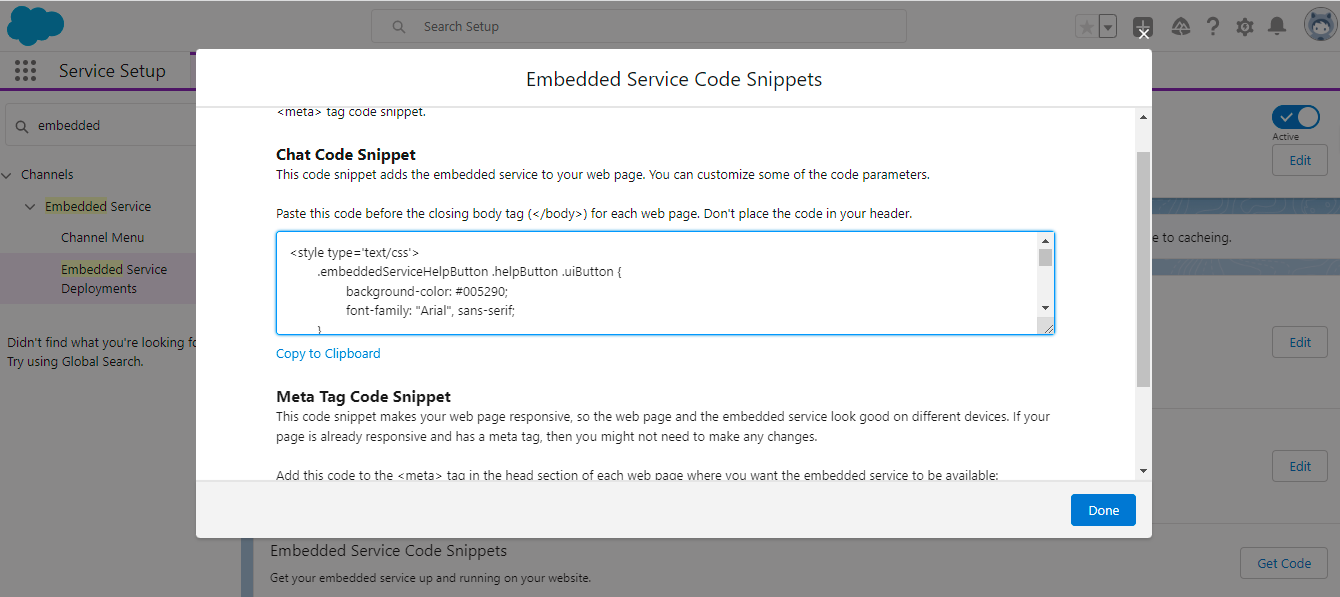
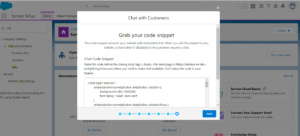
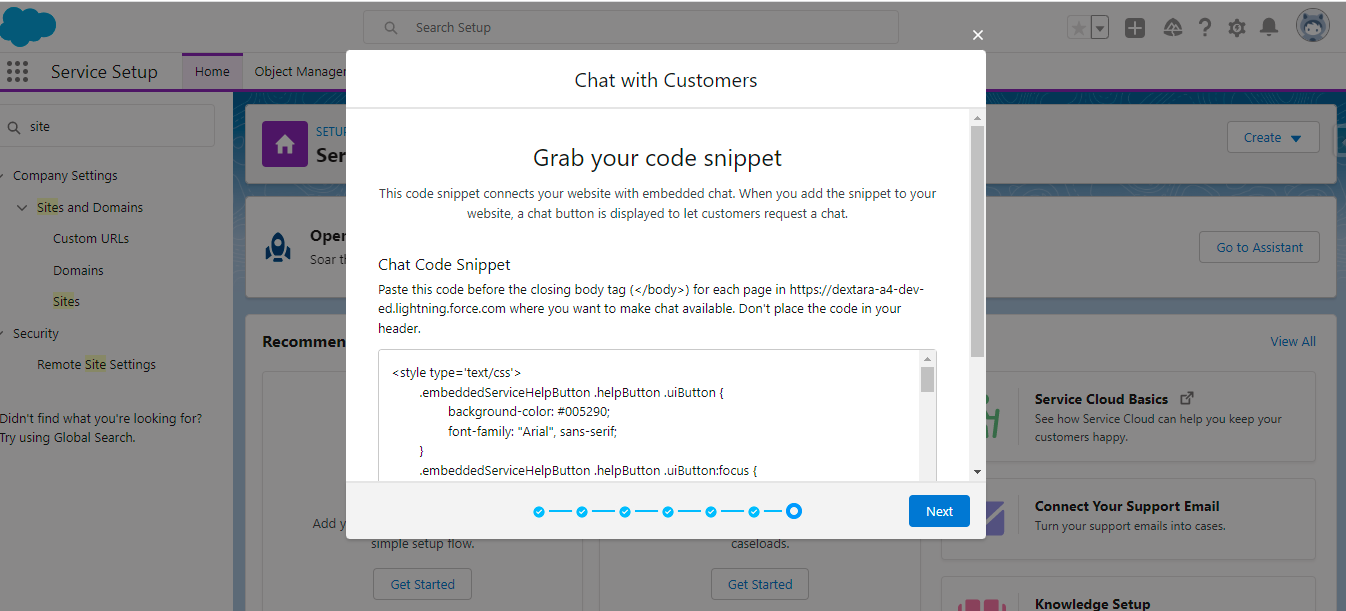
- Copy the Chat Code Snippet and save it on your local device.
- Click Next and Done.


Add the Omni-Channel utility to your Lightning Application
- Go to Lightning Experience > Setup.
- Enter “App” in the Quick Find box.
- Select App Manager.
- Click the dropdown list next to the console app that you want to add Omni-Channel to (for example, Service Console), and click Edit.
- Click Utility Bar > Add.
- Click Omni-Channel.
- Click Save.
- Click Done.
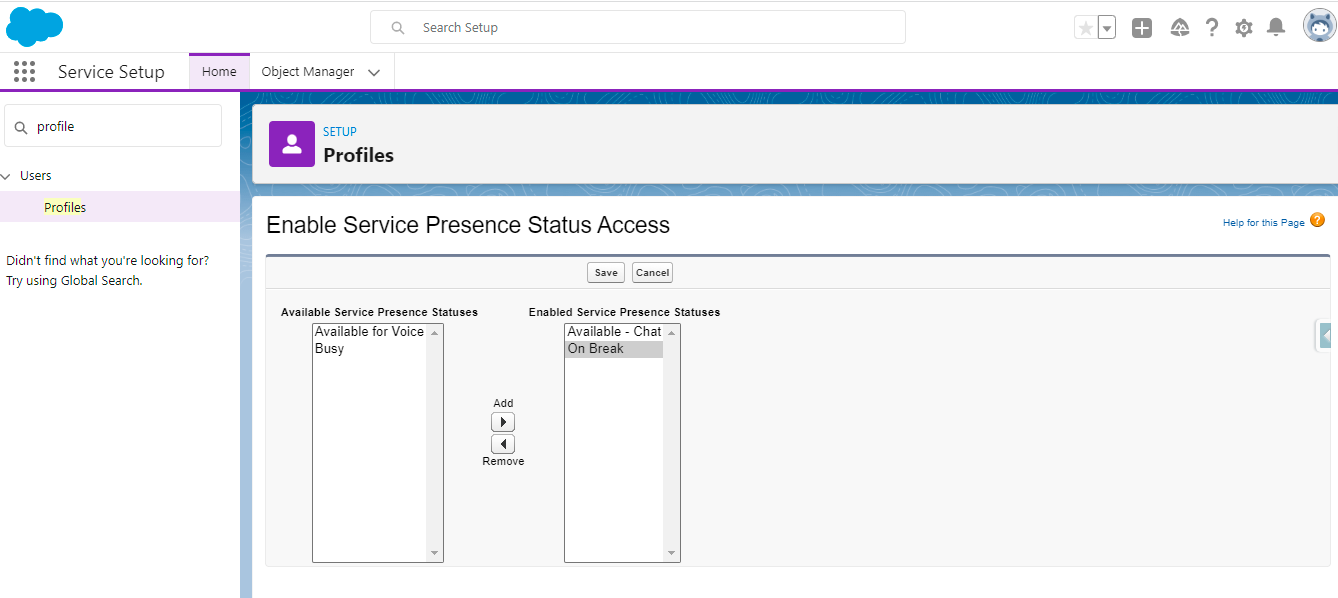
Enable Service Presence Status Access
- Enter Profile in the quick find box, and then select Profiles.
- Select System Administrator.
- Edit Enable Service Presence Status Access and assign Presence Status Available – Chat, On Break, and Busy.

Assign Permission Sets
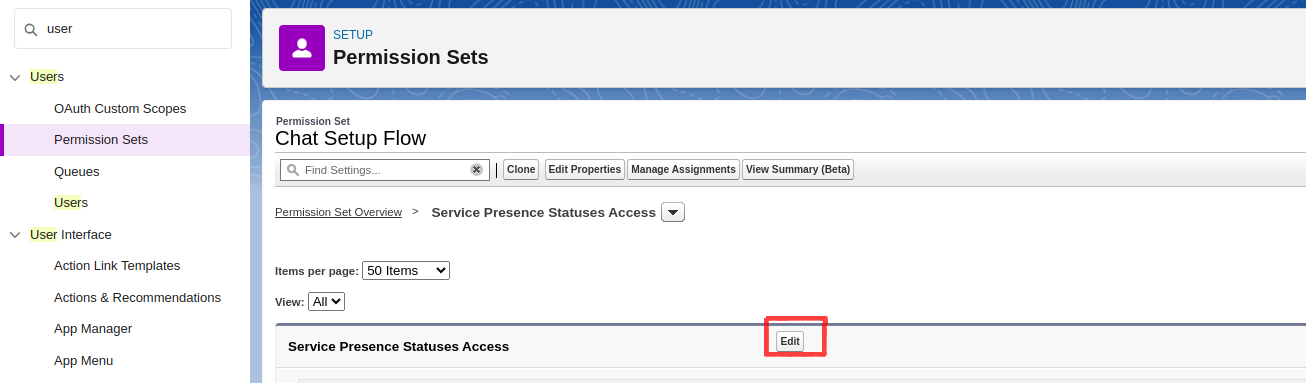
- Search for Permission Sets in the quick find box, and select it.
- Search for Chat Setup Flow.
- Open Permission Set.
- Locate Service Presence Statuses Access under the Apps heading and open it.
- Click Edit.

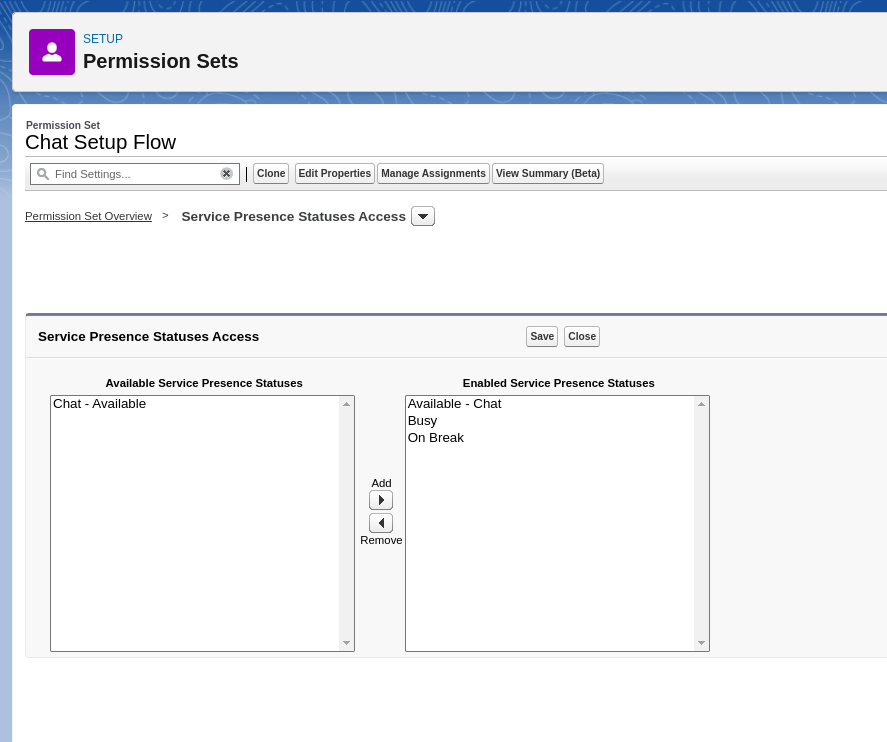
- Move the required Presence Statuses to the right side.

- Click Save.
Configuring the App
- Select App Launcher.
- Click the tile for the app that you want (Service Console, in this case).
- Click the Omni-Channel widget to set the agent online.

Testing the Chat
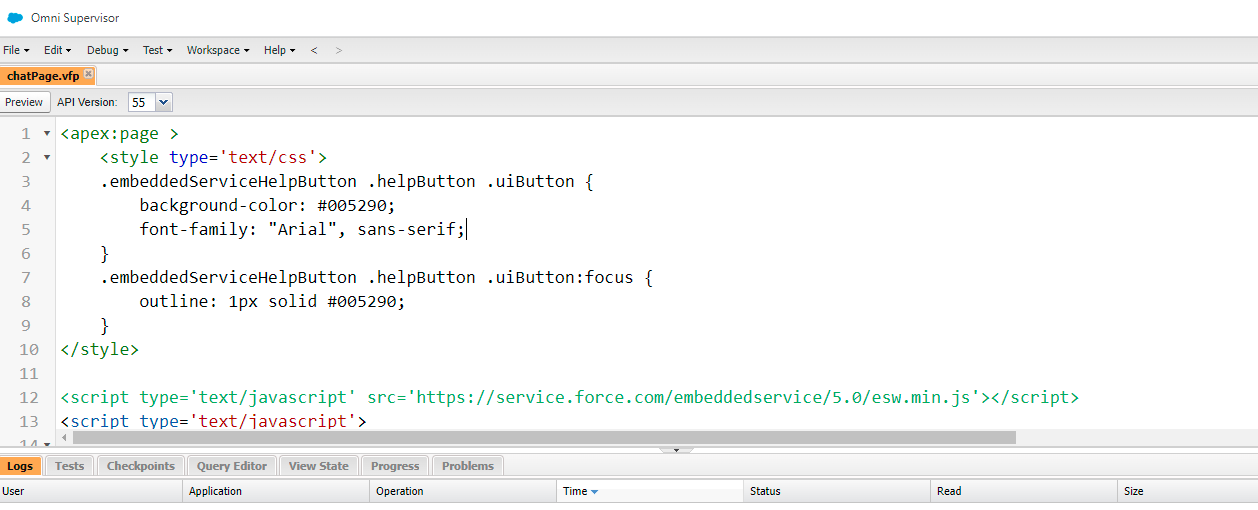
- Open the Salesforce Developer Console and create a new Visualforce page.
- Paste the code you copied in the Set Up Web Chat in Salesforce step. Or, you can find the code from the following steps:
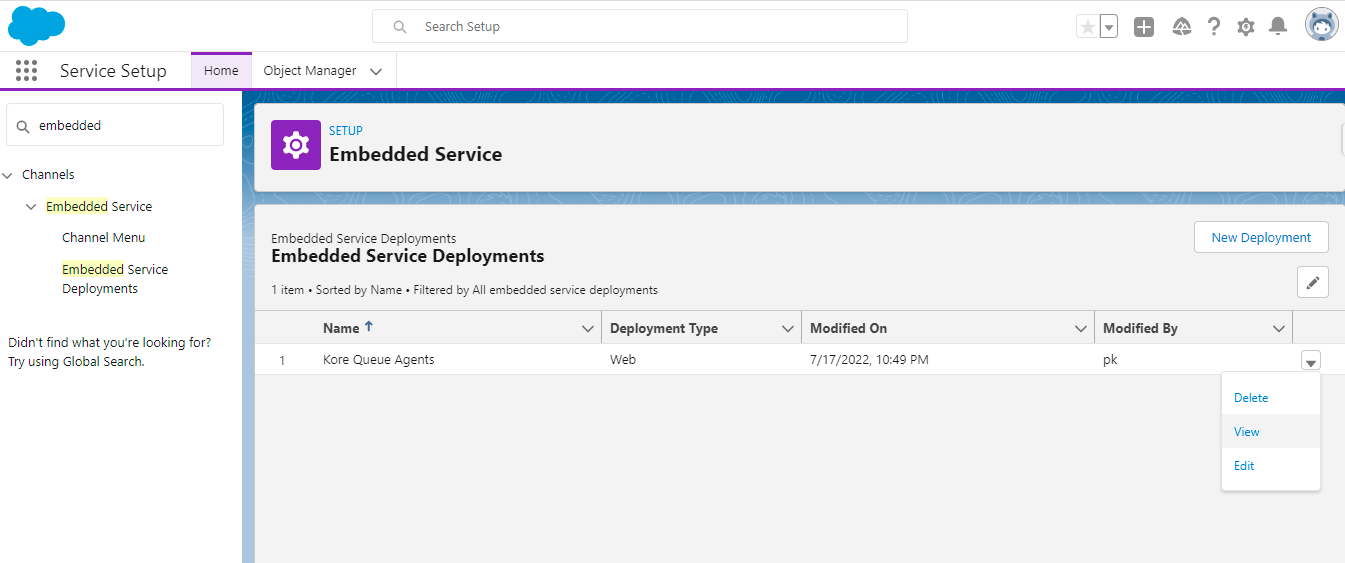
- Go to Setup and type Embedded in the quick find box.
- Select Embedded Service Deployments.

- Click the dropdown list and select View.

- Click the Get Code button.

- Copy the code to the clipboard.
- Click Done.

- Go to the Visualforce page and paste the code in between the apex:page tags.
- Save and click the Preview button.

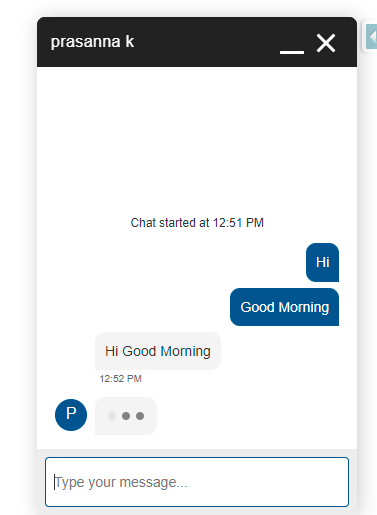
It navigates to another tab. At the bottom right, you can find the Chat symbol. - Click the Chat button.
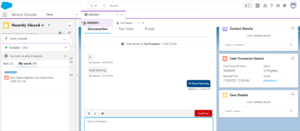
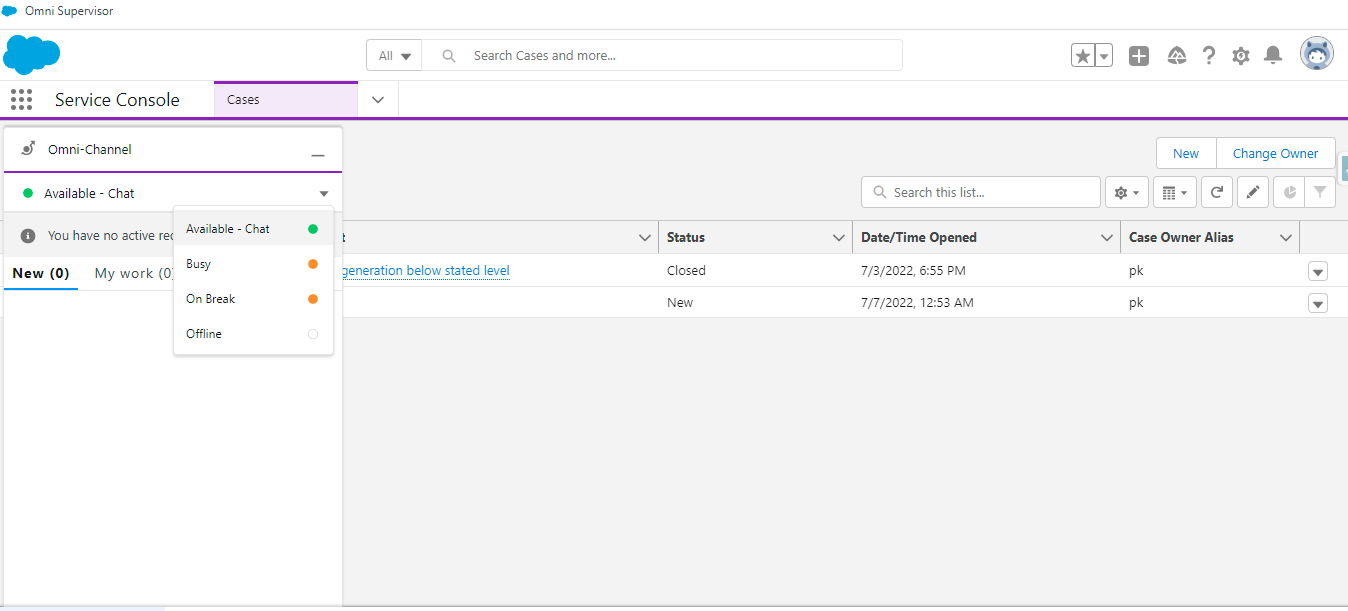
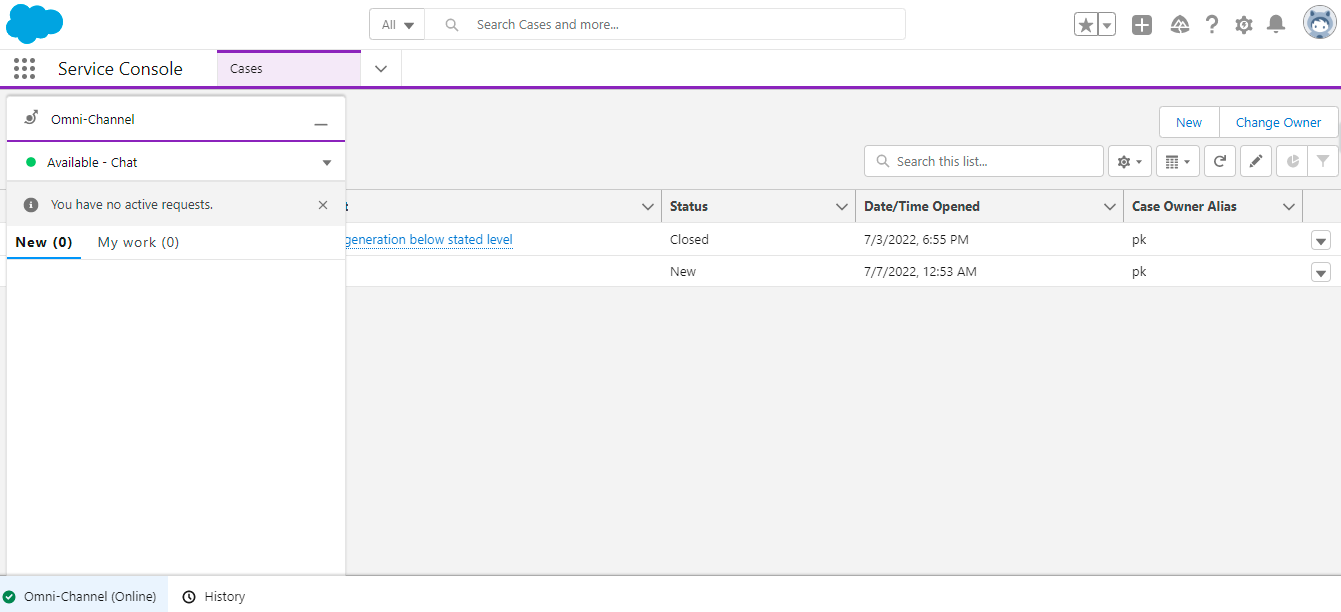
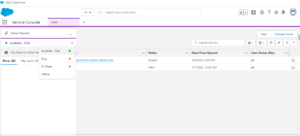
- Go to Service Console, open the Omni-Channel widget, and set Presence Status to Available – Chat.
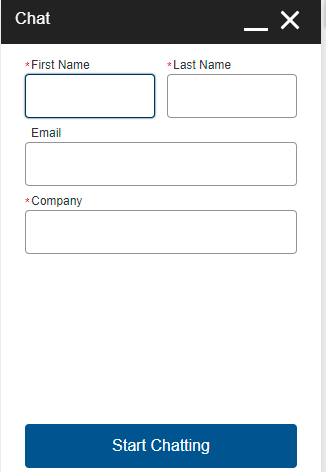
- Provide Information to initiate the chat.
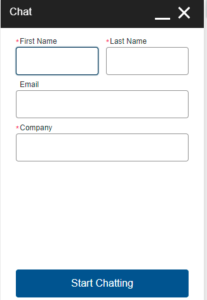
- Click the Start Chatting button.

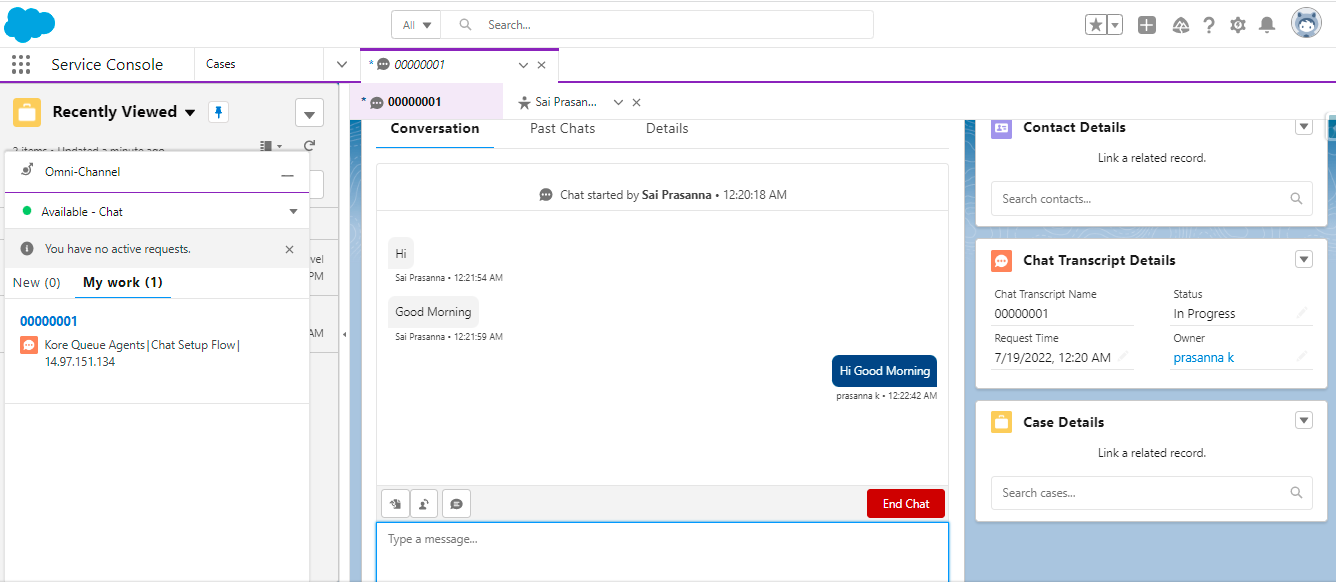
- Accept the chat in Salesforce.
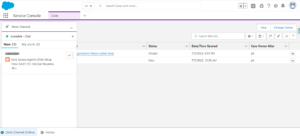
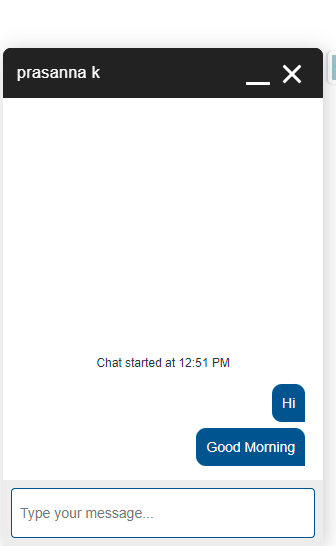
Once you accept the work item, it comes under the My Work tab. Now, you can start a conversation with a customer.
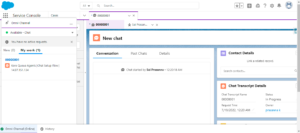
- Start the conversation.