Add an External Model using API Integration
You can connect an external model to GALE using API integration. This feature extends GALE's functionality by allowing you to bring in models from external sources.
Add an External Model
Steps to add an external model using API integration:
-
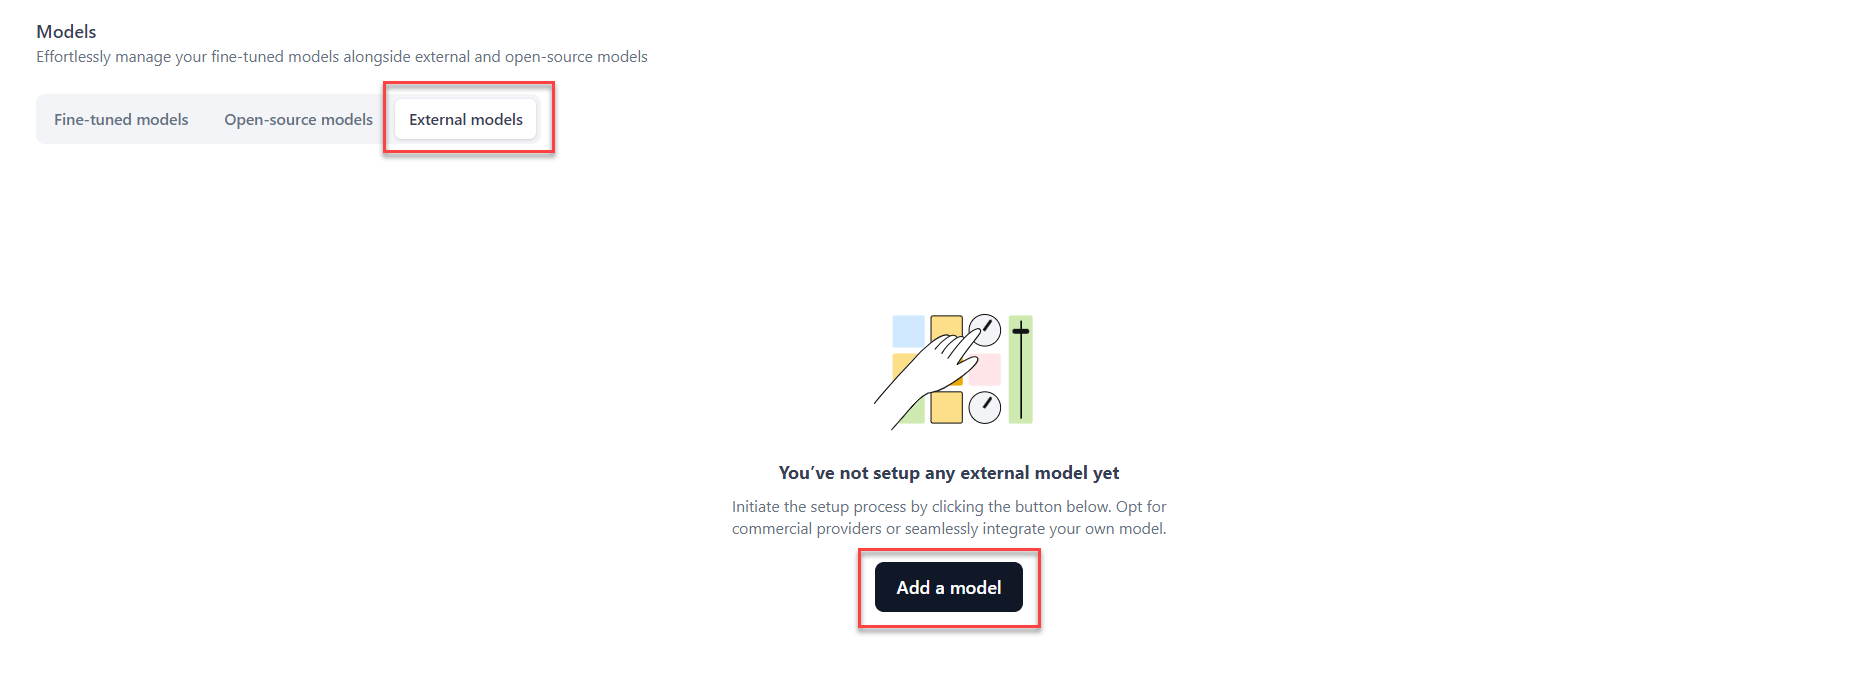
Click Models on the top navigation bar. The Models page is displayed.
-
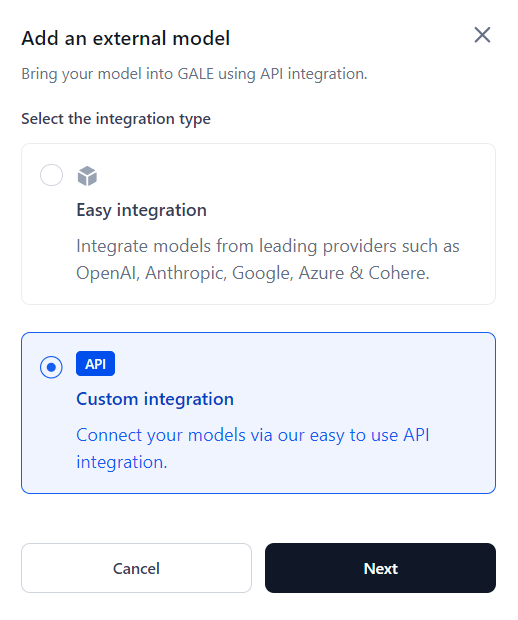
Click Add a model. The Add an external model dialog is displayed.
-
Select the Custom integration option to connect models via API integration, and click Next. The Custom API integration dialog is displayed.
-
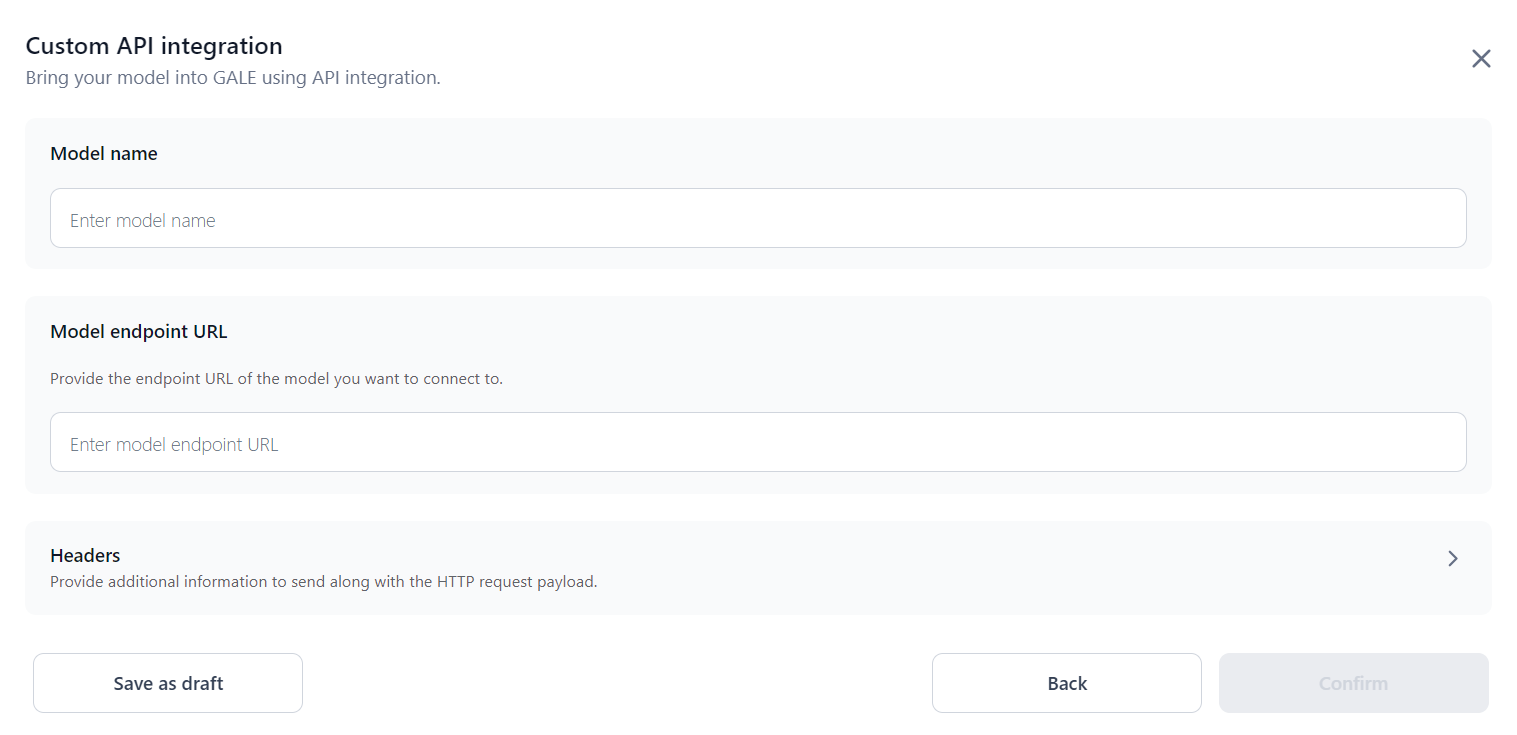
Enter a Model name and Model endpoint URL in the respective fields.
-
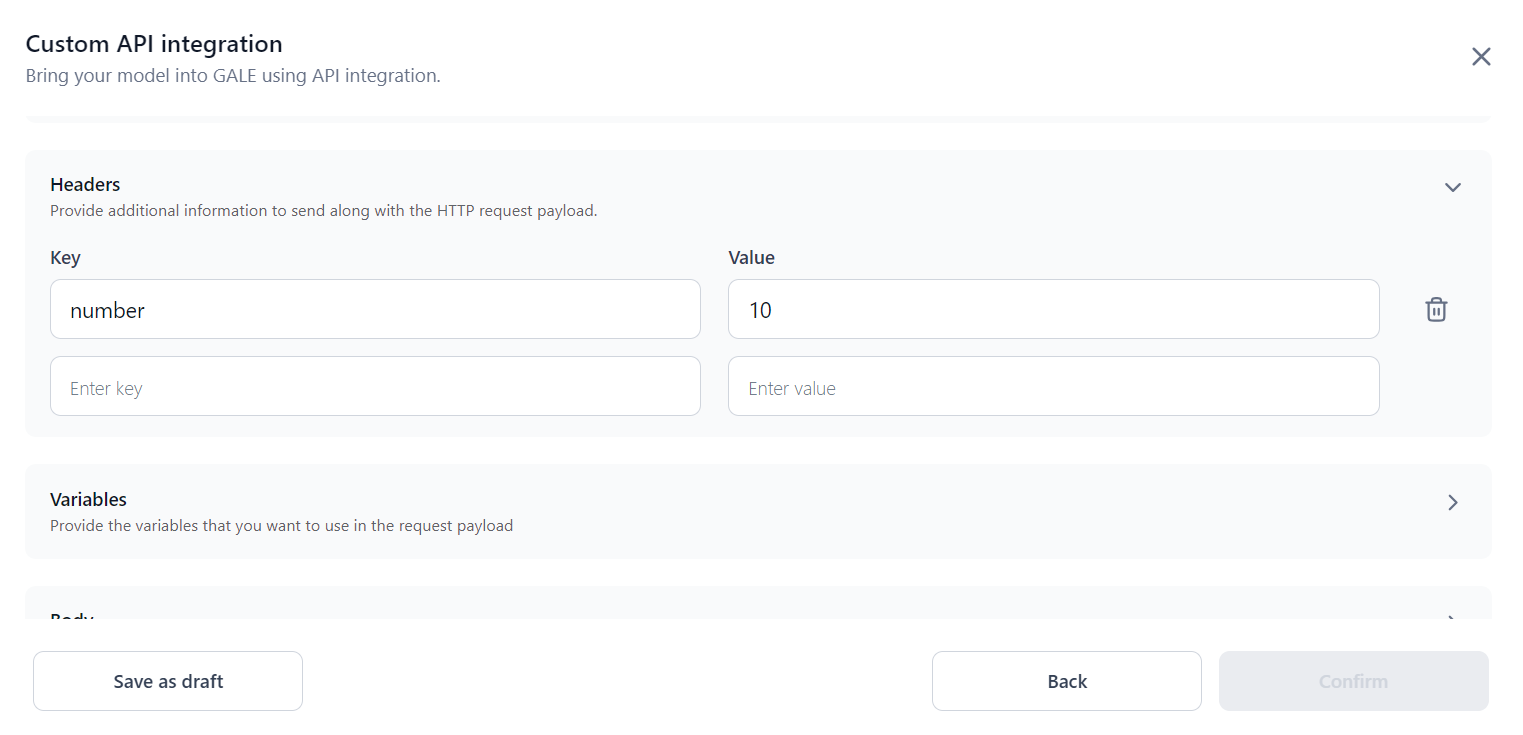
In the Headers section, specify the headers such as Key and Value that need to be sent along with the request payload.
-
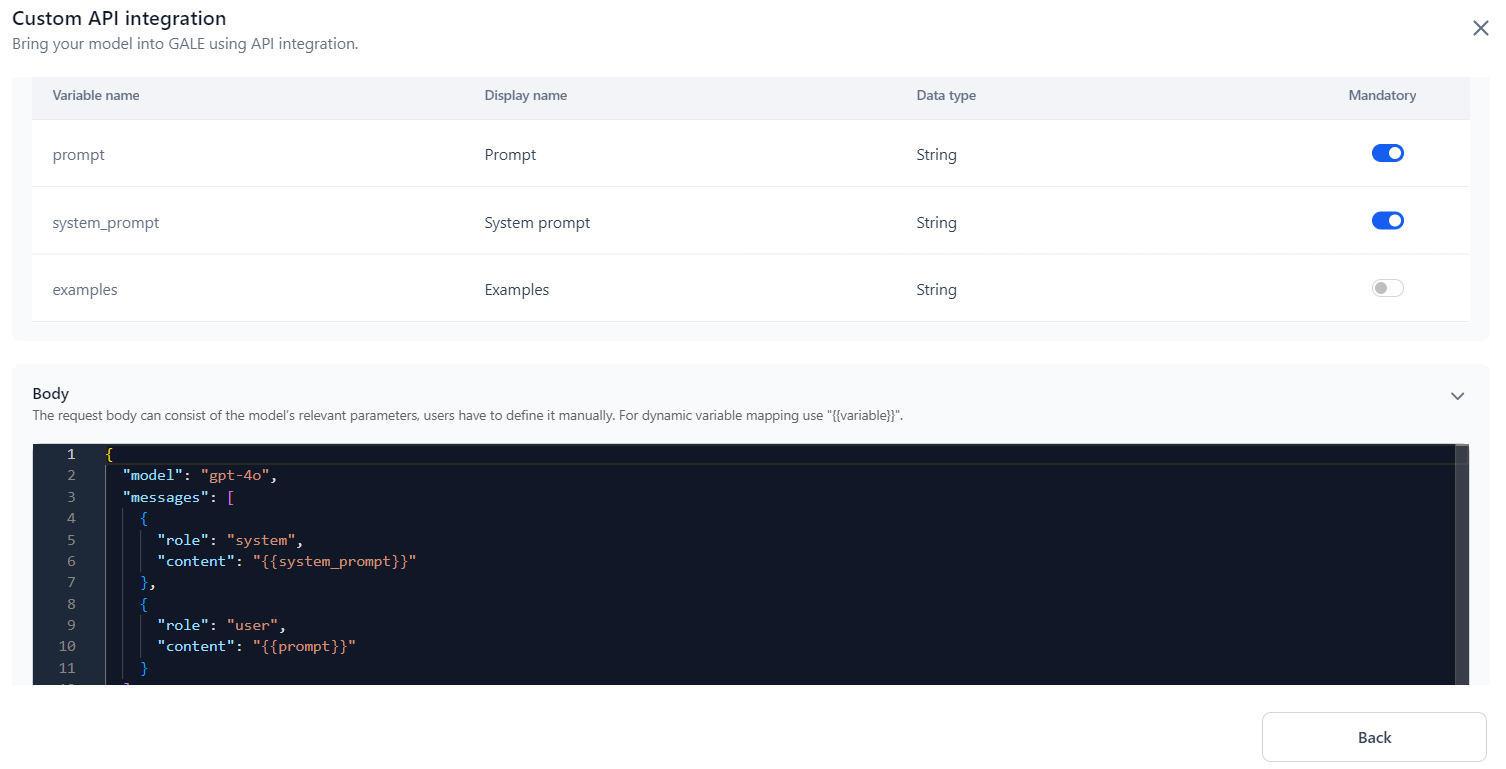
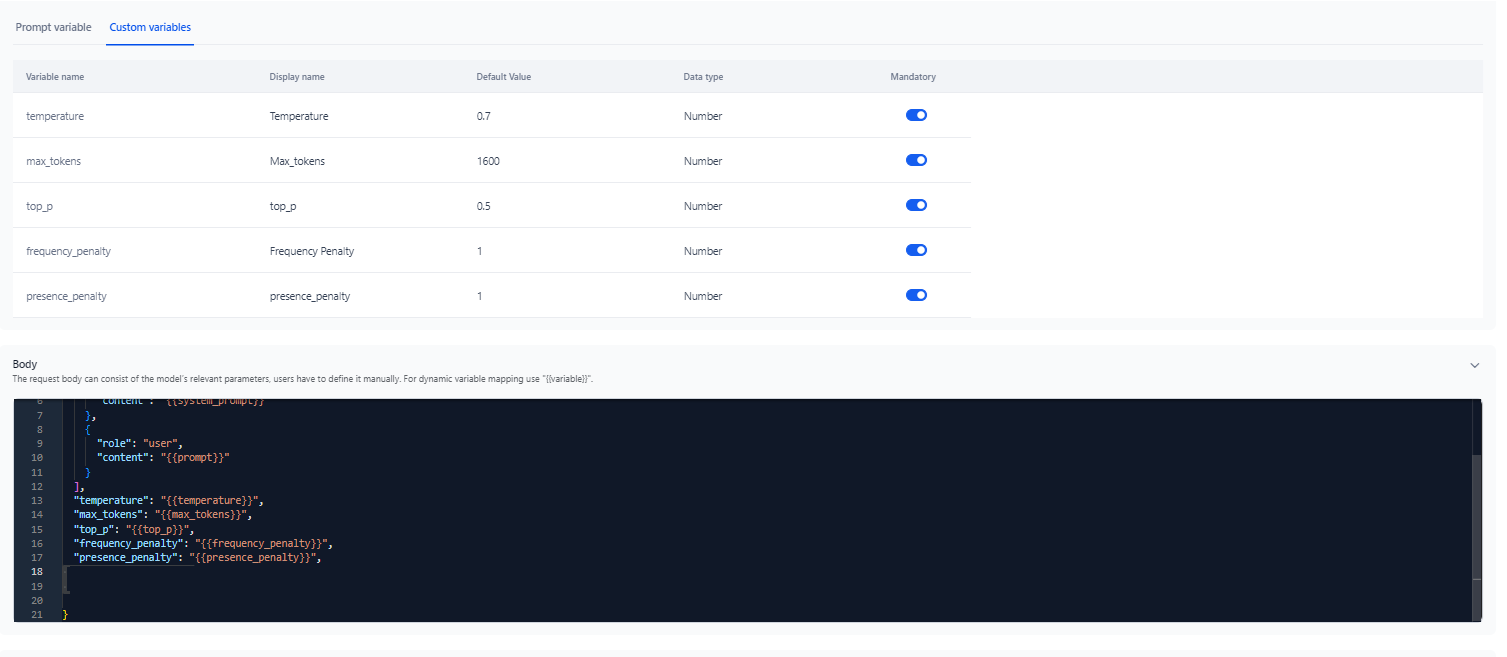
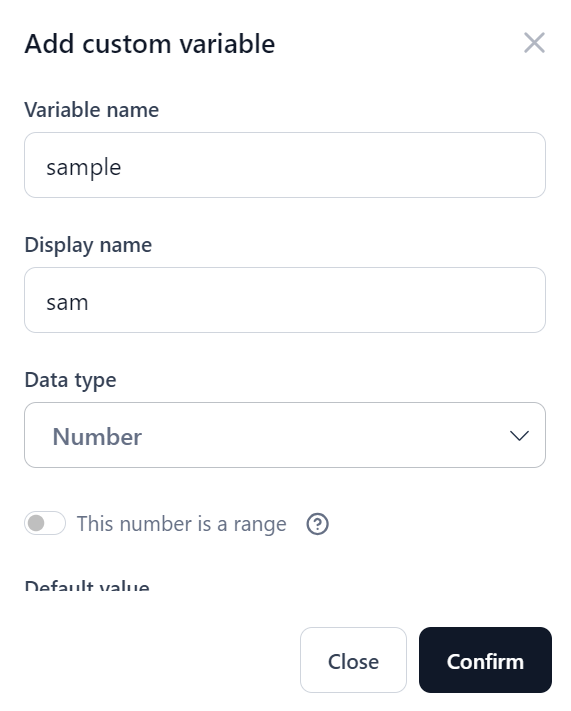
Configure Variables:
-
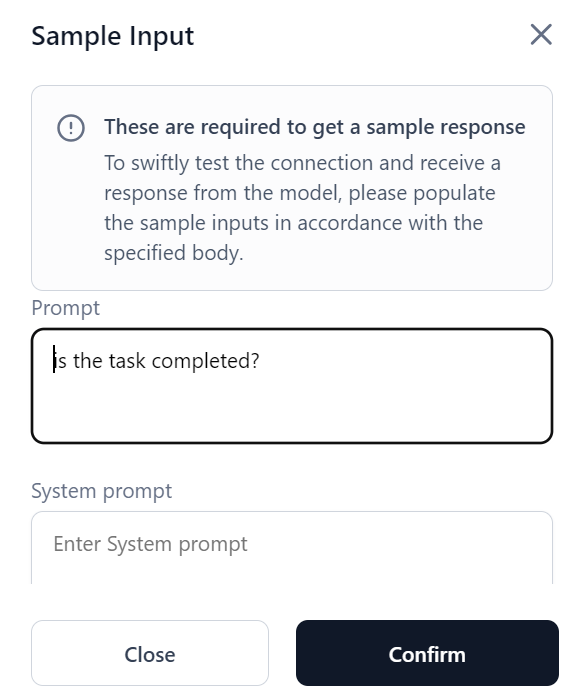
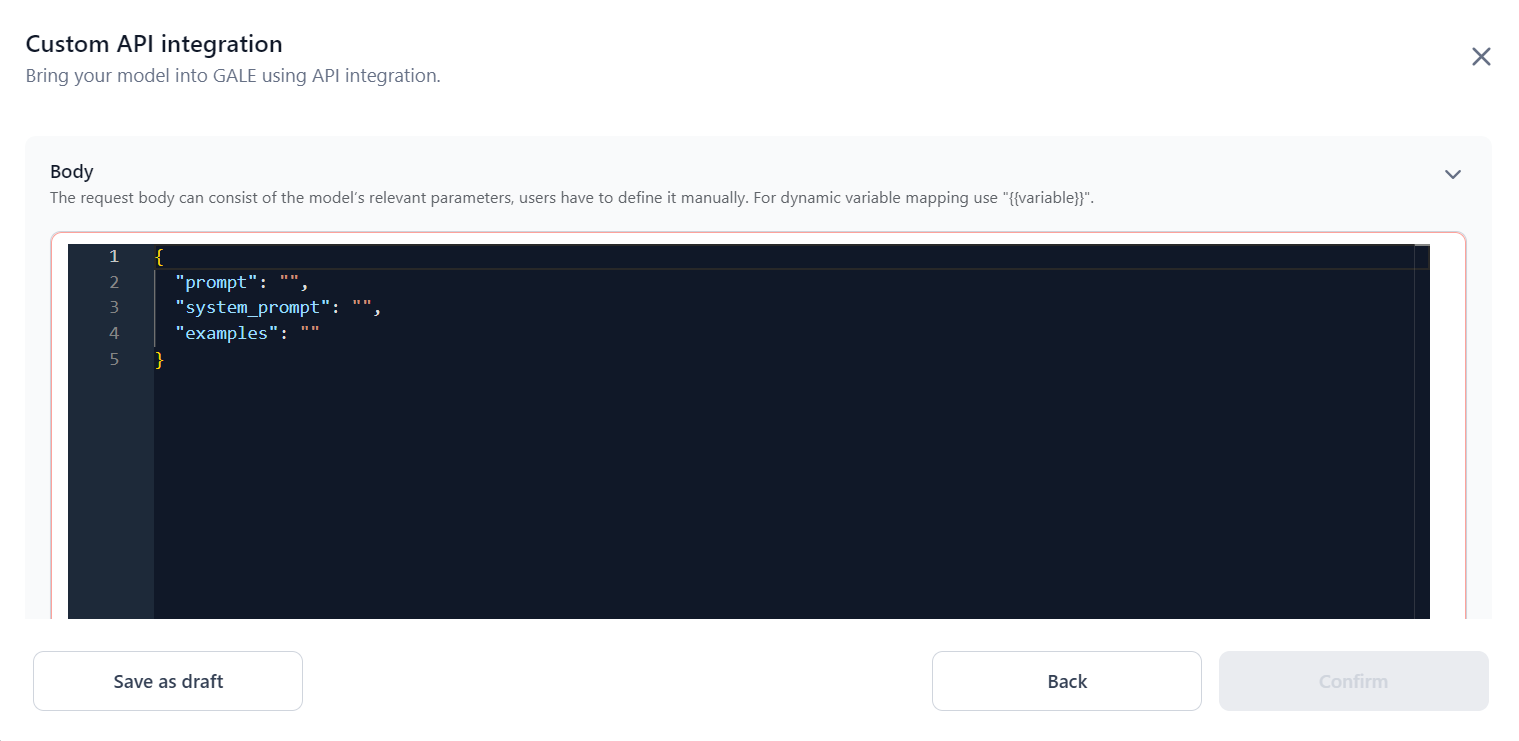
In the Body section, add the request body of the model you are trying to connect with. Ensure the body is in the correct format, as shown in the screenshot below; otherwise, the API testing won't work.
-
In the Test response section, provide a test response from the model:
-
Once the response is generated after the Test, you can configure the JSON path to capture the Output path, Input tokens, and Output tokens.
-
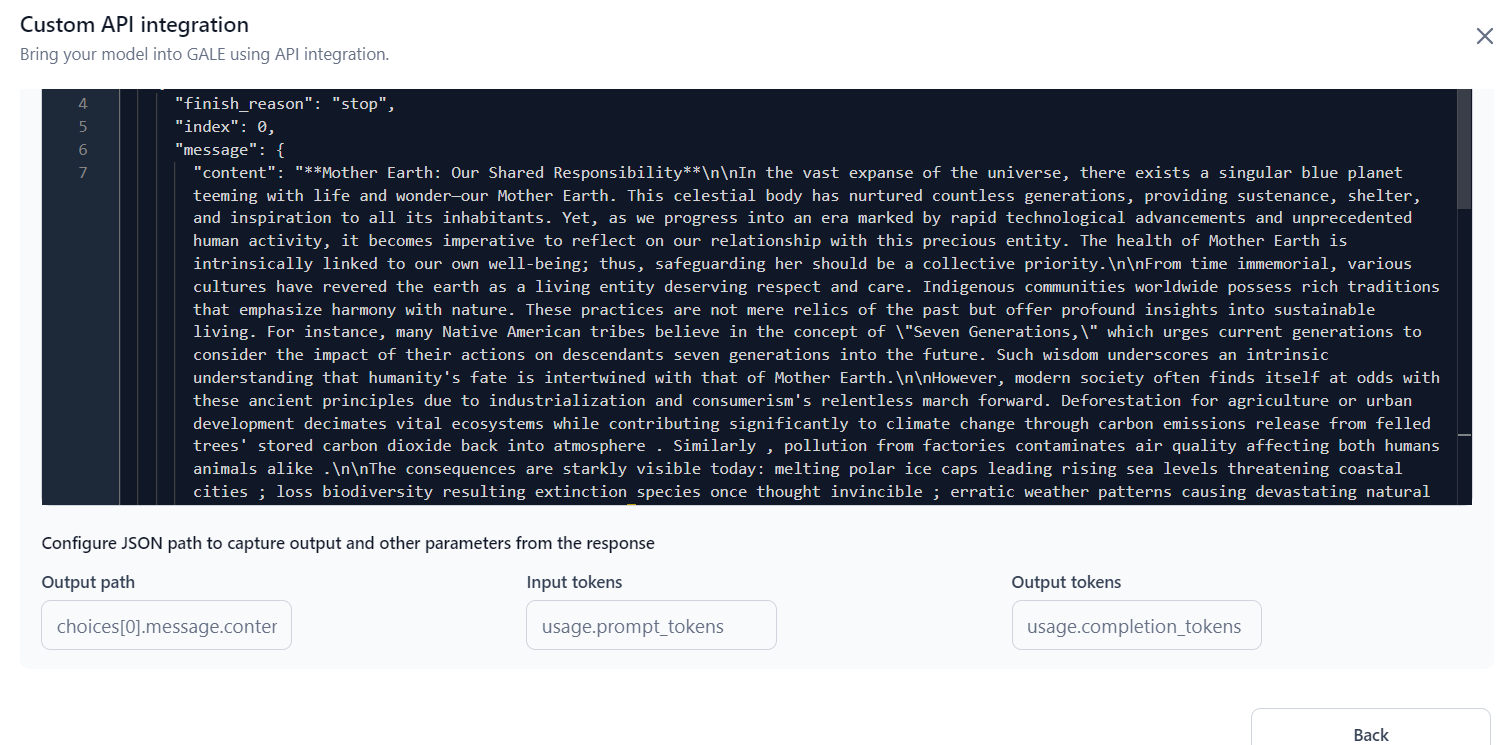
Output Path: The output path refers to the location or key within an LLM response (often a JSON object) where the model's main output or answer is stored. This path helps you identify and extract the relevant information from the response, especially when working with complex data structures.
For example, “choices[0].message.content” indicates the output path in the sample response displayed in the following screenshot:
-
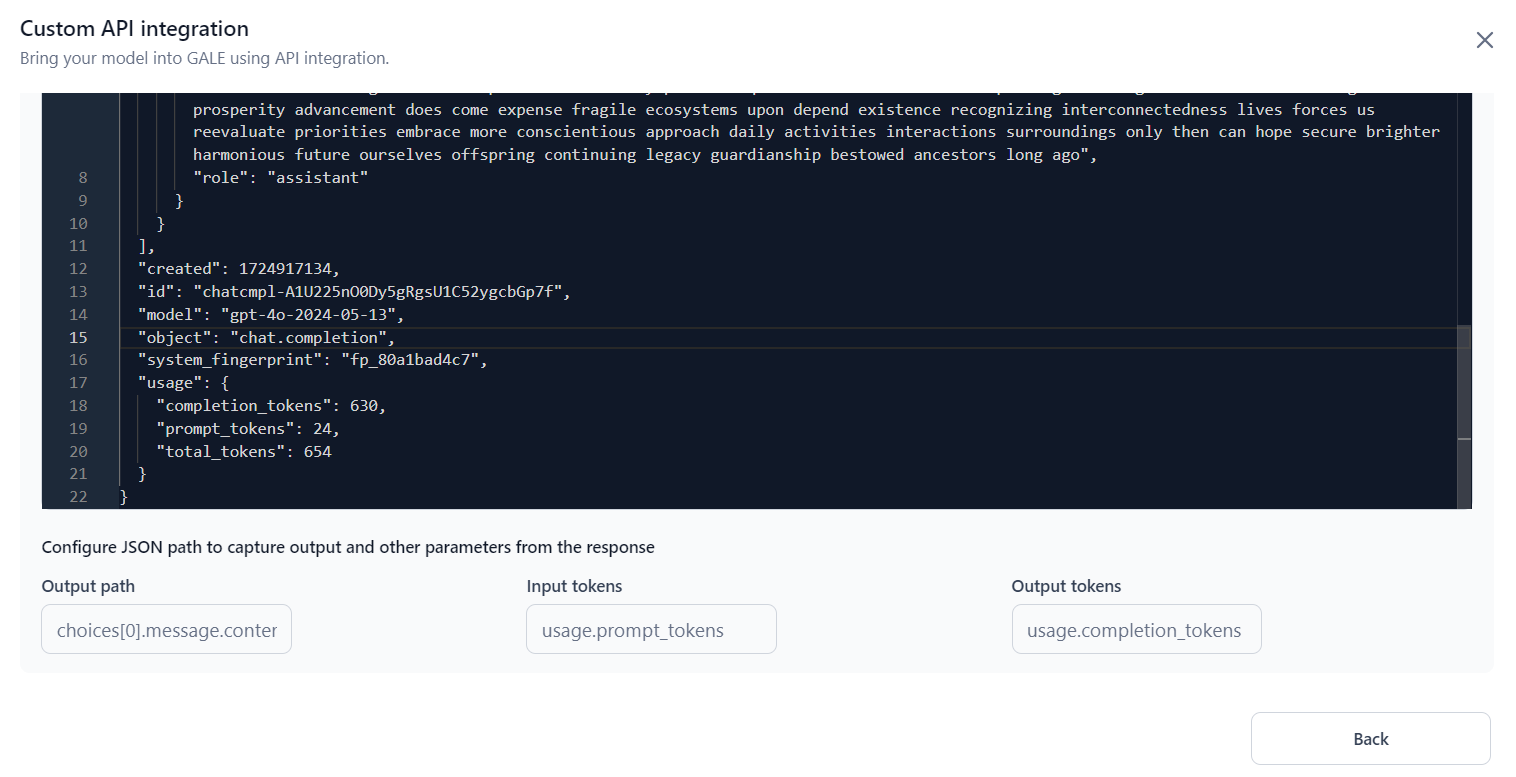
Input Tokens: The amount of text data or prompt provided to the LLM is measured in tokens. These input tokens are fed into the LLM for processing. Depending on the tokenization method used, a token can be as short as a single character or as long as an entire word.
For example, “usage.prompt_tokens” indicates the Input tokens in the sample response displayed in the following screenshot:
-
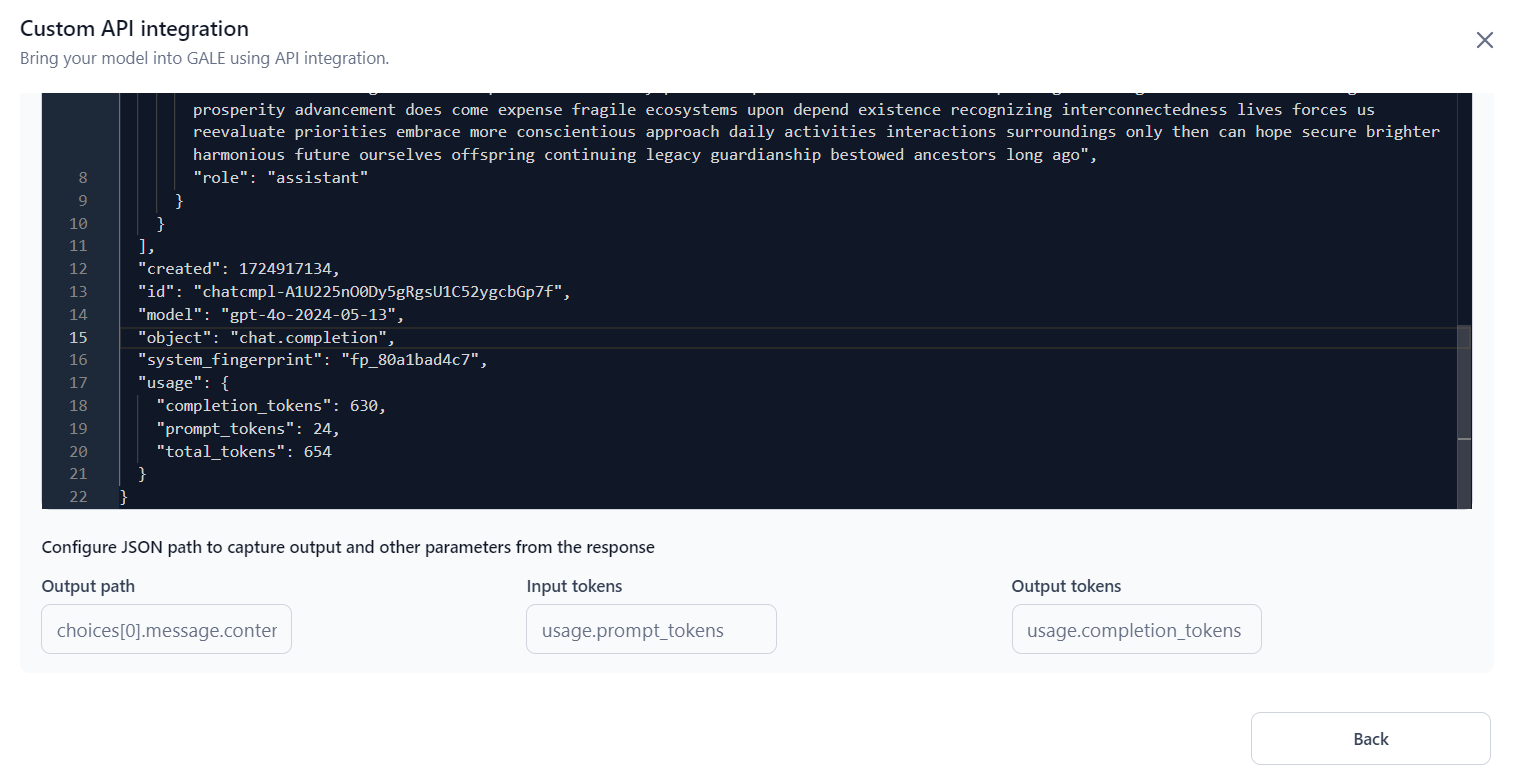
Output Tokens: The amount of text data or the response generated by the LLM after processing the prompt is measured in tokens. These output tokens are the building blocks of the generated text, and, like input tokens, they can vary in length from a single character to an entire word, depending on the tokenization method.
For example, “usage.completion_tokens” indicates the Output tokens in the sample response displayed in the following screenshot:
Note
Click the Save as draft to save the model and the status is saved as Draft.
-
-
Click Confirm to save the details. Your external model is now listed in the External model list. It can be used in the playground and the Gen AI node of the agent flow builder.
Manage Custom API Integrations
Once the integration is successful and the inference toggle is ON, you can use the model across GALE. You can also turn the inferencing OFF if needed.
To manage an integration, click the three-dot icon corresponding to its name and choose from the following options:
- View: View the integration details.
- Copy: Make an editable copy of the integration details.
- Delete: Remove the integration.
