End Node
End nodes let you show the agent or flow's outputs on success or an error message on failure.
Add and Configure an End Node
Setting up an End node in an agent flow involves adding the node at the appropriate location in the flow and configuring various node properties.
Steps to add and configure the node:
-
On the Agents tab, click the name of the agent to which you want to add the node. The Agent Flow page is displayed.
-
Click Go to flow to edit the in-development version of the flow.
-
In the flow builder, click the “+” icon on any existing node on the canvas and select End from the pop-up menu. (Alternatively, drag the End node from the Assets panel onto the canvas.)
-
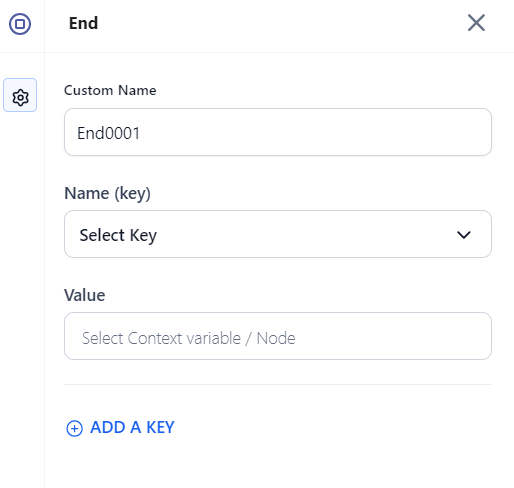
Click the added node to open its properties dialog box. The General Settings for the node are displayed.

-
Enter or select the following information:
-
Custom Name: Enter an appropriate name for the node.
-
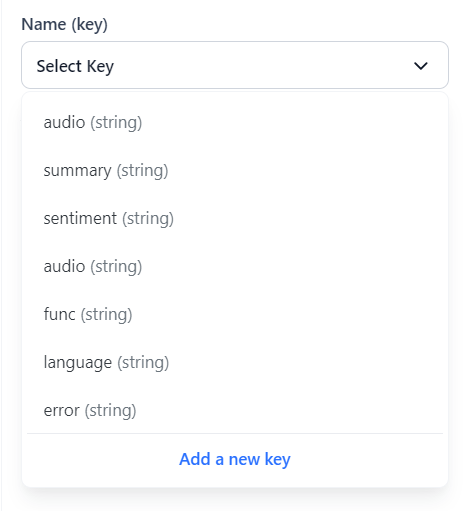
Name (key): Select a key from the drop-down list. All defined keys in the Manage Output section are displayed here. You can select a variable and assign a value to it. (You can also add a new key. For more information, see Manage Input and Output variable.)

-
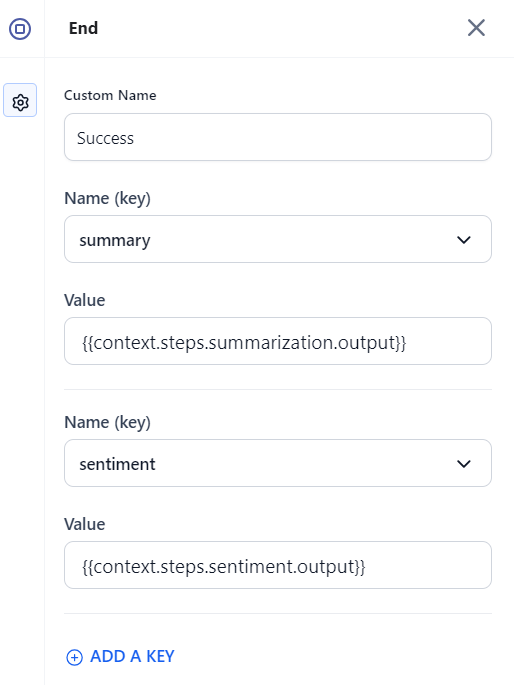
Value: Select an appropriate variable or node as the value. Enter “{{context.” and select the node/variable from the list and then close the braces with “}}”.
Example:
{{context.steps.summarization.output}}Note
Adding at least one output variable is required for each end node.
-
If you want to show multiple outputs or messages, click Add a Key to add the key and value details for the same.
-
-
Finally, test the flow and fix any issues found. Click the Run Flow button at the top-right corner of the flow builder and follow the onscreen instructions.
Standard Error
When the value for the output variable is not defined, a list of unresolved outputs is displayed.
