Authorizations Supported
The Platform supports basic authentication for Microsoft Graph. See App Authorization Overview for details.Microsoft Graph integration can only be authorized for Developer and Enterprise editions — not Trial. See Microsoft Graph documentation for account types.
Step 1: Enable the Microsoft Graph Action
Prerequisites:- Create a developer account in Microsoft Graph. See Microsoft Graph Documentation.
- Copy the Client ID, Client Secret Key, Authorization URL, and Callback URL.
- Go to App Settings > Integrations > Actions.
- In the Available region, select Microsoft Graph.
Pre-authorize the Integration
System Authorization- Go to App Settings > Integrations > Actions and select Microsoft Graph.
- In Configurations, select the Authorization tab.
-
Set Authorization Type to Pre-authorize the Integration > OAuth.
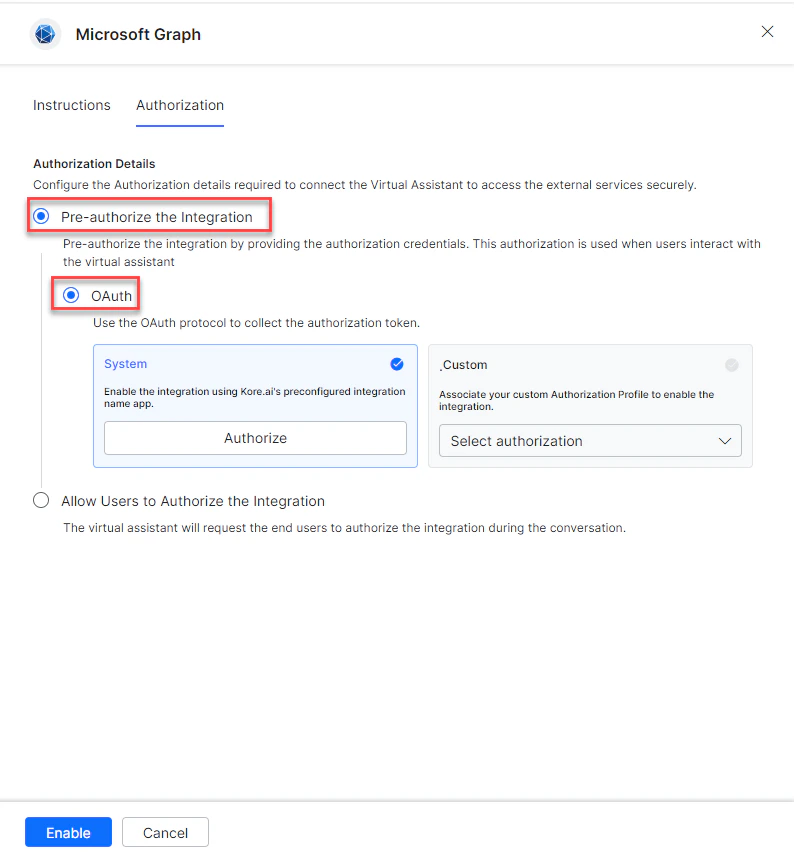
-
Select the System card and click Authorize.
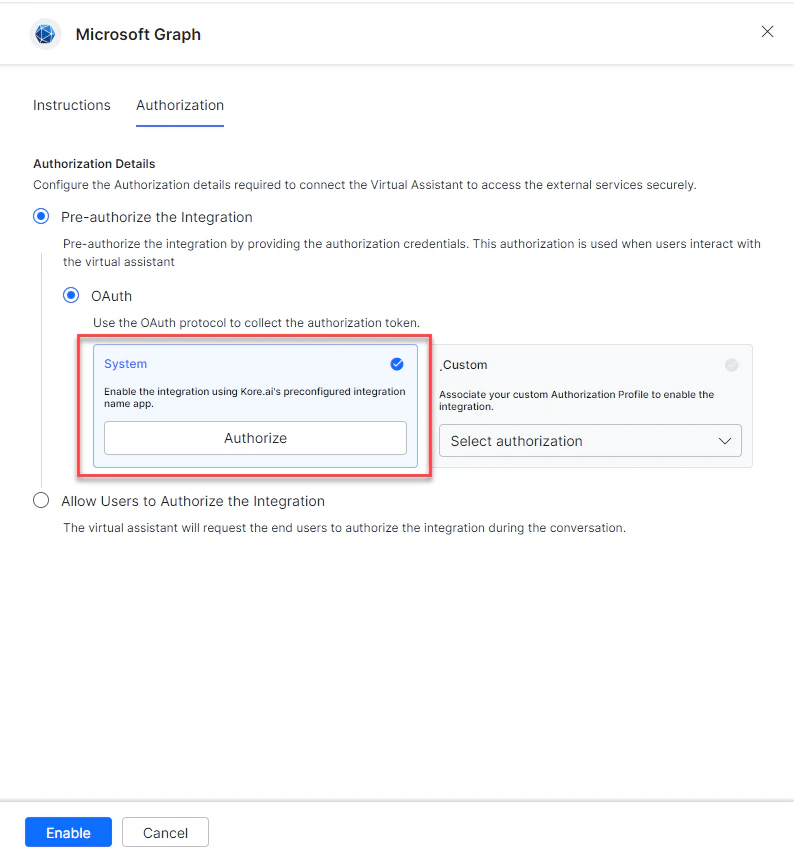
-
You are redirected to
https://login.microsoftonline.com/. Enter your credentials and click Allow Access.
-
Select Custom and click Select Authorization > Create New.
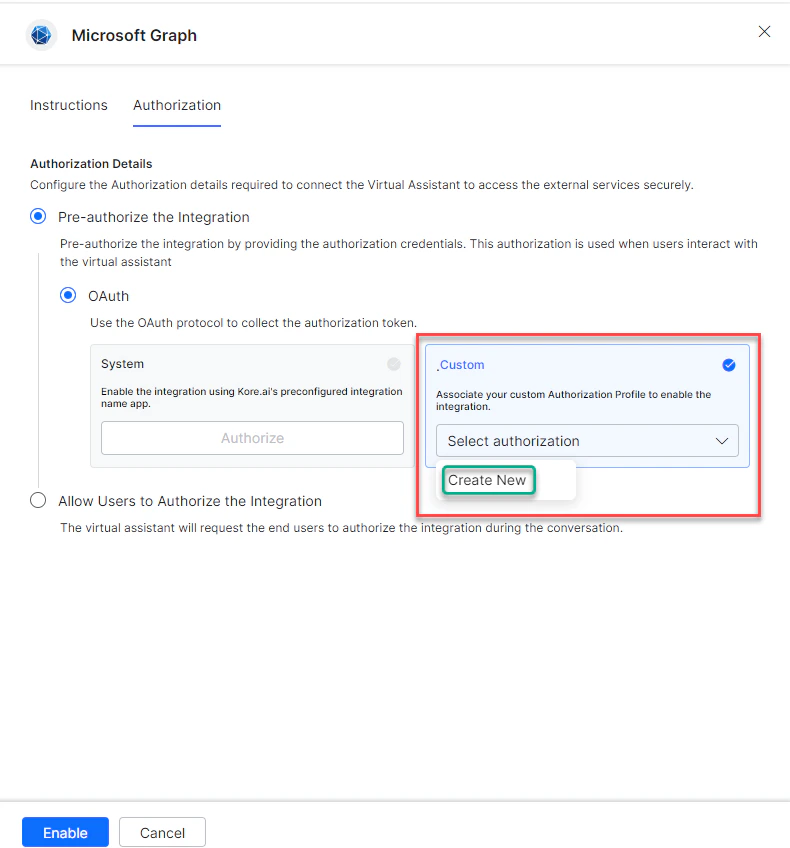
-
Select OAuth v2. See Setting Up Authorization Using OAuth v2.
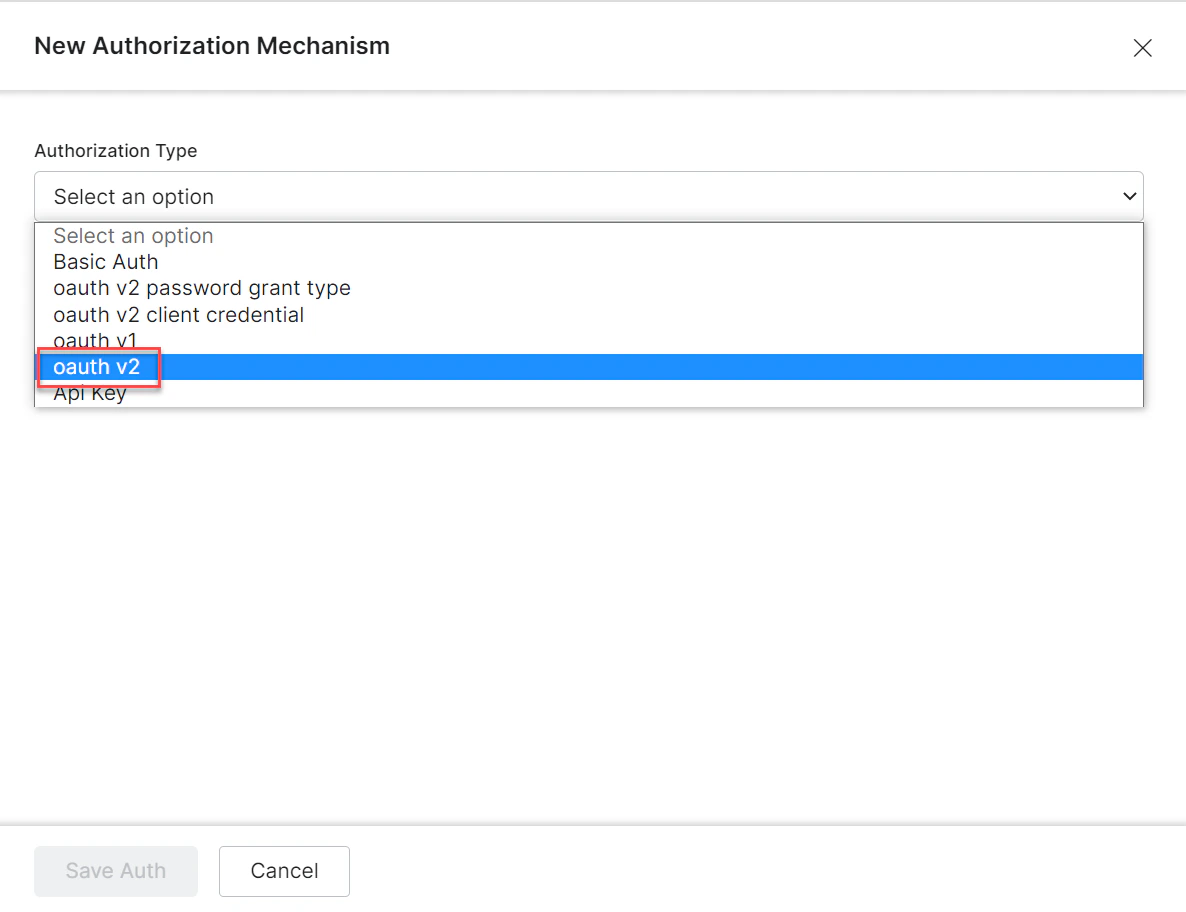
-
Enter the OAuth v2 credentials:
To register an Azure App, see Adding the Microsoft Teams Channel.
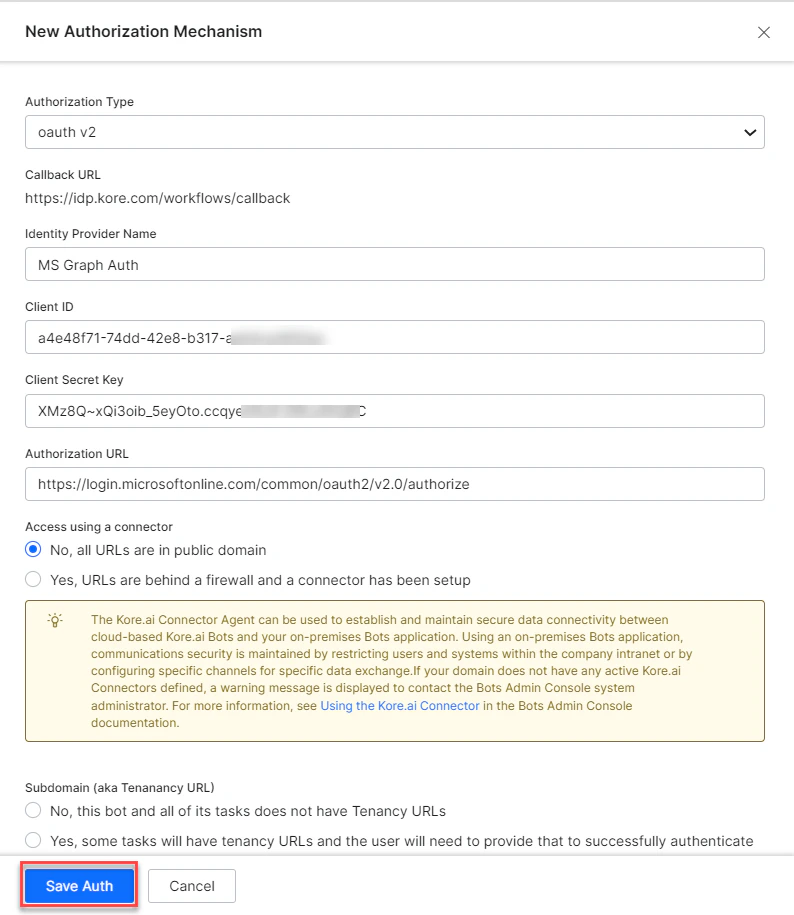
-
Click Save Auth, then select the new profile.
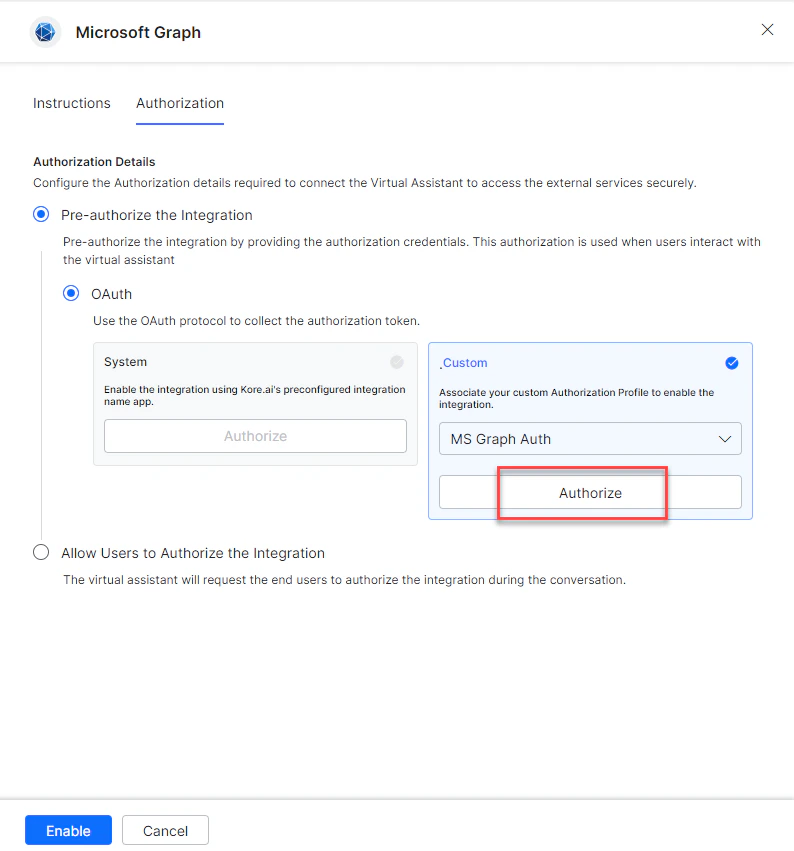
-
Click Authorize, enter credentials at
https://login.microsoftonline.com/, and click Allow Access. -
Click Enable.
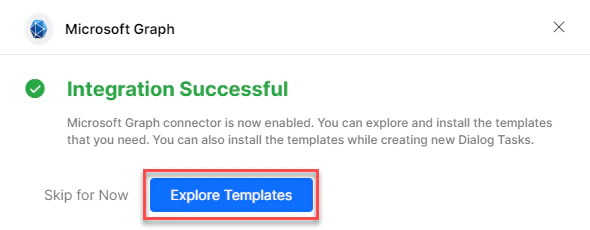
The Microsoft Graph action moves from Available to Configured after enabling.
Allow End User to Authorize
- Go to App Settings > Integrations > Actions and select Microsoft Graph.
- In Configurations, select the Authorization tab.
-
Set Authorization Type to Allow Users to Authorize the Integration > OAuth.
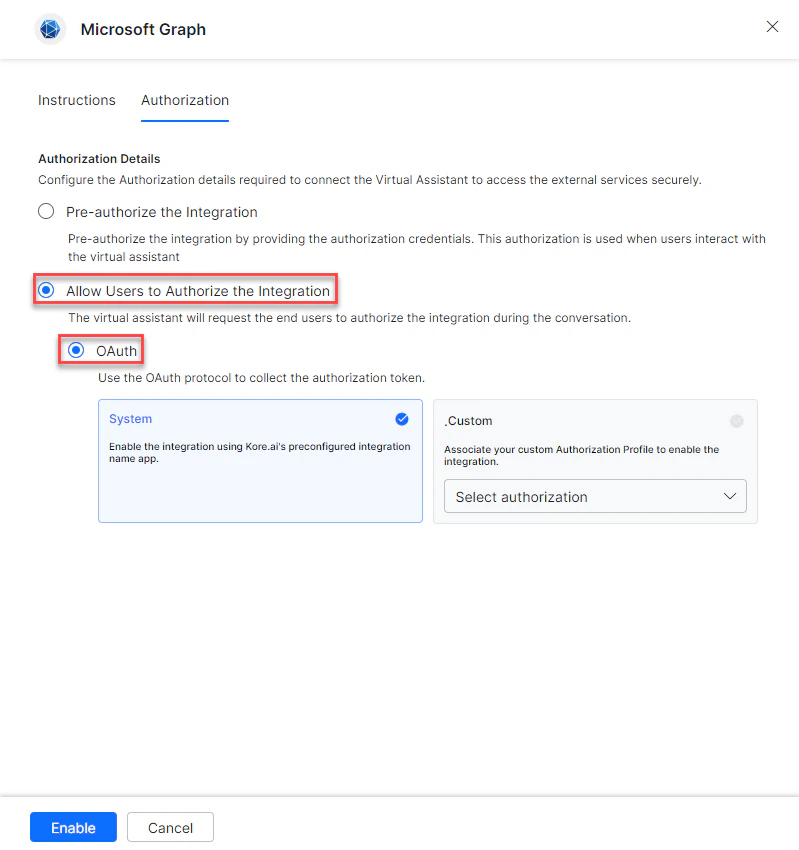
-
Select the System card.
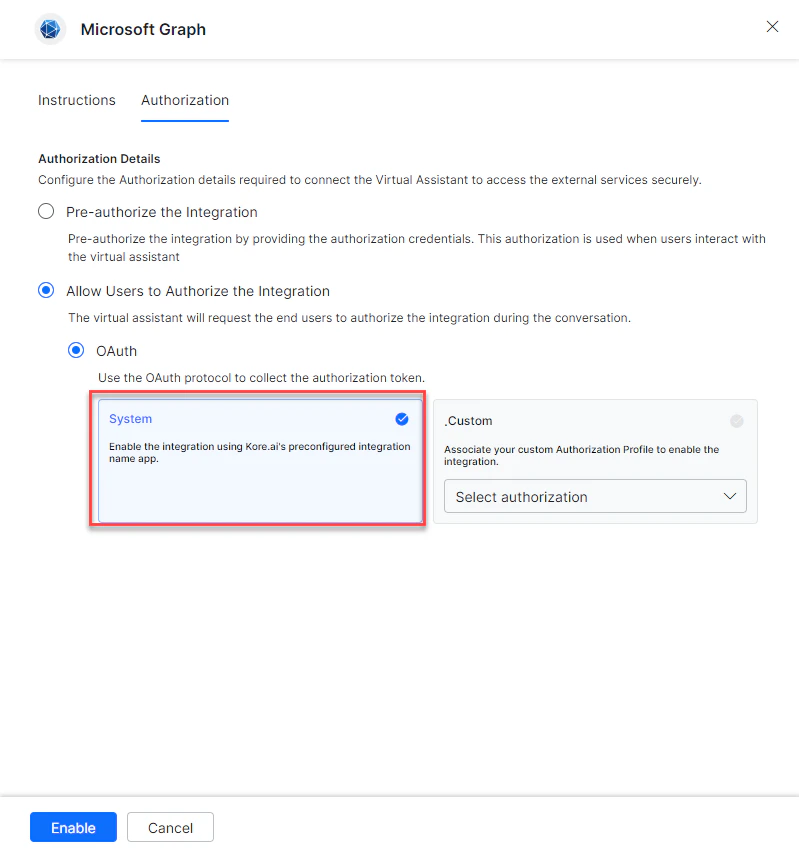
- Click Enable. A link is sent to the end user to authorize.
- Select Custom and click Select Authorization > Create New, following the Custom Authorization steps above.
-
You can also select an existing profile:
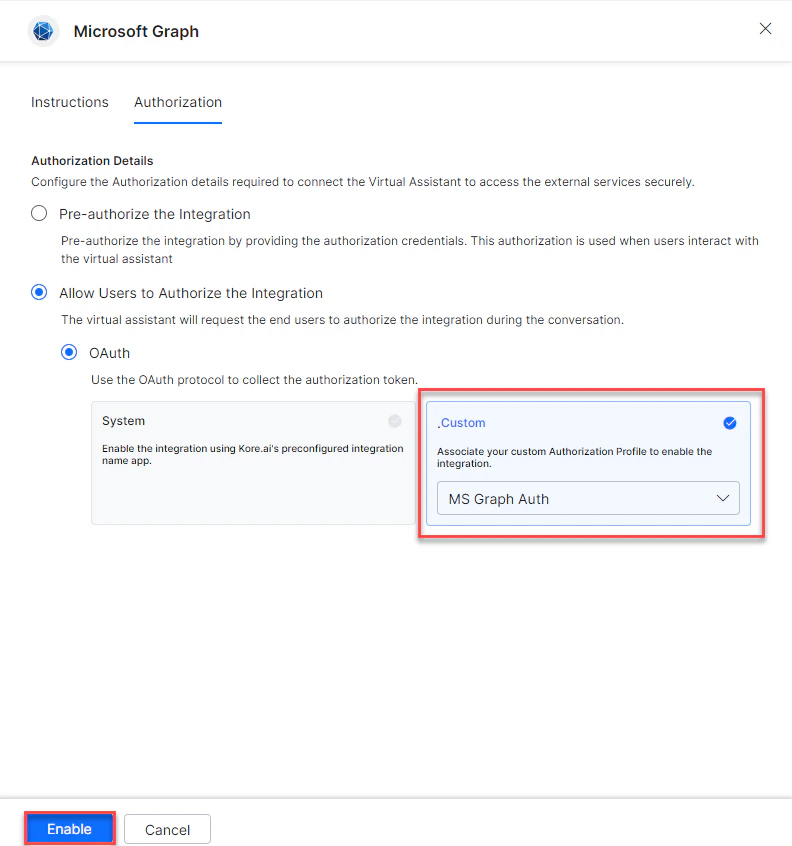
- Click Enable.
Step 2: Install the Microsoft Graph Action Templates
-
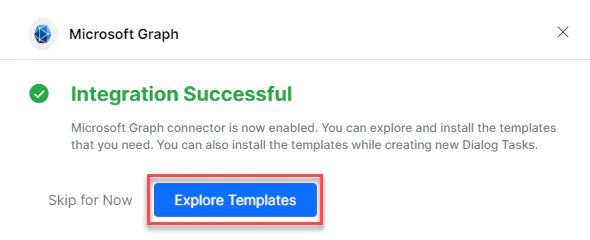
On the Integration Successful dialog, click Explore Templates.
-
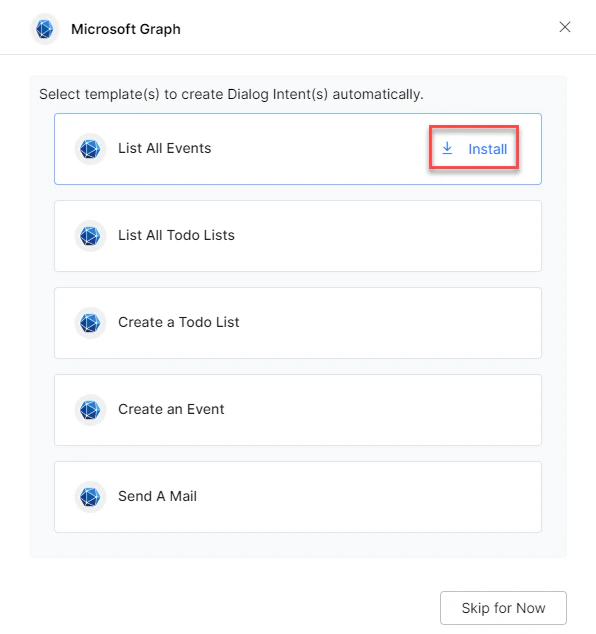
Click Install to begin installation.
-
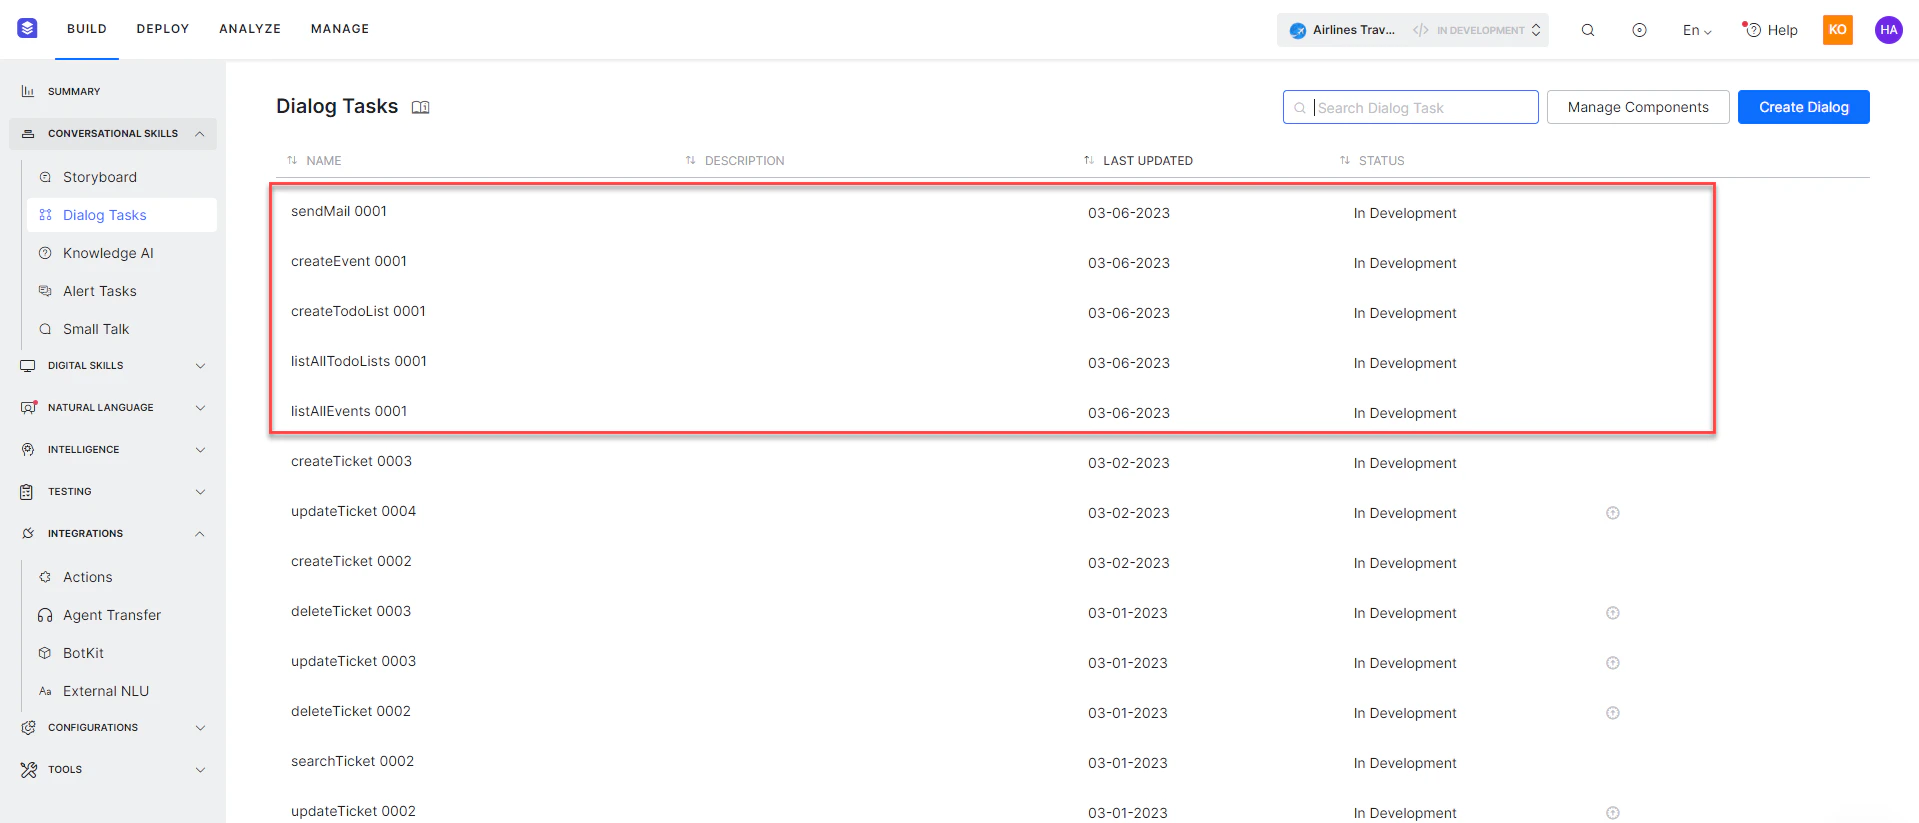
Once installed, click Go to Dialog. A dialog task for each template is auto-created.
-
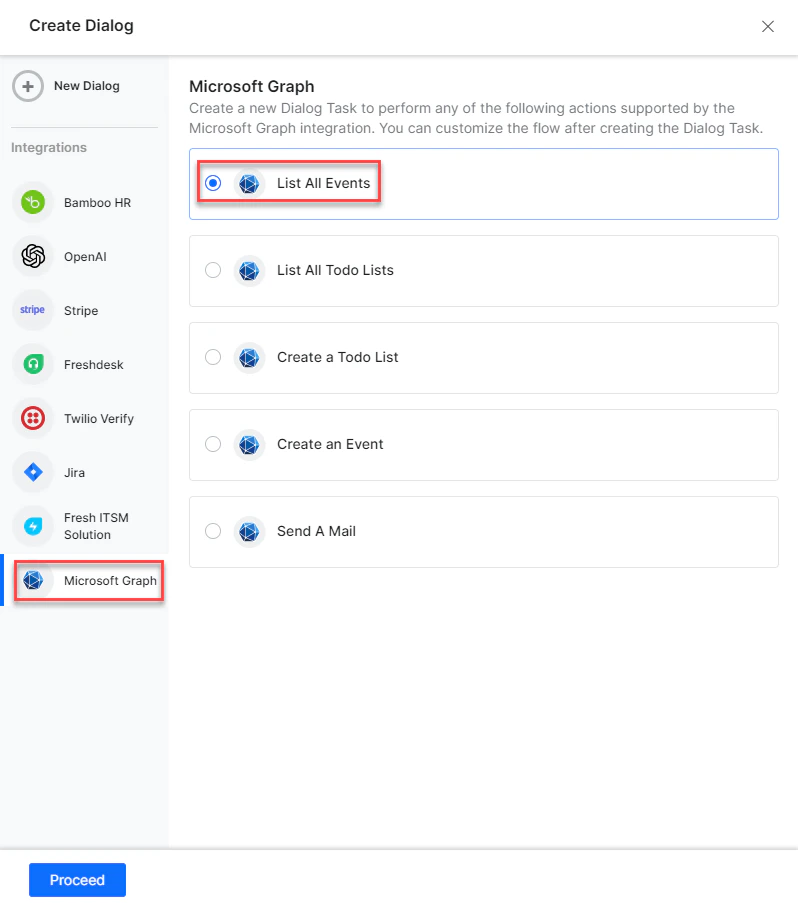
Select the desired dialog task and click Proceed.
-
The dialog task is auto-created and the canvas opens with all required entity nodes, service nodes, and message scripts.