Supported Authorization Types
The platform supports Basic Auth for Freshdesk integration. See App Authorization Overview for details.Prerequisites
Before enabling the Freshdesk action:- Create a Freshdesk developer account.
- Copy the API Key and Domain name of your Freshdesk account.
Step 1: Enable the Freshdesk Action
Go to App Settings > Integrations > Actions and select Freshdesk.Pre-authorize the Integration (Basic Auth)
- Select Freshdesk in the Available Actions region.
- In the Configurations dialog, select the Authorization tab.
-
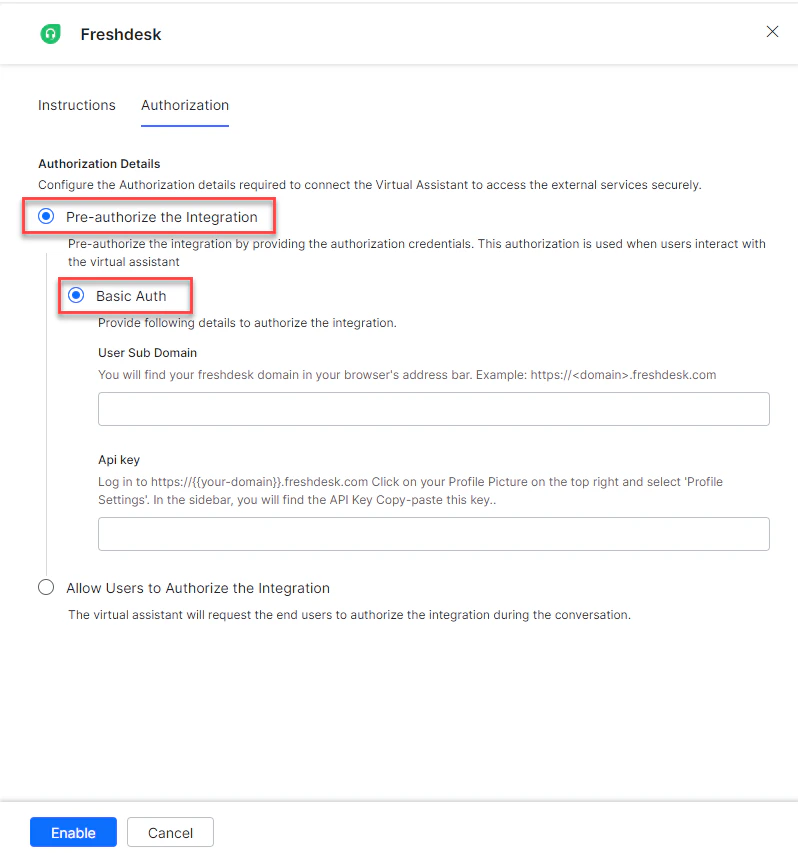
Set Authorization Type to Pre-authorize the Integration > Basic Auth.
-
Enter the following fields:
-
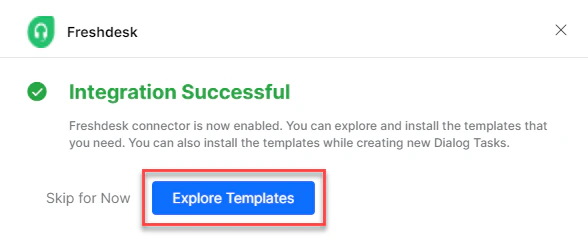
Click Enable. The Integration Successful pop-up appears on first configuration.
The Freshdesk action moves from Available to Configured.
Allow End Users to Authorize (Basic Auth)
- In the Configurations dialog, select the Authorization tab.
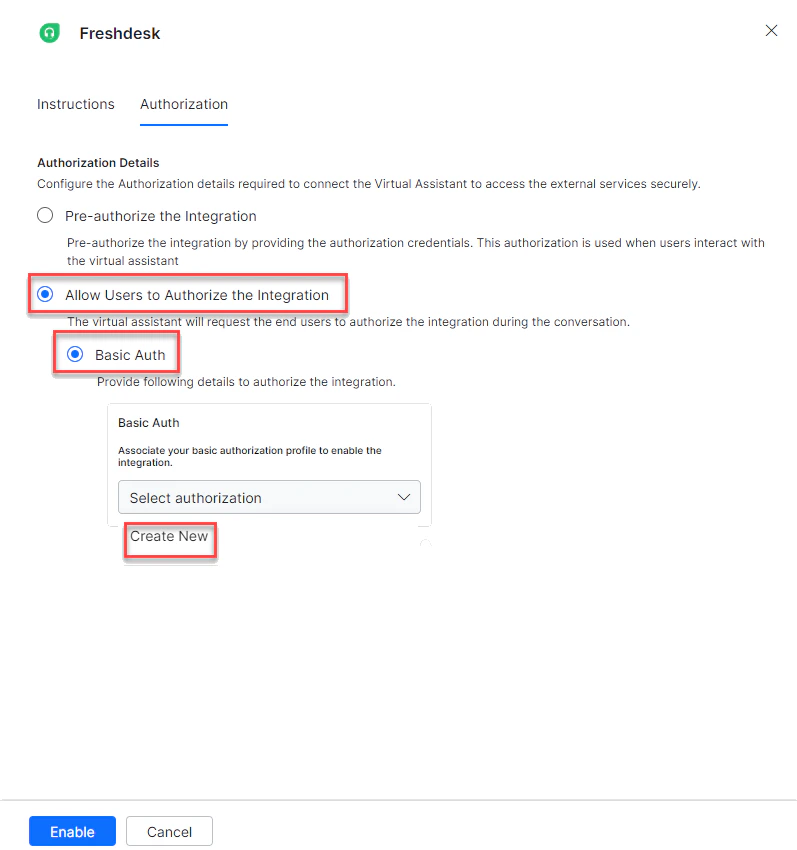
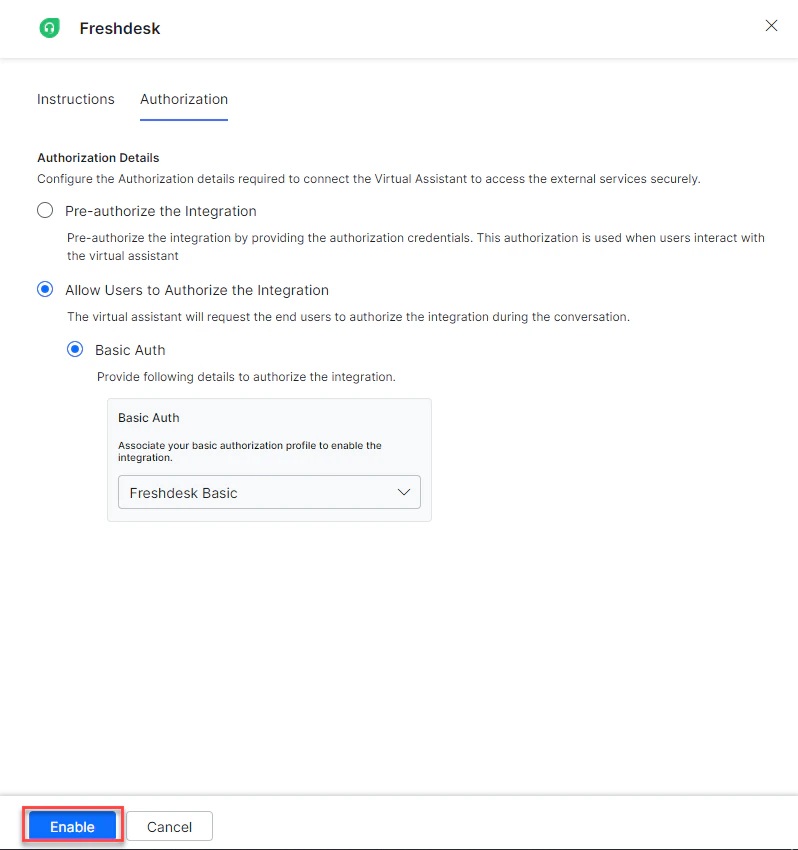
- Set Authorization Type to Allow Users to Authorize the Integration > Basic Auth.
-
Click Select Authorization > Create New.
- Select the authorization mechanism (for example, Basic Auth). See App Authorization Overview.
-
Enter the following credentials:
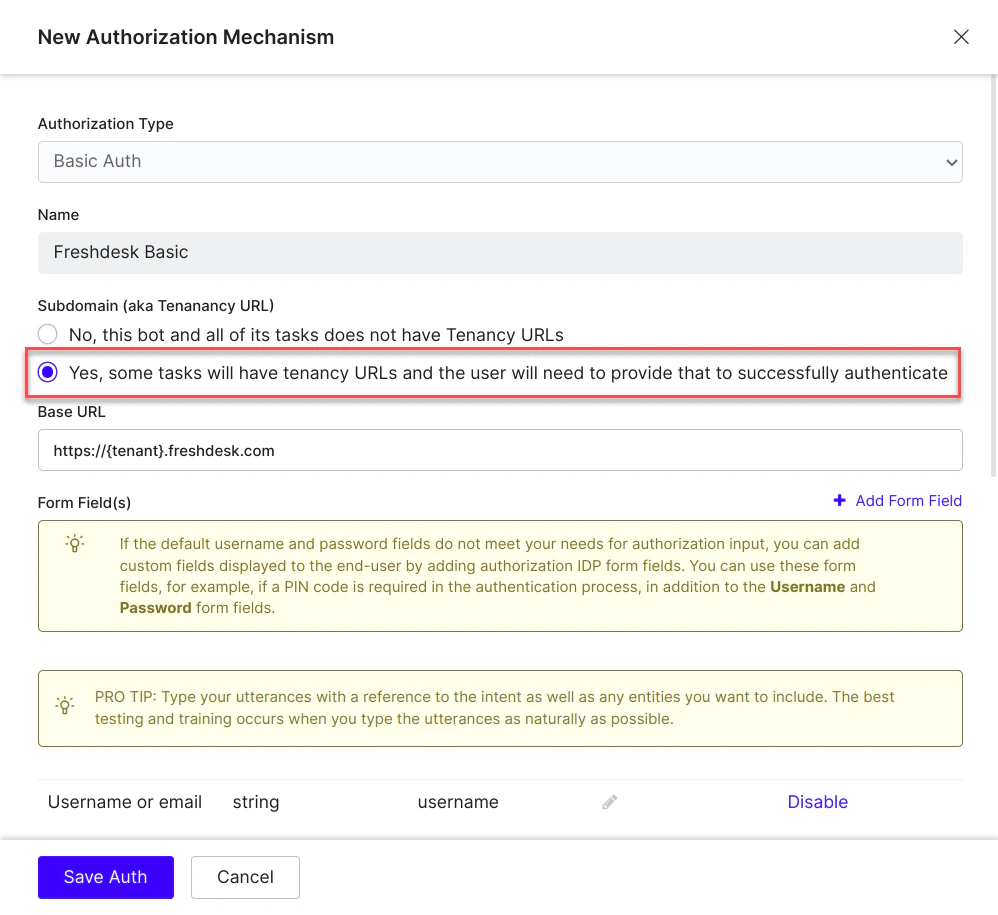
-
Click Save Auth.
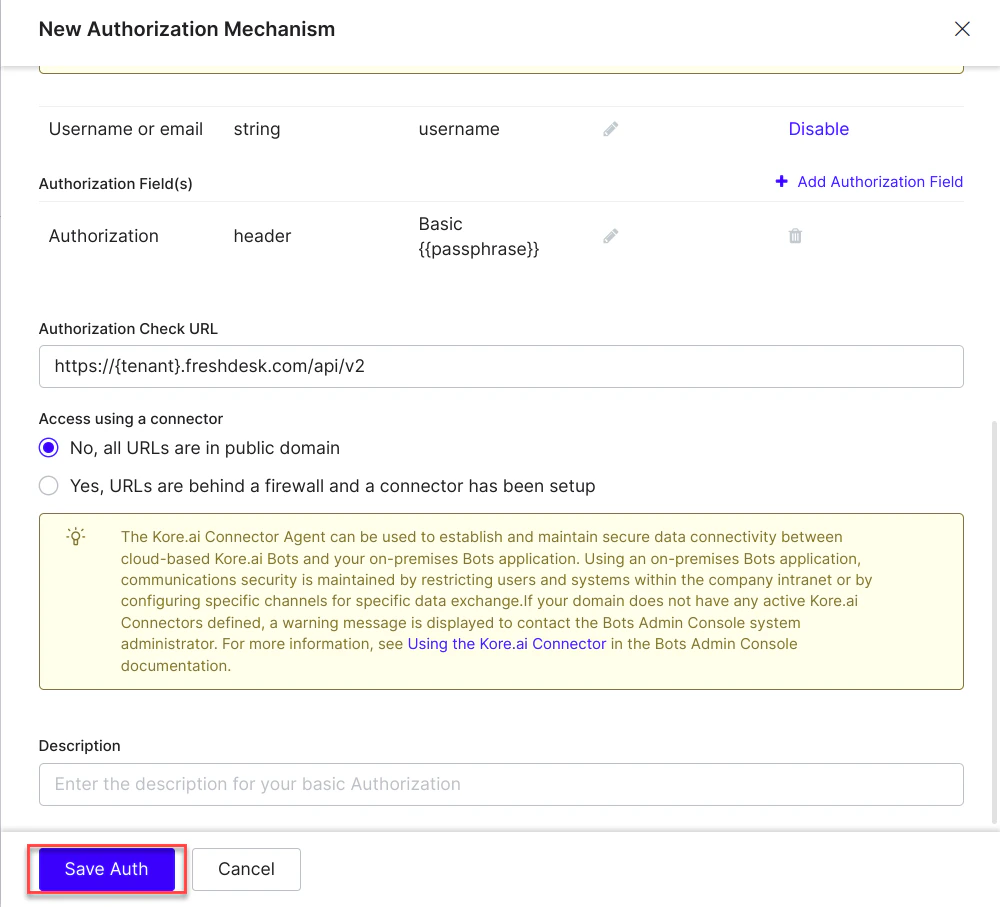
- Select the new profile.
-
Click Enable. The Integration Successful pop-up appears.
Step 2: Install Freshdesk Action Templates
-
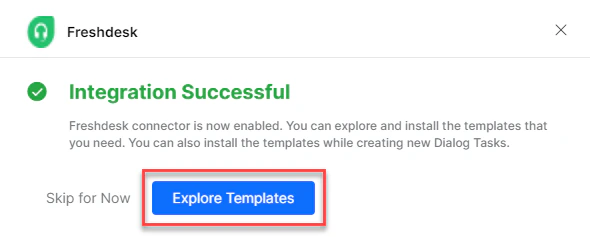
On the Integration Successful dialog, click Explore Templates.
-
Click Install for the desired template.
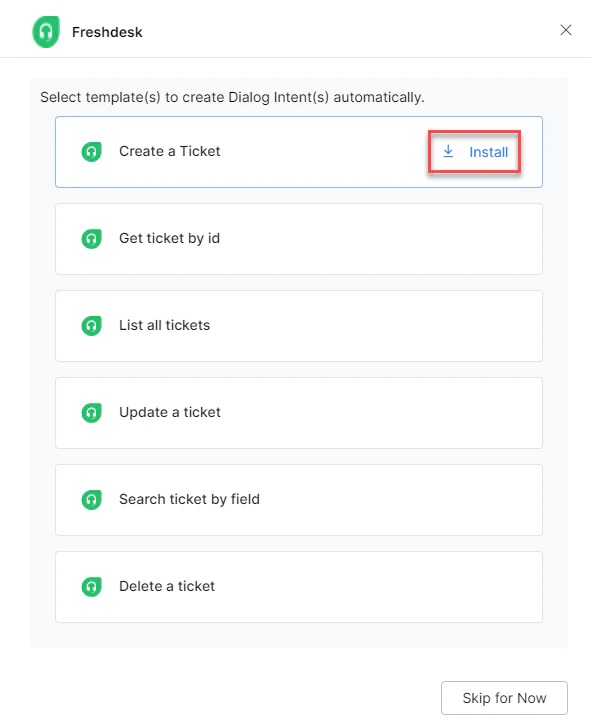
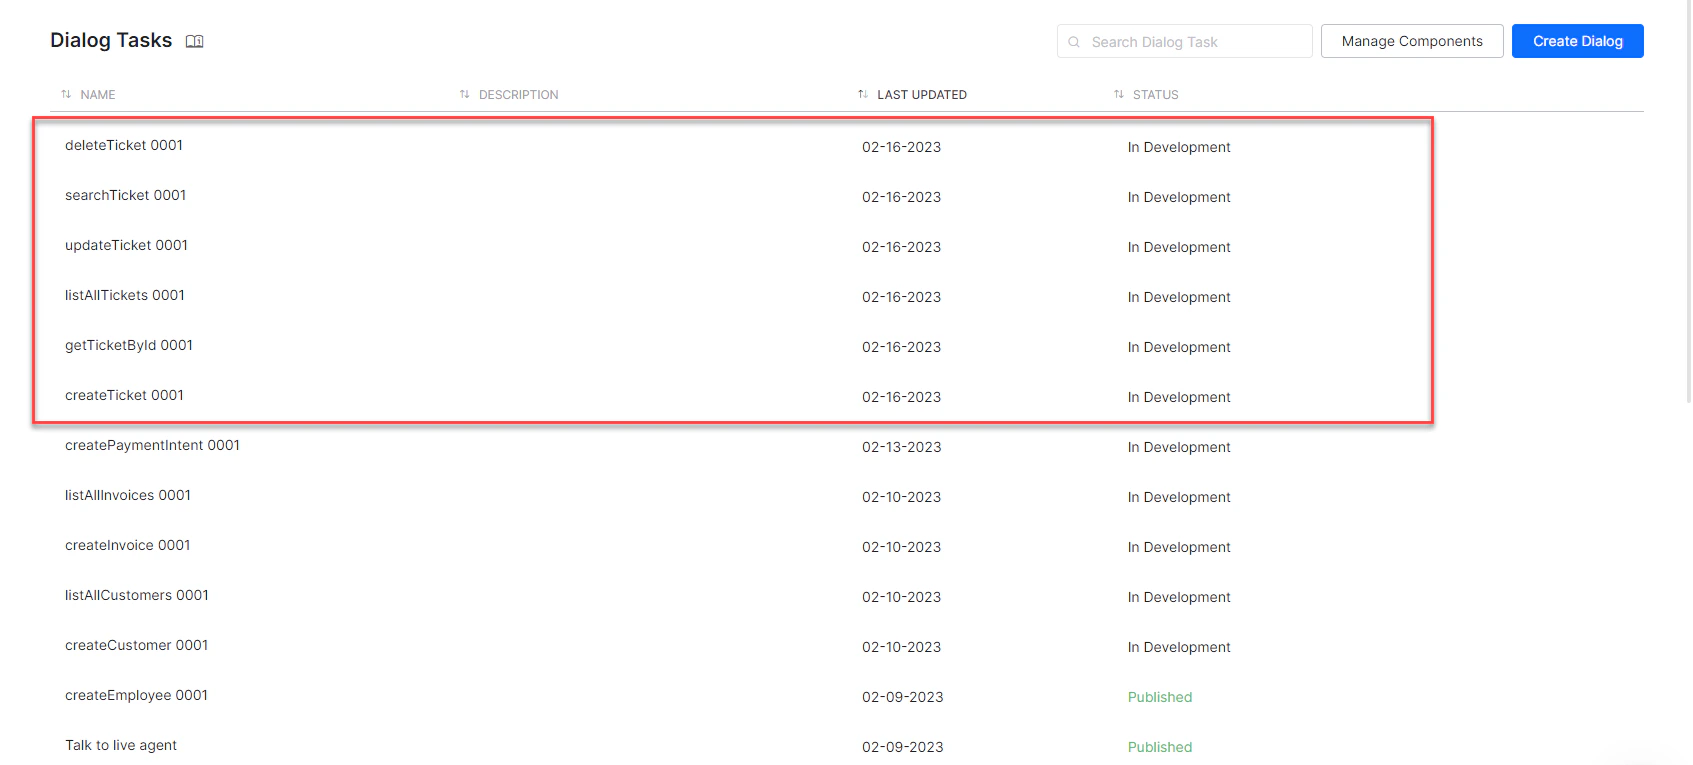
- Click Go to Dialog to view the dialog task.
- A dialog task is auto-created for each installed template.
-
Select the desired dialog task and click Proceed (for example, Create a Ticket).
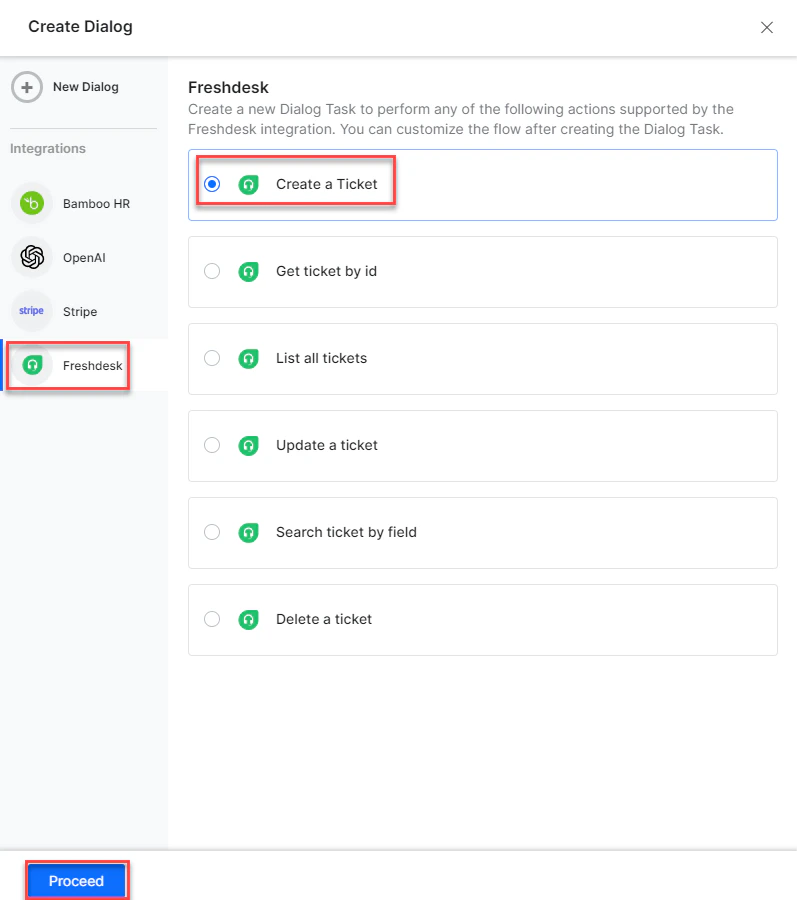
-
The canvas opens with all required entity nodes, service nodes, and message scripts.