How It Works
- Using Digital Views, an organization offers to its AI Agent end-users a single interface for various activities.
- Multiple panels constitute a Digital View.
- Each of the panels gives access to various functions.
- The end-user accesses these panels for information pertaining to each of the functions and performs follow-up actions.
-
As an example, a Panel within a travel App could have multiple widgets showing:
- Upcoming Trips
- Completed Bookings
- Canceled Bookings
Setup Process
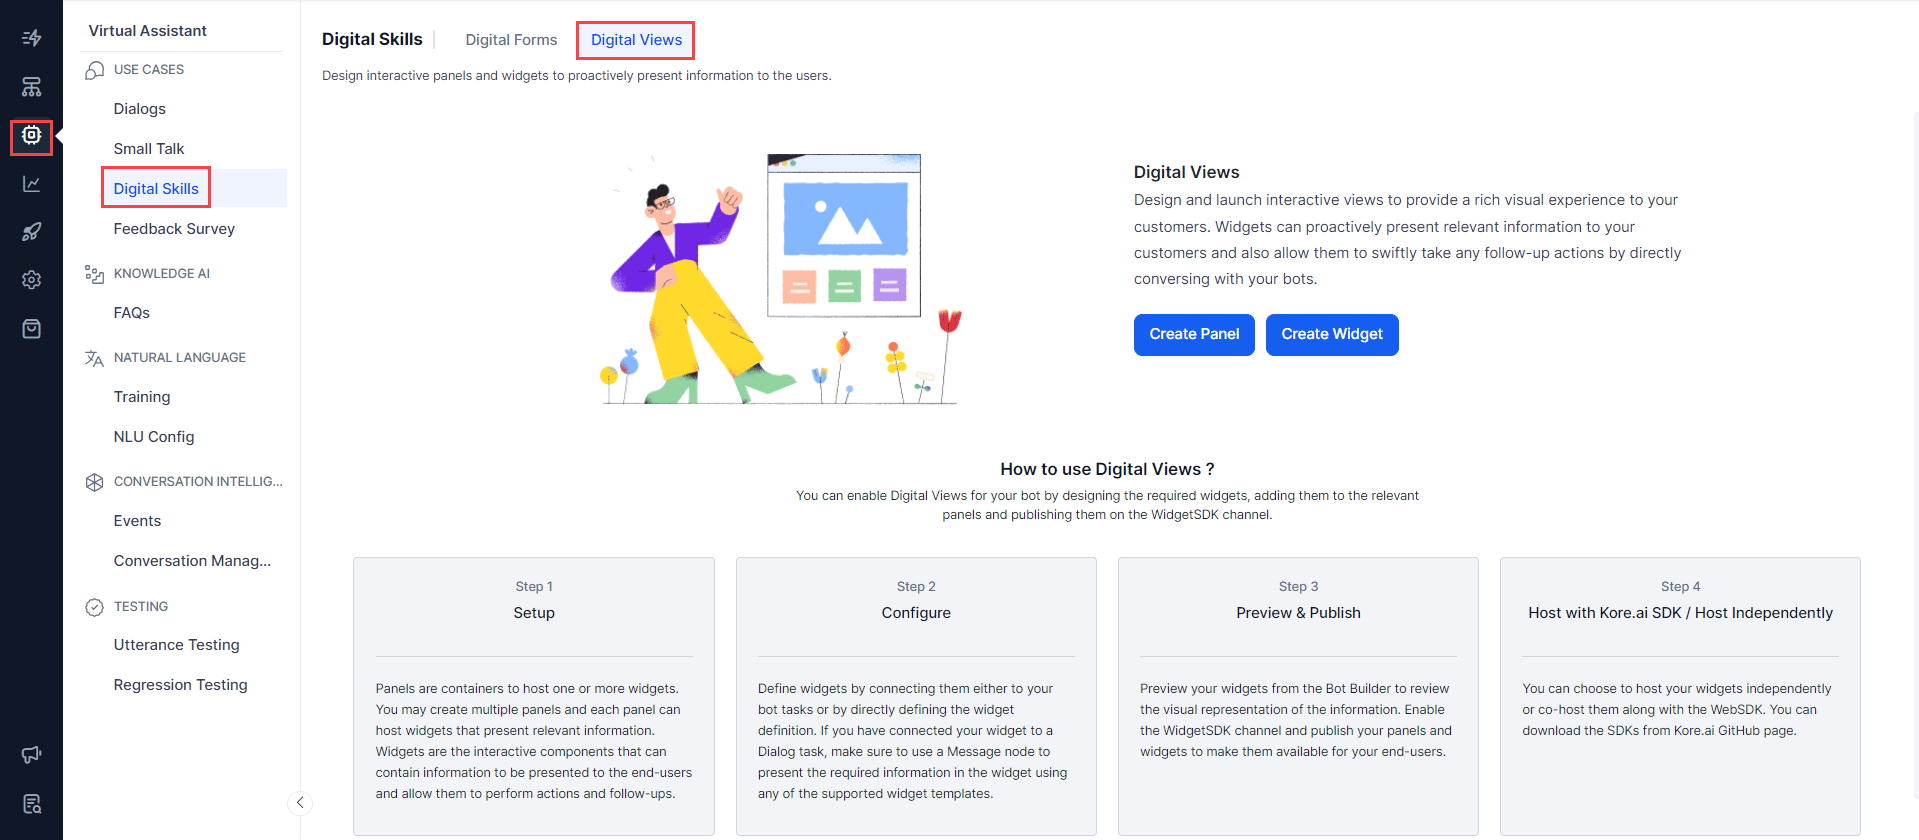
You can enable Digital Views for your AI Agent by designing the required widgets, adding them to relevant panels, and publishing them on the Widget SDK channel:- Configure Widgets: Define widgets by connecting them either to a Dialog Task or another source, such as a JavaScript-generated JSON file. If connecting to a Dialog Task, use a Message node to present the required information via a supported widget template.
- Preview the Widgets: Preview your widgets from the Platform to review how the information will be presented.
- Set up Panels: Create one or more panels, each hosting the widgets relevant to that panel’s purpose.
- Test the Panels: Test how the panels and widgets render in the chat window.
- Publish: Publish the App, and enable the Widget SDK channel, to make the panels and widgets available to end-users.
- Host: Host your widgets independently or co-host them with the Web SDK. Download the SDKs from the Kore.ai GitHub page.
Configure Widgets
Widgets are individual components that can communicate with the App for presenting information to the end-users. The source of information for widgets is from a Dialog Task or a JSON using any of the predefined widget templates. To configure widgets, follow the below steps:-
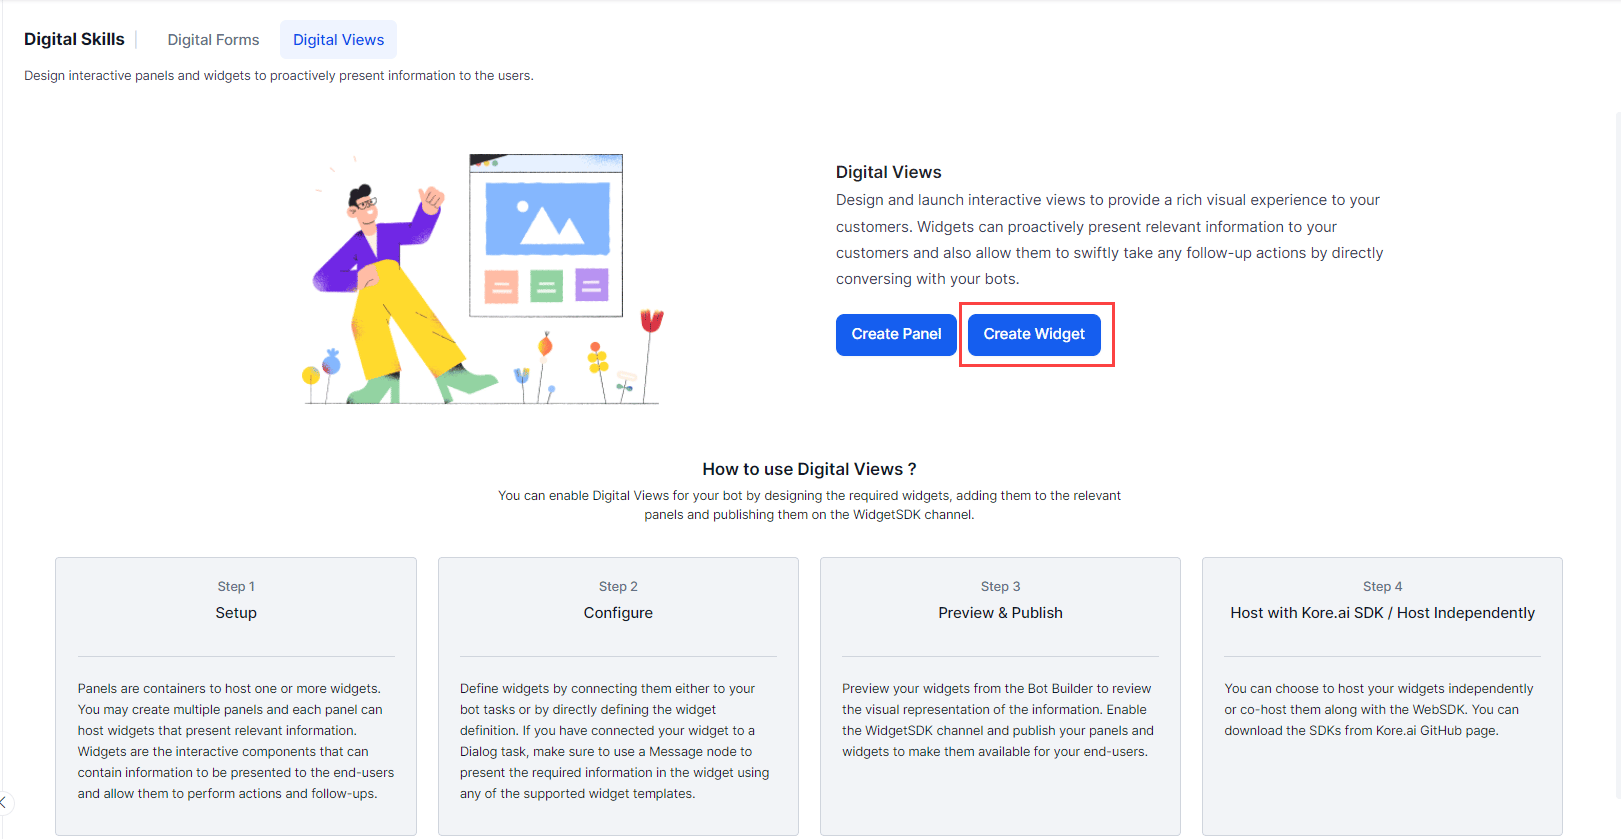
Click Create Widget to create a widget.
-
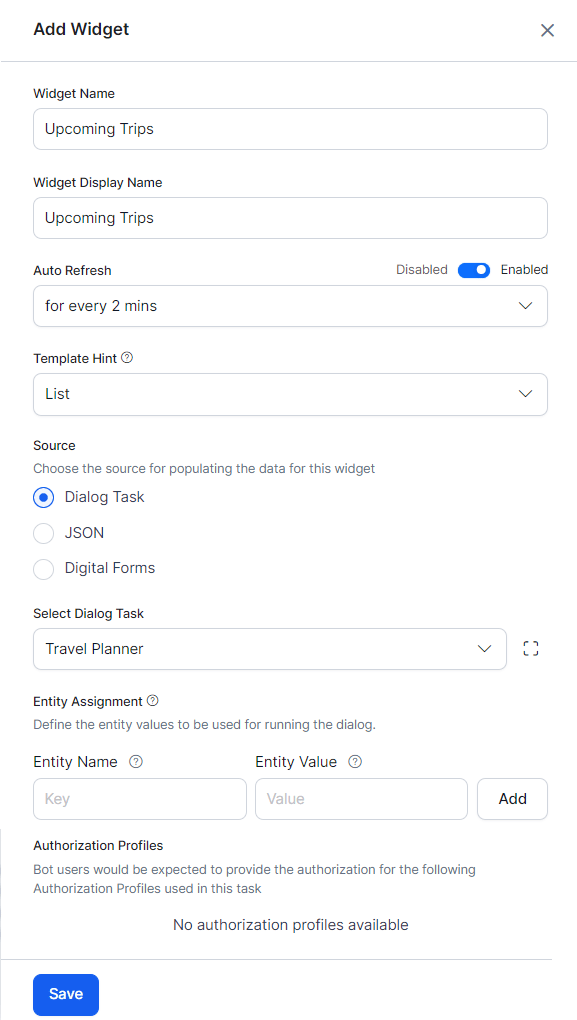
The New Widget dialog opens.
-
On the New Widget window, enter the following details:
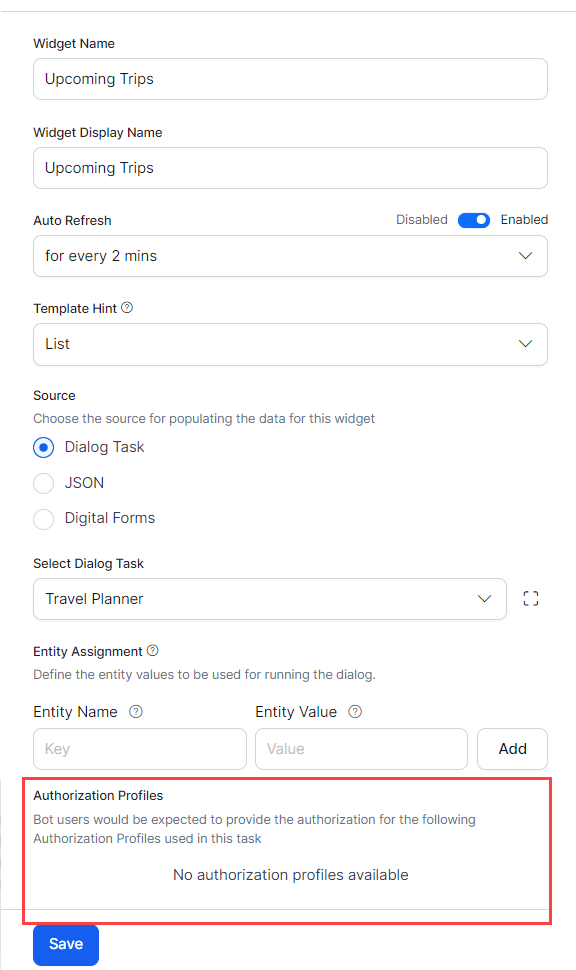
- Name of the widget
- Display Name for the widget
- Auto Refresh to set the frequency with which this widget needs a poll for fresh data. The refresh is applicable only when the panel containing the widget is active.
- Source for a widget can be set either from the execution of Dialog Task, from JavaScript by defining a JSON, or by linking an existing Digital Form.
- Click Save.
Configure Widget Sources
For the widget input data, you must configure one of the following sources and complete the configuration.Dialog Task
The Dialog Task option allows you to trigger a task and present the output in the widget. The Select Dialog Task drop-down will list all available tasks in the current AI Agent. Select the task you want to trigger using this widget.In the connected Dialog Task make sure to use a Message node to present the required information in the widget using any of the supported widget templates.
JSON
When selecting JSON as the source, you’ll be presented with a Javascript editor, where you can add your code, as shown below: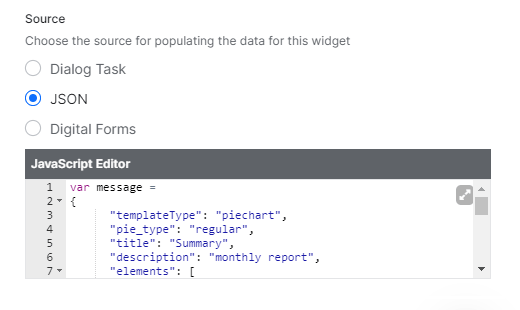
Digital Form
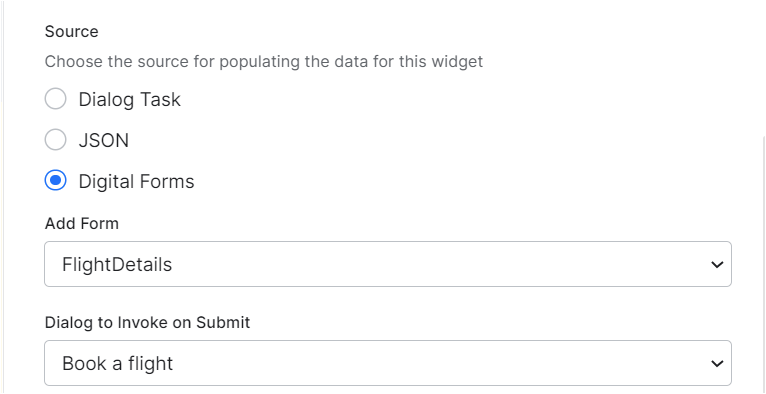
When selecting Digital Form as a widget source, you can select the Digital Form, and the Dialog Task to trigger on submission.A Digital Form can be used to define multiple Widgets and can also be added to multiple Panels. However, it’ll be associated with the same Dialog Task across all Widgets and Panels.
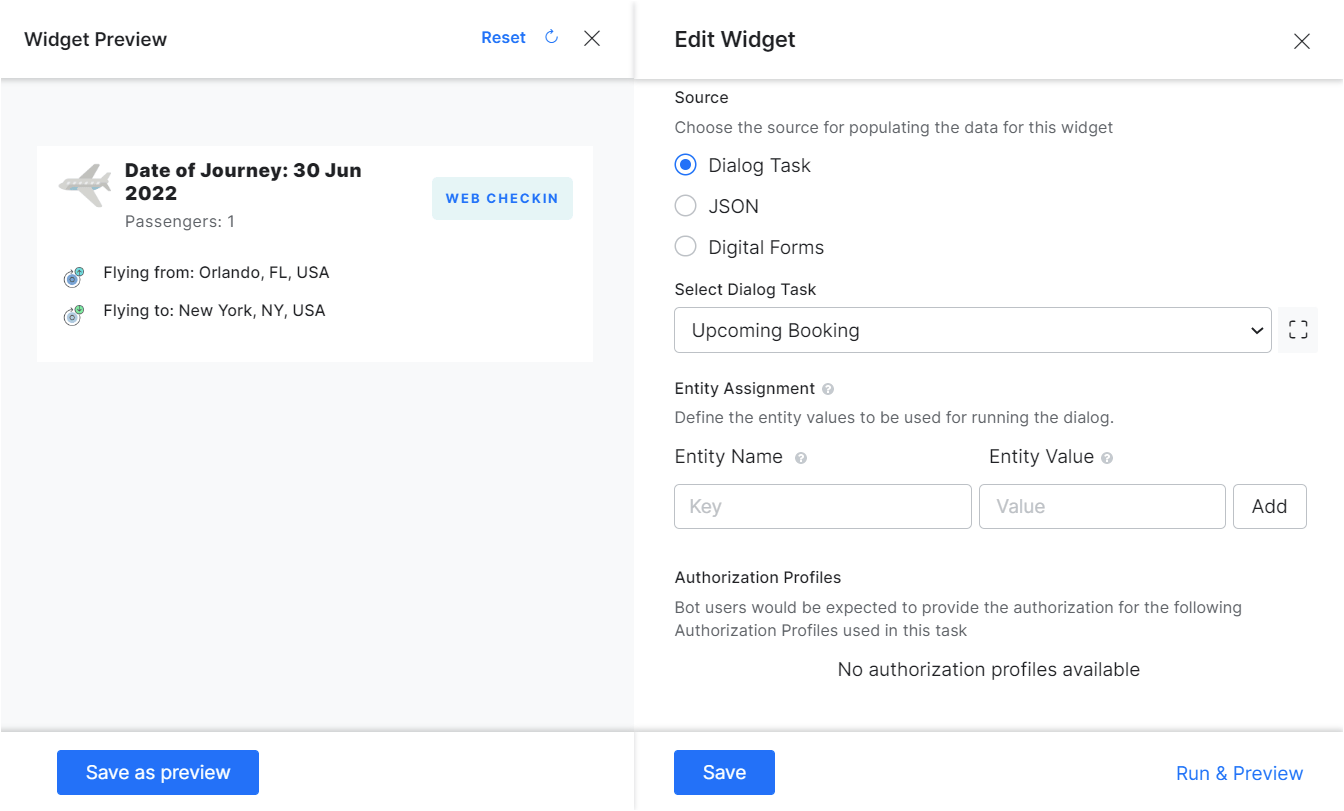
Edit, Run & Preview a Widget
After you save, the widget will be In Development state. You can Edit or Delete the widget.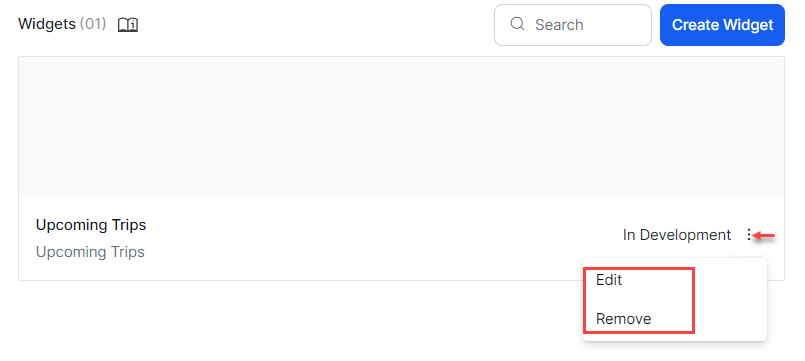
Configure Panels
Panel refers to containers that hold one or more widgets. You can add an existing widget to the panel or create new widgets within it.Create a Panel
To create a panel, follow the steps below:- Click Create Panel on the Digital Views screen to create a panel.
-
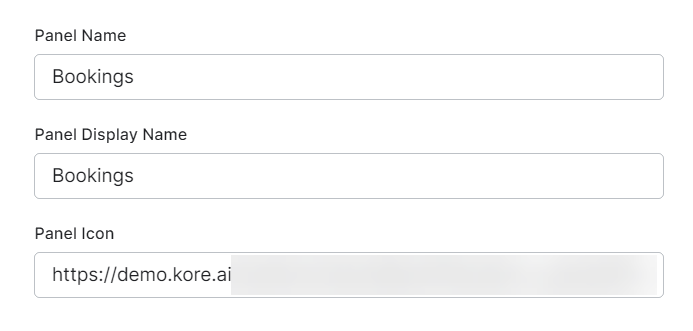
On the New Panel window, enter the following details:
- Name of the Panel.
- Display Name for the Panel.
- Panel Icon to display in the chat window (URL to the location).
- Save the Panel.
- After you save, the panel will be In Development and will be displayed on your Digital Views screen.
Add Widgets
-
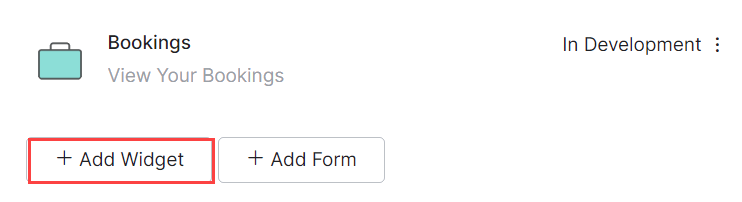
Click Add Widget to add widgets to the panel.
-
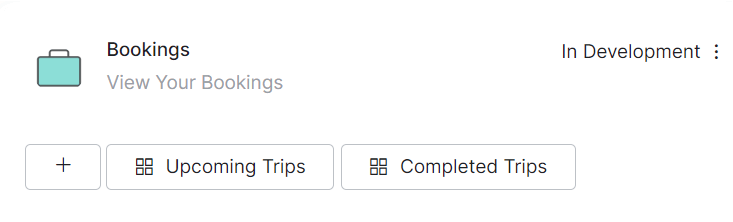
Select widgets from the drop-down list and click Add. You can add multiple widgets to the same panel.
Panel Options
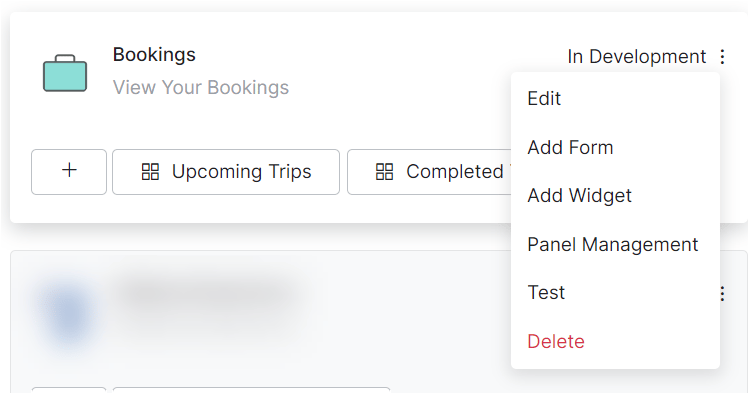
You have the following options for a given panel:- Edit the panel details;
-
Add Form to add existing forms to the Panel. Once added, forms will behave as a widget with the source set to Digital Form;
- Add Widget to add existing widgets;
- Panel Management to add existing forms/widgets, or remove already added forms/widgets from the panel.
- Test the individual panel – this opens the Talk to App window along with the panel listing with the current panel active and data presented. You can interact with the AI Agent and test the panel.
- Delete the Panel.
Publish
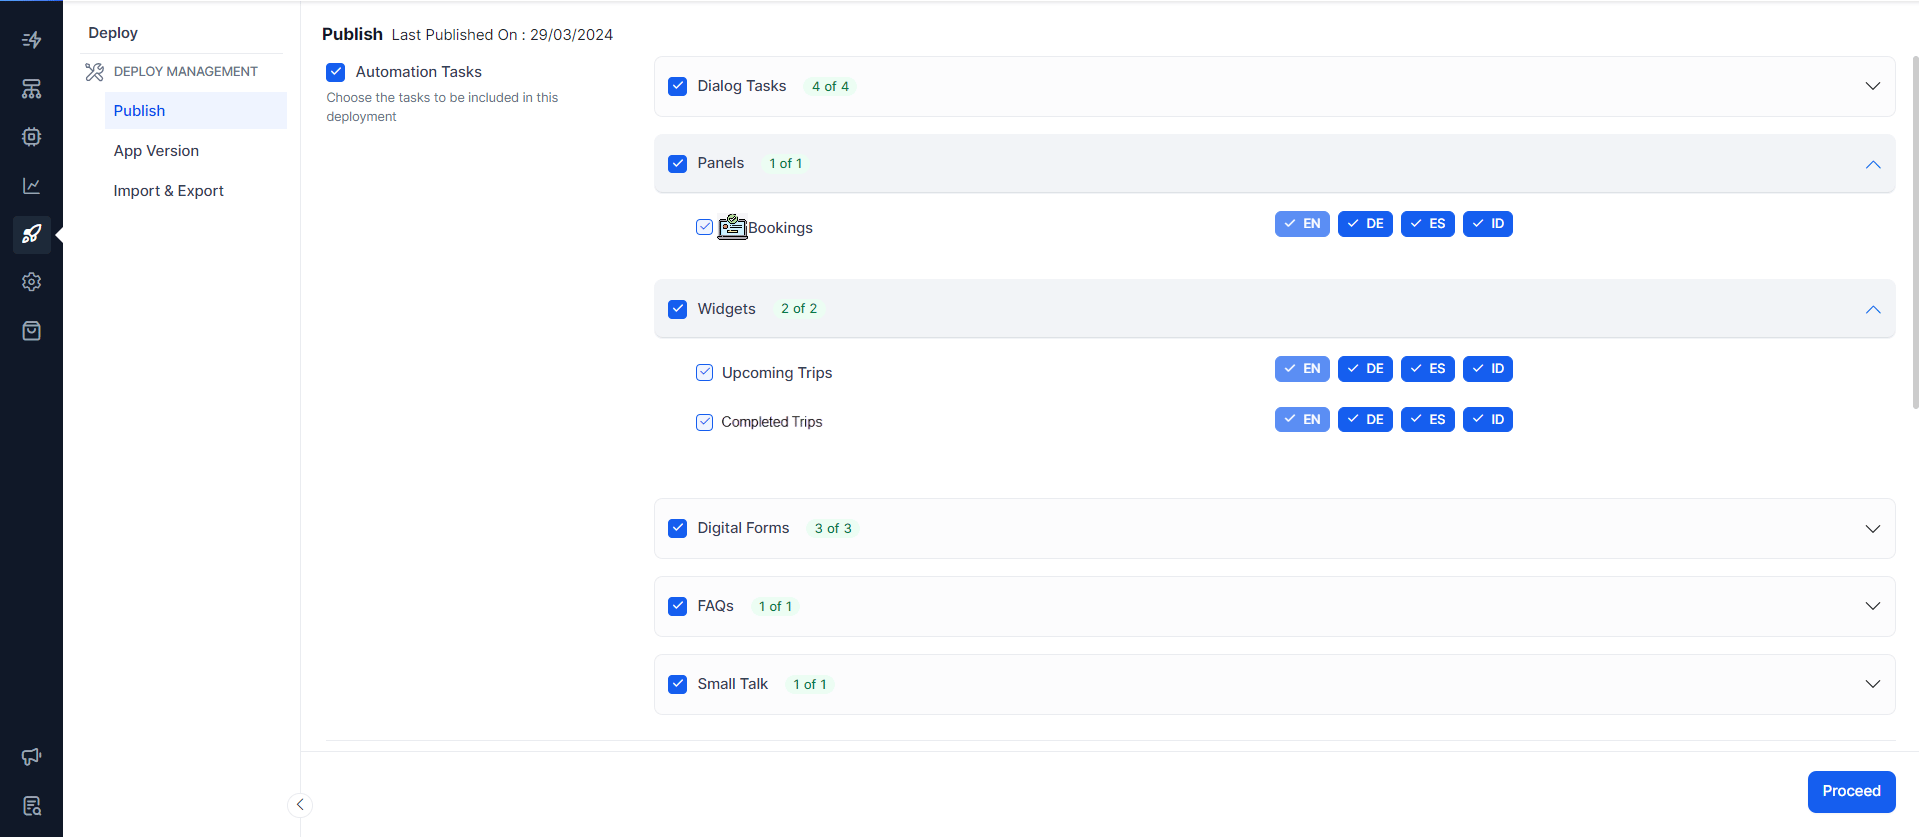
When you publish your App, please ensure that the panels and widgets you want to include are selected.