

Configuring oAuth v2 Using Client Credentials
- Open the assistant for which you want to configure an Authorization profile.
-
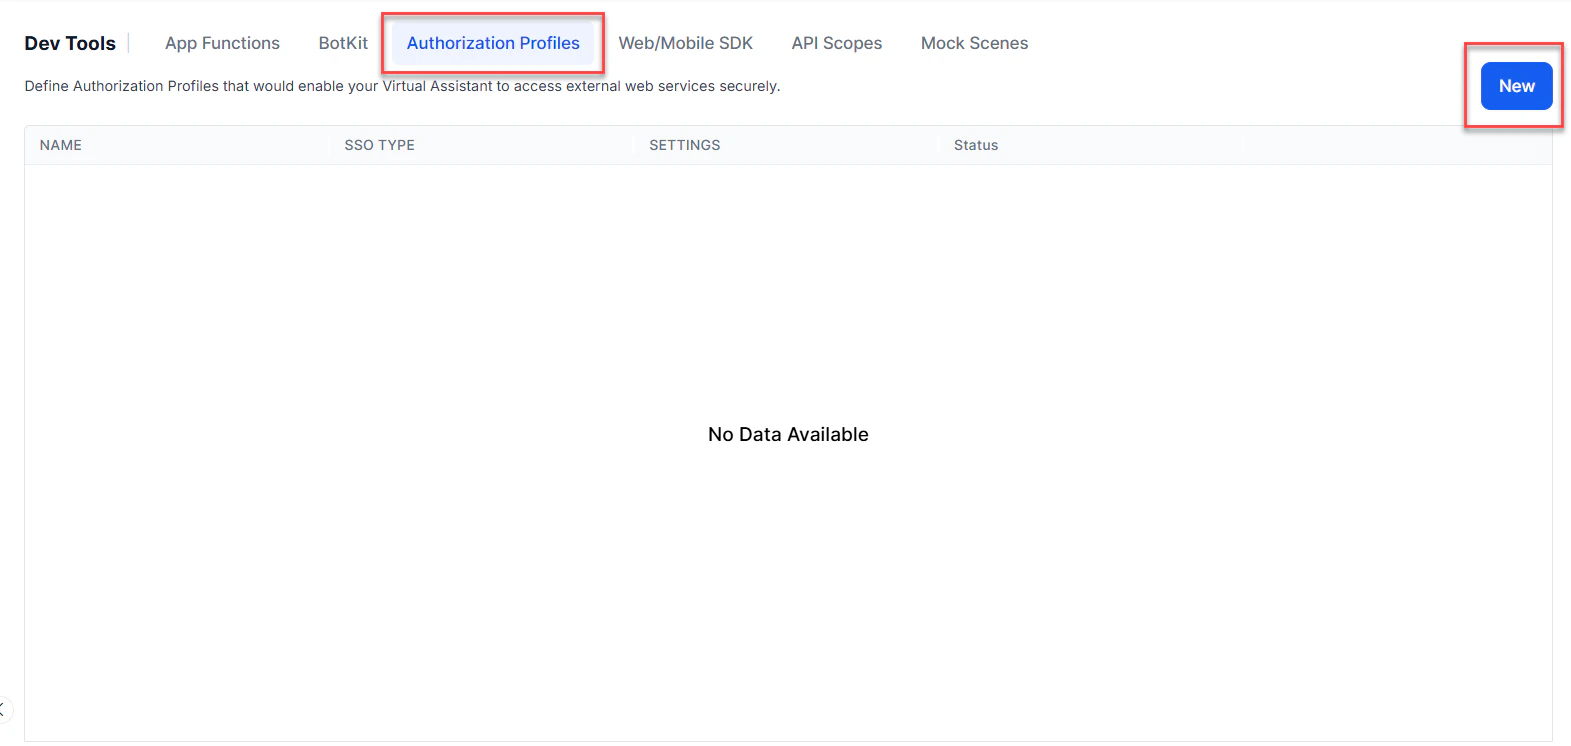
From the left menu, select App Settings, then select Dev Tools > Authorization Profiles.
-
Select New. The New Authorization Mechanism dialog opens.
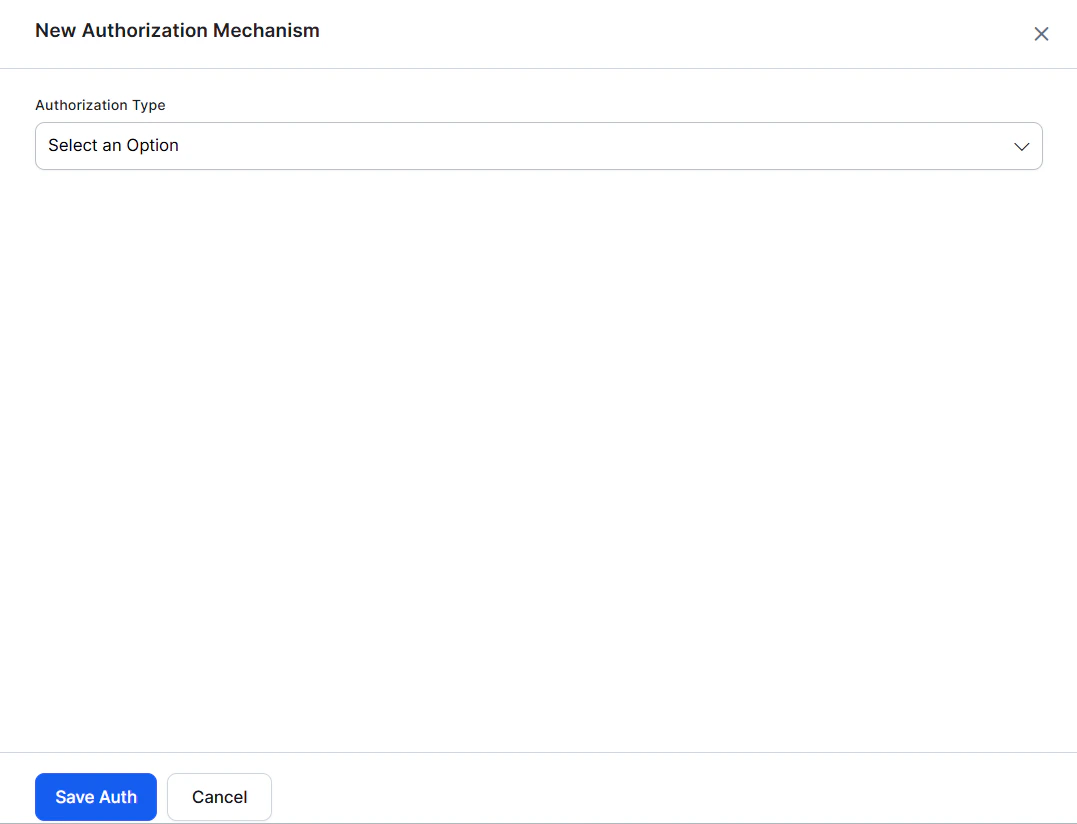
- In the Authorization Type drop-down list, select oauth v2 client credentials.
- In the Name field, enter the name for your authorization.
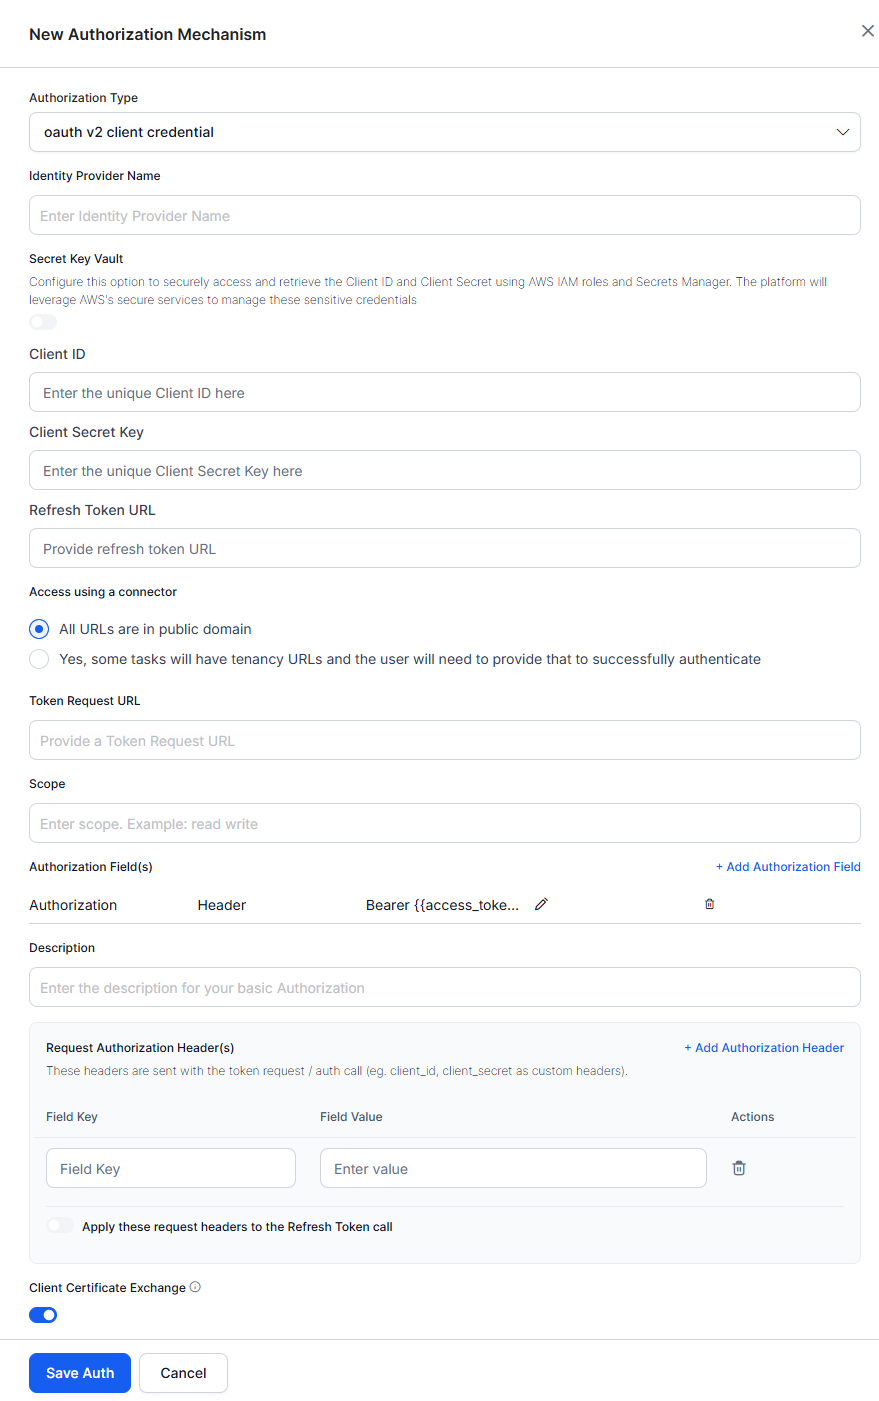
Authorization Fields
By default, authorization fields are configured as part of the header of the task request message. If your task request requires additional authorization fields or the expected authorization isn’t part of the header (for example, a verification code), click + Add Authorization Field and define the fields as shown in the following illustration.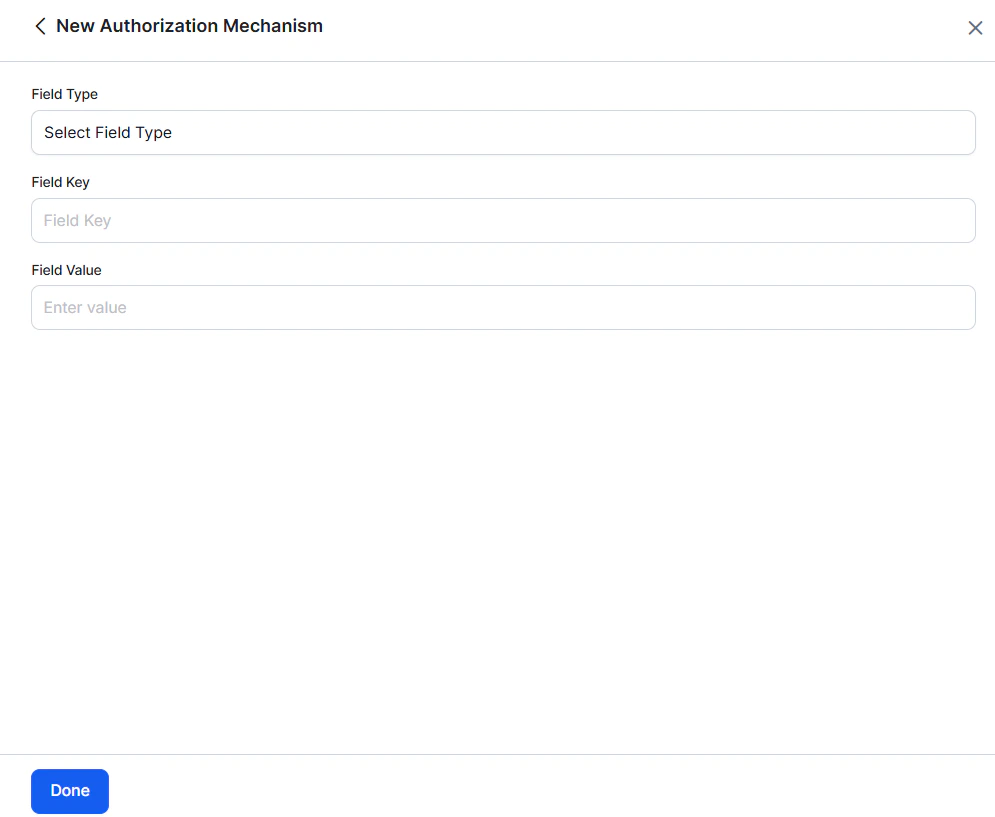
-
In the Field Type field, select one of the following depending on where in the task request message the authorization fields are required:
- Header - The AI Agent expects the authorization fields as part of the header of the request.
- Payload - The AI Agent expects the authorization fields as part of the content of the body of the request.
- Query String - The AI Agent expects the authorization fields as a query in the body of the request.
- Path Param - The AI Agent expects the authorization fields as part of the URL path for the request.
- In the Field Key field, enter the name of the field for the selected Field Type.
- In the Field Value field, enter the value for the Field Key specified.
- Select Done. The new authorization field is added in the Authorization Fields section.
Adding Request Authorization Header(s)
If your request requires additional authorization headers supported by the external system, click + Add Authorization Header to configure the required header fields.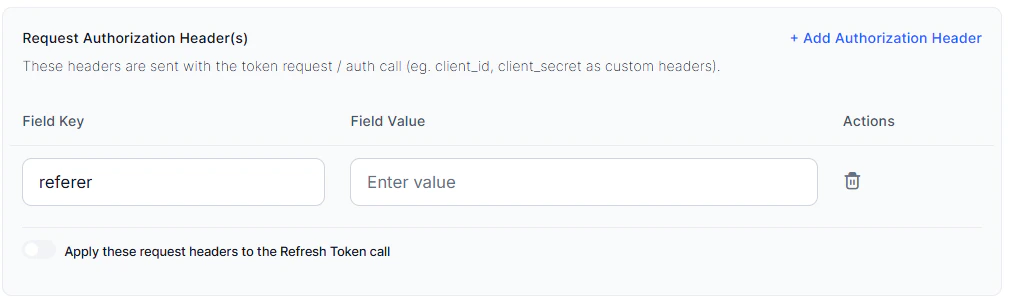
- In the Field Key field, enter the header name.
- In the Field Value field, enter the corresponding header value.
- Select + Add Authorization Header to add multiple headers as needed. Use the delete option to remove any headers that aren’t required.
- Enable the Apply these request headers to the Refresh Token call toggle to include the configured headers in Refresh Token requests, if required by the external system.
Testing the Authorization
After saving the authentication, test your authorization definition on the Authentication page by clicking Test before continuing to develop the remaining steps of your task. The test is executed using the authentication token URLs and the Client ID and Client Secret Key. If tenancy was defined, the Test Authorization dialog is displayed. Click Test to begin the authorization test.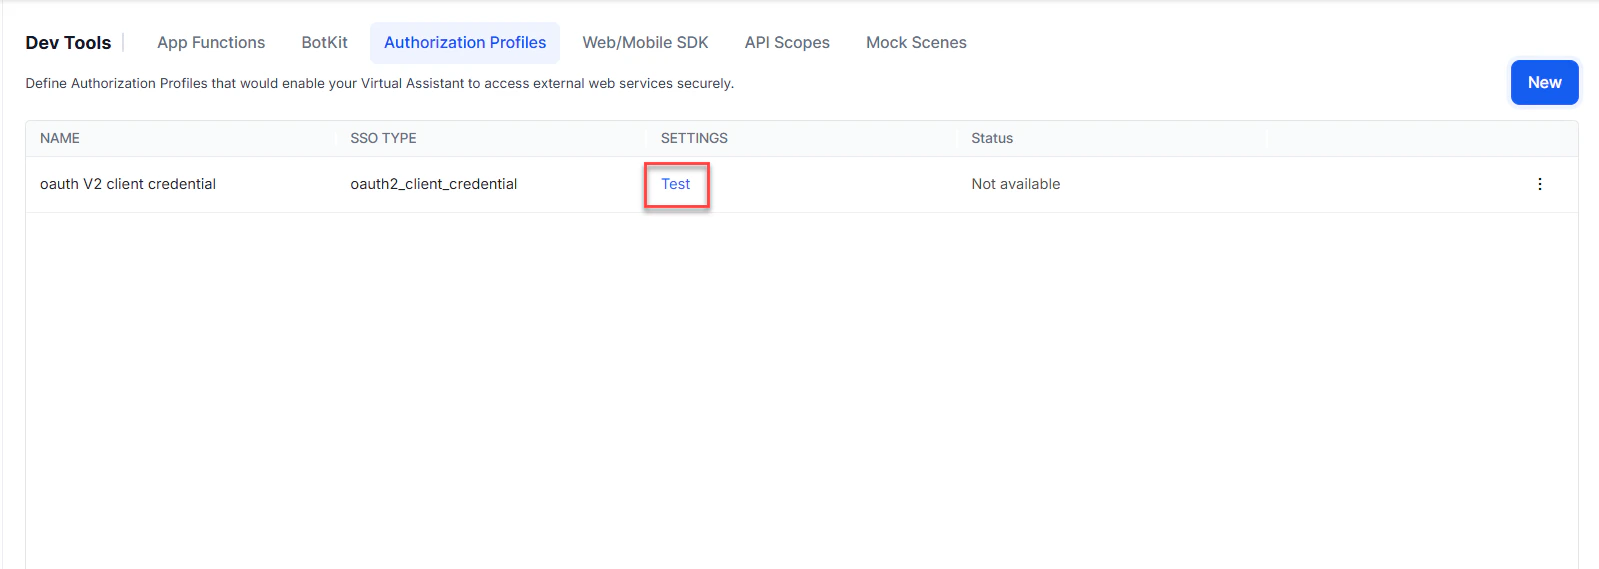
Access Token Caching and Refresh
The platform caches access tokens for one hour per bot and Authorization Profile, regardless of the token’s actual lifetime (expires_in).
- Token reuse: The platform obtains a token when the Authorization Profile is first used and reuses it for subsequent API calls. The token endpoint isn’t called again while the cached token is available.
- Token refresh: The platform requests a new token when the cache expires or when the target API returns
401. For a401response, the platform deletes the cached token, obtains a new one, and retries the API call once. If the retry fails, the platform passes the error to the dialog. - Expiry handling: The platform doesn’t check the token’s expiry before making an API call. If the token expires before the one-hour cache period ends, the platform continues using it until the target API returns
401. Other status codes, such as400or403, don’t trigger a refresh. The platform fetches a new token only after the one-hour cache period ends. - 401 requirement: Ensure your API returns
401when the token expires so the platform can refresh the token automatically. - Cache scope: The cached token is shared across users, sessions, channels, dialogs, and Service Nodes that use the same Authorization Profile in a bot. The cache is shared across platform server instances. Different bots and profiles maintain separate tokens.
- Token storage: Use the built-in cache instead of storing tokens in context or session variables. Session-based storage increases token requests because each session fetches its own token, and it puts bearer tokens in session data.
- Token lifetime:
- If the token lifetime is more than one hour, the platform fetches a new token every hour.
- If the token lifetime is less than one hour, the platform makes one failed API call (
401) each time the token expires, then automatically refreshes the token and retries the call. If this behavior matters, set the token lifetime to one hour or more on your identity provider.